DIY Small Wooden Christmas Trees
Are you thinking what adorable decorations to add to your home for the upcoming holidays? These DIY small wooden Christmas trees are just what you need! Not only are they a fun and easy project, but they also make for great DIY farmhouse Christmas decor.
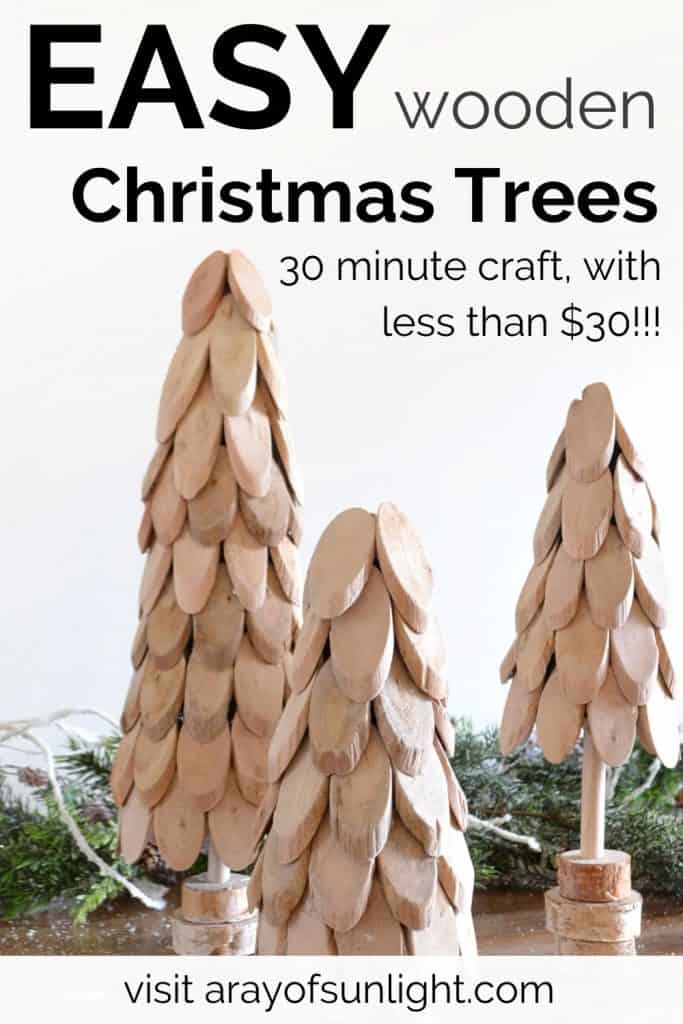
These DIY wooden trees are so easy to make and cost less than $30 for all three! You’ll have them put together in no time! Here’s how to make wooden Christmas trees to add to your holiday decor.
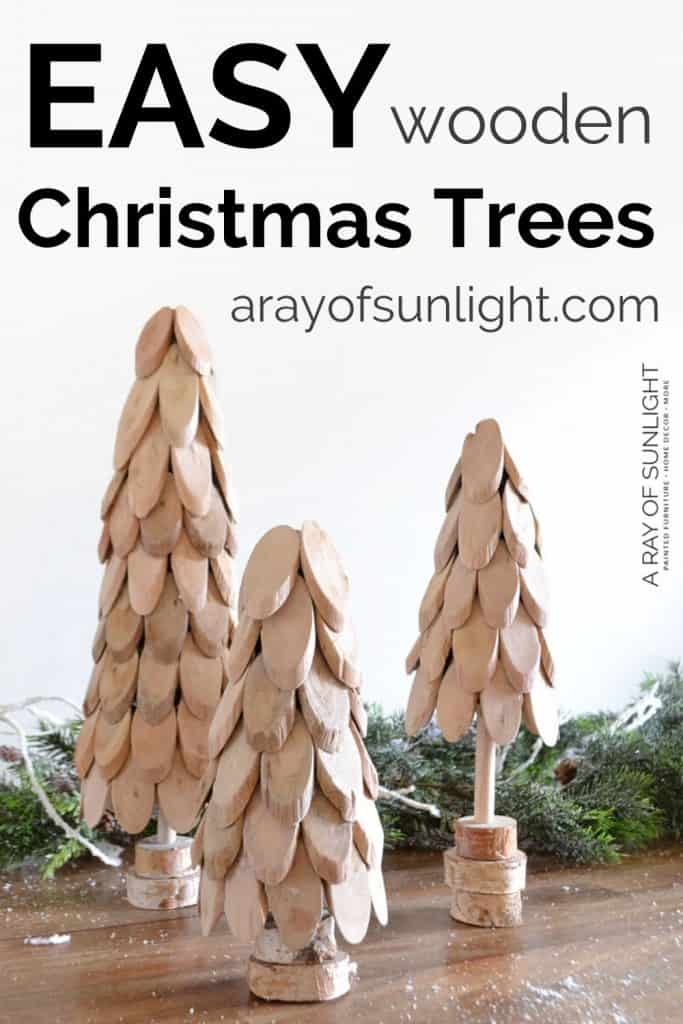
I love how these driftwood Christmas trees are full of texture and interest. They are also a little on the whimsical side but can be used for beachy Christmas decor or farmhouse rustic Christmas decor. Each tree took about 30 minutes, but they sure pack a punch!

My favorite thing about wooden Christmas trees as decor is that you can use them all winter long in your decor. They aren’t just for Christmas! You could even stain the driftwood to make a weathered wood Christmas tree, or get oval wood slices that have bark left on them for a more rustic feel.
You can also customize them to fit your decor style. You can paint them any color or add different types of embellishments like ribbons, glitter or small ornaments. So let’s dive in and make these cute DIY wood Christmas trees!
Supplies Used for DIY Small Wooden Christmas Trees
As an Amazon Associate, I earn from qualifying purchases. I also may earn from other qualifying purchases with other companies or get free product to review and use. All opinions are my own.
- 6″ Foam Cone
- 9″ Foam Cone
- 12″ Foam Cone
- Black or Brown Paint
- Paint Brush
- Driftwood Chips
- Hot Glue
- 1/2″ Wood Dowel
- Small Wood Slices
- Small Saw (optional)
- 1/2″ Drill Bit and Drill (optional)
Here are some more oval wood slices that I found around the web! I tried to find wood slices that are small like these driftwood slices used on these Christmas trees. ( I haven’t bought any of these, but they look like great substitutes!)
You could also use tiny little branches from your yard to create a fun rustic look! Seriously, there are so many options with these small wooden Christmas trees!
Paint Foam Cone Trees
Get your foam cone trees and paint them with black or brown paint. The type of paint isn’t very important here. We just want the cone to be a dark color to blend in with the wood. Just make sure to cover the entire cone and let the paint dry completely before moving on to the next step.

Glue Driftwood Chips to Foam Cone Trees
Glue the driftwood chips onto the base of the foam cone, keeping the center of the chip with the edge of the base of the cone. Space the driftwood chips evenly so you don’t have a gap when you get back to the first piece of driftwood.

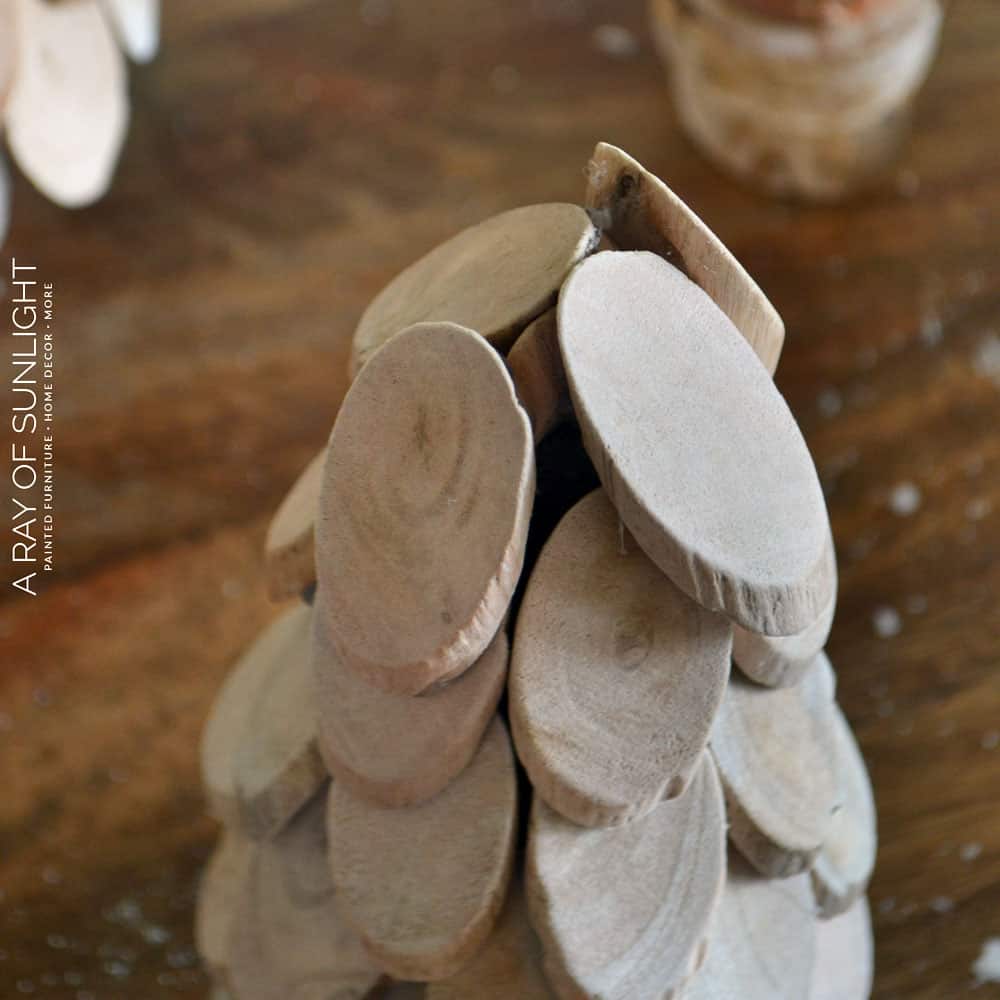
Layer the next row of driftwood over the bottom layer. Build the layers all the way up to the top of the Christmas tree. Place a broken piece of driftwood in the top of the foam to help support the top row of driftwood chips.
Make Base for Foam Cone Trees
To make a sturdy base for your foam cone trees, you’ll need to cut wooden dowels into short lengths (no more than 6″ long). You can find wooden dowels at most craft stores or home improvement stores. If you don’t have a saw, you can ask the staff at the store to cut the dowel for you into the desired length.

Next, drill holes into small wood slices using a 1/2″ drill bit or one that is the same size as your dowel. This will allow you to insert the dowel into the slices and form a sturdy base. Make sure the dowel fits snugly into the hole.

Then glue your dowel into the wood slice, then glue your wood slices together. Push the wood dowel into the bottom center of the foam cone. Make sure it’s as straight as possible and then glue it into place.
And that’s it! You now have your very own rustic driftwood Christmas trees you can display on your mantel, shelf, or as part of a holiday centerpiece. These trees would also make great gifts for friends and family who love farmhouse decor.

Would you like to save this?
Complete your display with these beautiful wooden Christmas village houses to create a festive setup!
Tips for Making Small Wooden Christmas Trees
You can also get even more creative to create your own unique set of trees. Check out these other ideas for inspiration:
Choosing Foam Cones
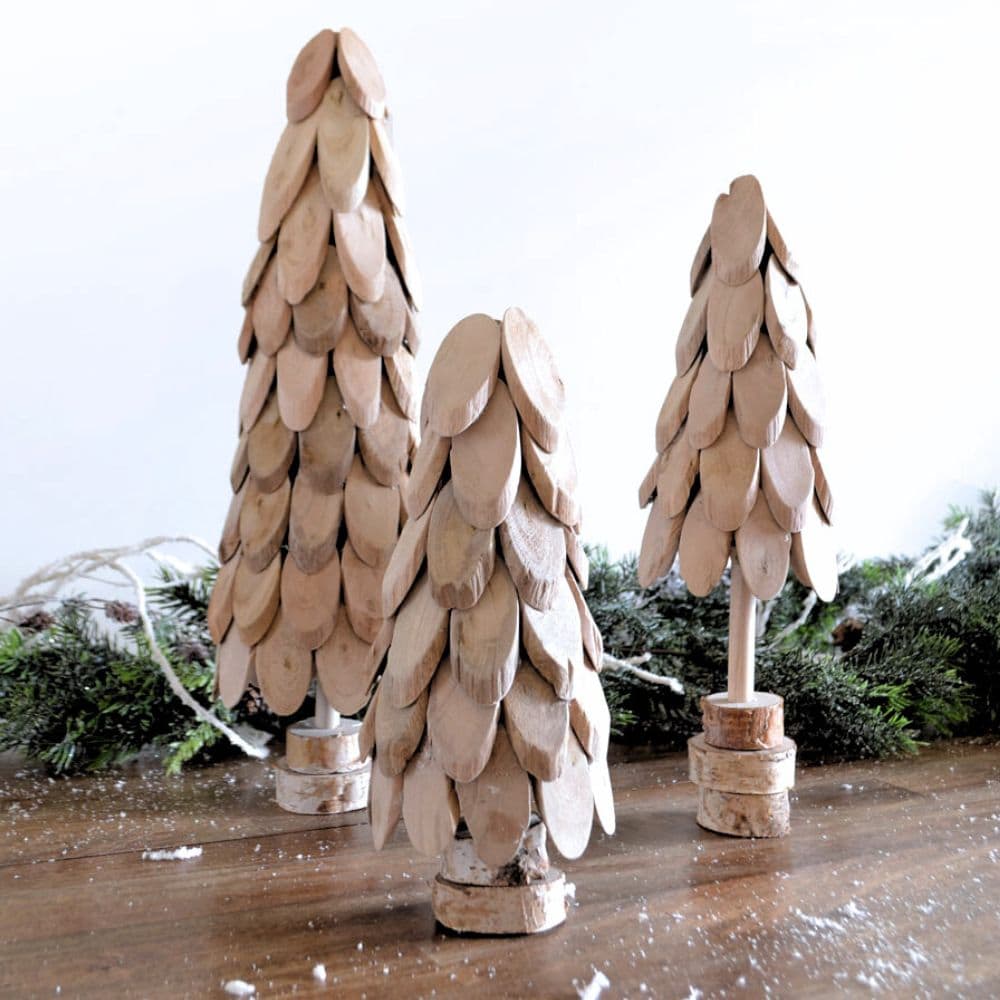
I added the base to these trees to make the 6″ Christmas trees different heights. The different heights are more pleasing in any decor! If I were to do these again, I would purchase 3 different sizes of foam cones instead of 2. A 6″, 9″ and a 12″ cone. Then I wouldn’t add the little dowels and wood slices.
Here are driftwood Christmas trees that come in different sizes if you’re looking for something eco friendly, stylish, and rustic.
How to Place the Driftwood Chips
The bottom row of the driftwood chips was laid opposite of the rest of the chips. If you look closely, the beveled edge is hidden on the bottom row, but on the edge shows on the bottom of the chips on the rest of the rows. This helps the driftwood Christmas tree limbs lay better.
Optional Christmas Tree Base
The little base with the dowels and the wood slices are totally optional! I love the driftwood trees without them, and with them! I needed a way to make my trees different heights, so I added the bases.
Large Wood Slices Vs Small Wood Slices
There are large wood slices and small wood slices available in store and online. I grabbed both because that’s all they had in store. I mostly used the small wood slices, but I used some large wood slices on the top of the tallest Christmas tree. If you look closely, you’ll see some wood slices that are longer. You could use the long ones or the shorter ones! I really like the look of the shorter ones.
Here are more adorable and charming small wooden Christmas trees and DIY wood Christmas trees you can make! Making wooden Christmas trees is really fun, and you can do it with your entire family. Gather everyone and make this wood Christmas tree DIY, too!
Pair your DIY wooden trees with a charming homemade wooden Christmas Tree sign and these DIY Christmas village decorations to complete your holiday decor. Here are family Christmas signs for a more personal touch.
Check out these rustic Christmas decor and farmhouse Christmas decor like this DIY farmhouse Christmas wreath for a welcoming and nostalgic atmosphere. And if you want, add a dash of humor, here are funny Christmas signs that will have your guests in stitches.
So place these small wooden trees on your TV stand, as a centerpiece on your dining table, on your fireplace mantle, or on a shelf in your home. They can be placed in your living room, kitchen, bedroom, or seriously anywhere in your home especially this holiday season.

Driftwood Christmas Trees
Materials
Tools
- Paint Brush
- Small Saw (optional)
- 1/2" Drill Bit and Drill (optional)
Instructions
- Get your foam cone trees and paint them with black or brown paint. Make sure to cover the entire cone and let the paint dry completely before moving on to the next step.
- Glue the driftwood chips onto the base of the foam cone, keeping the center of the chip with the edge of the base of the cone. Space them evenly so you don't have a gap when you get back to the first piece.
- Layer another row of driftwood over the bottom layer. Continue building layers all the way up to the top of the tree, using a broken piece of driftwood in the top for support.
- Cut wooden dowels into short lengths and drill holes into small wood slices using a 1/2" drill bit. This will create the base for your trees.
- Glue the dowel into the wood slice, then glue multiple slices together to form a sturdy base. Insert the dowel into the bottom center of the foam cone and glue it into place.
- Now you have your own rustic driftwood Christmas trees to display in your home. These also make great gifts for friends and family who love farmhouse decor.
Notes
I used 3.5 bags of the driftwood chips for my 3 small wood Christmas trees.
I recommend using 6", 9" and 12" foam cones if you don't want to have a base on the Christmas trees. I used (2) 6" cones and (1) 12" cone.
Recommended Products
As an Amazon Associate and member of other affiliate programs, I earn from qualifying purchases.


More DIY Home Decor Ideas
- Painted Fall Pumpkins
- DIY Faux Olive Tree Plant – How to
- Christ the Savior is Born – DIY Wooden Christmas sign
- DIY Galvanized Bucket Decorating Idea for Spring
- DIY Santa Painting with Decoupage Rice Paper

Follow us on YouTube to get more tips for painting furniture. Or share your project with us on our Facebook Group and be part of our community. See you there!
Thanks for this project! I LOVE it! I made five. 4 are 9″ foam, and 1- is 12″. I found 1 1/2″ – 2″ oval slices w/bark edges on Amazon. It took about 38 to 40 slices for one 9″ foam cone. My discs do have tiny holes drilled into top for ornaments. Most i could cover up, but some show. I’ll find some embellishments to glue over those. These are just adorable, and fun to make…well except for the inevitable hot glue drip burns. I must learn to be more careful. ?
Thank you Natalie for this adorable project. I shared your post to FB. I made my trees a bit differently, but totally based on your inspiring idea. I used the slices with bark edges and added embellishments. So many possibilities. Cant wait to make some Christmas themed ones. It would have never occurred to me to do this without your post. I can’t wait to show mine off as a centerpiece. So, thank you again for this idea.
I’m so glad you made your own! Thank you so much for sharing!
whoah this blog is excellent i love reading your posts. Keep up the good work! You know, many people are searching around for this information, you could help them greatly.