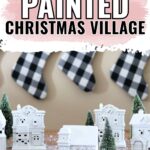
DIY Painted Christmas Village

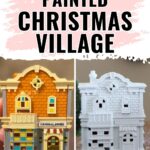
Transform your old Christmas village or a thrift store village with this DIY painted Christmas village makeover. Plus we add a little something extra to make them really shine! This is such a fun and easy project that will make your mantle, table or Christmas display complete.
This Christmas village is the perfect addition to your DIY farmhouse Christmas decor with its rustic and charming look. With just a few simple steps, you can transform any ordinary village into a festive masterpiece.

I remember staring at and playing with the Christmas village under our tree as a little kid. But it was always something we shouldn’t touch because they were glass. You know, the pretty delicate ones that mom would only let us look at.

So, I’ve been wanting to get my own Christmas village for my little family, but I really wanted them to be something that my kids could pick up and play with if they wanted to. It should be something we can enjoy together without worrying about breaking anything.
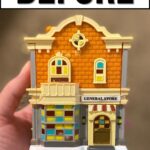
Enter these little Christmas village houses from the Dollar Tree! They definitely look cheesy at the store, but with a little bit of paint and extra sparkle, they sure do shine now! Let’s get started on this DIY project – you can get the kids involved too!
Supplies Used for DIY Painted Christmas Village
As an Amazon Associate, I earn from qualifying purchases. I also may earn from other qualifying purchases with other companies or get free product to review and use. All opinions are my own.
- Dollar Tree Christmas Village Buildings
- White Spray Primer
- White Spray Paint
- Fusion Mineral Paint’s Embossing Paste – Pearl
- Paint Brush
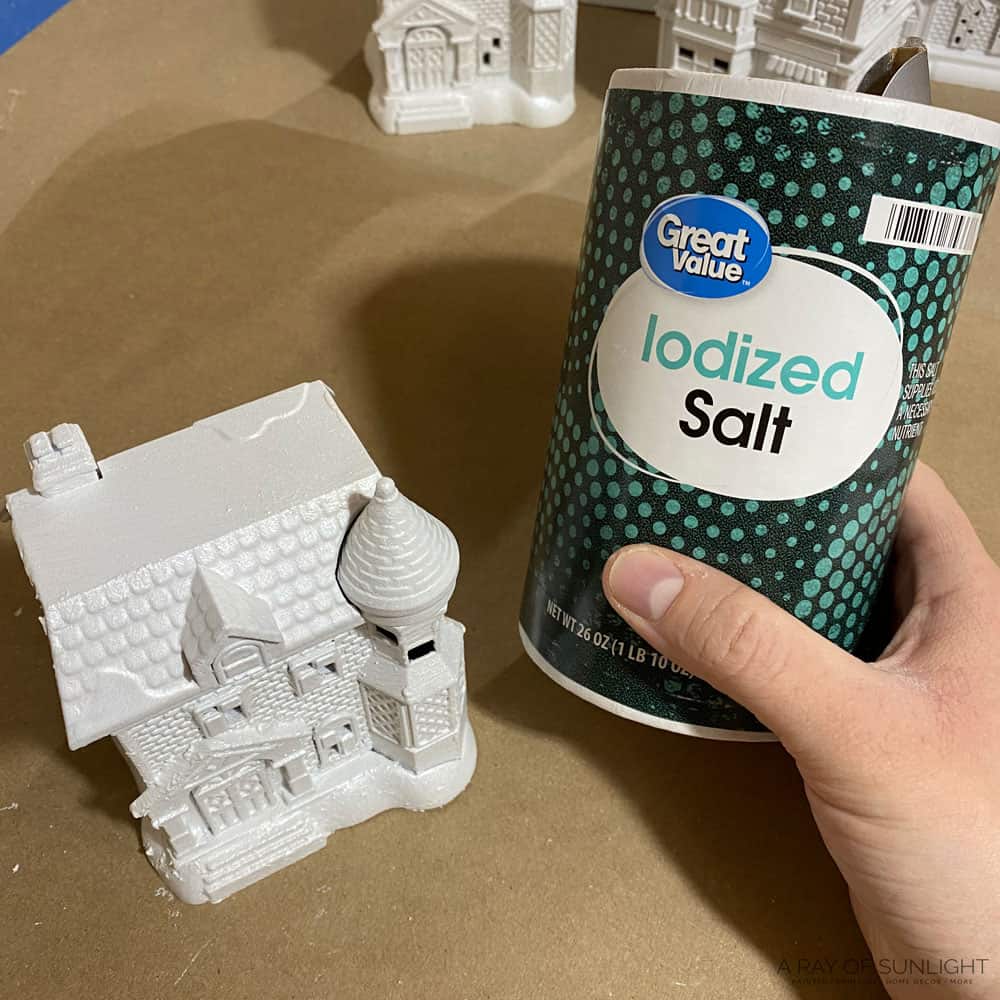
- Table Salt
How to Paint Christmas Village Houses
First, prime the houses with a primer that will stick to plastic. I don’t trust paints that say that they are paint and primer in one, or that the paint sticks to plastic. So I gave the houses all a couple of coats of primer first.
(Spoiler alert: the paint sticks really well to the houses since I primed them first!)
I let the primer dry for about a half hour, but no longer than an hour – according to the directions on the can. Then I painted a couple of coats of the white spray paint onto the houses. Once again I let it dry for about a half hour before painting the next coat.
Then I let the paint dry for a day or so to really let it dry before I did more to them.
Add Embellishments to Painted Christmas Villages
First I brushed a little bit of pearl embossing paste onto the houses.
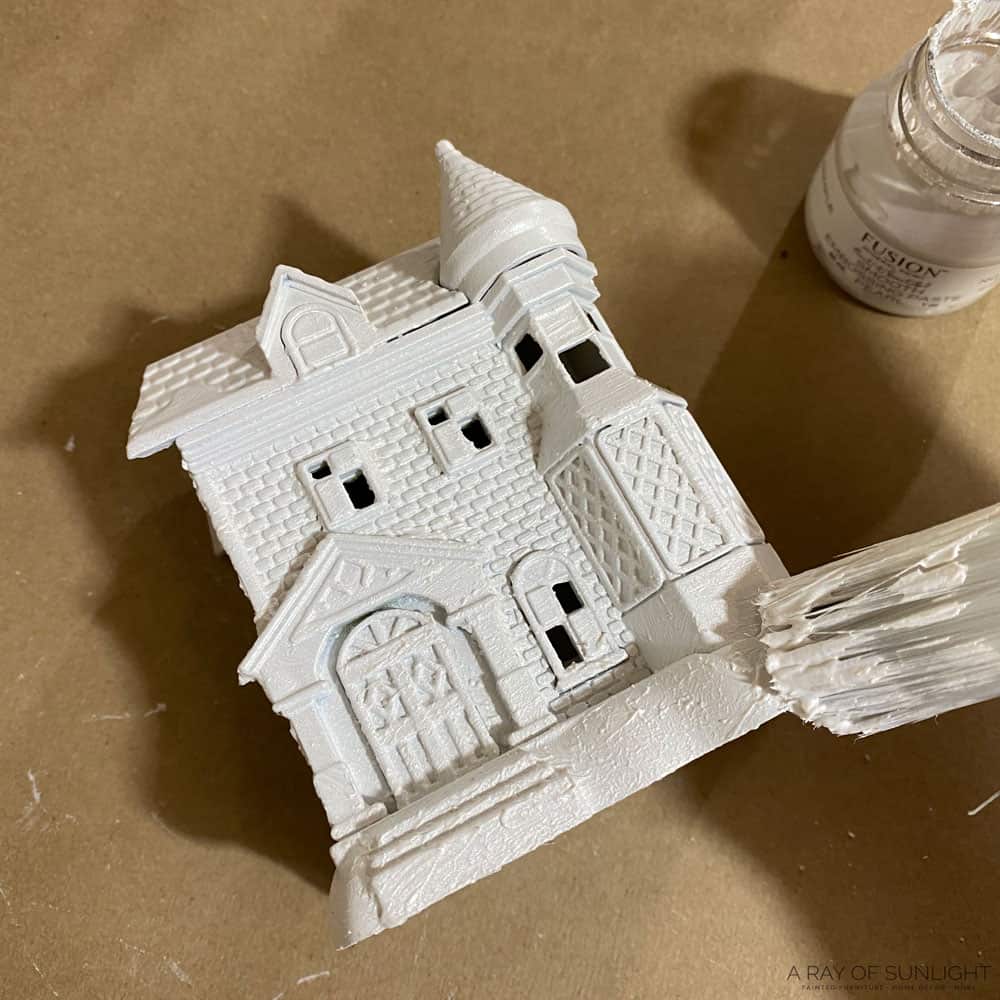
I really like how the paste added a little bit more texture to the houses, but it also added a nice pearl effect to the houses.
Right after I finished brushing the paste on, I sprinkled a little bit of regular table salt onto the rooftops and anywhere that snow would naturally collect on a house. I love that the salt looks like snow, and it’s super cheap (and you probably already have it in your home!)

Then let the paste dry completely before decorating with them. I let them dry overnight, but they were dry after an hour.
Would you like to save this?
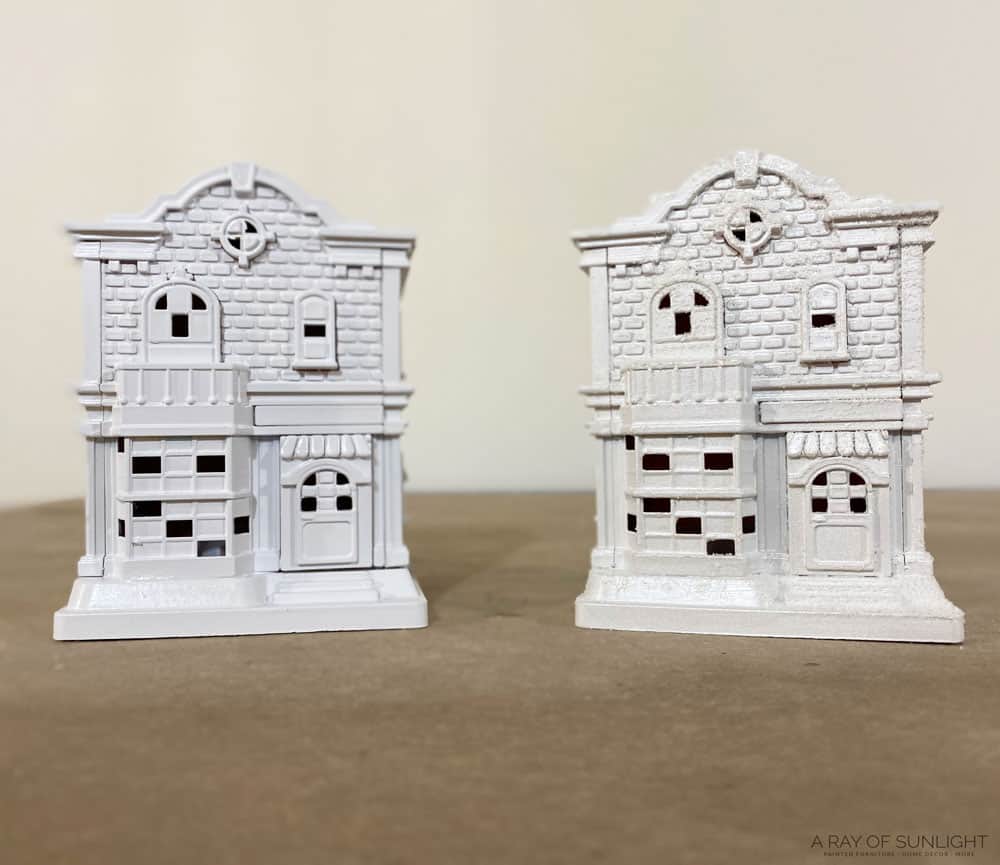
Right – Painted and Embellished Village
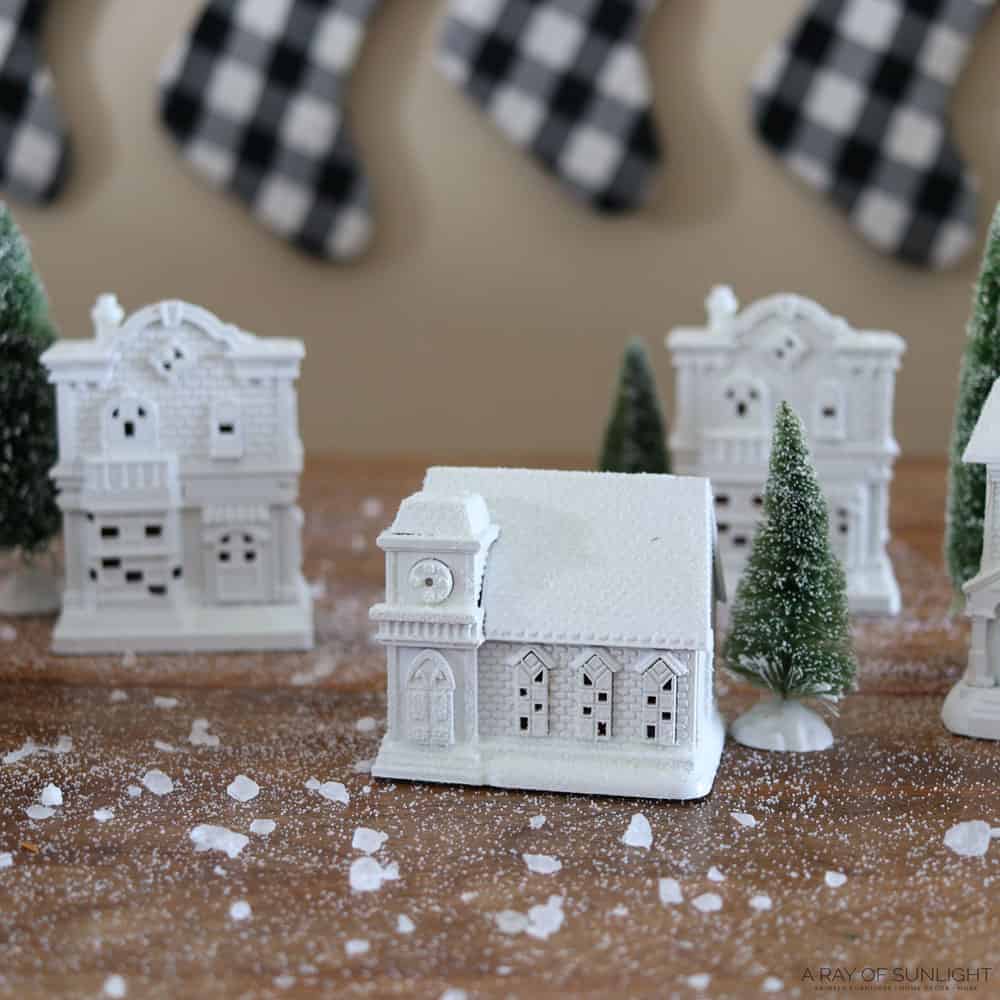
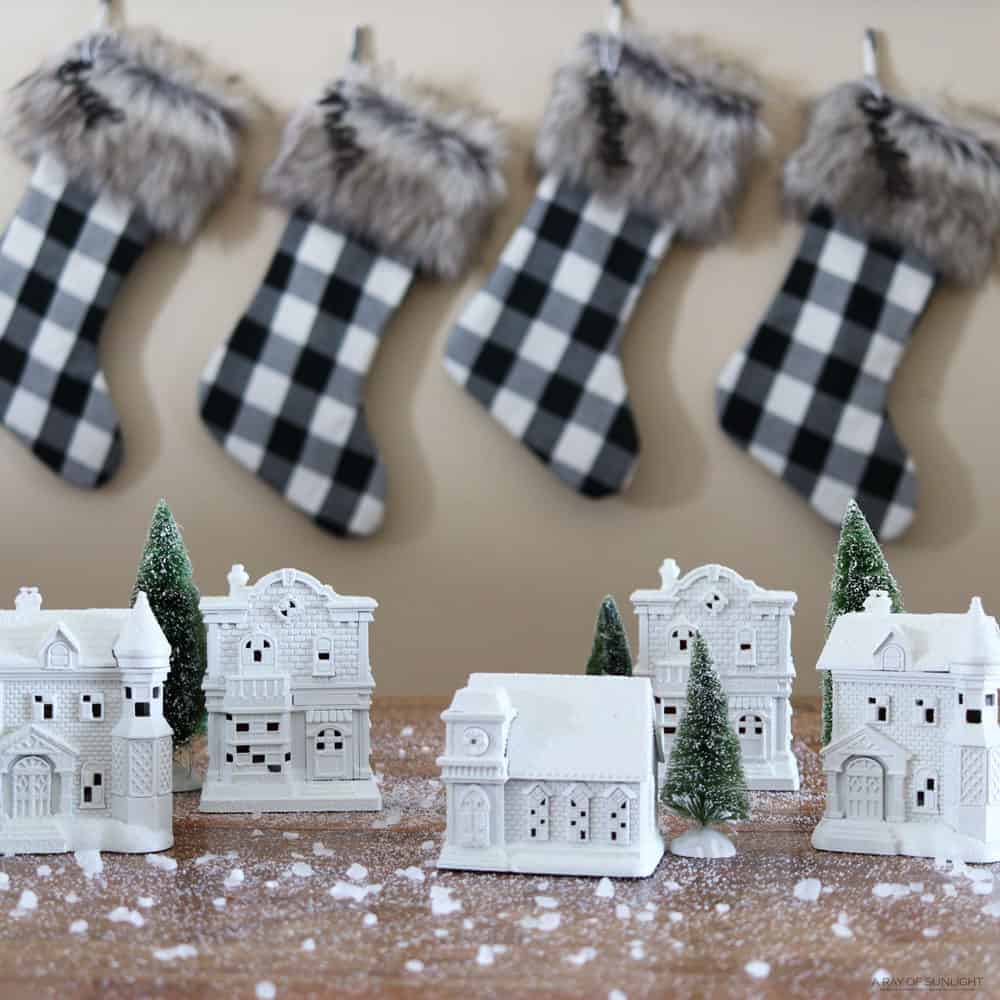
You’re done! Now you can decorate for Christmas! I put them on my kitchen table as a centerpiece with some bottle brush trees. I also sprinkled more salt and rock salt on the table to make it look like it snowed.
If you want to add more Christmas villages to your display, consider these Christmas village houses to paint for a fun activity and unleash your creativity.
These adorable houses would also look perfect with small wooden Christmas trees for your own winter wonderland. Check out these options and inspirations for DIY Christmas village decorations that are festive but still affordable.
You can also create cherished holiday memories and build your own Christmas village with your loved ones. With simple materials such as card stock and a little creativity, you’ve got yourself a DIY Christmas village like this! You can also buy them instead – here’s my list of charming Christmas village houses you can get!
If you’re looking for more affordable decor that you can get from Dollar Tree, check out these Dollar Tree Christmas signs. Turn your home into a hub of holiday hilarity with our selection of funny Christmas signs, because ’tis the season to also be silly!
Add some more rustic Christmas decor and farmhouse Christmas decor for that cozy, warm feel. If you want to bring in meaningful and uplifting decor, check out our top picks of the best Christian Christmas signs here. Pair them up with this DIY farmhouse Christmas wreath to symbolize the endless circle of love and unity.


Christmas Village Painting Ideas
If you have more Christmas houses to paint and want different styles, you can also try these ideas! These should make your Christmas village more fun and unique, and you don’t have to follow them exactly. Add your own twist to the ideas and make something special for you and your family!
You can use different colors of spray paint such as red, green, or silver to give your houses a pop of color. You can also mix and match different colors for a more vibrant village. If you have a color scheme in mind like pastel, then go for it!
Use glitter or fake snow to add some sparkle and texture to the houses. You can even create a winter wonderland scene by gluing cotton balls onto the roofs for a snowy effect. Just make sure to let everything dry completely before handling or displaying them.
Instead of painting the houses, you can also use patterned paper or fabric to wrap around them. Holiday themed wrapping paper would be perfect for this! This is a great option if you’re not confident in your painting skills or just want to try something different.
Go ahead and get creative! You can even use unconventional materials like old Christmas cards, stickers, or even small toys to decorate your houses. Make your Christmas village unique and personal, and have fun while doing so!

DIY Painted Christmas Village
Here's how to paint your own Christmas village, from painting christmas village houses to adding embellishments for a festive holiday display.
Materials
- Dollar Tree Christmas Village Buildings
- White Spray Primer
- White Spray Paint
- Fusion Mineral Paint's Embossing Paste - Pearl
- Table Salt
Tools
Instructions
- Start by priming the Christmas village houses with a white spray primer, making sure to cover all surfaces evenly. The primer will help the paint adhere better to the houses. Let it dry for about a half hour, but no longer than an hour.
- Next, paint the houses with a couple of coats of white spray paint, letting each coat dry for about a half hour before painting the next. The white base will provide a clean canvas for your creativity and allow the colors to pop. Let the paint dry completely for a day or so before moving on to the next step.
- To add some texture and shimmer, brush a little bit of pearl embossing paste onto the houses. This will create a beautiful pearl effect on the houses that will catch the light and add dimension to your village.
- While the paste is still wet, sprinkle table salt onto areas where you want to create the look of snow. This is a cheap and easy way to create a realistic snowy effect that will make your village feel like a winter wonderland.
- Let the embossing paste dry completely before moving on to display your painted Christmas village as a centerpiece on your table or incorporate it into your holiday decor with bottle brush trees, figurines, and other festive accents.
Recommended Products
As an Amazon Associate and member of other affiliate programs, I earn from qualifying purchases.


More DIY Christmas Decor
- Farm Fresh Christmas Tree Sign
- Homemade DIY Christmas Village
- DIY Simple Christmas Sign
- Christ the Savior is Born – DIY Wooden Christmas sign
- DIY Believe Sign from Dollar Tree
Follow us on YouTube to get more tips for painting furniture. Or share your project with us on our Facebook Group and be part of our community. See you there!