Can a Beginner Fix This Furniture Damage?
Ever found a gorgeous piece of furniture that needs repair and wondered, “Can a beginner fix this furniture damage?” I used to think that meant game over, but I’m going to fix this corner for under 15 bucks without any woodworking skills.
Most furniture damage looks way scarier than it actually is to fix. With just a few simple tools and these repairing old furniture tips and techniques, discover just how easy it really is!
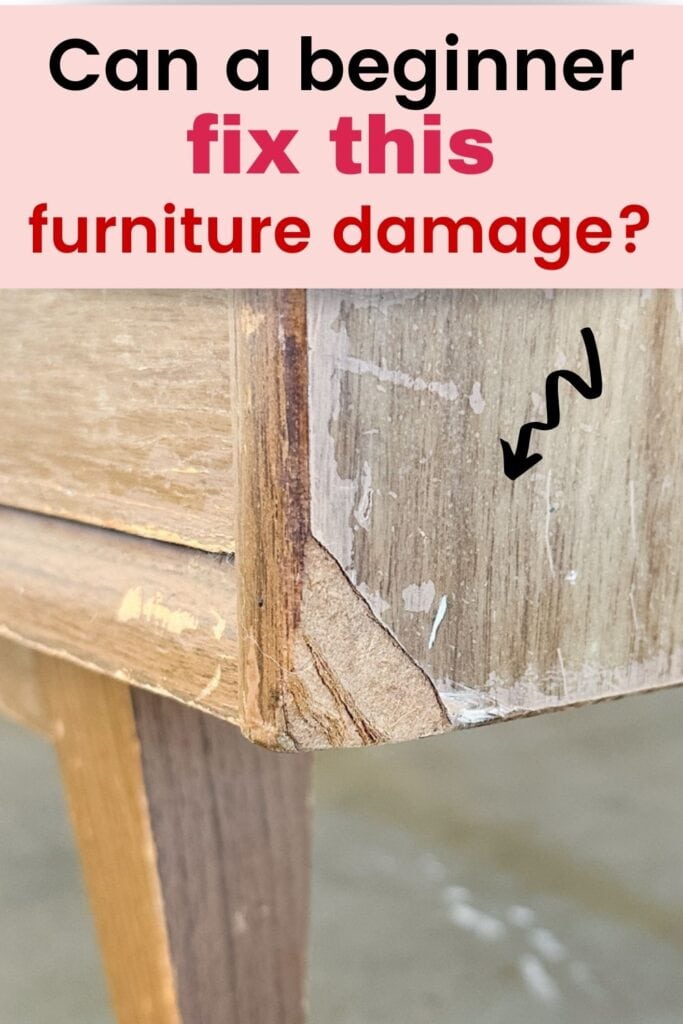
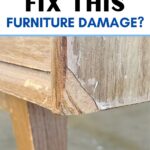
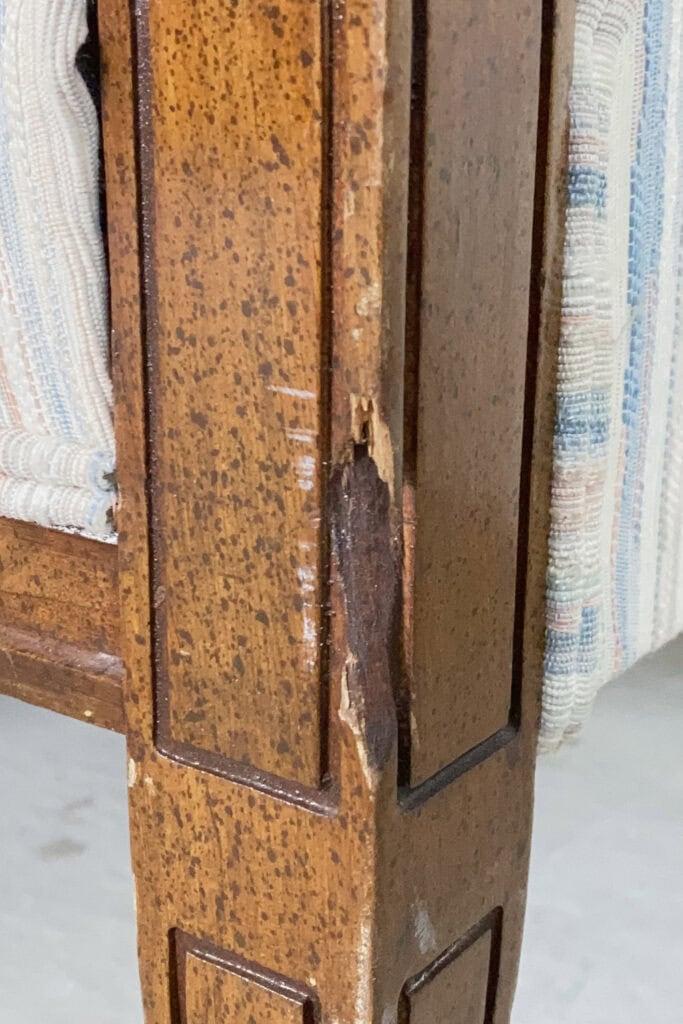
I am not a woodworker. I don’t have a garage full of those fancy tools, but I have figured out how to fix this kind of damage without spending a bunch of time and money. This corner is cracked, chipped, and honestly looks like trash.

But with one trick and a cheap tool, I’m gonna make this look brand new. You don’t need fancy tools like a sander or even any experience. You just need the right product and a few simple steps. And yes, beginners can totally do this!
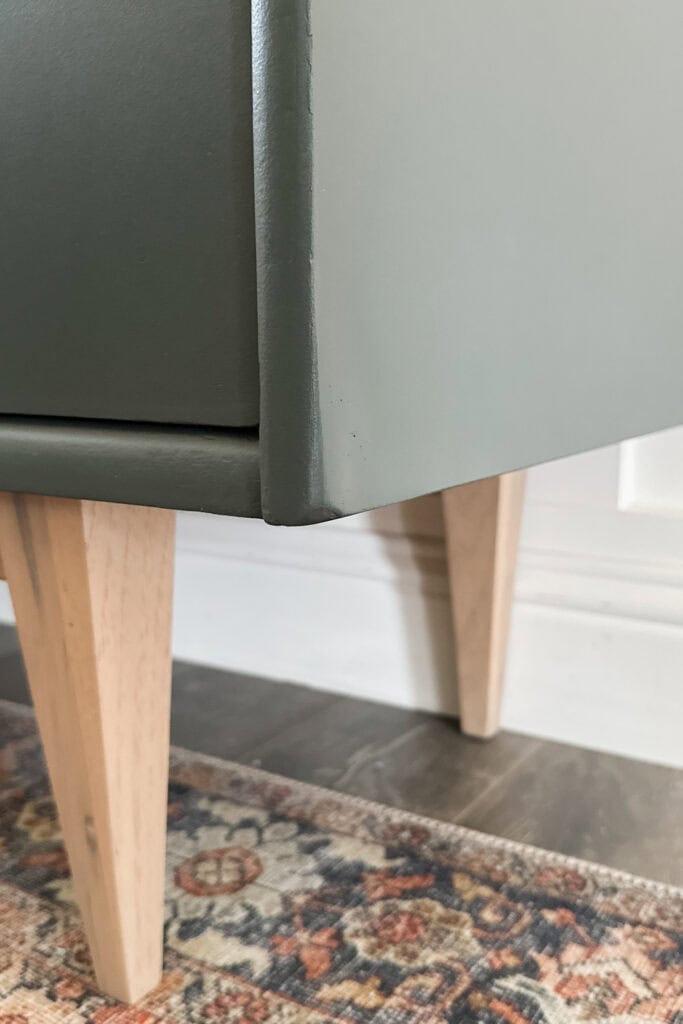
I just picked up this dresser for only 50 bucks, and I already love the shape and style. But the condition isn’t great. There are scratches basically everywhere on the drawers, on the sides and the front, and one of the drawer corners is chipped.
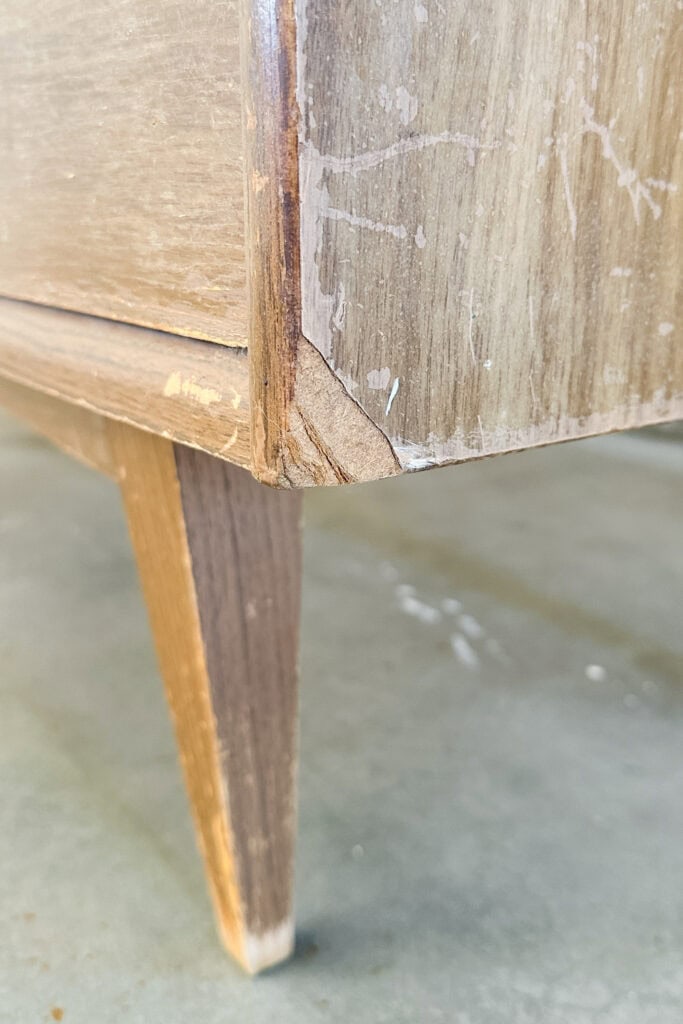
However, the worst part is this big chunk missing from the side corner of the dresser. It looks like it was dropped or slammed into something really hard. I don’t know what happened, but it is not good.
As an Amazon Associate, I earn from qualifying purchases. I also may earn from other qualifying purchases with other companies or get free product to review and use. All opinions are my own.
Best Wood Filler for Furniture Repair
A few years ago, I would have walked away from this piece the second that I saw this kind of damage. I used to think, “Nope, I can’t fix that. I don’t have the tools, and I definitely don’t know what I’m doing.”
But here’s the truth. Damage like this is totally fixable, and you don’t need woodworking skills or a garage full of tools to do it.
Wood Corner Repair
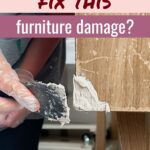
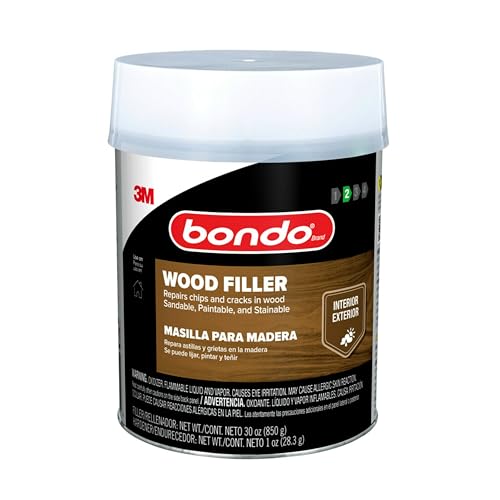
I’m just using Bondo to rebuild the broken corner. It’s technically made for cars, but it works amazing on furniture. It dries rock hard, sands super smooth, and holds up really well. A can costs around $13 and it’ll last you through a ton of repairs.
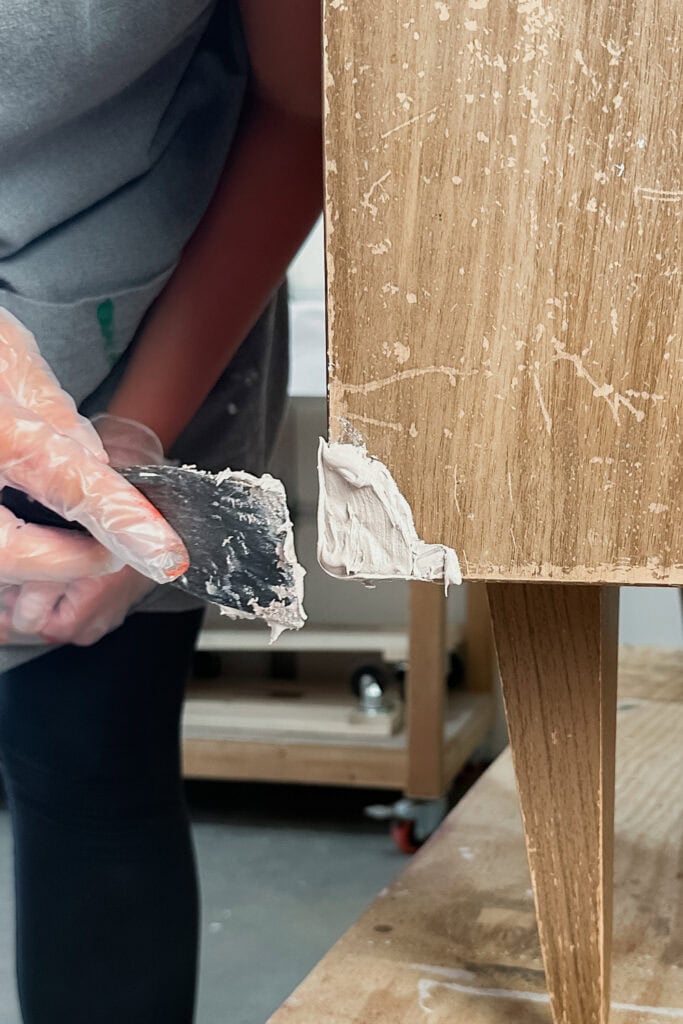
I just mix it up and press it into the damaged corner, shaping it with a putty knife as close to the original edge as I can before it sets up in about 5 to 10 minutes. Learn all about Bondo wood repair in this post.
For the chipped drawer, I do the same thing. Just a little bit of Bondo shaped to match the other corners. Here’s our more detailed guide on how to fix a chipped wood corner. For bigger damage, check out how to fix a missing chunk of wood here.

I’m also using it to fill in the deep scratches across the sides and the front of the dresser. This stuff glides right into the damaged areas and dries super fast, so I can move on to sanding pretty quickly.
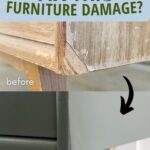
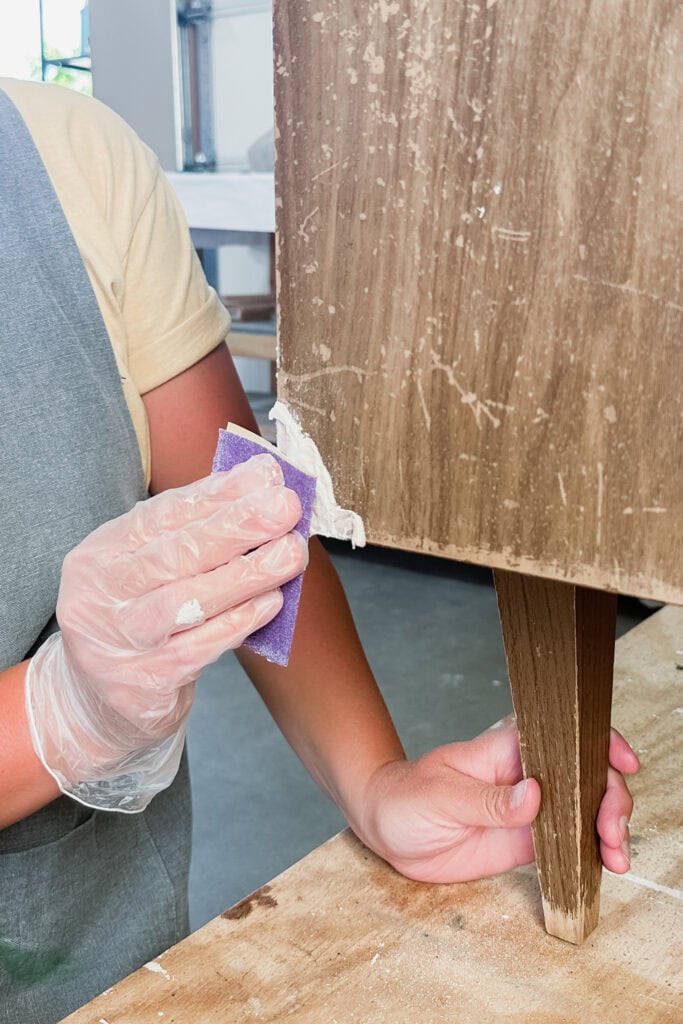
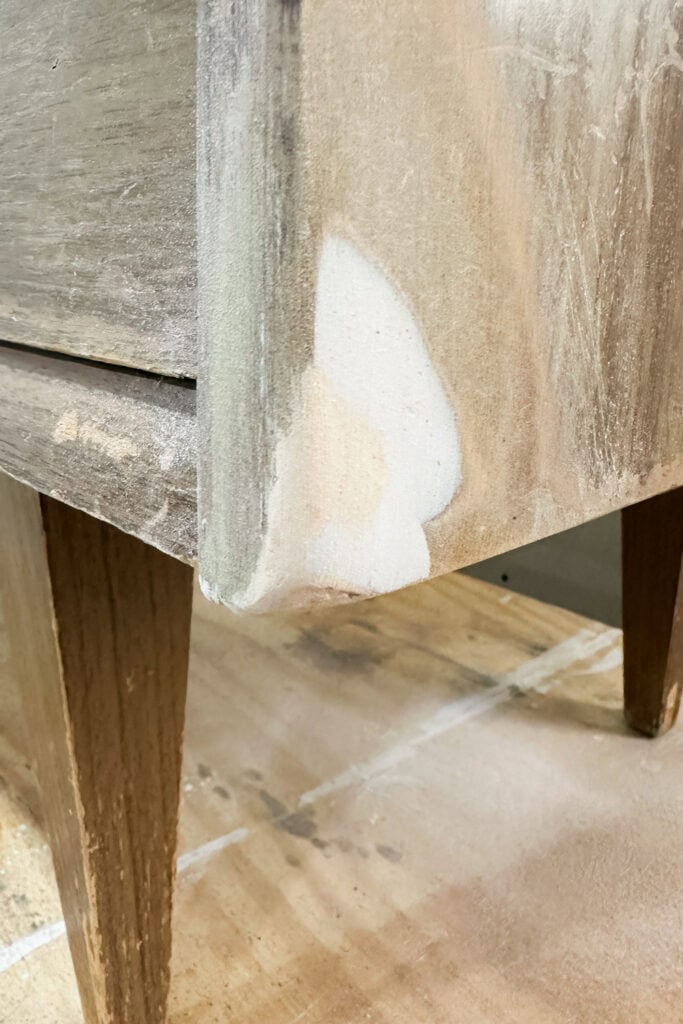
Then I sand everything smooth: the big repair, the drawer corner, and all the scratches. Even though it’s not painted yet, smoothing out that damage with sandpaper makes a huge difference. It already looks so much better.
Would you like to save this?
Why Repairing Damaged Wood Furniture is Important
And here’s why that matters. Especially if you’re planning to sell a piece or want it to actually look high end when you’re done. If you paint right over damage like these deep scratches, chipped edges, broken corners, they don’t magically just disappear.
They usually look worse. Paint makes imperfections stand out even more. The light catches every little dent and chip, and suddenly, what could have looked expensive just looks rough. Here are more tips on how to repair deep scratches in wood furniture.


I’ve made that mistake before. I painted a dresser without fixing the damage, and once I stepped back, all I could see were the flaws. I ended up repainting it after going back and fixing everything anyway, which wasted so much time.
And the buyers noticed, too. If you’re selling it, they expect your piece to look finished and professional. Small flaws can make people walk away or offer way less than you were hoping for. So, yeah, taking the time to fix this stuff is absolutely worth it. Learn more about how to make money painting furniture in this post.
And the best part is that you don’t need to be an expert. If I can do it with a $13 can of Bondo, a putty knife, and some sandpaper, you can do it, too, even as a beginner.
Watch our guide on YouTube below:
Before and After Wood Furniture Repair
But before anything else, take a good look at the damage on your furniture. It can be anything from a deep crack to scratches, or even big chunks missing. You can use these best wood fillers for furniture depending on the type of damage.
You could also be dealing with a different kind of material. Here are our guides on how to repair rattan furniture and how to repair rattan wrapping you can easily follow.
Next, don’t skip the cleaning step. Wipe everything down with a degreasing cleaner such as Krud Kutter to clear away dust or grime. Make sure the piece is all dry before you start patching up. Get more tips on how to clean furniture before painting here.
And after your repairs are done, and you’ve finished painting or refinishing it, you’ll want to keep it looking awesome! You can use coasters and placemats to protect the surface from spills and scratches.
You’ll also want to be careful when moving or rearranging the furniture to avoid any damage. And don’t forget to take the time to regularly dust and clean your piece to keep it looking its best.
More Repairing Furniture Tips
Follow us on YouTube to get more tips for painting furniture. Or share your project with us on our Facebook Group and be part of our community. See you there!