The Fastest Way to Make Old Furniture Look Expensive

If you’ve been looking for the fastest way to make old furniture look expensive, these painted nightstands show how a new finish can completely transform outdated pieces into something high end. Learn how to paint furniture fast, with the right paint, prep work, and a one day furniture makeover process, while still getting a smooth, durable finish.
If you’re looking for even more inspiration before starting your own project, check out these furniture makeover ideas for more transformations.
Welcome to Furniture Fixer Upper day, where we join 4 of our talented furniture friends and bring you brand new makeovers! I’ll link to my friend’s makeovers after our after photos at the bottom of this post! Don’t forget to check out their masterpieces!! Okay, back to our makeover!
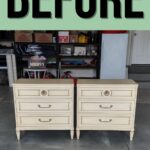
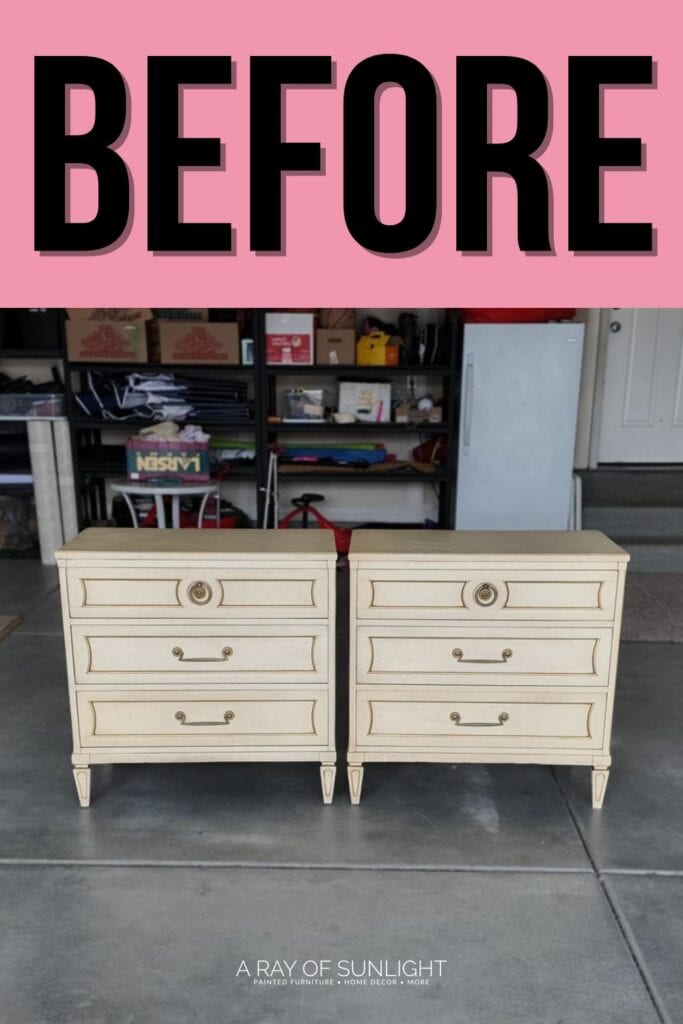
I found these nightstands on Facebook Marketplace for only $150! I was going to try to barter them down until I looked at the dimensions, and I realized they were a lot bigger than they looked in the listing.

Then, when I opened up a drawer, I learned they were stinkin’ Henredon brand. If you don’t know what that is, it’s high end vintage furniture that tells you it’s solid, nice wood, and very high quality.
I was SOLD and couldn’t bring them home with me fast enough!
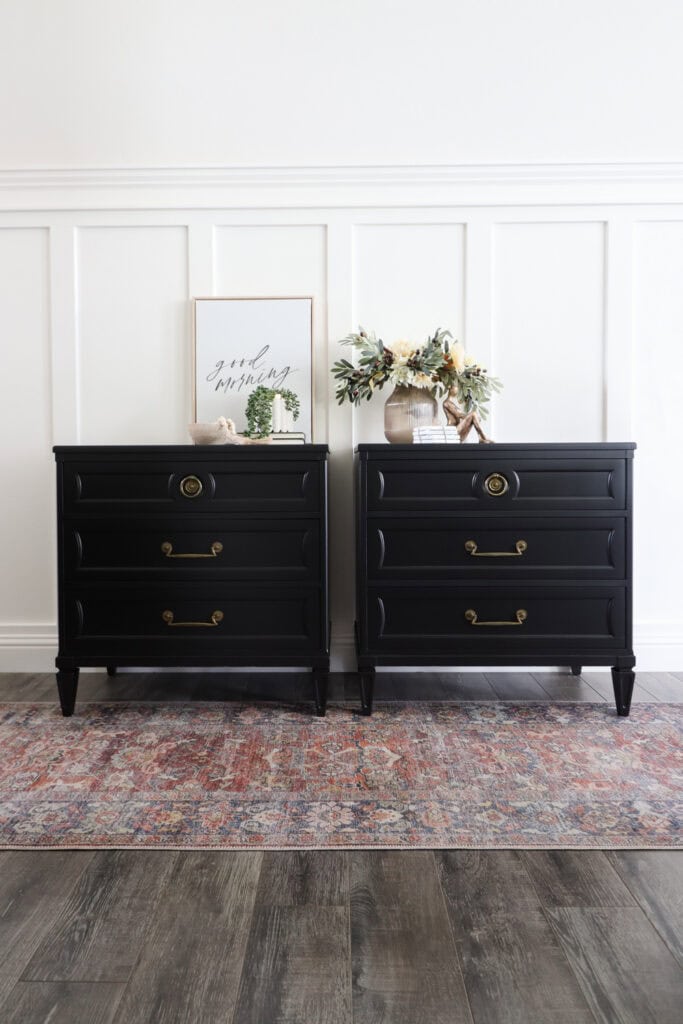
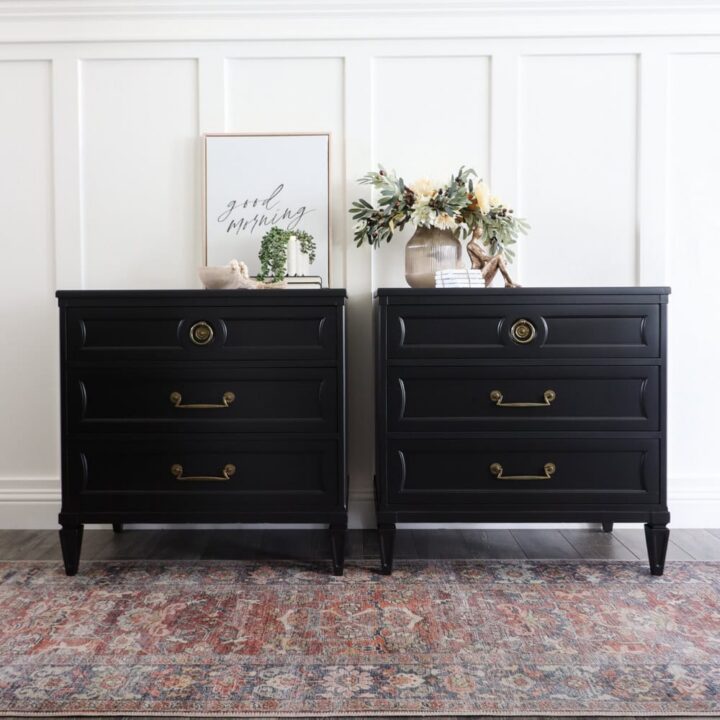
Here’s a quick peek at what they look like after the makeover. Aren’t they stunning?? Keep scrolling to see more of the process, how stinking easy they were to update and make them look expensive, and more after photos.

Supplies Used for the Fastest Way to Make Old Furniture Look Expensive
As an Amazon Associate, I earn from qualifying purchases. I also may earn from other qualifying purchases with other companies or get free product to review and use. All opinions are my own.
- Surface Prep Wipes
- Krud Kutter
- Drill
- Drill Brush Attachment
- Electric Screwdriver
- Vonforn Paint Sprayer
- Sprayer Liners
- Paint Filters
- Heirloom Traditions Paint in Warm Embers
- Respirator
- Elmer’s Wood Filler
- Sandpaper
- Shop Vac
- Tack Cloth
Why I Didn’t Strip These Vintage Nightstands
Now I knew for sure I didn’t like this yellowish finish on here. I knew that there was solid, high quality wood underneath that finish, but did I really wanna go through the work (and at least a week of dragging on the project) to strip off that paint so that I could stain it? Or did I wanna do a quick 1 day painted furniture makeover on these that’s not gonna cost more than like $50?
You guessed it, I did a quick and easy makeover, where I knew the paint was gonna hold up and be durable because I’ve tested it over and over and over. I knew I could do it in 1 day, so I could get on with other things and not be stressed out.
I teach this method in our 1 Day Furniture Makeovers course, where I share my shortcuts and all the little secrets to be able to update your furniture in 1 day.
Why Cleaning Furniture Before Painting Matters
So we took these nightstands outside, and first things first, I always, always, always, never skip, the cleaning because this furniture has been used for years. This was vintage, it’s getting almost antique, and it needed a good cleaning to get all the gunk off.
I typically use my regular cleaning spray, but I recently purchased these Surface Prep cloths. They’re wipes that you can just pull out and start wiping off the gunk. So I tried these out, really not thinking they were gonna do anything, but boy, was I wrong.
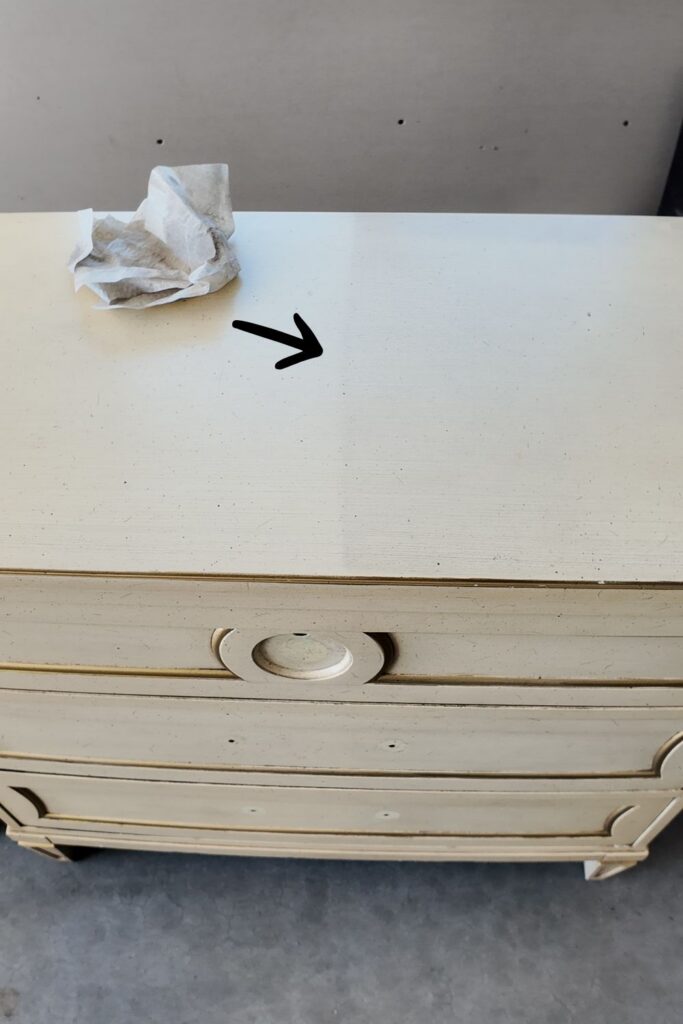
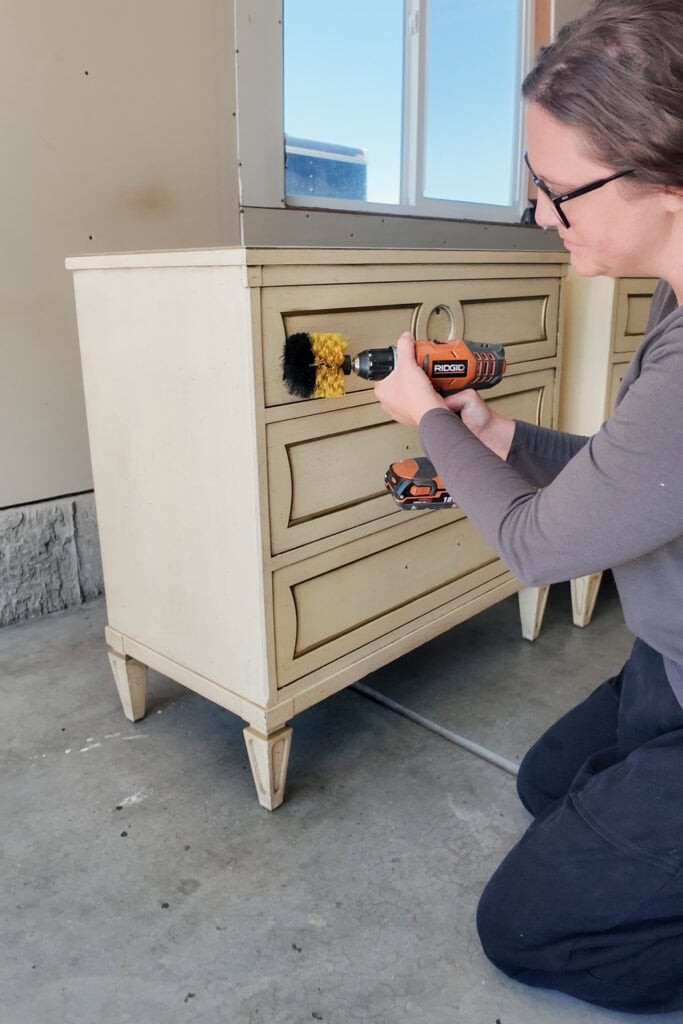
Here’s the kicker, though. I wasn’t gonna trust a quick test on this very important project, and I wanted this paint to stick as well as possible, so I still sprayed on my regular cleaner, Krud Kutter, and I used the brush attachment for my drill to get in all the details and corners.
You’ve really gotta clean before you paint because if you’re painting a surface that can easily be wiped off, your paint isn’t gonna stick very well and is just gonna scratch off really easily. I have more tips on how to clean furniture before painting here.
Cleaning took me 30 minutes, which was the longest process of this whole thing! Taking off the hardware with my electric screwdriver was really fast. Then I put them into a container so I wouldn’t lose them. Learn how to clean old furniture hardware here to refresh it before putting it back on.
How I Finished These Nightstands in 1 Day
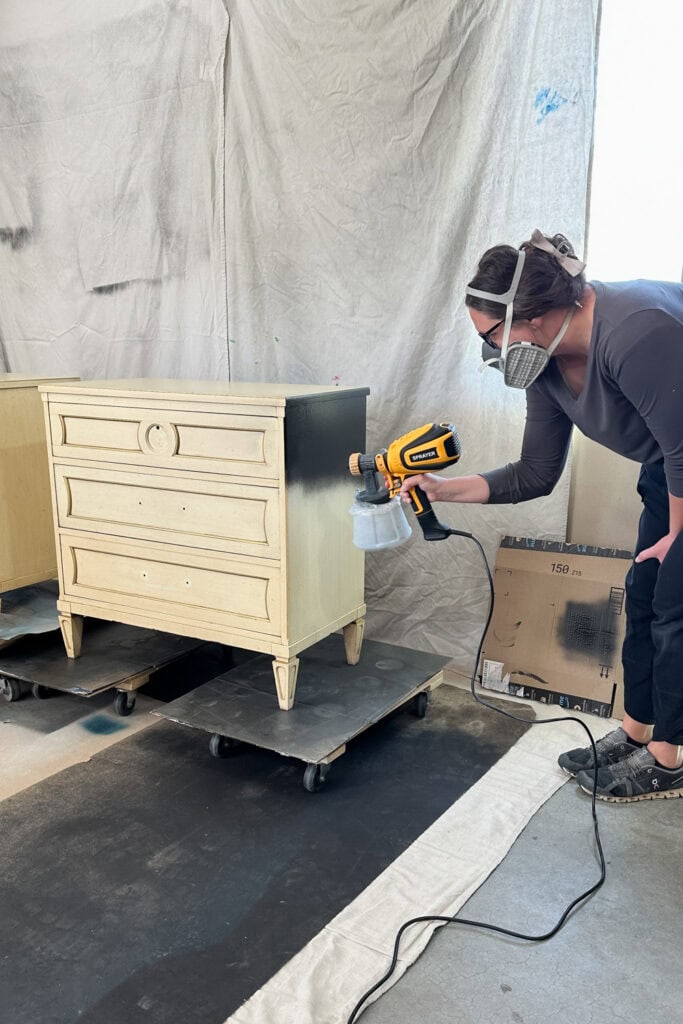
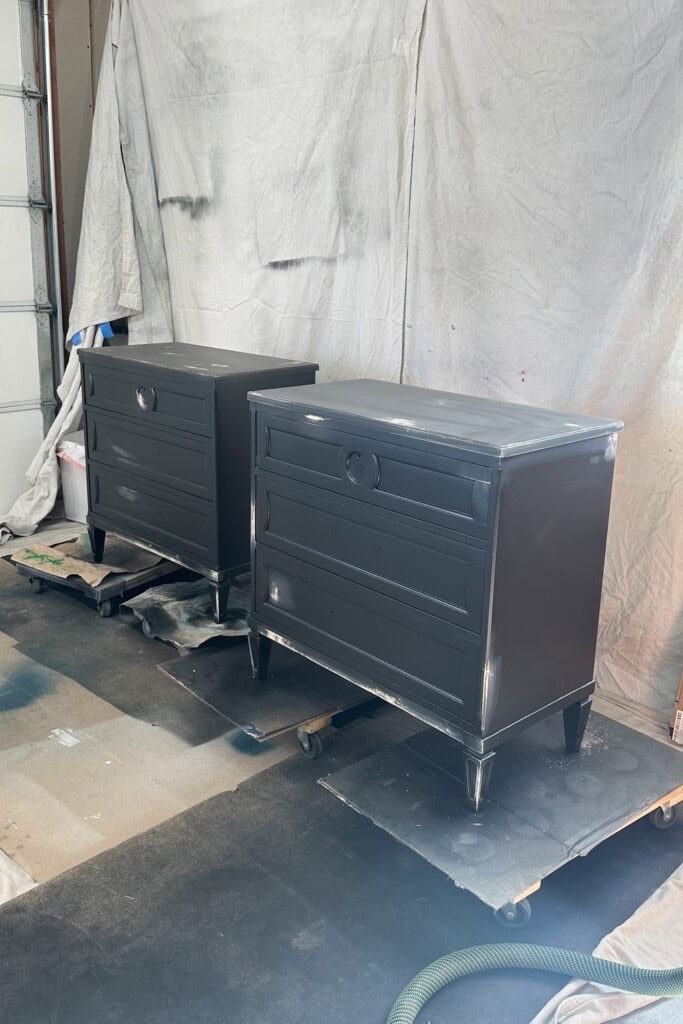
And then it was time to paint. We hung some drop cloths from the wall, put some cardboard on the ground, and then just put our nightstands on some piano dollies. And voila! It’s a very cheap little spray booth with plenty of space and was really easy to set up.


The Fastest Way to Paint Furniture Without Brush Marks
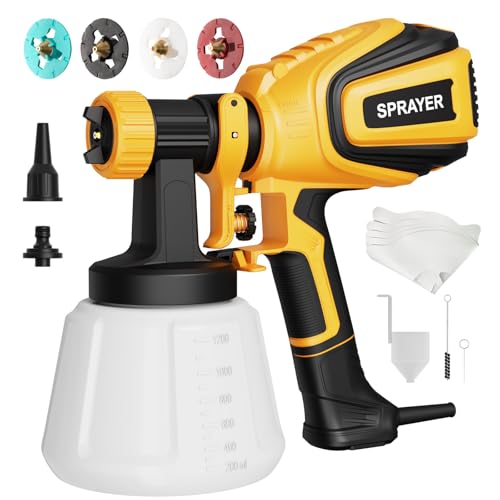
The color I used is called Warm Embers from Heirloom Traditions Paint. It’s a nice, warm, rich black, and I put it in our beginner paint sprayer, which costs less than dinner out for two and is so easy to use. Check out my paint sprayer review here for more on this tool, and here’s my more detailed guide on how to use a beginner paint sprayer.
I put these container liners into the sprayer, so I don’t have to scrub the container as much when I clean the sprayer. Then I used this filter when I poured the paint into the sprayer. Otherwise, the sprayer clogs every single time I skip that step. Learn how to unclog a paint sprayer here if yours gets clogged.
I mixed up the paint, thinned it, sprayed it on and it took less than 5 minutes for each nightstand! So 10 minutes to spray both nightstands, and the transformation was already absolutely incredible, almost full coverage.
Would you like to save this?
Brushing would’ve taken at least 1 hour per coat, per nightstand. And I would’ve been left with a bunch of brush marks and texture all over, and the sheen wouldn’t have been even.
If you’ve ever wondered how to avoid brush marks, this is exactly why I love using a sprayer. I just wouldn’t have been very happy with the overall finish from a brush. I have a more detailed comparison on spray paint vs brush paint furniture here to help you decide between the two.
I was able to paint in 10 minutes with the sprayer and then move on with my life! I did come back after about 30 minutes of drying, and I used some wood filler to fill in any dings, dents, and scratches I saw.
This is the best time to check for them because now you can kind of see what it’s going to look like with the paint on it. This wood filler dried in about 30 minutes or so. I put on a thin layer, let it dry, and then lightly sanded it off, vacuumed up the dust, and wiped it down with a tack cloth.
And then I was ready for the second coat of paint, which once again took me only 10 minutes with this sprayer instead of at least two hours of time.
Now, yes, there was some setup time for the sprayer. There was some setup time for the drop cloth that took about 10 minutes. Putting the paint in took no more than 10 minutes, too. So that would be 30 minutes.
Now granted, I do like to tape off the drawers so I can open them up and spray the sides and tops. For these nightstands with six drawers, it took about 20 minutes. So in total, I have 1 hour worth of work of painting when I sprayed… compared to at least 5 hours if I brushed on the paint!
The Best Paint for Furniture That Gets Daily Use
Also, with this paint, I don’t have to topcoat it, and I’ve tested this over and over and over and over again. I really don’t have to topcoat with this. Learn all about it in my Heirloom Traditions All In One Paint review here.
There are other all in one paints that claim you don’t have to topcoat, but they have a matte, flat sheen, and in my opinion, you really do need to topcoat those, or they’re not gonna hold up. But this is a true all in one furniture paint that lasts, so it’s just absolutely incredible.
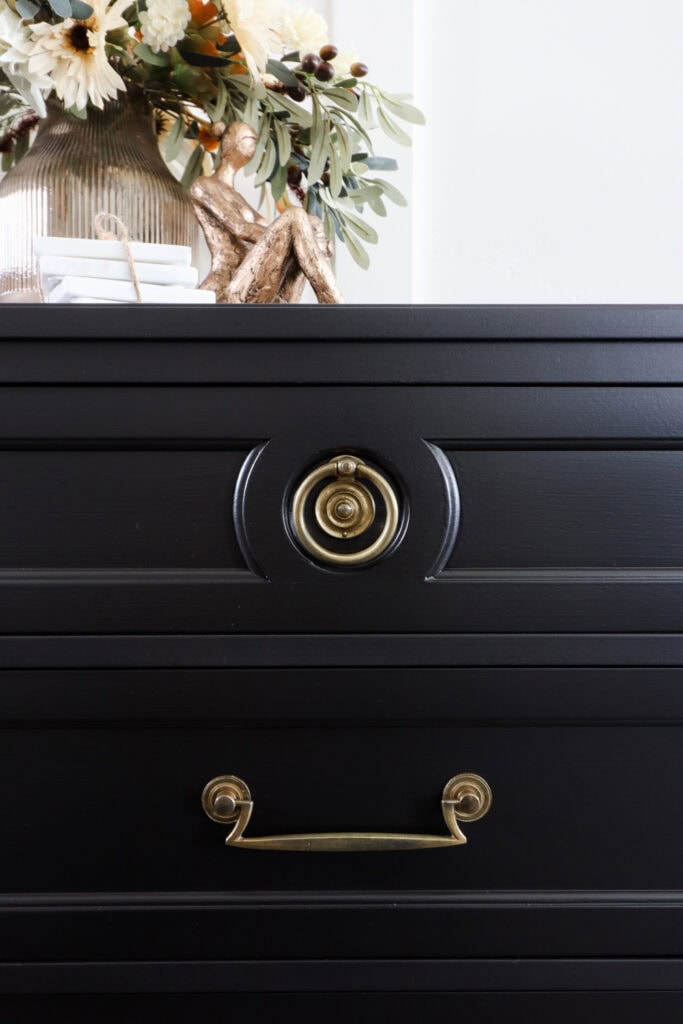
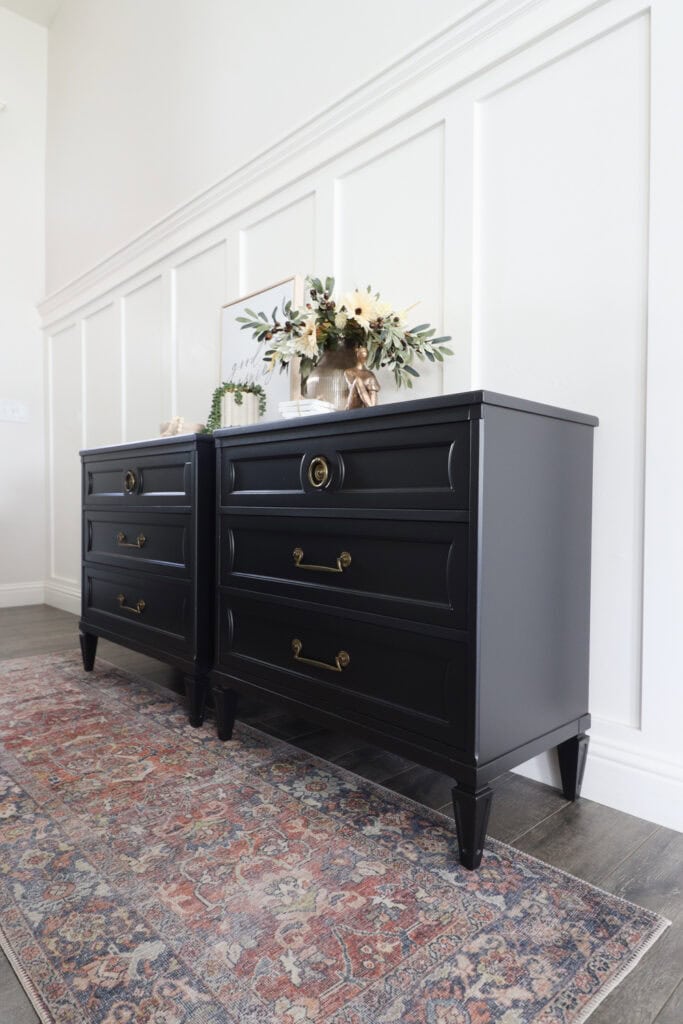
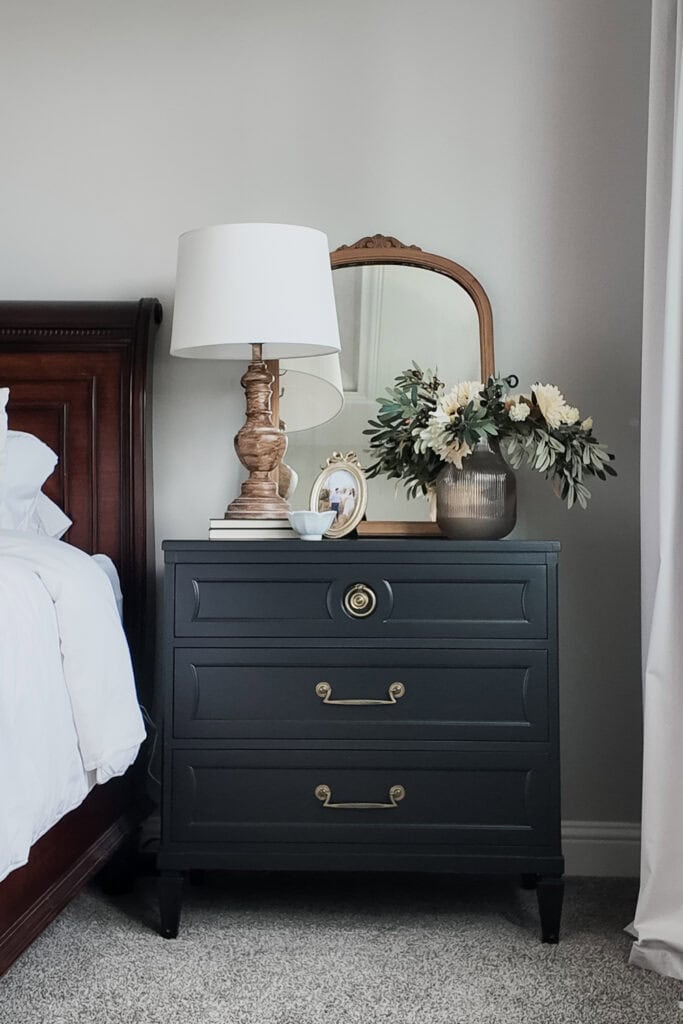
And here’s what the nightstands look like now!
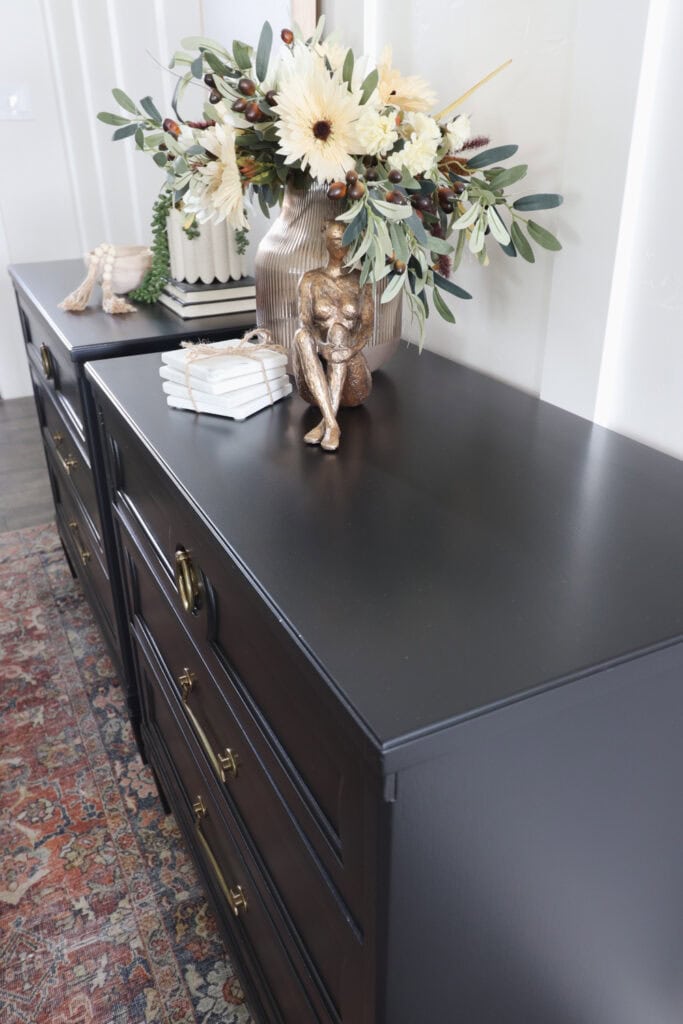
This one day furniture makeover completely changed the look of them and made them feel more expensive. If you love dark finishes, be sure to check out my black painted furniture ideas for even more inspiration.
Don’t forget to check out these other awesome before and after furniture makeovers from my Furniture friends!! (Click the links below the photos!)
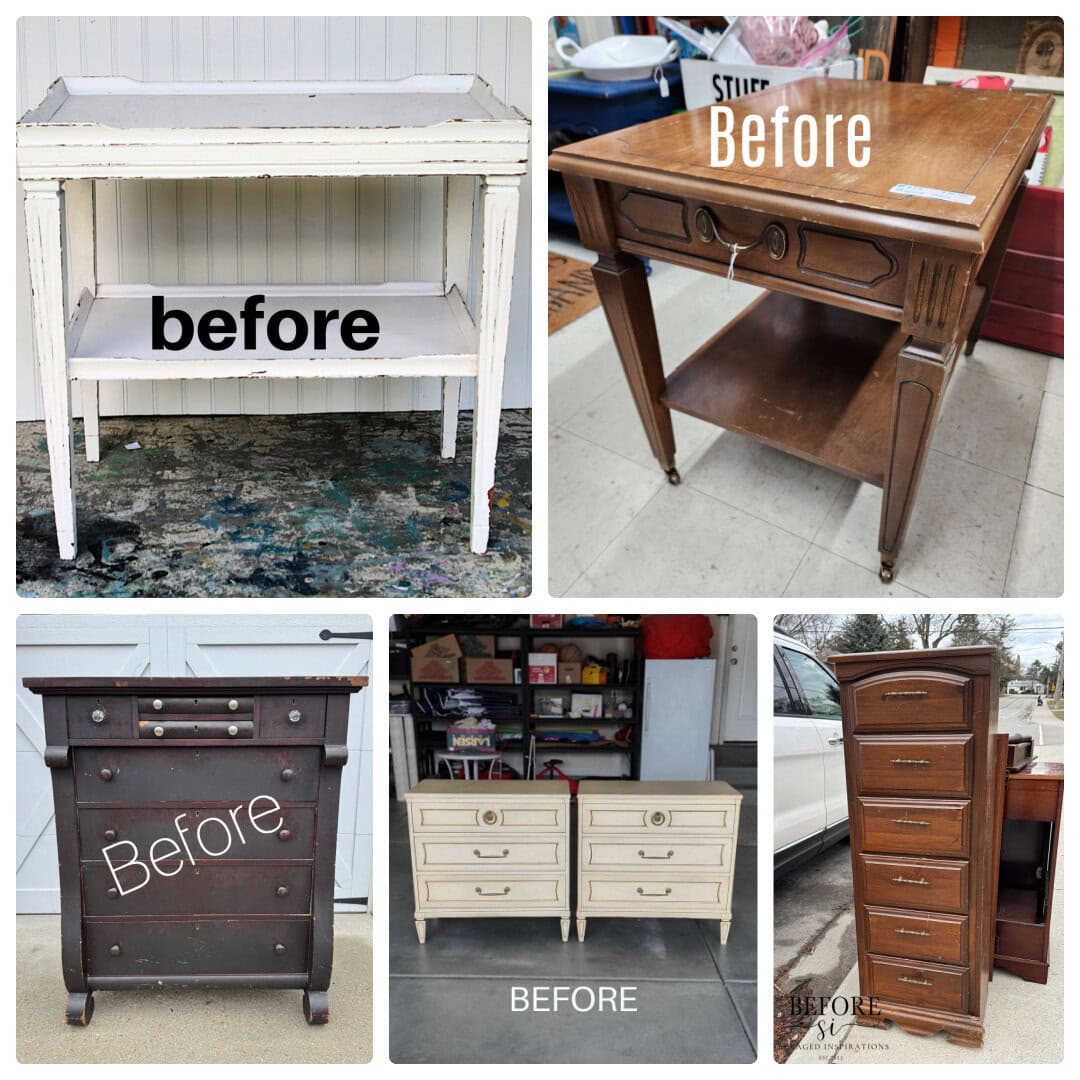
- White Side Table Makeover from Petticoat Junktion
- Vintage End Table Makeover from My Repurposed Life
- 1980s Lingerie Chest Furniture Makeover from Salvaged Inspirations
- Apothecary Empire Dresser from Confessions of a Serial DIYer

The Fastest Way to Make Old Furniture Look Expensive
If you’ve been looking for the fastest way to make old furniture look expensive, these painted nightstands makeover will show you how.
Materials
Instructions
- Clean the nightstands thoroughly with Surface Prep wipes and Krud Kutter cleaner. You can use a drill and brush attachment to get into the details and remove years of grime and residue. Don’t skip this step because paint will not stick well to a dirty surface.
- Remove all the hardware with an electric screwdriver and store the screws safely in a container. This makes painting faster and keeps you from losing any pieces.
- Pour the Heirloom Traditions Paint into the sprayer container using a paint filter to prevent clogs. Thin the paint slightly with water and mix it well before spraying.
- Spray the first coat of paint evenly over the entire piece using long, smooth passes. Using a sprayer is one of the best ways to learn how to avoid brush marks and get a smooth finish fast.
- Let the first coat dry for about 30 minutes before checking for dents, scratches, or imperfections. Fill any damage with Elmer’s wood filler and let it dry completely.
- Lightly sand the dried wood filler smooth and clean away all dust with a vacuum and tack cloth.
- Spray the second coat of paint for full coverage and a rich, even finish. Reattach the hardware once the paint has fully dried.
Recommended Products
As an Amazon Associate and member of other affiliate programs, I earn from qualifying purchases.


More Furniture Makeover Ideas
- How to Restain a Dresser Without Stripping: My $70 Thrift Flip Transformation
- DIY TV Stand
- How To Turn a Dresser Into Shelves
Follow us on YouTube to get more tips for painting furniture. Or share your project with us on our Facebook Group and be part of our community. See you there!
These look soooo gorgeous and elegant in black, Natalie! Pinned and have a lovely weekend! XOXO
Ahh thanks so SO much Denise!
Beautiful remodel. This looks to be am amazing finish.
Nice work !!
Thank you so much!!
WOW! Nicely done. They really turned out so well. Heirloom Traditions is my absolute favorite paint. Keep up the good work!
Thank you SO much Cheryl!
I love Warm Embers from HTP!
The nightstands look amazing, Natalie. I am not familiar with that brand, but I love the style and how your NEW nightstands turned out. As always, I love all of your fabulous tips!
Pinned!
gail
Thanks so much Gail! I really appreciate your kind words!
These nightstands are so lovely now. Dark paint always does the trick. A great idea for finding the dings and dents to fill. Kathy
Aww thank you so much Kathy!