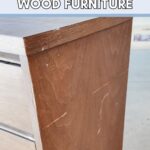
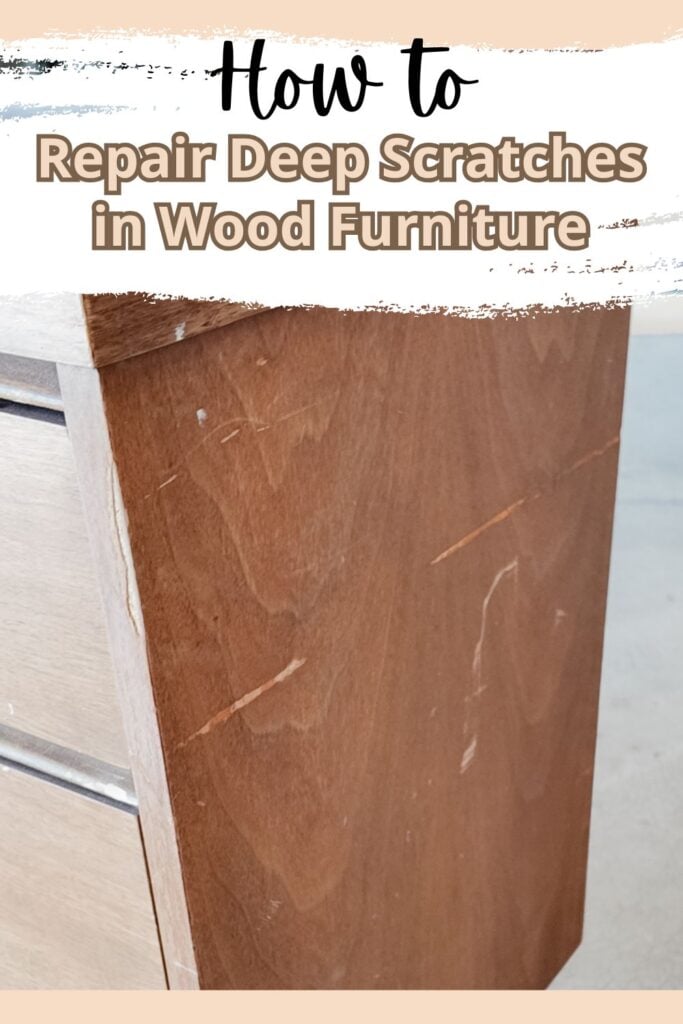
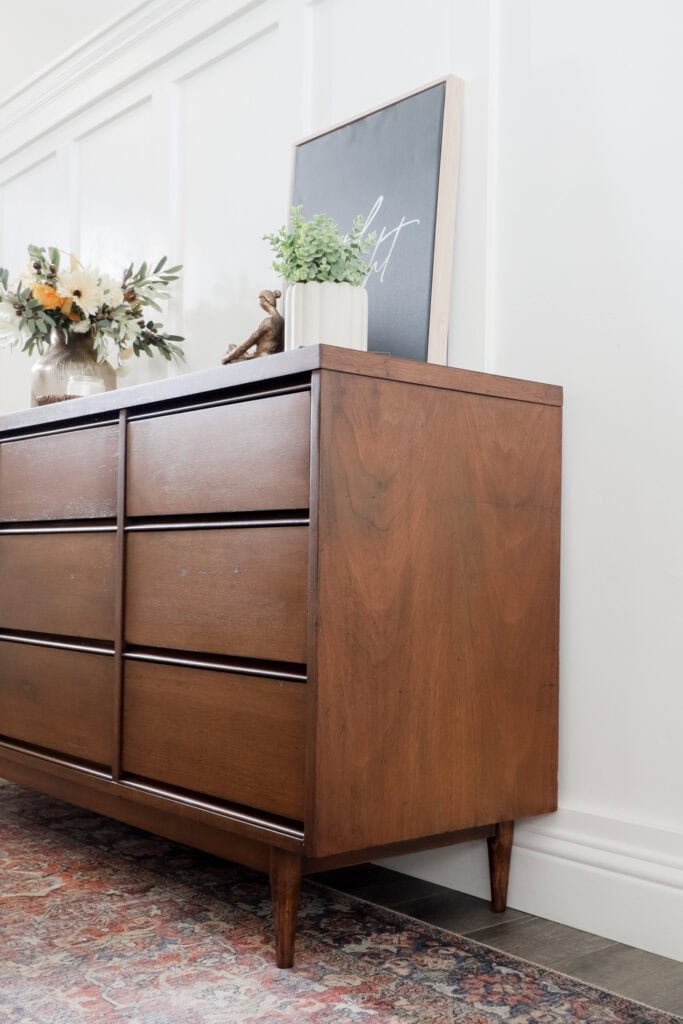
How to Repair Deep Scratches in Wood Furniture
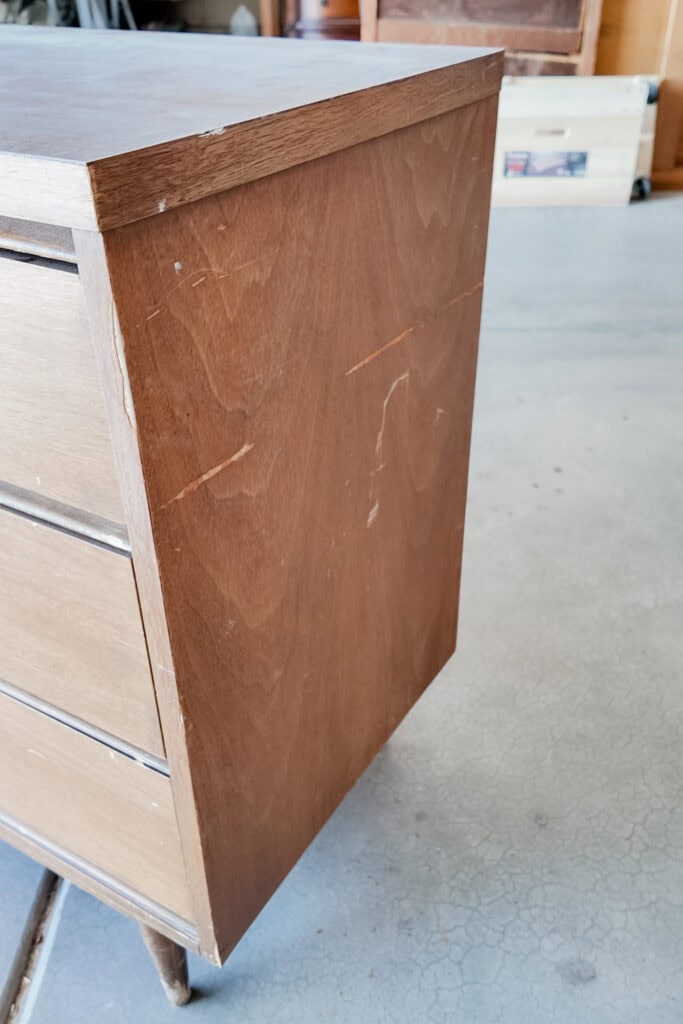
Your furniture could have some scratches on the surface from daily wear and tear or from moving it around. It can be frustrating to see these imperfections on your beloved pieces. That’s why we’re here to show you how to repair deep scratches in wood furniture!
Learning these repairing old furniture techniques with these simple tools can make those disappear and bring back the beauty of your pieces. So stop worrying about how they look now and let’s get to fixing them!
With the right tools and techniques, you can fix them and make your piece look as good as new. Repairing them is a skill you’ll want to learn for future use, especially if you have more wooden furniture at home.

Plus, fixing them can also save you money from buying new pieces. To be honest, these are just minor damages, and throwing out the entire piece just because of a few scratches isn’t the most practical option. So keep reading to tackle those deep scratches!

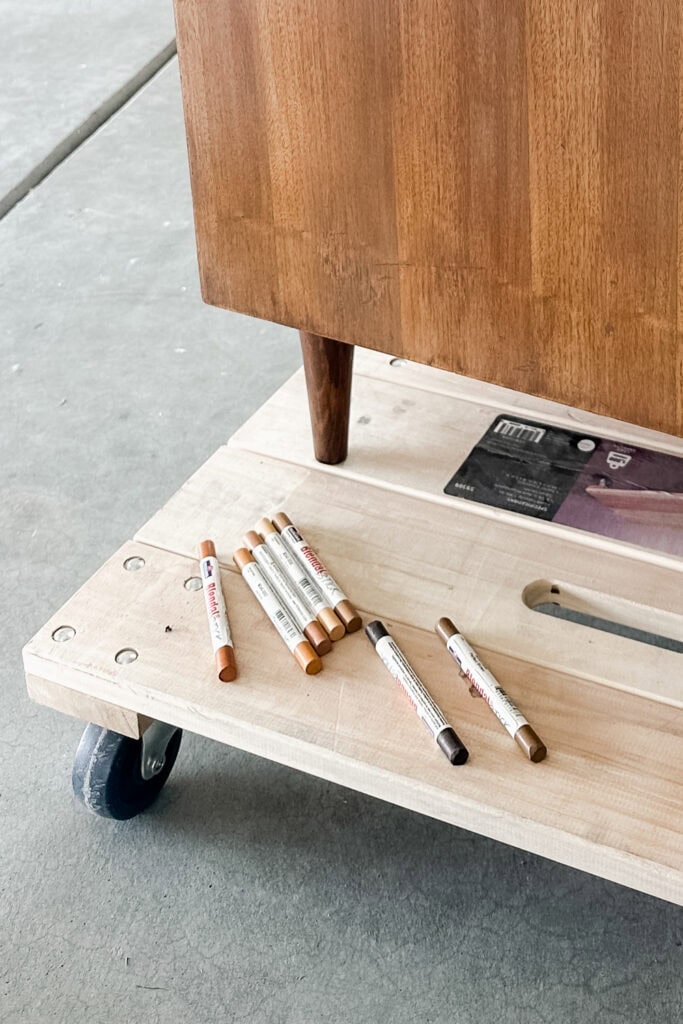
Supplies Used to Repair Deep Scratches in Wood Furniture
As an Amazon Associate, I earn from qualifying purchases. I also may earn from other qualifying purchases with other companies or get free product to review and use. All opinions are my own.
Fill Deep Scratches with Wood Filler
It is optional to fill in the scratch, depending on how deep. This actual scratch I didn’t fill because I figured sanding down the filler would’ve created more of a mess for me to have to blend. In most cases, if it’s a deep one, you’ll probably want to fill it in with wood filler, but it’s not necessary.
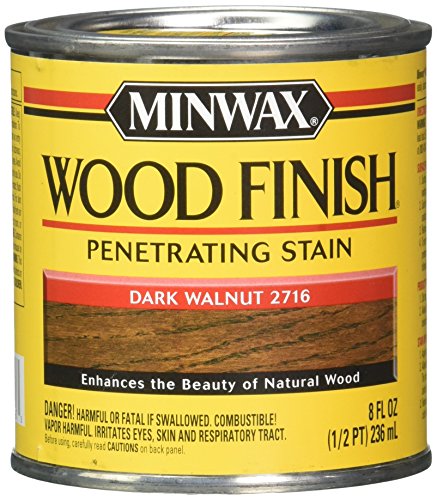
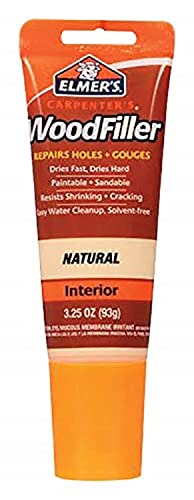
For really deep scratches, you can fill those with wood filler. This will help level the surface. You can check out the best wood fillers here and choose the one that works best for you.
Take a small amount and apply it to the scratch. You can use your fingers, but a putty knife would be better for a more even application. Overfill it a bit to make sure it’s completely filled in, and let it dry completely. The drying time can vary depending on the brand you’re using, so check the instructions on the packaging.
Then get a fine grit sandpaper and gently sand the filled area until it’s smooth and level with the rest of the surface. Be careful not to sand too much because you might end up adding filler again. Once you’re satisfied with the result, wipe off any dust and debris to clean the surface before the next step.


Blend Scratches to the Rest of the Wood
It’s time to blend them in with the rest of the wood. If you used a filler, leaving it as is can make the area stand out, so you should definitely blend it in for a more seamless look.
I first used gel stain to stain the filler. This is optional, but it helps get the filler stained a color closer to the stained wood around it.
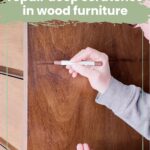
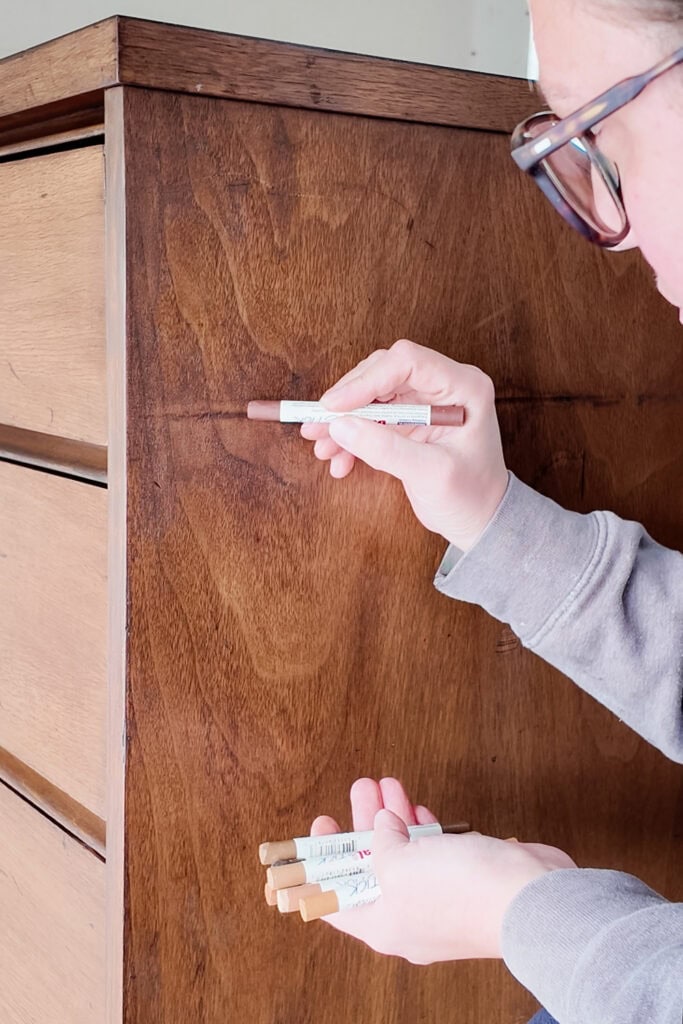
Then I used Mohawk Blendal sticks. These come in a variety of wood tones, so just choose the one that matches your furniture best. You can even blend different colors together for the perfect match. It’s the quickest method for coloring and blending scratches!
When you have your Blendal sticks ready, simply rub the stick on the scratches, both filled and not, and blend it in with the surrounding surface by rubbing it with your finger. For the best and most realistic results, make sure to move the stick in the direction of the wood grain for a more natural look.
Would you like to save this?
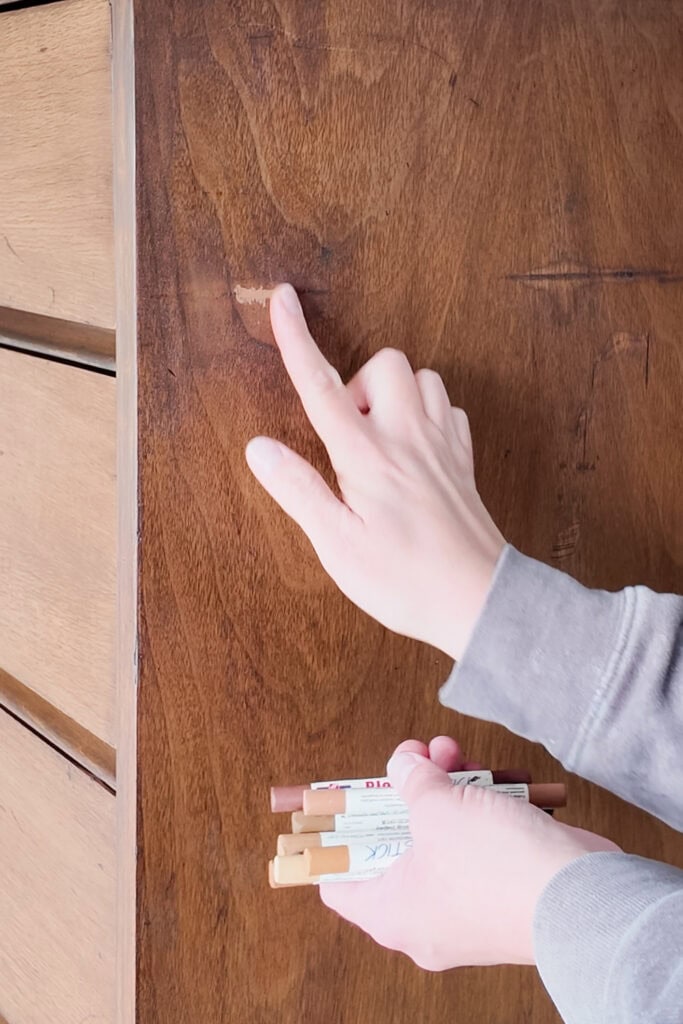
Keep at it until these areas are completely blended in and you can no longer see any noticeable difference. You can add more or mix different colors if needed, so take your time and blend carefully.
If you need another layer of blending, spray a little bit of Minwax Polycrylic or a Mohawk specific sealer over what you have blended. Let that dry for 10 minutes, and then you can add another layer of Blendal Sticks that doesn’t mess up the first layer. This adds depth to the repair, making it look more natural.
Seal Repaired Areas
Then, once you’re happy with how it looks, seal it. This will seal in the color as well as protect the newly repaired surface. A topcoat can also add a nice shine and smooth finish to your piece.
You can choose from these different topcoats for painting furniture, but I used the Minwax Polycrylic Spray I had on hand. You don’t want to use a topcoat that you brush or wipe on. Those can mess up your blending. Use one in a spray can. I also didn’t have any issues with this waterbased topcoat. But if you’re worried, you can use a Mohawk brand sealer like this Clear Lacquer spray.
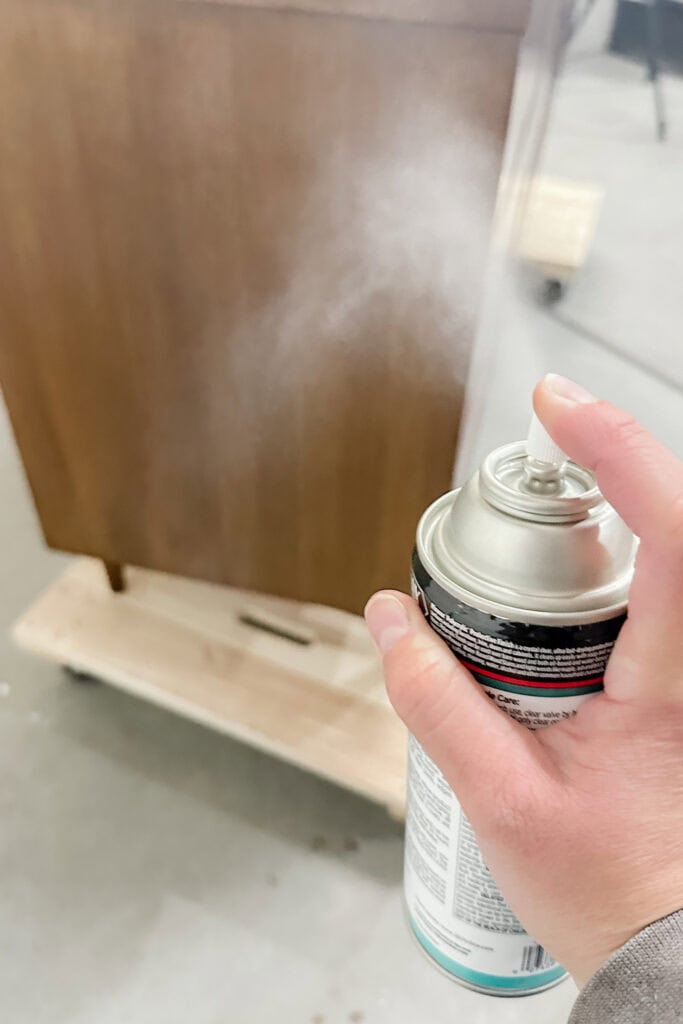
I sprayed Minwax Polycrylic over the repaired areas. One or two coats should do the trick. You can also add more coats for added protection. Let these layers dry completely before using your furniture as normal. Learn more about the Minwax Polycrylic Spray in my guide here.
Tips for choosing the right Blendal stick color for wood furniture
If you’re unsure how to pick the right Blendal stick color or colors, here are some tips to guide you in choosing:
- Start lighter: It’s always better to start with a lighter shade and build up the color as needed. This way, you can avoid applying too much dark color and end up with a noticeable difference from the rest of your piece.
- Mix and match: As mentioned above, don’t be afraid to mix different colors together to get the perfect match. It might take a bit of trial and error, but you’ll eventually find the right combination. These Blendal sticks are very forgiving and easy to use. You can wipe it back off with a cloth, blend more, and hide any mistakes.
These also come in packs, so if you’re not sure which color to get, you can opt for a pack that includes several shades. This way, you have more options and can mix and match as needed. You can also try color matching on another similar piece of wood before applying it to the piece itself. This can help you get a better idea of the final result.

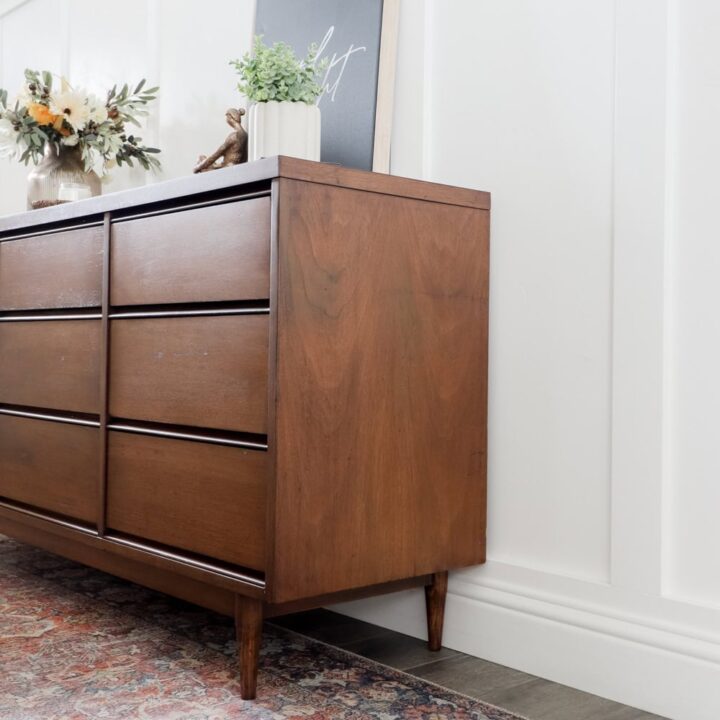
You now have the skills and knowledge to repair those deep wood scratches. So if you see one or two on yours, just follow these steps and cover those unsightly marks in no time.

More Before and After Makeovers
See All >
Click any of these “before” photos below to view the “after” of that makeover.


How to Repair Deep Scratches in Wood Furniture
We'll show you how to repair deep scratches in wood furniture to make those unsightly scratches disappear and bring back the beauty of your piece.
Instructions
- Start by filling the deep scratches with wood filler. Overfilling the scratch to make sure it's completely filled in.
- After the filler has dried, gently sand it down until it's smooth and level with the rest of the surface. Remember to wipe off any dust and debris from sanding before moving on to the next step.
- Use Mohawk Blendal sticks in a matching wood tone to blend the filled areas with the surrounding wood. Rub the stick on the filled areas and do so in the direction of the wood grain for a more natural look.
- Apply a topcoat over the repaired areas to seal in the Blendal color and protect the surface. One to two coats should work, but you can add more for more protection and durability.
- Wait for the topcoat to dry completely before using your furniture as normal. And there you have it, your wooden furniture looks good as new!
Recommended Products
As an Amazon Associate and member of other affiliate programs, I earn from qualifying purchases.


More Furniture Repair Tips
- How To Fix Nicks In Wood Furniture
- How To Repair Cracks In Antique Wood Furniture
- Damaged Furniture Repair
Get Our Secrets!
Grab this super convenient How to Repair Furniture Ebook with all of our secrets on how to repair furniture for only $14.
You can print it out and have instant access whenever you come across damaged furniture, and know exactly how to fix it!
Click on the picture of the book to purchase!

Follow us on YouTube to get more tips for painting furniture. Or share your project with us on our Facebook Group and be part of our community. See you there!