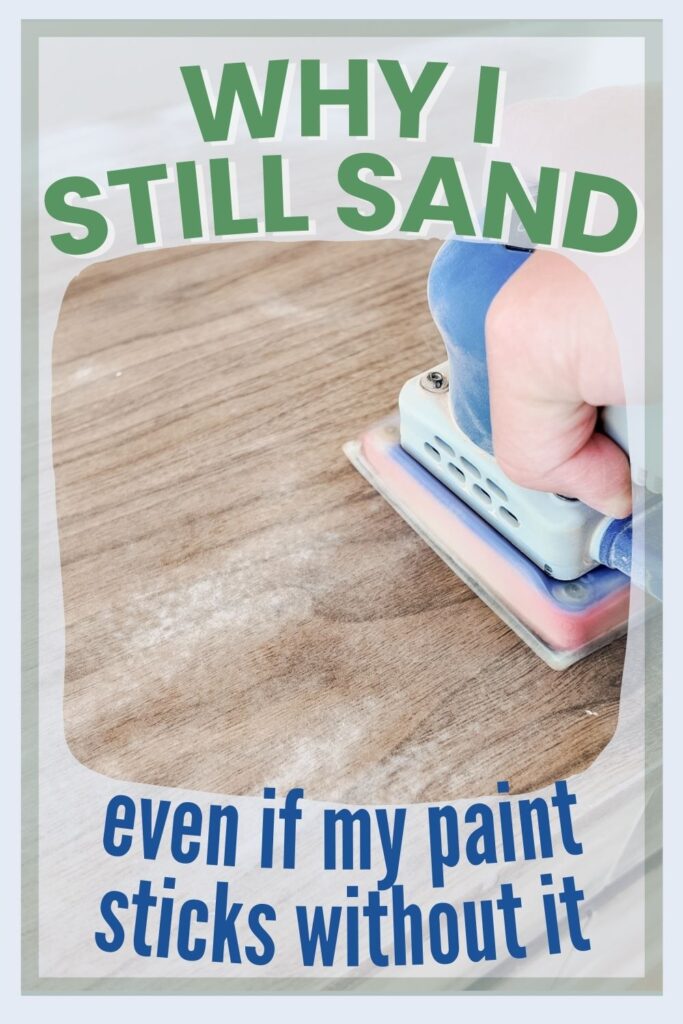
Why I Still Sand Even If My Paint Sticks Without It
Everyone’s saying you don’t need to sand anymore, but here’s why I still sand even if my paint sticks without it. If you’ve ever wondered if this step is really necessary, you are not alone. I’ve tried skipping it, too. And sometimes it works, but sometimes it totally wrecks your finish.
Sanding may seem like an annoying extra step, but it has a lot of benefits. So, keep reading to find out why I still do it, and why you should too! If you want more inside scoop on sanding, check out my sanding furniture tips here.
Painting furniture is an exciting way to refresh your space and add a personal touch. But before you dive in, it’s important to prepare your piece properly for a smooth and lasting finish.
Sanding is one of those prep steps, but it’s also a step that many people skip. Some avoid it to save time and effort, while others assume their paint will adhere just fine without it. However, skipping it can actually lead to less durable or uneven results.
Here’s the thing: sanding is not just about adhesion. It’s about fixing scratches, evening out damage, and helping the paint glide on smoothly. It doesn’t have to take forever or be complicated, but skipping it is a gamble you might not want to take. And here’s why.
Why You Might Want to Skip Sanding
When I first started painting furniture, I believed everything the paint label told me. If it said “no sanding needed,” I didn’t take that as gospel exactly. I mean, I kind of figured from the experience that I had in the past that it probably wasn’t true.
But I definitely took it to mean, “I can probably get away with it,” because why would the paint label be telling me that I couldn’t? Plus, I scoured the internet, and there were so many people saying, “Yeah, just slap this chalk paint on and you’re good to go.”
I wanted quick, easy makeovers. And I told myself that I was saving time by skipping sanding. And honestly, I skipped priming a lot of times, too.
At first, it looked like it worked, but that was during the distressed furniture craze, when a little scratch in the paint was fine. Actually, we were painting furniture, scratching it up ourselves, and calling it style. Which, don’t get me wrong, I am a farm girl and I love a good rustic look. So, over time, it would naturally wear, and that was just part of the look.
But when I started wanting a solid, smooth, modern finish with no distressing, that’s when skipping sanding came back to bite me.
What Happens if You Paint Without Sanding
Case in point: my kitchen chairs. I painted them about 10 years ago. I didn’t sand them first. I didn’t really do any prep. I just cleaned them, and then I dove in with the paint. Now, 10 years later, I can scratch the paint off with my fingernail.
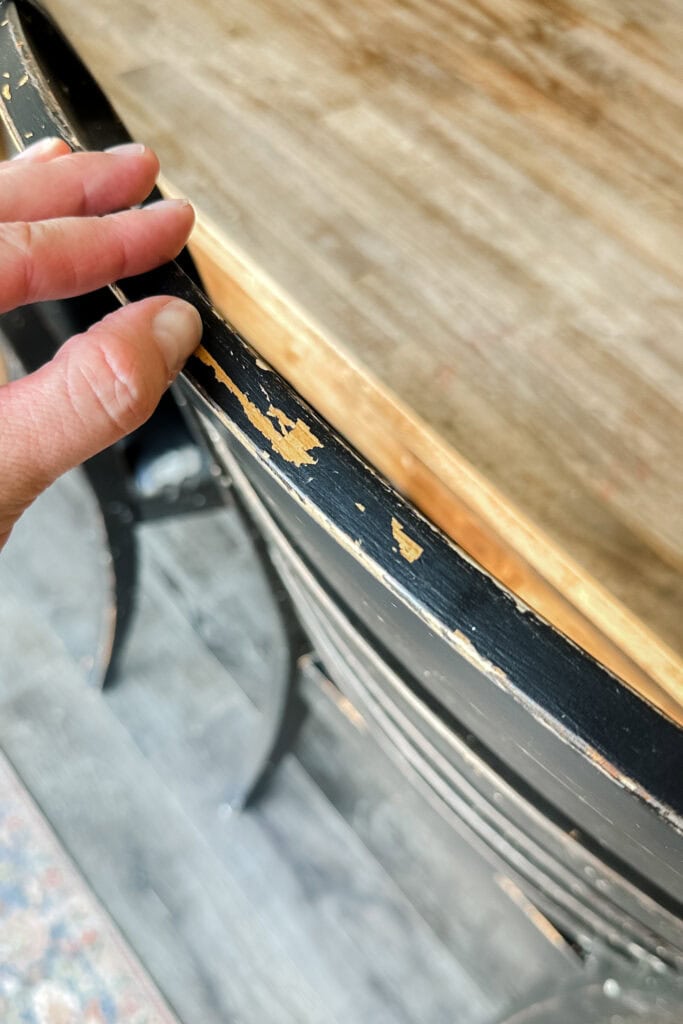
You can still see all the scratches in the wood underneath, because I just painted right over them without getting rid of them beforehand. And honestly, these chairs looked pretty beat up within a year of using them.
So, I have dreaded redoing them for years. They’ve looked bad for a long time. But the idea of taking off all that paint is exhausting. I’ve even thought about donating them to a thrift store because, can I really do this?
I know I can, but do I really want to go through all of that work? The reality is, because I didn’t take 5, 10, maybe 15 or 20 minutes in the beginning to sand all of these chairs, the paint isn’t holding well anywhere, which means I can’t just touch them up here and there.
I have to strip or sand all of the old paint off down to bare wood so the new paint has something solid to stick to. Here’s how to strip paint from wood furniture to guide you.
If I were to just go paint over what already exists, which is a terrible paint job, then anytime it gets bumped or scratched, both the old and new paints will come right off. However, if the old paint held on really well and didn’t scratch off like it does, I wouldn’t have to remove it first, and I would be able to just clean, scuff sand, prime, and then paint the piece again.
But since the whole finish is weak, it all has to come off first. Learn the process of how to remove paint from wood furniture here.
Do You Have To Sand Furniture Before Painting?
What I thought would save me a few minutes of time 10 years ago is now a much bigger, messier project. And yeah, I could just go donate them to the thrift store, but then I would also have to go buy some more chairs. So, not sanding 10 years ago is actually costing me a lot of time or money, no matter how I slice it. Here’s more on what happens if you don’t sand before painting!
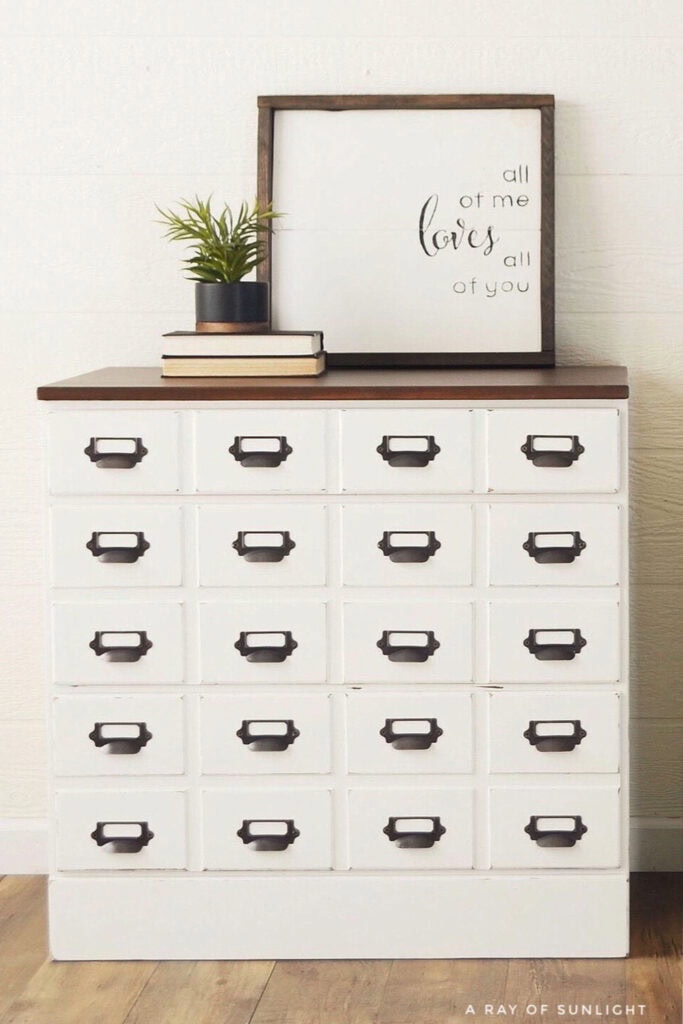
Now, compare that with my nightstands, which I painted around the same time. The difference, though, is that I sanded, primed, and did all the necessary things before painting.
Let’s be honest, they are not getting as much wear and tear as the chairs. The kids are not in there, and moving them around all the time. I’m not getting food on them and having to wipe it off.
But here’s the thing: I can scratch at the paint on my nightstands, and it’s not just going to scratch right off. It is stuck on there. I used chalk paint on both, and I topcoated both of them. The only real difference is the prep.
And when it comes time to redo these nightstands, I will not have to take them back to bare wood. I can just do a light scuff sand, clean and prime them, and paint right over the old finish. Check out my guide on how to prepare furniture for painting here.
Would you like to save this?
That is the payoff of sanding the first time. You are saving your future self a whole lot of work, and your paint is going to look better for so much longer. Learn all about sanding for paint prep in this post.
As an Amazon Associate, I earn from qualifying purchases. I also may earn from other qualifying purchases with other companies or get free product to review and use. All opinions are my own.
How to Remove Scratches Before Painting
Another big reason why I sand is to deal with scratches and dings. Even if you have the best paint and the best primer, the paint is not spackle, so it will not magically just hide the flaws. It often makes them stand out more.
If you are using anything glossier than flat paint, every scratch will catch in the light and will be more noticeable than before you painted.
I’ve had plenty of thrifted pieces where the top is covered in scratches. That’s most pieces of furniture. If I were to just paint over all of them, you would see the ghost of those scratches.
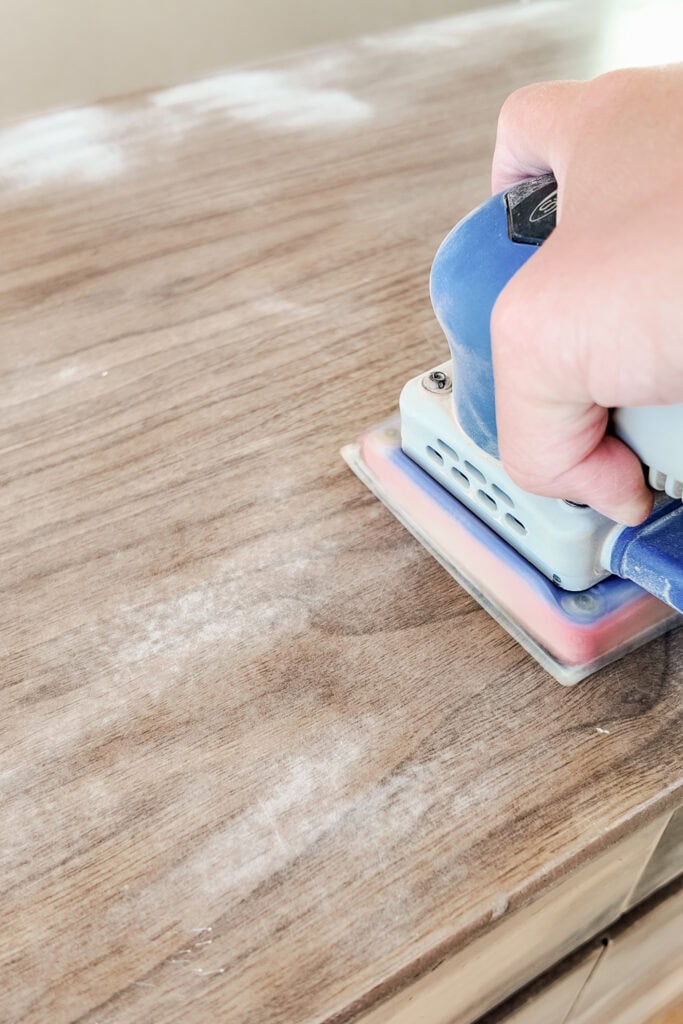
That’s why you will often see me sanding the tops of furniture down to bare wood, even when I’m planning to paint over them. This gives me a smooth, clean slate that looks so good, either refinished in raw wood or painted again. No more dings, no more scratches to look at through the paint. Get more tips on how to sand down wood here.
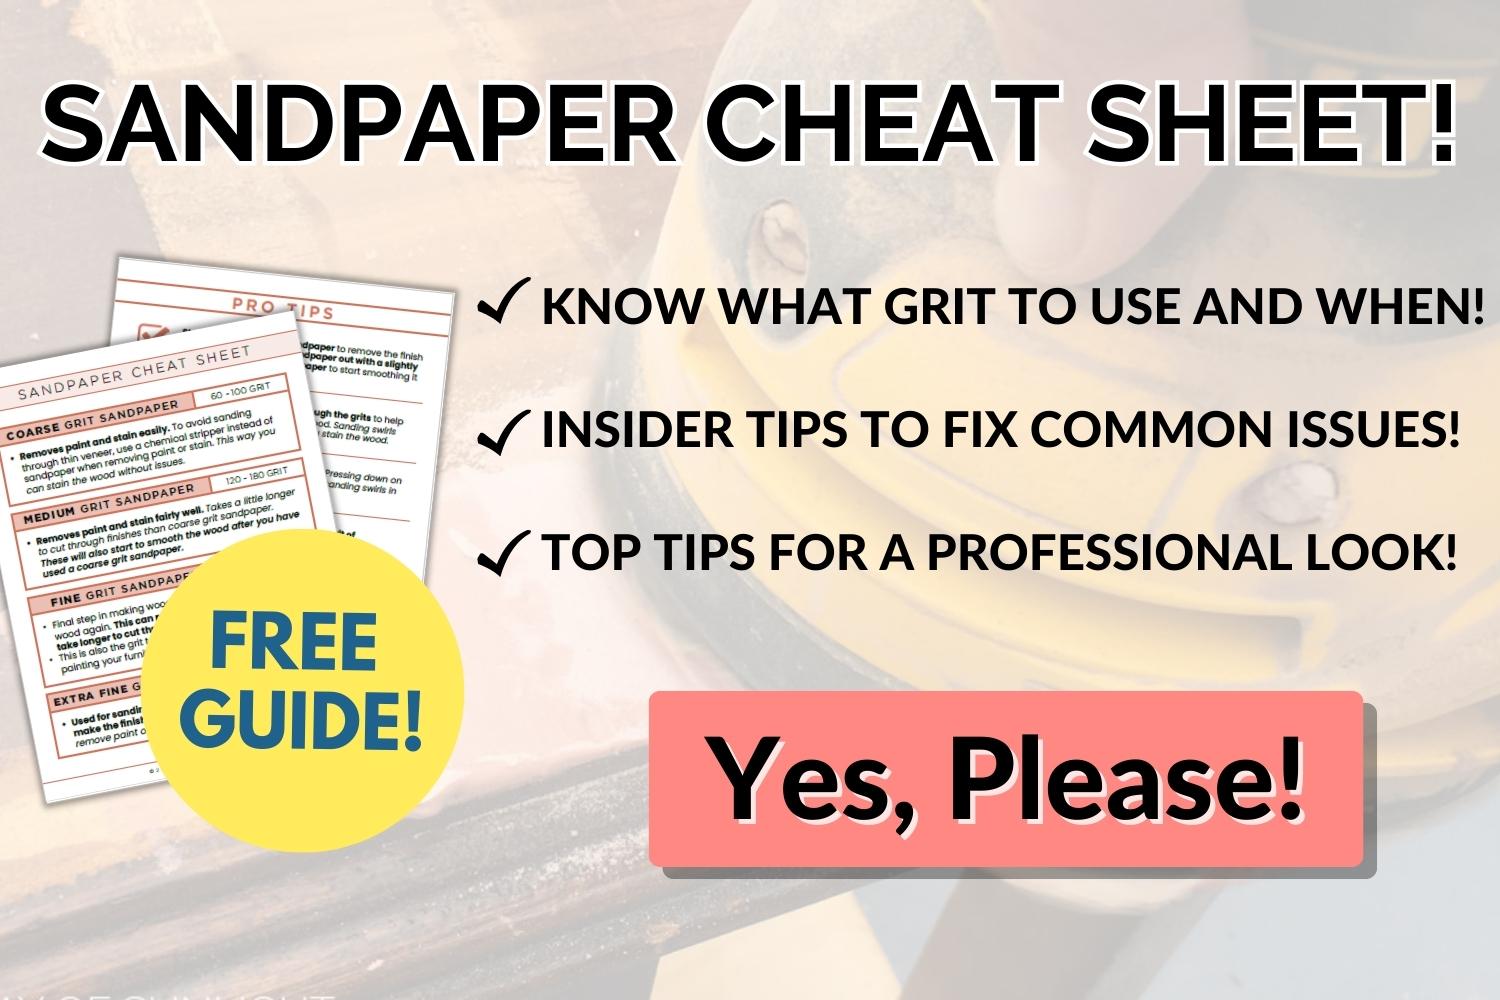
So these days, if I am not testing out a “no sand” or “no prep” paint for you, I grab 220 grit sandpaper or a fine grit foam pad and do a super quick scuff sand on every single piece. I’m not talking about spending hours here, I’m talking about just a couple of minutes to knock down any shallow scratches so they disappear under the paint.


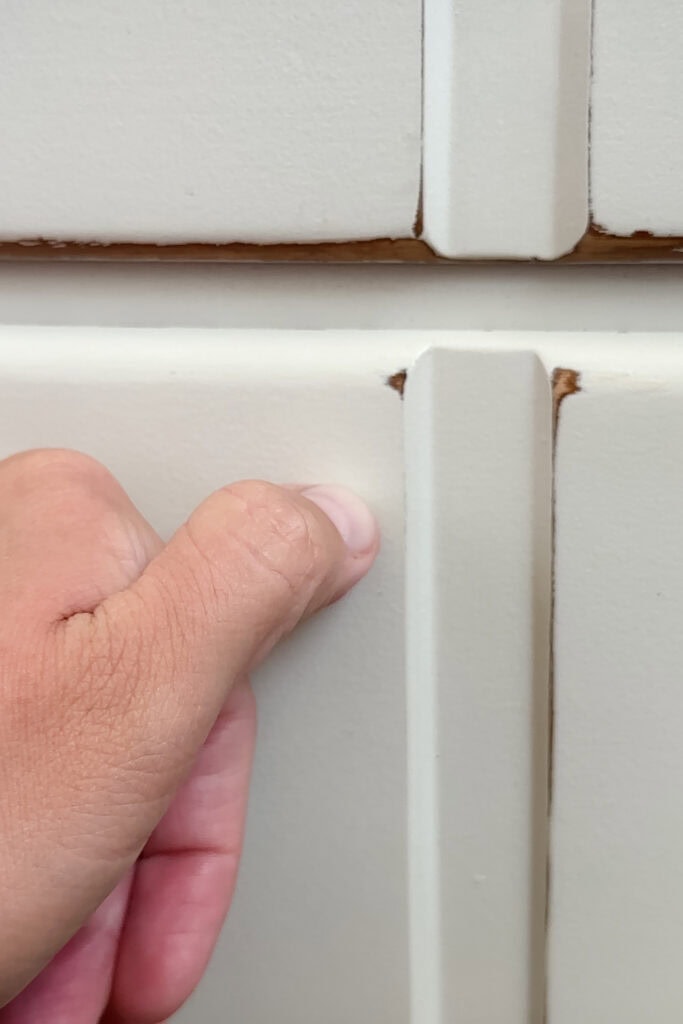
Be Careful Sanding Veneer Furniture
You must be cautious when sanding shallow scratches on very thin wood veneer. You don’t want to blow through that thin layer and down to an even worse surface. If you’ve sanded through veneer to particle board, learn how to tackle this issue here.
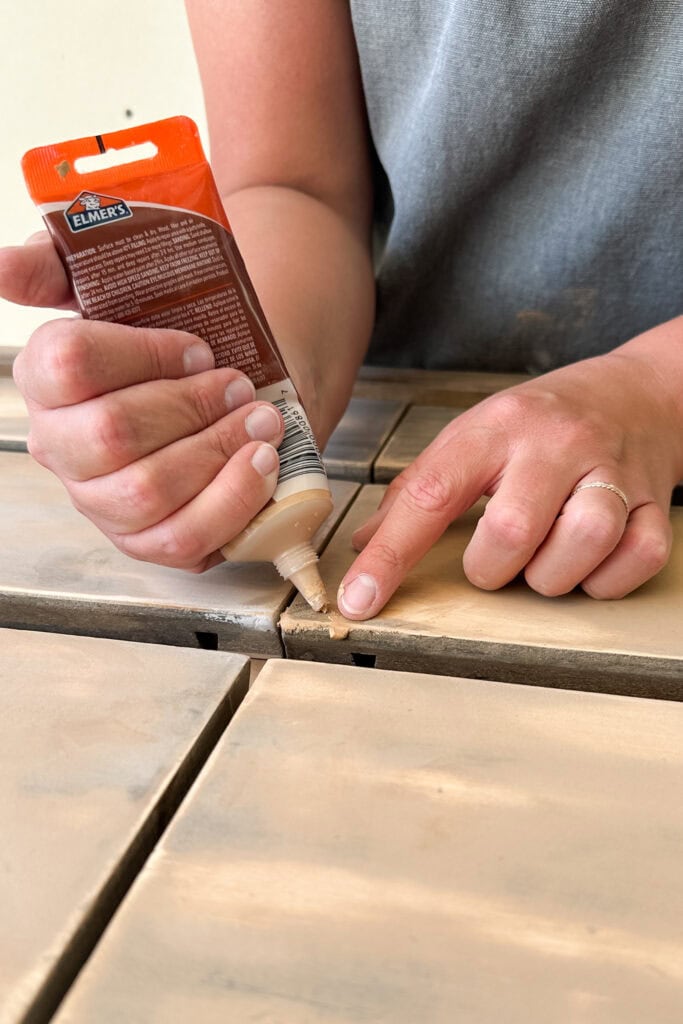
So yes, you can wood fill these scratches and then sand them down. Sometimes that gets rid of them. Other times, you can still see the scratches.
But what can you do when you are working with thin wood veneer? You can be very gentle and sand as much as you feel comfortable with, and then apply wood filler. Sand it, and then prime.
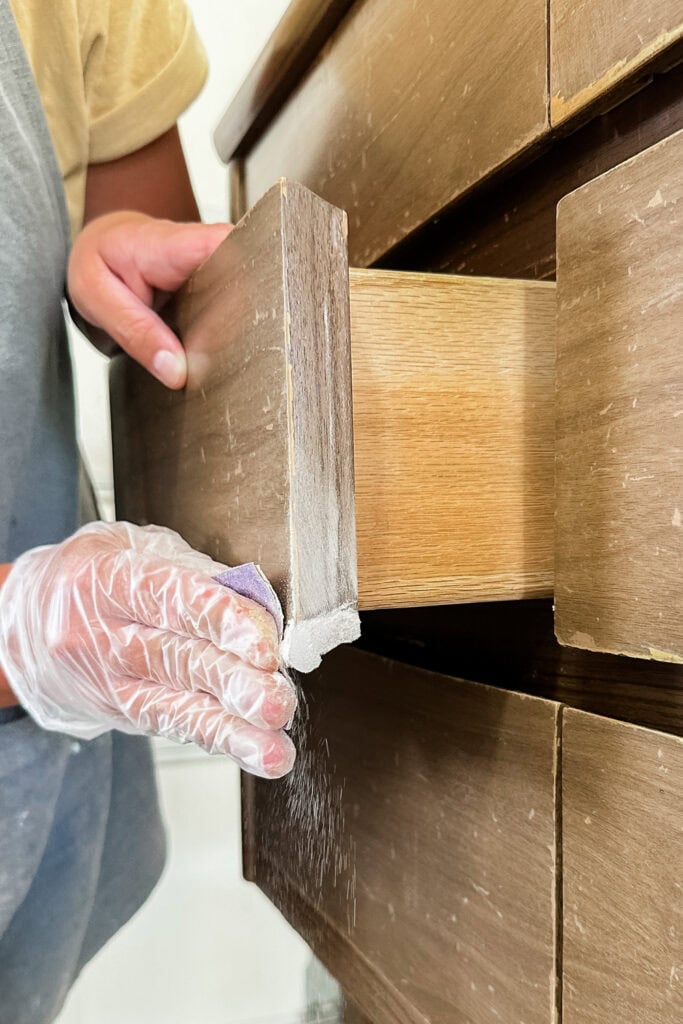
And then I lightly scuff sand the surface to dull the shine, and I especially focus on any surface like corners, edges, under the handles, around the edges of drawers, because those are where the paint wears the fastest. Then I clean off the dust before I am even ready for primer or paint.
How to Get Paint To Stick to Furniture
This is how you can get the longest lasting finish. When you smooth out those little imperfections before you paint, they don’t show through your finish. That’s how you get that factory smooth look… the kind where people can’t tell if you’ve painted it or if it came that way.
And when you dull that glossy finish just a little bit, you’re giving your primer and paint something to hold on to. Even with a bonding paint that says “no sanding needed,” this extra step makes the finish way more durable.
Check out this guide on our YouTube video below:
Here’s the thing, though: when people hear “sanding,” they picture hours of dusty work stripping down to bare wood. That is not what we’re talking about here. We are talking about minutes, not hours, and a little upfront effort that can save you from redoing your entire project later.
If you’ve never tried it before, check out our sanding furniture for beginners guide to help you get started!
Even if the can says “no sanding needed,” I still sand my own furniture and ones that I want to sell for a good amount of money because five minutes now beats five hours later every single time. And I want my customers to be happy with their finish.
This is the kind of advice that makes a huge difference in your final result, and it’s exactly the kind of stuff I teach inside my How to Paint Furniture Like a Boss Course!
More Sanding Furniture Tips
- How To Attach Sandpaper To Hand Sander
- SurfPrep Foam Pads for Festool
- How To Prevent Sandpaper Clumps from Ruining Your Finish
Learn the Art of Updating Furniture!
If painting furniture feels overwhelming or your past attempts didn’t go as planned, this course will guide you step by step.

Follow us on YouTube to get more tips for painting furniture. Or share your project with us on our Facebook Group and be part of our community. See you there!