
Fast Sofa Table Makeover: How I Got Rid of the Orange Wood Finish
This sofa table makeover was for our basement family room, and overall it was fine before. But the wood on top was just way too orange and stood out like a sore thumb, so I wanted to quickly fix it.
Instead of redoing the whole table, I refinished just the orange wood finish to make it work better in our space. Check out these refinishing furniture techniques for more ideas.
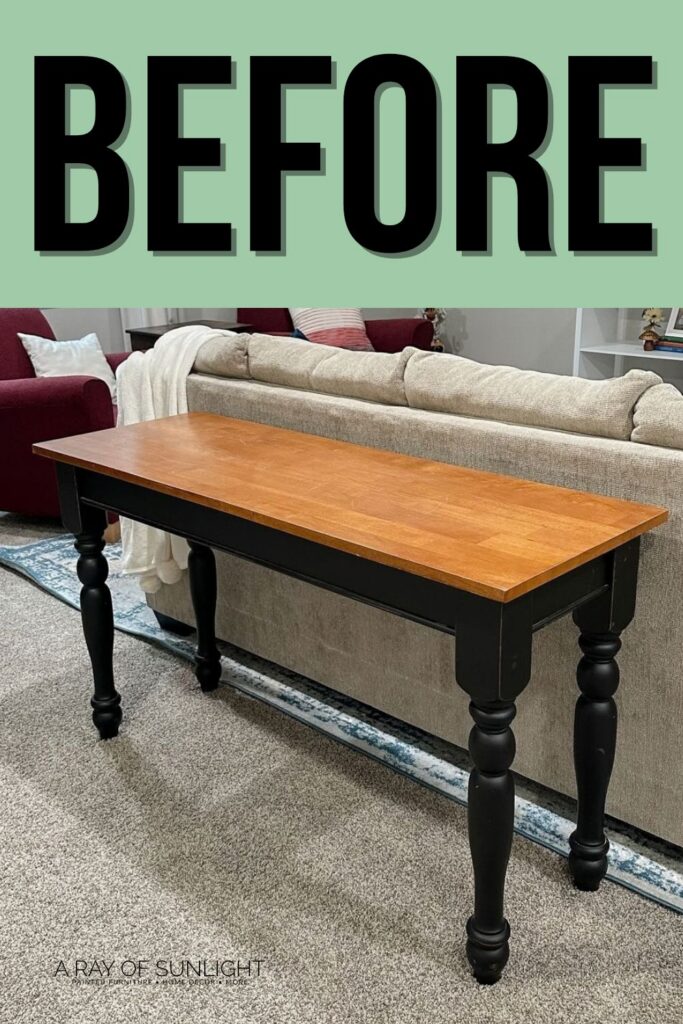
Welcome to Furniture Fixer Upper day, where we join 4 of our talented furniture friends and bring you brand new makeovers! I’ll link to my friend’s makeovers after our after photos at the bottom of this post! Don’t forget to check out their masterpieces!! Okay, back to our makeover!
Now, I could’ve sanded the old finish off, but that would’ve probably taken a couple of hours just standing there with my sander, and I probably would have sanded through the veneer and messed up my chances of staining it. I wanted to refinish furniture without hours of sanding.
I could’ve also used a carbide scraper, and that probably would have worked pretty well, but it would’ve taken some good elbow grease. If that didn’t peel off the finish fast, then I would’ve used some chemical stripper, but that takes a long time to just let the wood dry afterward. Learn more about how to remove paint from wood without sanding here.
So I wanted to try acetone to see if it would work on this finish, because it’s such a simple, very quick way to strip off an old finish, if it works. And this table would be a very simple thing to test it on. (I’d never used acetone to remove an old finish before!) Keep reading to see how this sofa table makeover went, the mistakes I made, and how I fixed them.

Supplies Used for Sofa Table Makeover
As an Amazon Associate, I earn from qualifying purchases. I also may earn from other qualifying purchases with other companies or get free product to review and use. All opinions are my own.
- Cardboard
- PreTaped Plastic
- Paper Towels
- Acetone
- Gloves
- 220 Grit Sandpaper
- Lint Free Rags
- Waterbased Walnut Stain
- Topcoat
- Paint Sprayer
- Fine Grit Foam Pad (Use code RAY10 to get 10% off your order)
- Zibra Topcoat Brush
Strip Wood Finish With Acetone
We took this out to our garage and laid down some cardboard on the floor. Then I wrapped the bottom of the sofa table. It has a factory finished painted bottom, and I didn’t feel the need to completely redo that.
This piece of furniture goes downstairs where our young kids and their friends come over and play. I don’t necessarily need this to look the very best and spend a bunch of time updating the black painted bottom, because more than likely some kid is going to ram their toy into it and scuff it up next week anyway.
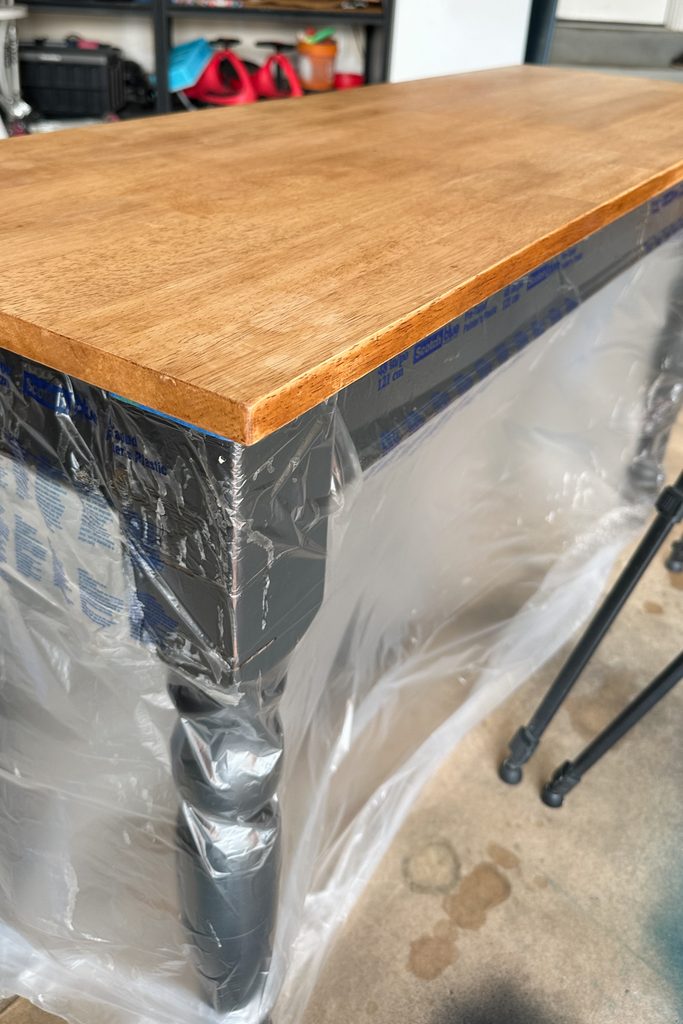
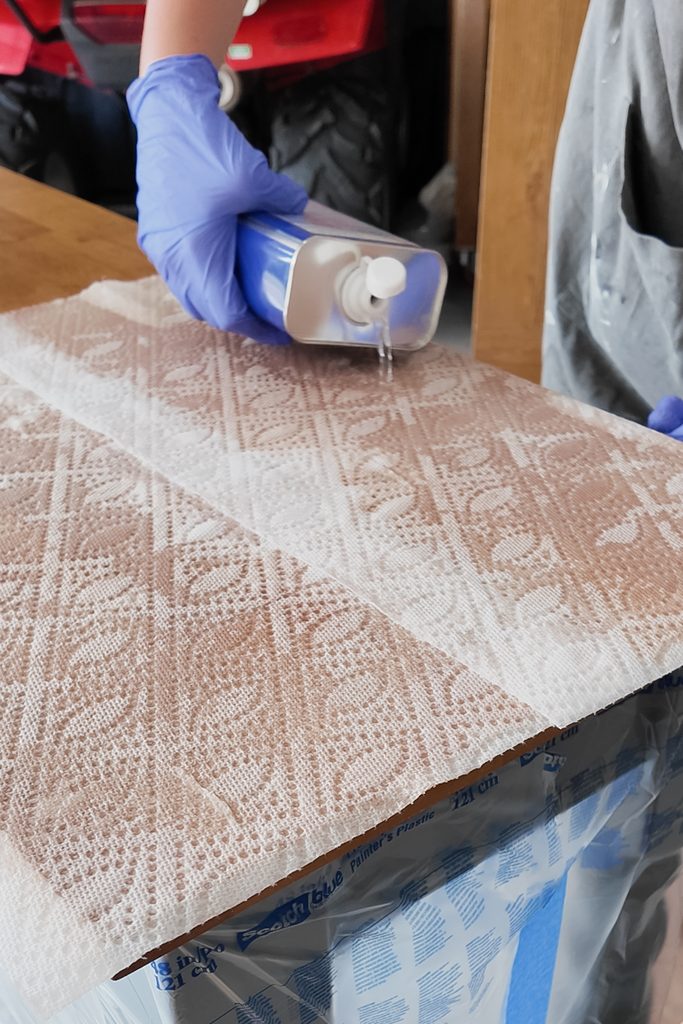
I used 48″ pretaped plastic, and I wrapped it around and taped it at the seam. Then I placed some paper towels on the top of the stained finish that I wanted to remove, and poured acetone over it. Definitely wear heavy duty nitrile gloves. I wore regular gloves, and I learned my lesson: acetone eats through them within a couple minutes.
So I let the acetone sit for a minute. And honestly, within 10 seconds, you could see the stain start staining the paper towels, and I was SHOCKED. It just blows my mind that this one simple, inexpensive product just ate right through that finish and lifted it off.
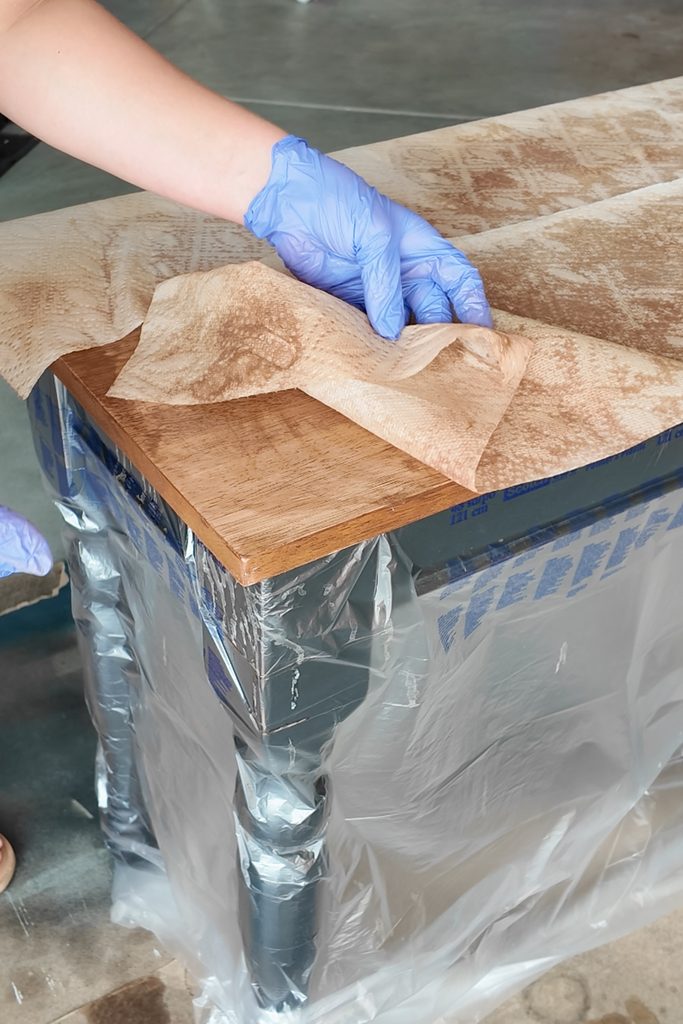
Yes, it does have strong fumes, and I would only use it outside. But wow. I was able to rub it off with the paper towel, and it came off so easily. The top surface only took me maybe 5 to 10 minutes to strip off completely.
The only problem, though, was that the acetone really needs to sit on the surface for a bit, and on the skinny vertical sides, it just ran off, so it didn’t remove the finish very well. So I just sanded the edges by hand. This was veneer, so I didn’t want to sand too hard with a power sander or super coarse sandpaper.
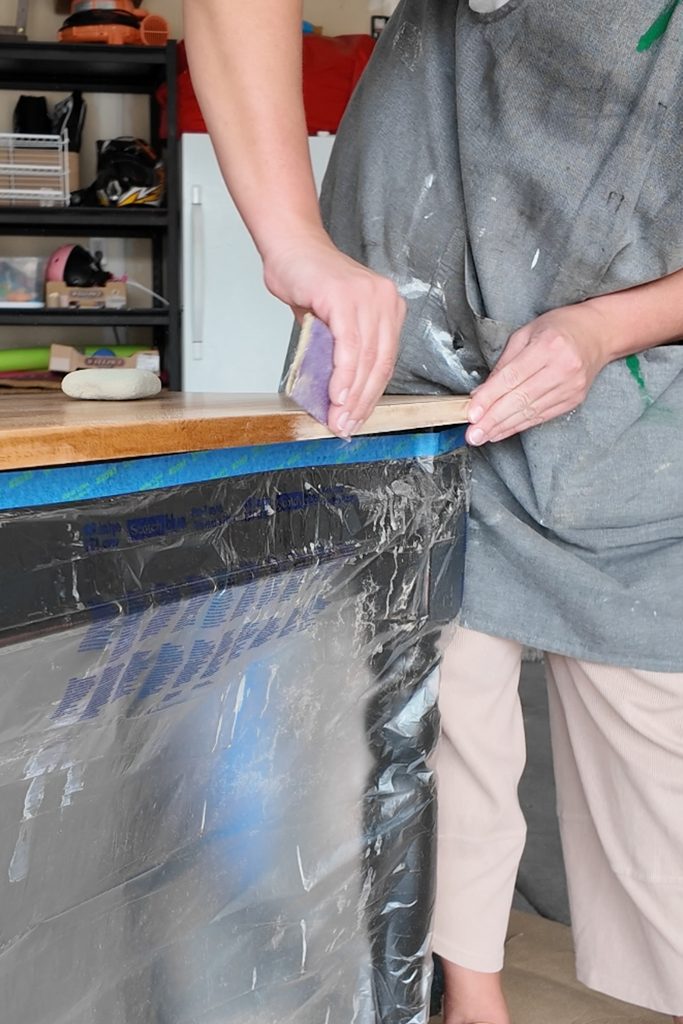
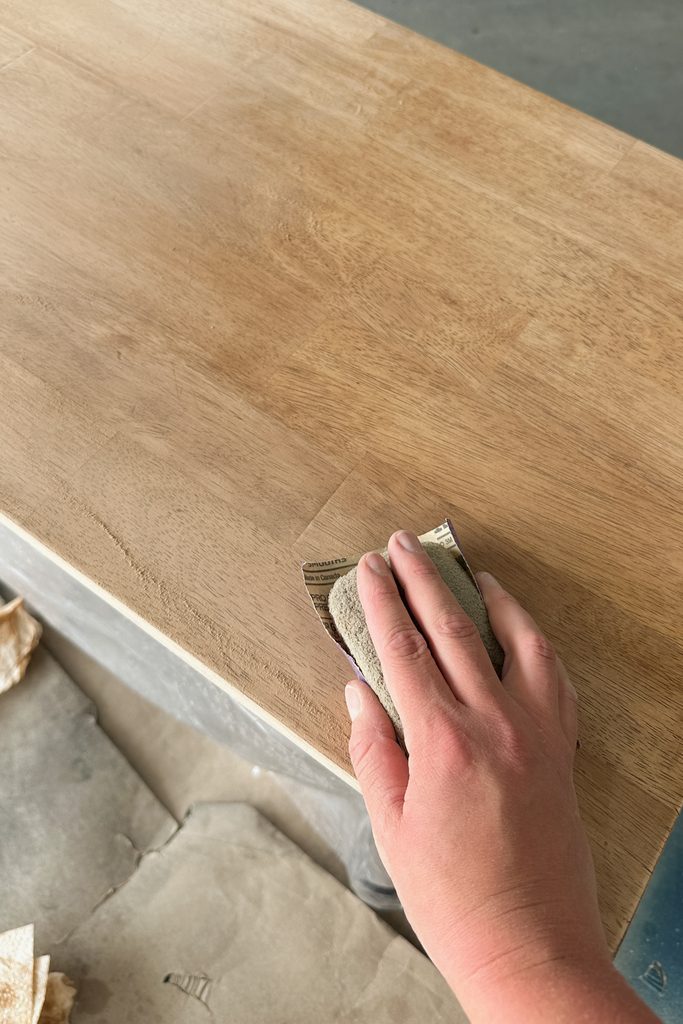
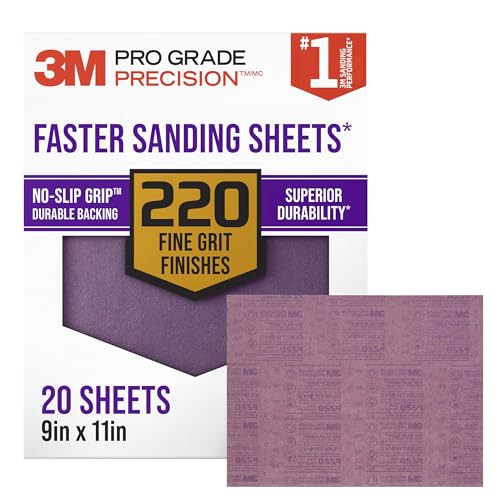
The other amazing thing about acetone is that it dries so fast. Within like 15 minutes, it was ready for me to sand smooth, and it really doesn’t feel that rough just using the acetone, so it’s not like you have to sand forever. Just a light sand with 220 grit that I wrapped around an old sanding block just to make it a little easier to hold.
This was such a simple process, and so much faster than any other stripping processes I could’ve done. Maybe a carbide scraper would’ve been just as fast, but then you do run the risk of accidentally scraping and gouging the soft wood veneer.
Check out this makeover on refinishing a wood dresser with acetone where I also used acetone to remove wood finish for more tips and tricks.


How to Tone Down Orange Wood
Now when it came to staining, I wanted to try a technique that was new to me. A lot of times I’ve mixed some green paint into the stain because green counteracts the red tones in the wood, making it more neutral.
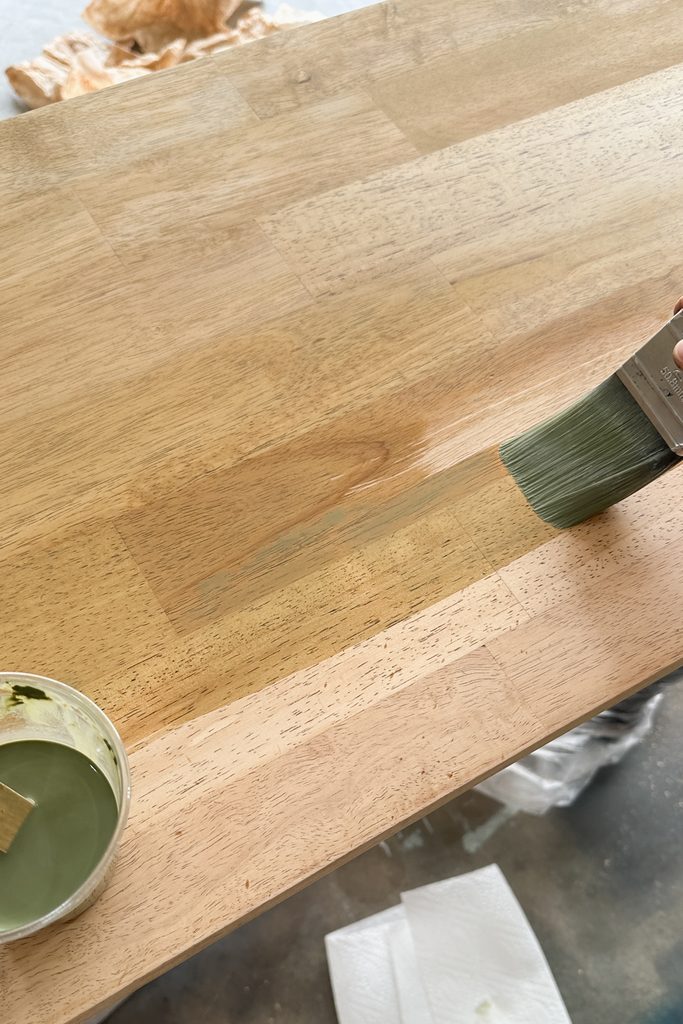
And so this time I did a green wash on the raw wood with 10 parts water and 1 part paint, basically, just really, really watered down green paint. I used Fusion Mineral Paint in Bayberry, a slightly darker green, because I wanted a darker stain color.
I brushed it on, but I didn’t wipe it back off because it was hot out in my garage, and sometimes when I wipe the paint wash off, it ends up splotchy. I just tried to get it as even as possible, and let it dry.
Would you like to save this?
I know I like dark wood, so I thought I’d try some ebony stain too, and then come back with another stain to mix it up. I put on the Ebony stain and wiped it back off with a lint free rag.
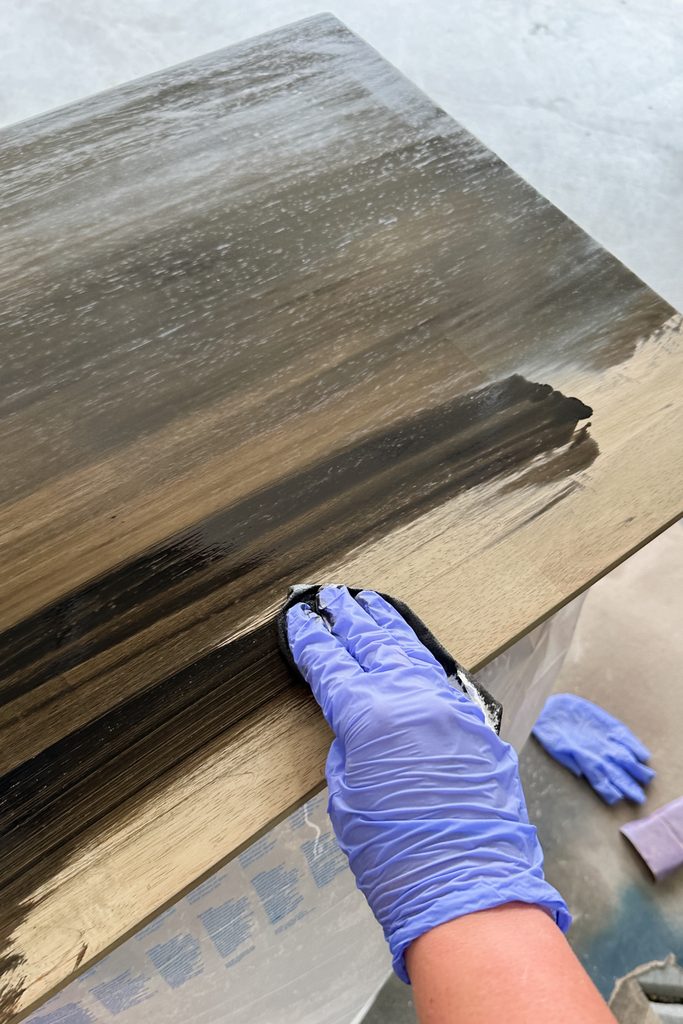
Super Important Note: When using oil based products, always take the rags outside and lay them individually and flat on the ground. Wadded up rags can heat up and spontaneously combust, potentially causing a fire. Once they’re completely dry, you can throw them away.
Anyway, after the stain dried, I came back to check it, and unfortunately I could see a big spot on one side that looked completely differently than the rest. Well shoot, I should’ve used a pre conditioner, so the wood would absorb the stain more evenly.
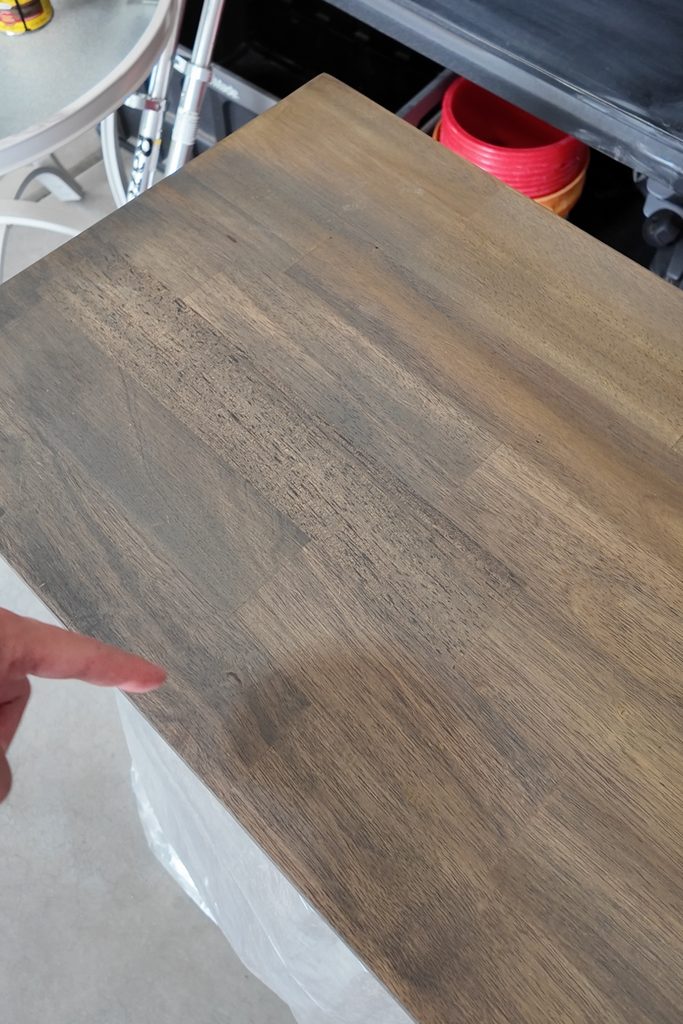
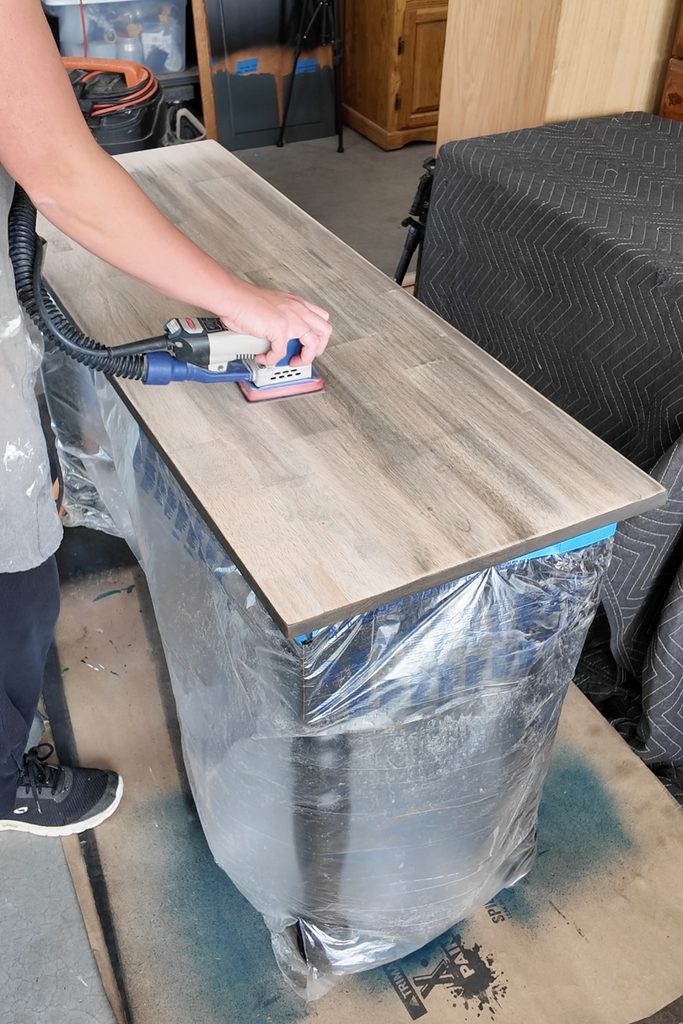
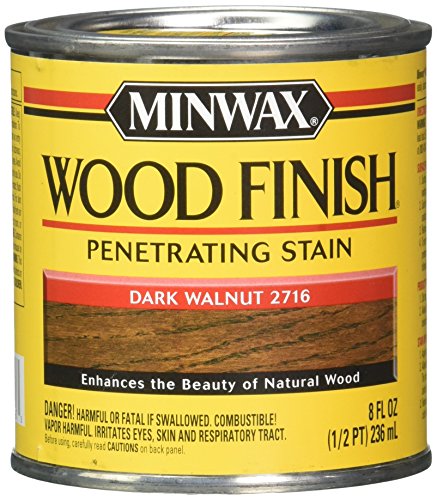
A few days later, I ended up sanding off this first stain job back down to almost raw wood. This time, I went with my tried and true stain method. I mixed waterbased Special Walnut stain and some Bayberry paint together.
It’s waterbased, so it dries very quickly. I wiped on the stain and then wiped off the excess. I worked from edge to edge, wiping it all the way across the table, then working across the rest, so it would go on as evenly as possible.
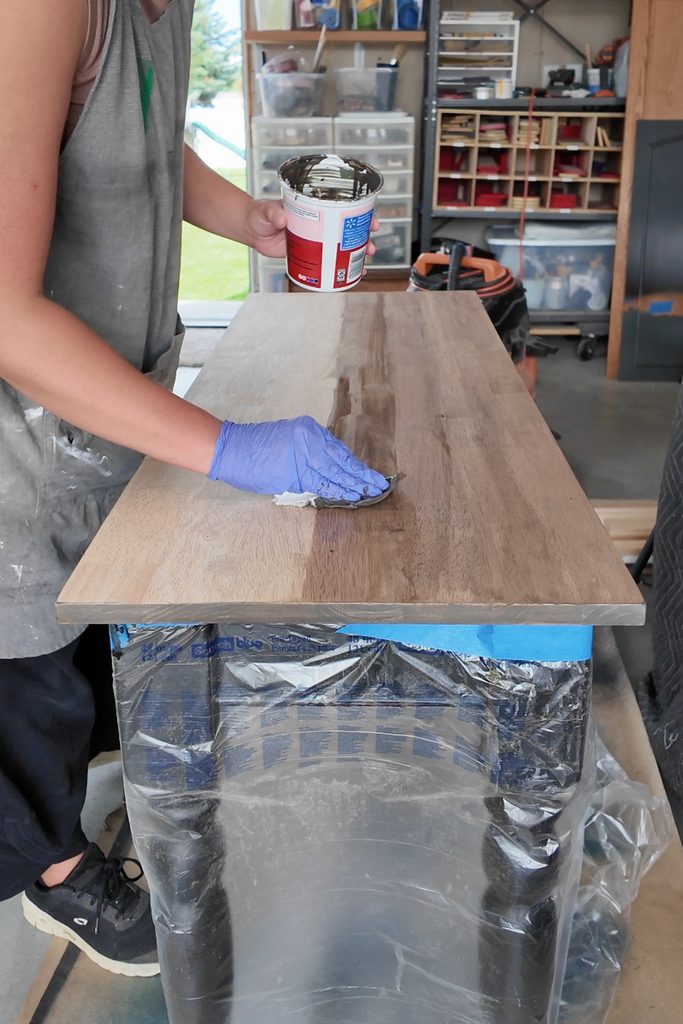
But one side of the table ended up lighter than the other because of how fast the stain dried and I guess I put more stain on one side of the table than the other. I liked the color of the stain, but I wanted it to be darker. But once again, I was very nervous about making it uneven.
Fixing Uneven Stain with Topcoat (My New Hack!)
I really didn’t want to deal with an uneven finish again. So instead, I mixed some topcoat into the stain mixture, essentially making a brown tinted topcoat. I figured I could build up the stain color slowly one coat at a time, while also applying the topcoat for a durable finish.
I sprayed 3 coats onto the tabletop, and it was perfect. It did exactly what I needed. It deepened the stain color and made it completely even. It’s basically a homemade toner that sprayed the stain on evenly. You better believe I’ll be using this hack all the time to apply my stain evenly now.
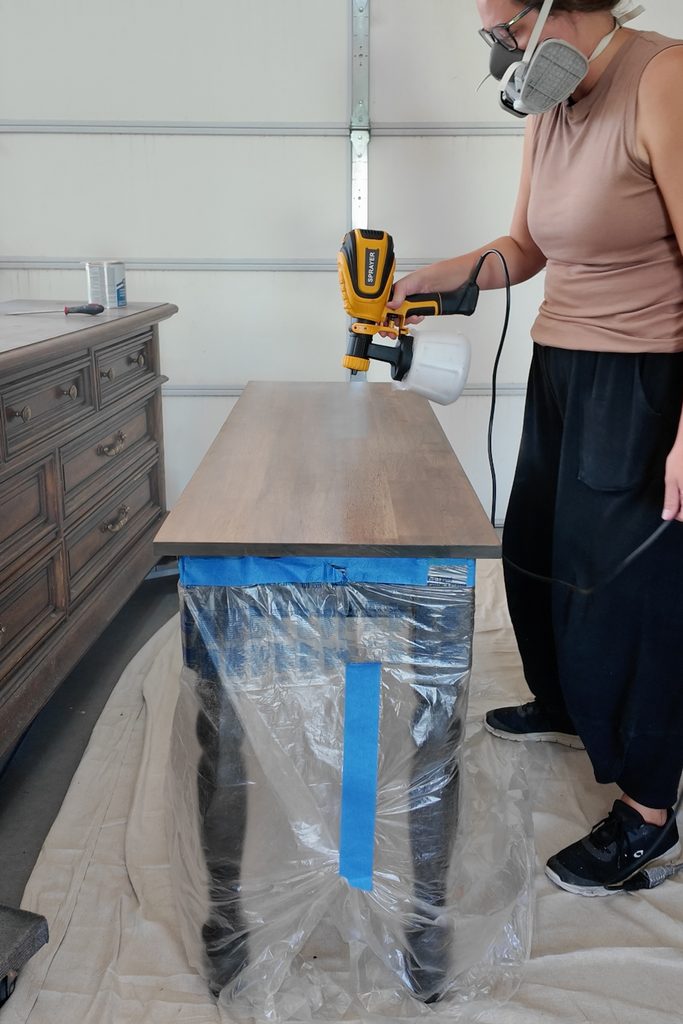
The only thing is that when you spray a horizontal surface outside in the heat, when it’s in the 80s, all the overspray can land back on top of it, and the surface doesn’t feel the smoothest. To counteract that, I lightly sanded the surface with a fine grit foam pad until it felt a little bit smoother.
Then I applied the topcoat (not mixed with the stain) by hand, just for that last coat so it was a super smooth feeling finish. Applying it by hand can look streaky, and that’s why I prefer to spray it on normally, but I hate rough feeling furniture.
I used this Zibra topcoat brush, which is fantastic, but I also love to use a foam sponge, basically wrapped in pantyhose for some reason. This is the very best way to get a streak free finish when doing it by hand. I don’t understand the pantyhose, but it works. Check it out in my guide on how to use polycrylic on painted furniture for more information on topcoating by hand.
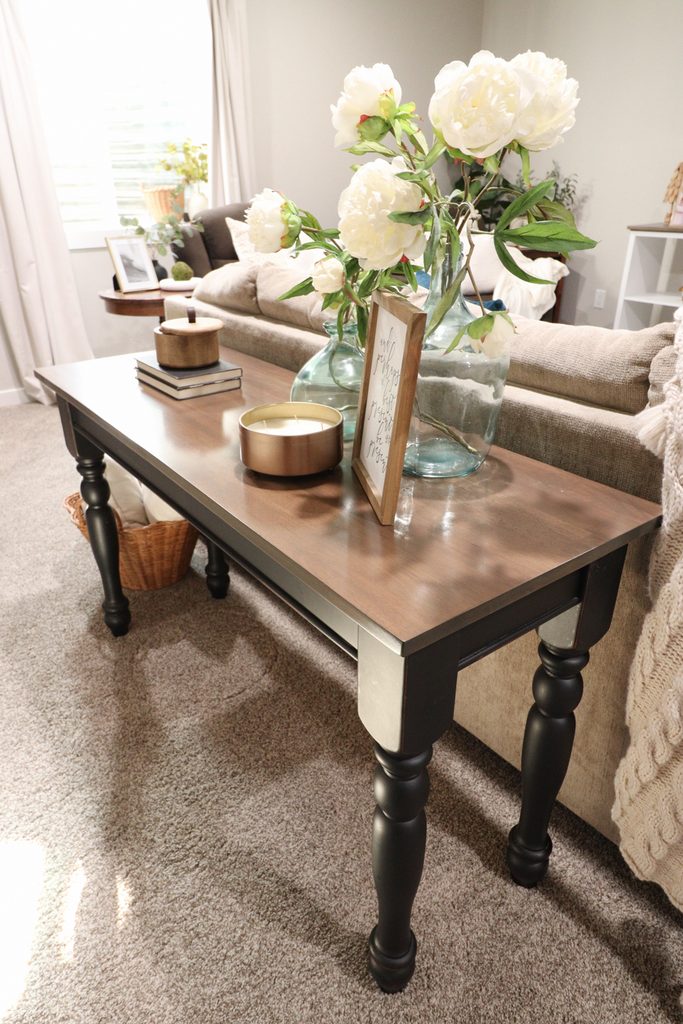
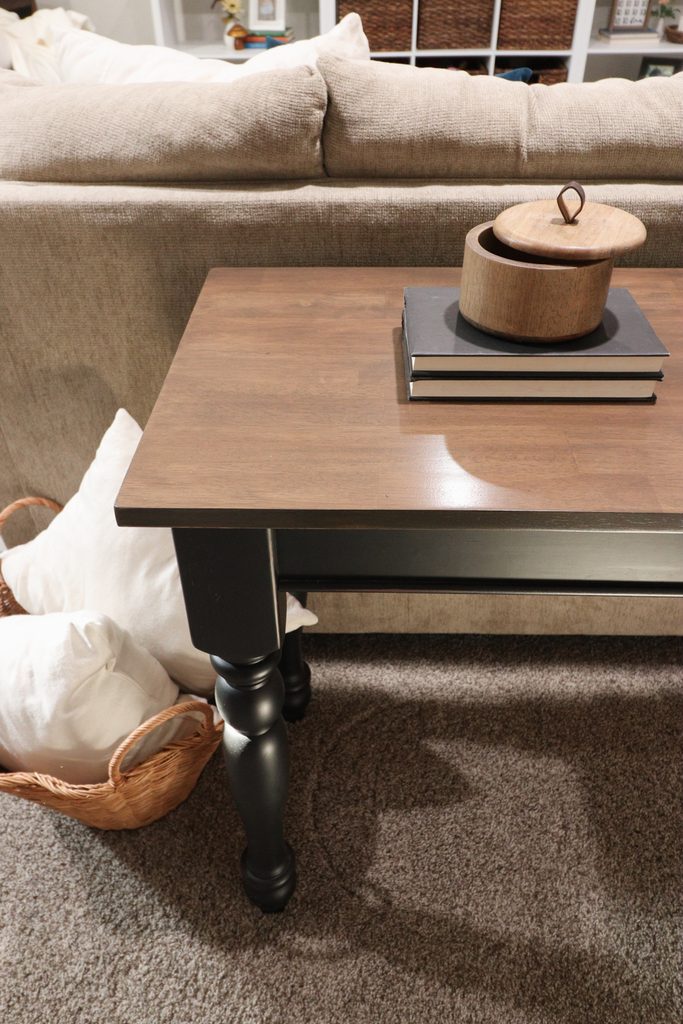
Anyway, I got a nice, even, smooth finish, and it looked so good! This was the color I wish it had been when I first bought it! I removed the plastic from the bottom, and here is what this table looks like now!
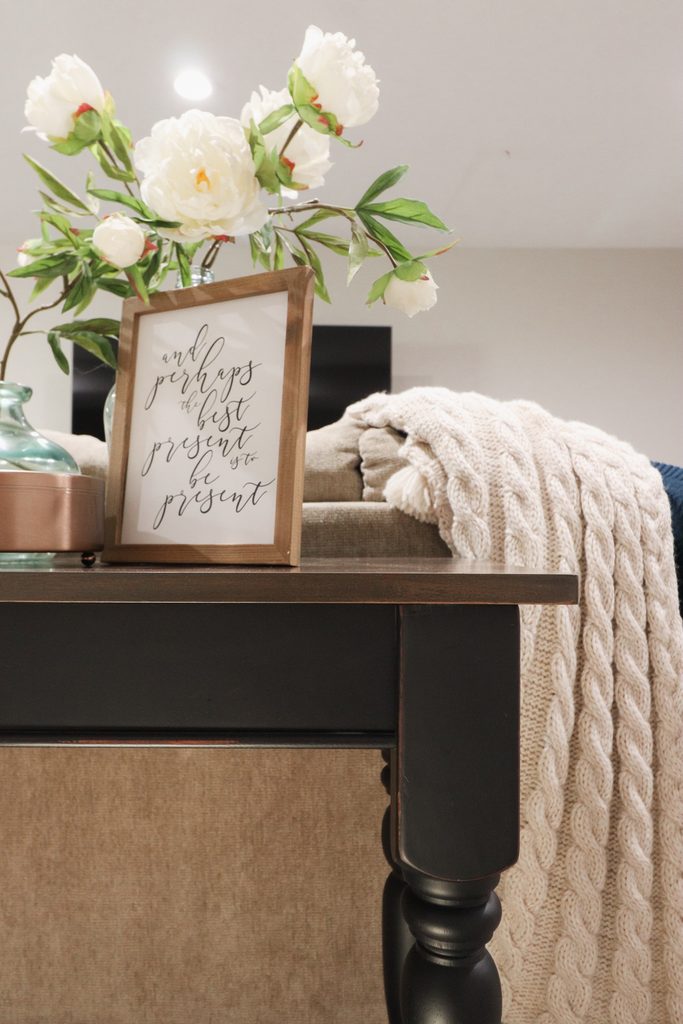
This ended up being a super simple way update the old orange finish without redoing the entire table. Honestly, the worst part was messing with the stain. Stripping off the old finish was so fast with the acetone!
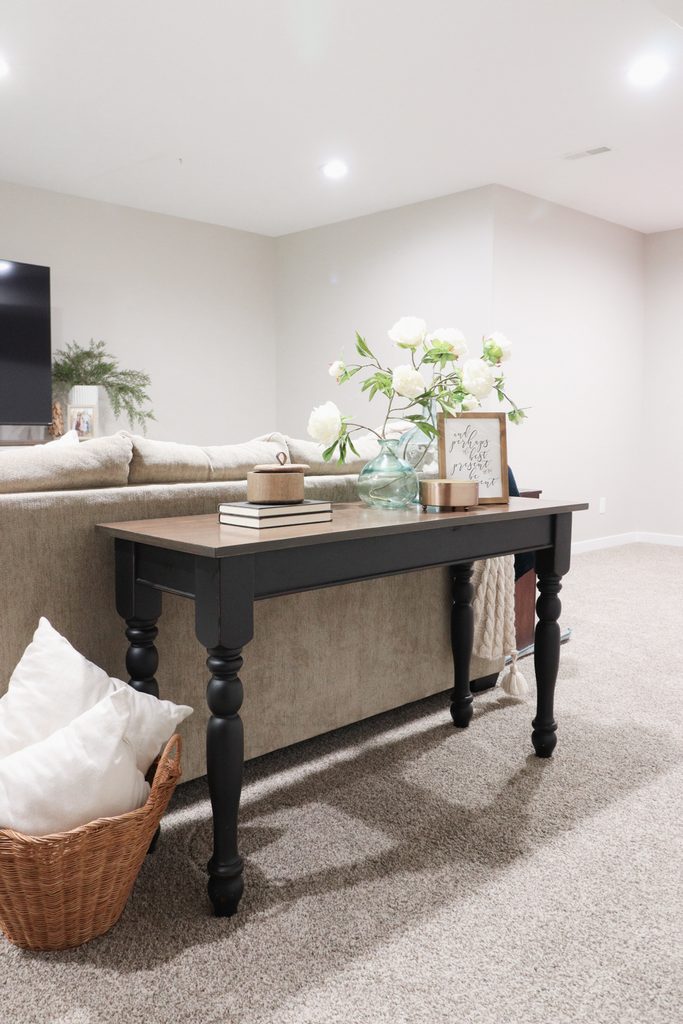
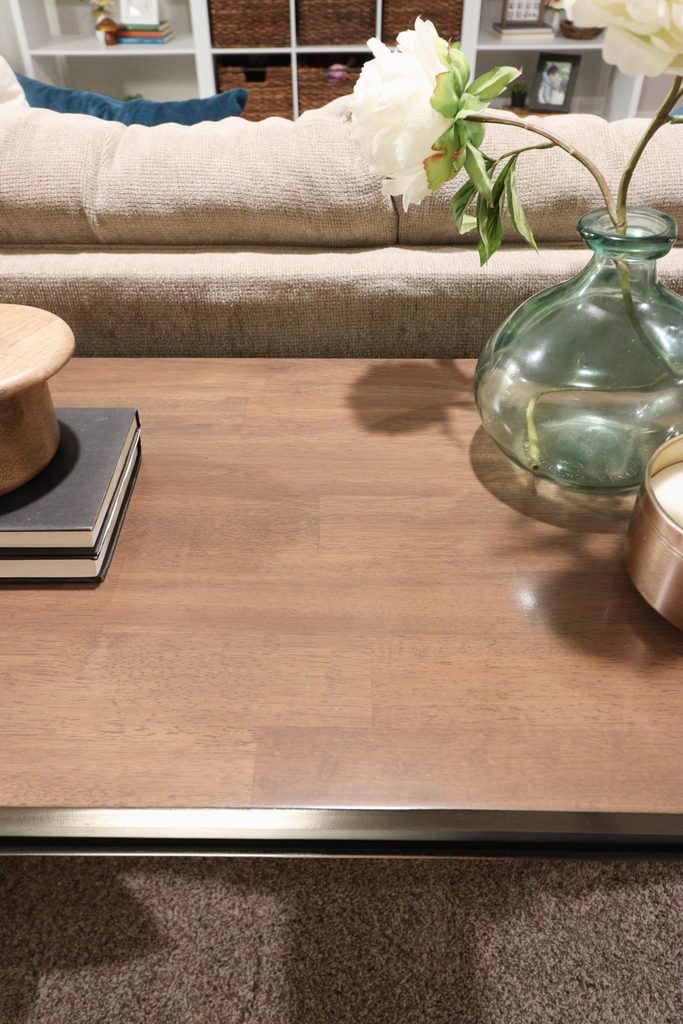
Next time I’m gonna strip off the old finish with acetone, and then make the tinted topcoat to get an even stained finish. Now it looks completely brand new and actually looks good in my home.
I love this new look, and the wood tone goes so well with the baskets in the TV stand that I created for this basement. See my DIY TV stand to see that budget friendly makeover.
Did you notice the red chairs in the before photo were gone in the after photo? My parents scored these brown recliners that are so much more comfortable than those red chairs, so we switched them out… and it just so happened to be during the time of this makeover.
I can’t wait to makeover the rest of this room, but I also know this is the kids room, so I’m trying to balance making it pretty with the expectations that it needs to be little kid friendly.
Don’t forget to check out these other awesome before and after furniture makeovers from my Furniture friends!! (Click the links below the photos!)
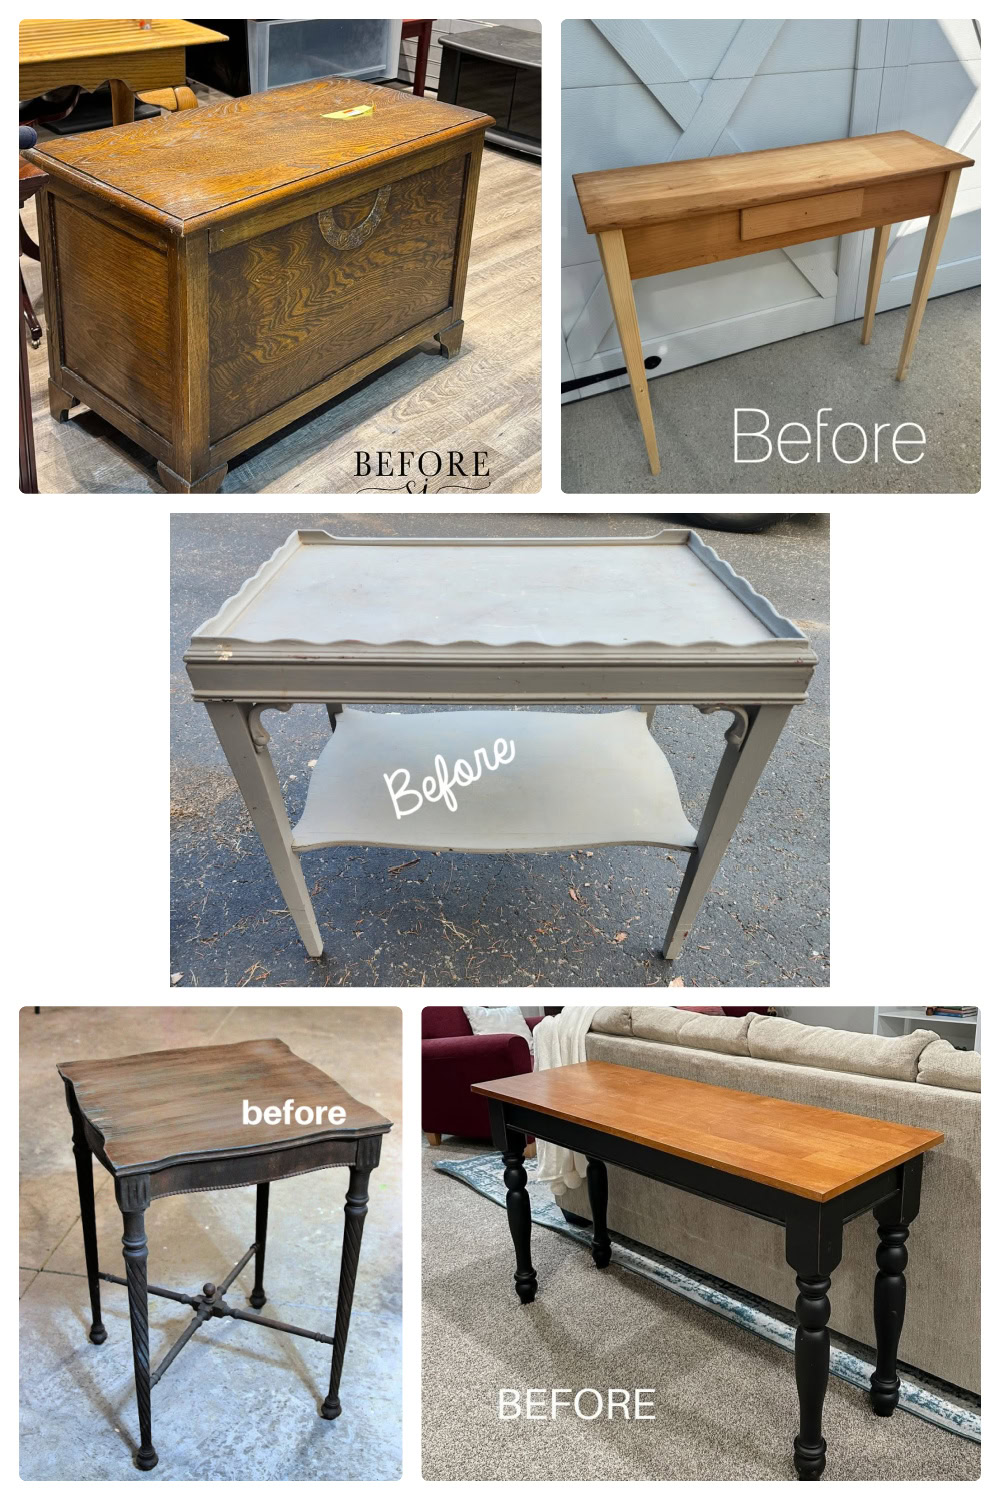
- Chalk Painting a Side Table to Match Your Decor from Petticoat Junktion
- Thrifted Side Table Makeover from My Repurposed Life
- Paint Washed Makeover So Easy It Feels Like Cheating from Salvaged Inspirations
- Unfinished Console Table Makeover from Confessions of a Serial DIYer

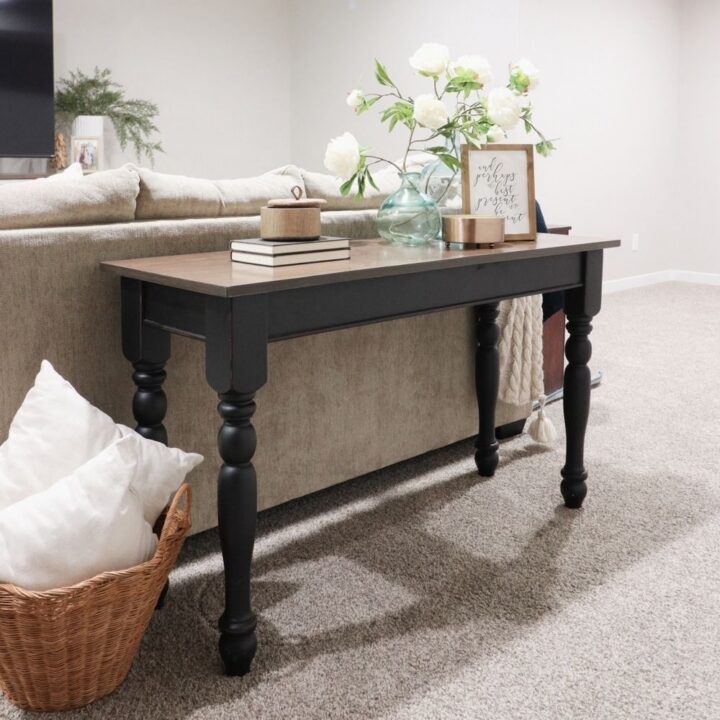
Fast Sofa Table Makeover
In this sofa table makeover, learn how to get rid of an orange wood finish, fix uneven stain, and create a darker, more neutral wood tone.
Materials
Tools
Recommended Products
As an Amazon Associate and member of other affiliate programs, I earn from qualifying purchases.


More Refinishing Furniture Makeovers
- How to Refinish a Table
- What Kind Of Sander Should I Use To Refinish Furniture
- How To Stain Furniture Without Sanding
Follow us on YouTube to get more tips for painting furniture. Or share your project with us on our Facebook Group and be part of our community. See you there!
SO much better! From dated to current. Nice work.
Thanks so much Lizzy!!