Cute Valentine’s Sign
To celebrate the season of love, why not add a touch of cuteness to your home decor with this adorable DIY project? This cute Valentine’s sign is one of the perfect Valentine’s Day decor ideas to add a sweet and personalized touch to your space.
Not only does this Valentine’s sign make for a lovely piece of decor, but it also serves as a great reminder to spread love and happiness, especially during this special time of year. And this is for crafters of all levels!

Valentine’s signs are a great way to express your love for your significant other, family, and friends.

These signs can add a heartfelt touch to any room, whether it’s your living room, bedroom, or even your office space.
They also make for wonderful gifts that are sure to be appreciated by anyone who receives them.
One of the best things about Valentine’s signs is that they can be made with materials you may already have at home.
You may have some scrap wood lying around, some leftover paint, or even some twine. This makes it an affordable and eco-friendly option for decorating your home.
Let’s start crafting this cute sign to grace your Valentine’s Day!
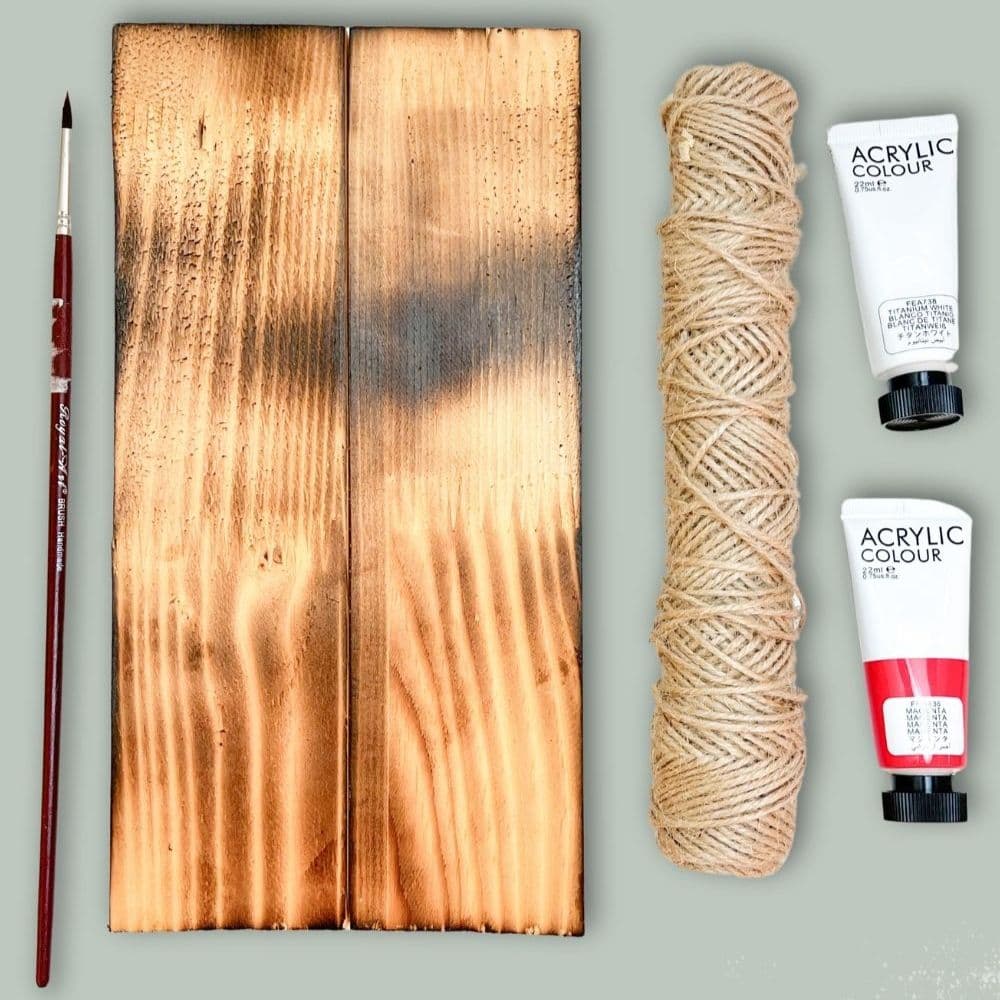
Supplies Used for Cute Valentine’s Sign
As an Amazon Associate, I earn from qualifying purchases. I also may earn from other qualifying purchases with other companies or get free product to review and use. All opinions are my own.
- Scrap Wood Planks ideally 3/4 in x 8 in x 1 ft
- Saw
- Twine String/Rope
- Pencil
- Acrylic Paints
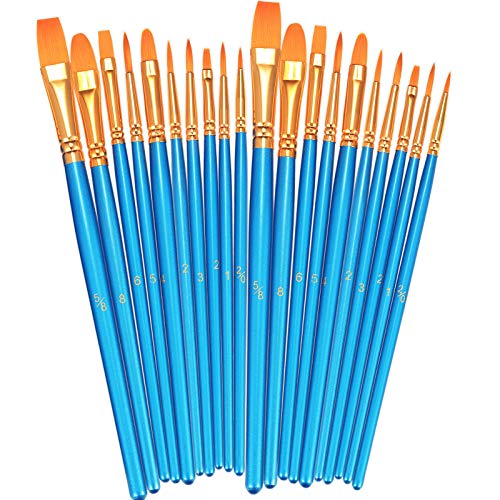
- Paint Brush
You can totally find these materials at home, right? Or if you don’t have them, no worries! They are readily available at any craft store or online. For more affordable ways to decorate your home, here’s our cheap Valentine’s Day decor!
Cutting Wood Plank to Size
First, measure the area where you want to hang your sign and determine the size you want it to be. Take note of this measurement as a guide for cutting your plank.
Next, using a saw or any other cutting tool, carefully cut your plank into the desired size. You can also go to the store and have them cut the wood for you if you’re not comfortable doing it yourself.

Once you have your plank cut to the right size, sand down any rough edges to make sure it’s smooth and safe to handle.
This will also help the paint adhere better later on. You can read our post on sanding for paint prep for more tips, like what sandpaper grit to use.
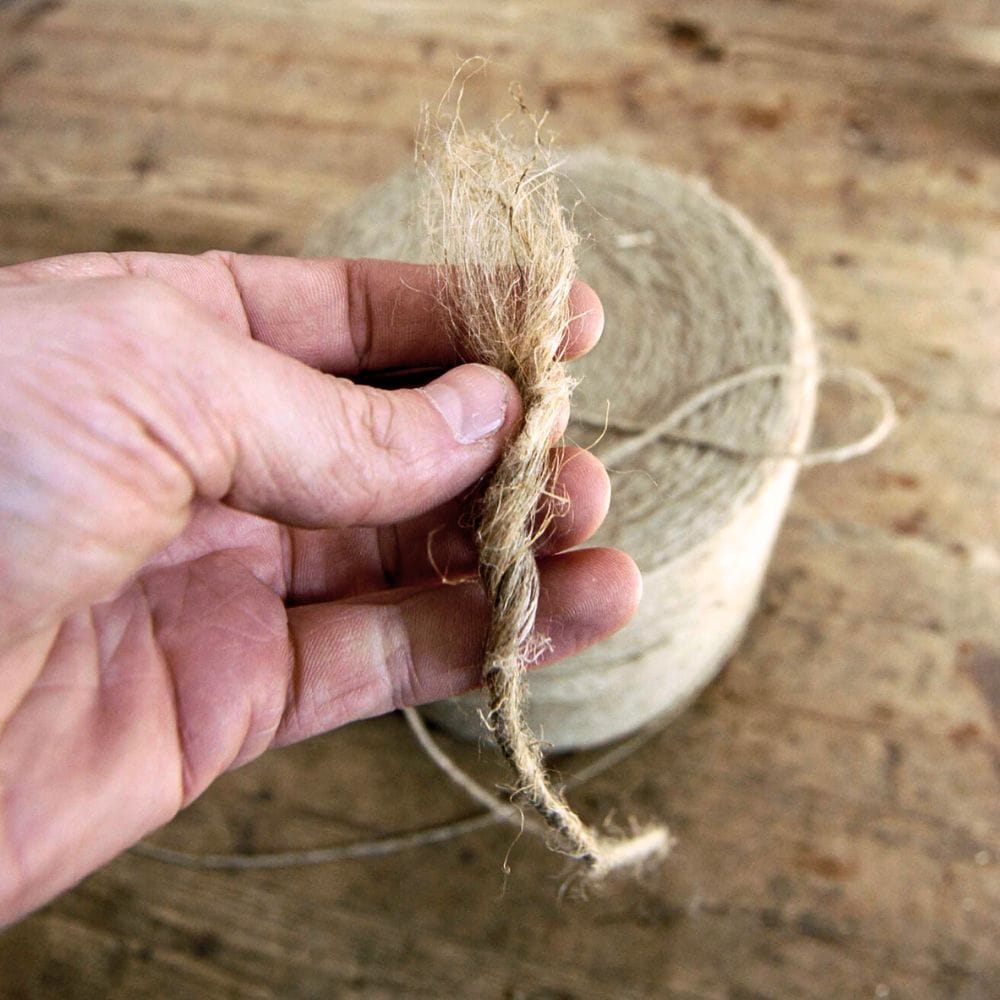
Tying Twine to Wood Sign
Now get some twine string and tie it at both ends of the wood plank. The twine not only adds a rustic touch to the Valentine’s sign, but it also serves as a way to hang it.
Here’s our list of easy DIY farmhouse Valentine’s decor ideas and Valentine’s Day wood signs for more rustic and cozy Valentine’s decor ideas!
You can use any type of string or rope you have on hand, but we prefer using natural jute twine for its organic look and durability. Simply tie the ends of the twine tightly around each end of the wood plank.
Next, we connected another length of twine to the strings tied at each end of the plank. This will serve as the hanger for our Valentine’s sign.
Make sure to tie it securely so that your sign stays in place when hung up.
Would you like to save this?
Painting Wood Sign
Next, let’s paint the wood sign. We will go with a simple, meaningful text – Happy Valentines!
You can start by sketching the letters lightly with a pencil onto the wood plank. This will serve as a guide when you’re painting. Choose a cute font style, preferably something fun and playful to match the overall theme of the sign.
There are also templates and stencils available online so you can just choose and trace the design you like. If you want free printable templates, you can get them here in our post on small wooden love signs for Valentine’s Day! But if you’re comfortable with going freehand, go for it!

Once you have your text sketched out, it’s time to grab your paint brush and carefully fill in the letters with white acrylic paint.
You may need multiple coats of paint depending on how opaque you want the letters to be. Let each coat dry before adding another one.
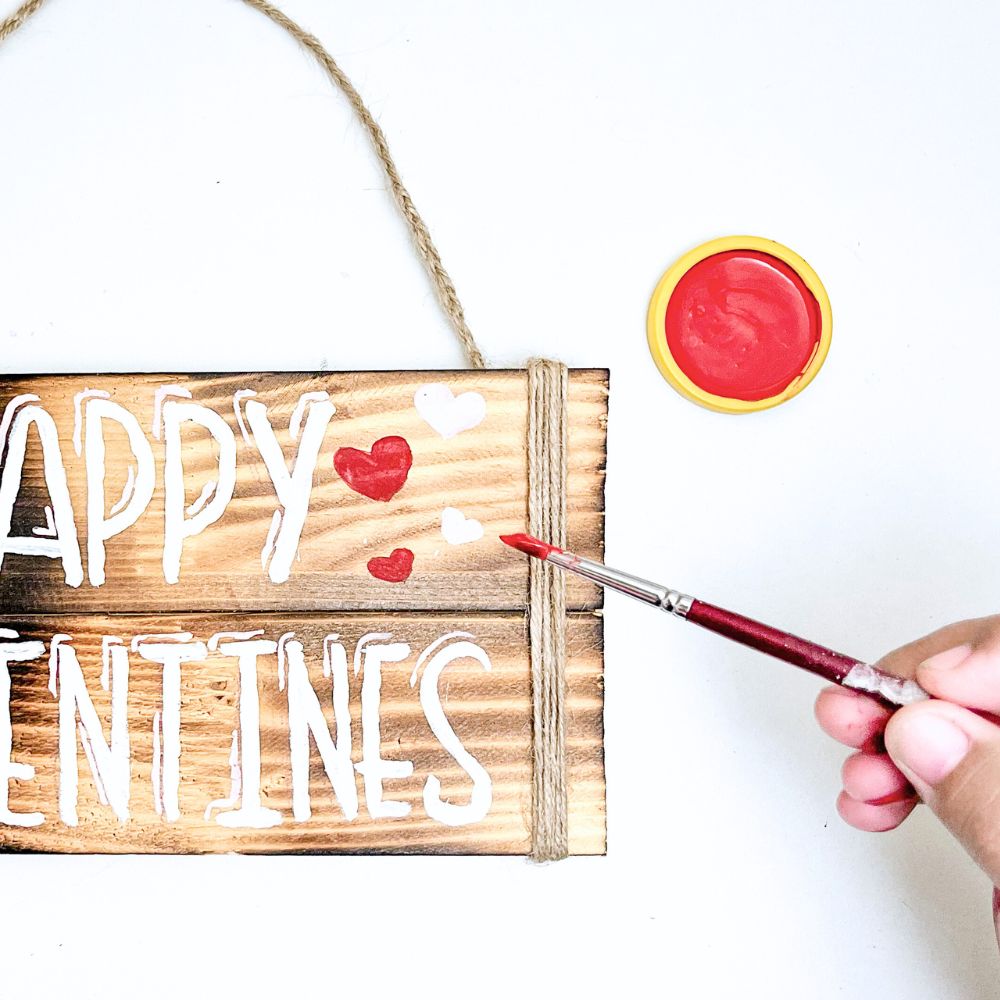
Designing Valentines Sign
After the white paint has dried, it’s time to make your Valentines sign cuter! Using pink and red acrylic paints, add small hearts around the text or anywhere else on the wood plank. You can also add other designs or patterns that suit your personal style.
Here’s another Valentines sign design idea: you can add embellishments like glitter, buttons, or even small flowers.
Be careful not to overcrowd your sign with too many decorations, though. Remember that sometimes less is more.
Let the paint dry completely before hanging it up. This will prevent the colors from smudging and ruining your hard work. You can also add a coat of clear sealant to protect the paint and make your sign last longer.
Now find the perfect spot to hang your cute Valentine’s sign and spread the love! We hope this DIY sign adds a touch of cuteness to your home this Valentine’s and the Valentine’s Days to come!
You can also make multiple signs with different designs and quotes to decorate various parts of your home. For more love sign ideas, here are our top picks of signs about love. Check out more cute signs for Valentine’s Day here!
And for more farmhouse or rustic looking love signs, here’s our list of wooden love signs and Happy Valentine’s Day wooden signs.


Cute Valentine’s Sign
This cute Valentine's sign is the perfect Valentine's Day decor idea to add a sweet and personalized touch to your space.
Materials
- Scrap Wood Planks ideally 3/4 in x 8 in x 1 ft
- Twine String/Rope
- Pencil
- Acrylic Paints
Tools
Instructions
- Measure and cut your wood plank to the desired size using a saw or other cutting tool. Remember to sand down any rough edges for a smoother finish and better paint adhesion.
- Tie twine string or rope to both ends of the wood plank, leaving enough excess to create a hanger. You can use any type of string you have on hand, but natural jute twine adds a rustic touch to the sign.
- Sketch your Happy Valentines text onto the wood plank using a pencil as a guide. Choose a cute font or use templates and stencils for a more polished look.
- Carefully fill in the letters using white acrylic paint, allowing each coat to dry before adding another one.
- Add cute designs and embellishments using pink and red acrylic paints, or any other colors that suit your personal style. Be careful not to overcrowd the sign, as sometimes less is more.
- Let the paint dry completely before hanging up your sign and spreading some love in your home! You can also add a coat of sealant for extra protection and durability.
Recommended Products
As an Amazon Associate and member of other affiliate programs, I earn from qualifying purchases.


More Valentine’s Decor Ideas
- Easy Wood Crafts For Valentine’s Day
- DIY Valentines Decoration Ideas
- Valentine Home Decor
- Love You More Wooden Sign
- Red Love Wall Decor DIY Craft For Valentines Day

Follow us on YouTube to get more tips for painting furniture. Or share your project with us on our Facebook Group and be part of our community. See you there!