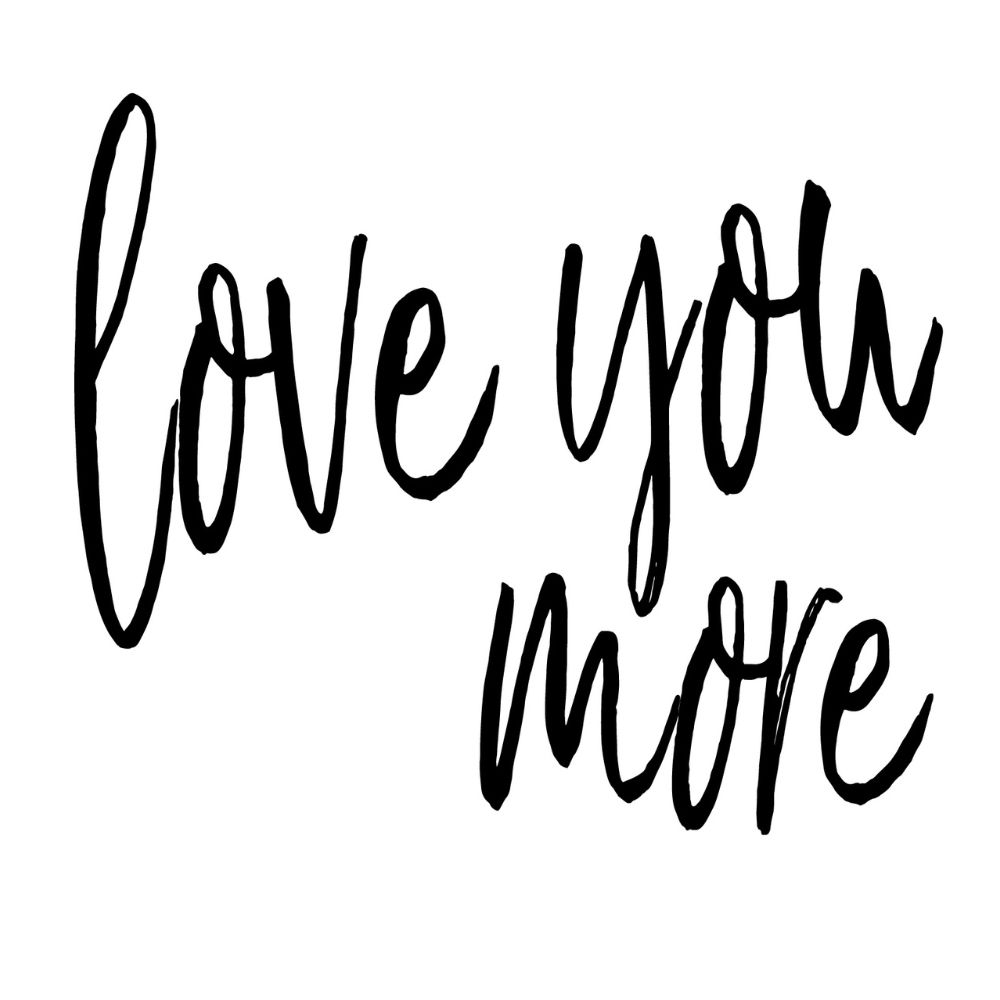
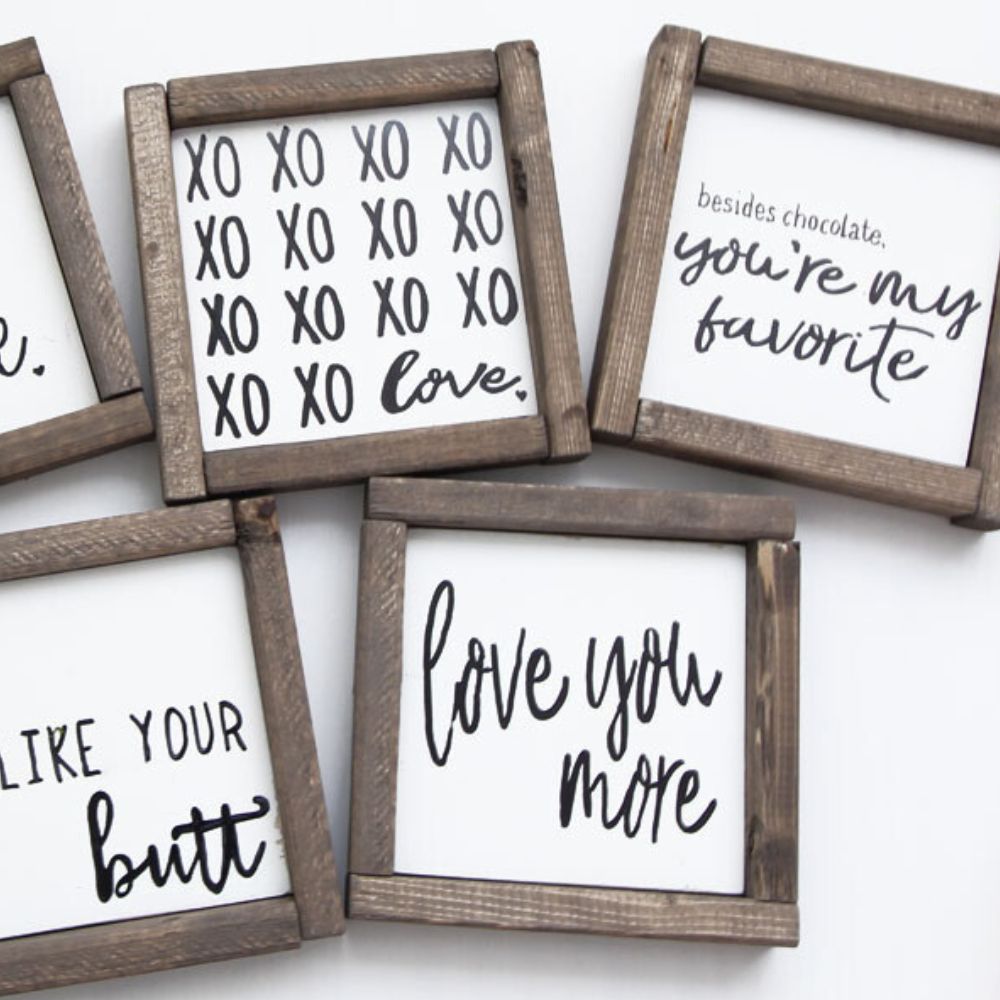
Love You More Wooden Sign


If you’re looking for a sweet and sentimental way to express your love this Valentine’s Day, then this Love You More wooden sign is the perfect decor piece for you. This beautiful and rustic sign serves as a constant reminder of your love for that special someone in your life.
Plus, this is one of the Valentine’s Day decor ideas that makes for an adorable addition to any home, making your significant other feel loved not just on Valentine’s Day, but all year round.
Creating your own DIY wooden sign may seem intimidating, but this Valentine’s Day project is actually quite simple and affordable.

You’ll just need some wood and a little bit of creativity to make a one-of-a-kind sign for your loved one. Plus, the personal touch will make it even more special.
Yes, one of the great things about making a wooden sign is that it allows you to customize it according to your preferences and style.
But if you’re worried you aren’t exactly crafty, we have a template ready for you to use. Let’s get started on this fun Valentine’s Day sign!
Supplies Used for Love You More Wooden Sign
As an Amazon Associate, I earn from qualifying purchases. I also may earn from other qualifying purchases with other companies or get free product to review and use. All opinions are my own.
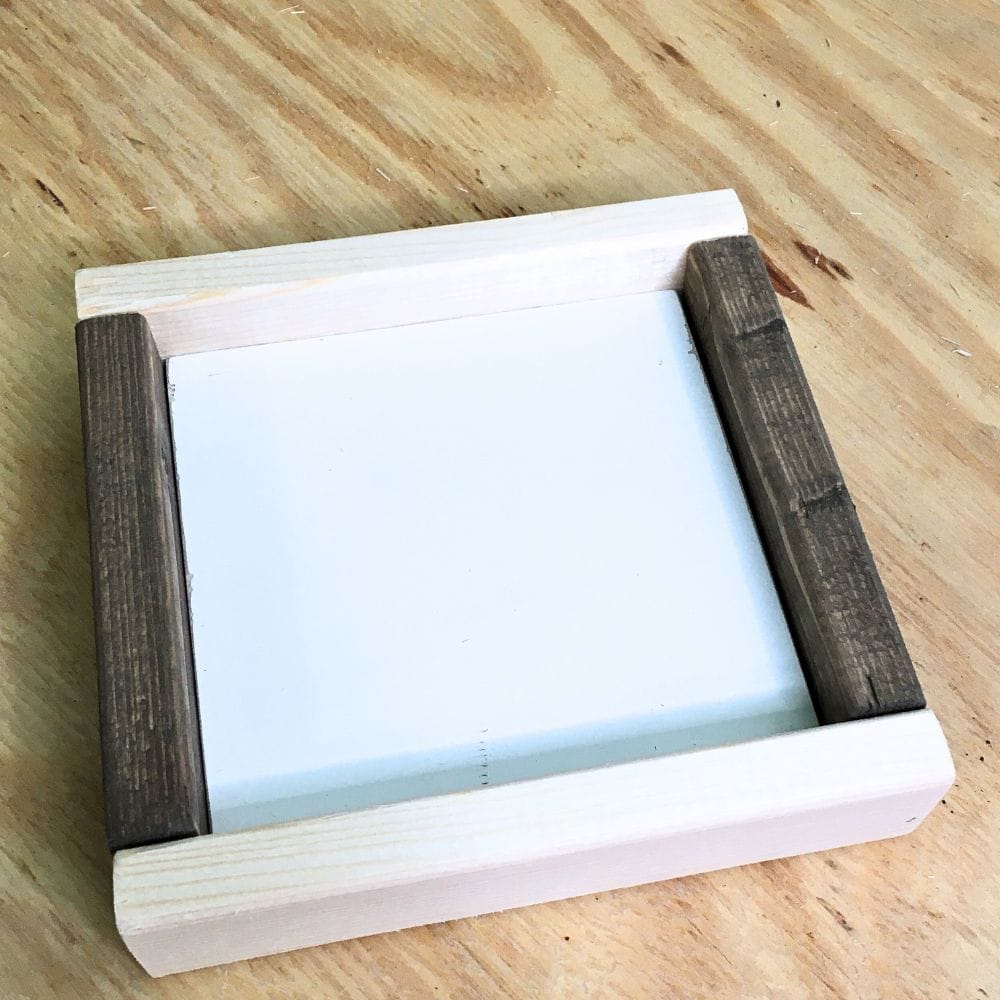
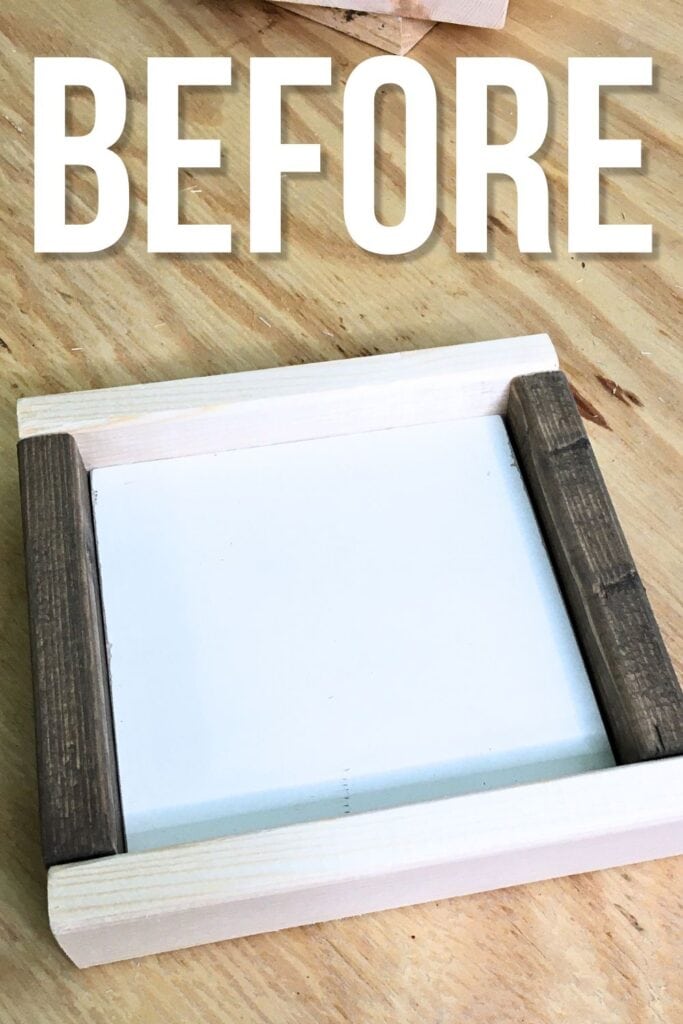
Making Wooden Sign
First, start by cutting your chosen wood into the desired size and shape.
For this particular sign, we recommend using 1″ x 6″ common board as it is sturdy yet easy to work with. Cut the board into equal pieces, in this case, 5 1/2″ each (The 1″ x 6″ board is really 5 1/2″ wide, so it works out to be a perfect square).
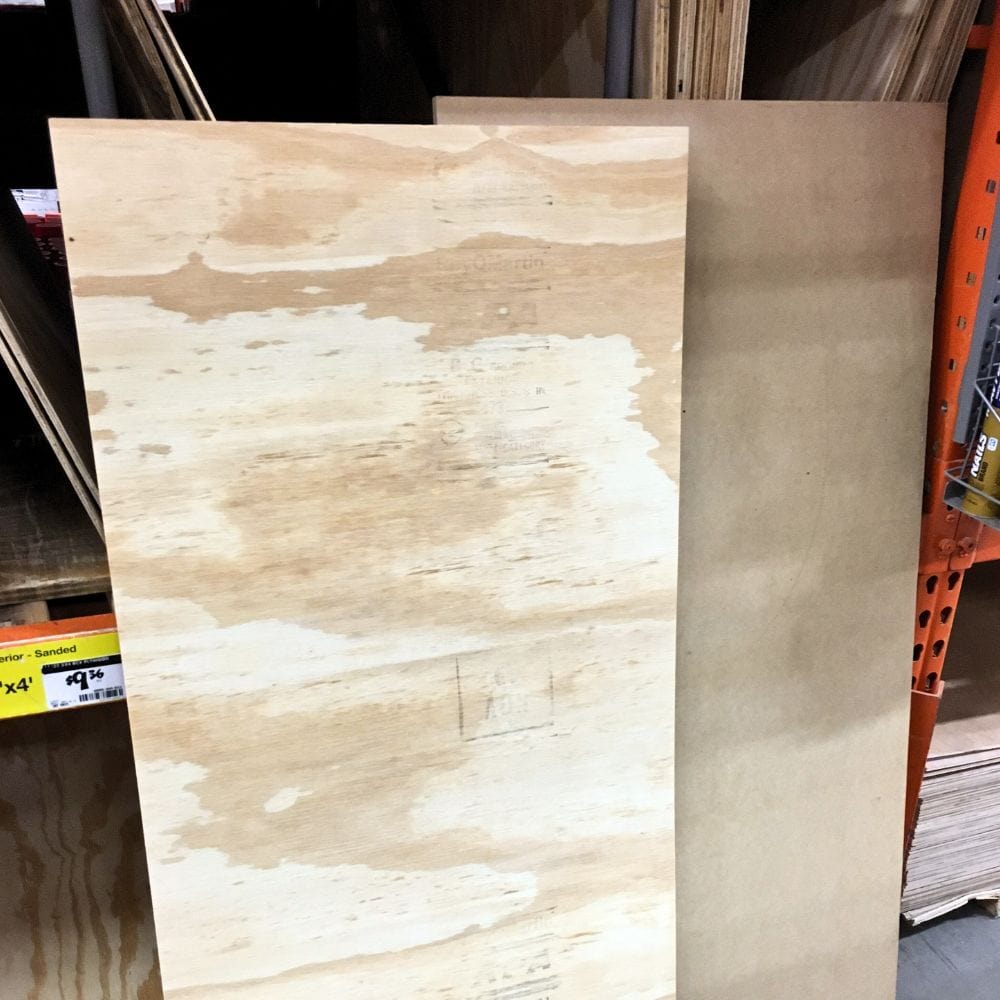
You can also have a larger piece of plywood cut to the right size from your local hardware store if you don’t have the necessary tools to cut it yourself, or if you plan on making multiple signs out of a larger piece of plywood.
Just make sure to specify the dimensions and have them cut it accurately for you. This will save you time and effort, plus you’ll have a perfectly sized piece of wood for your sign.
Next, get some furring strips and cut them into two 5 1/2″ long pieces and two 6 3/4″ long pieces. These will serve as the frame for your sign.
Make sure to measure and cut them accurately too so they fit perfectly with your sign board.
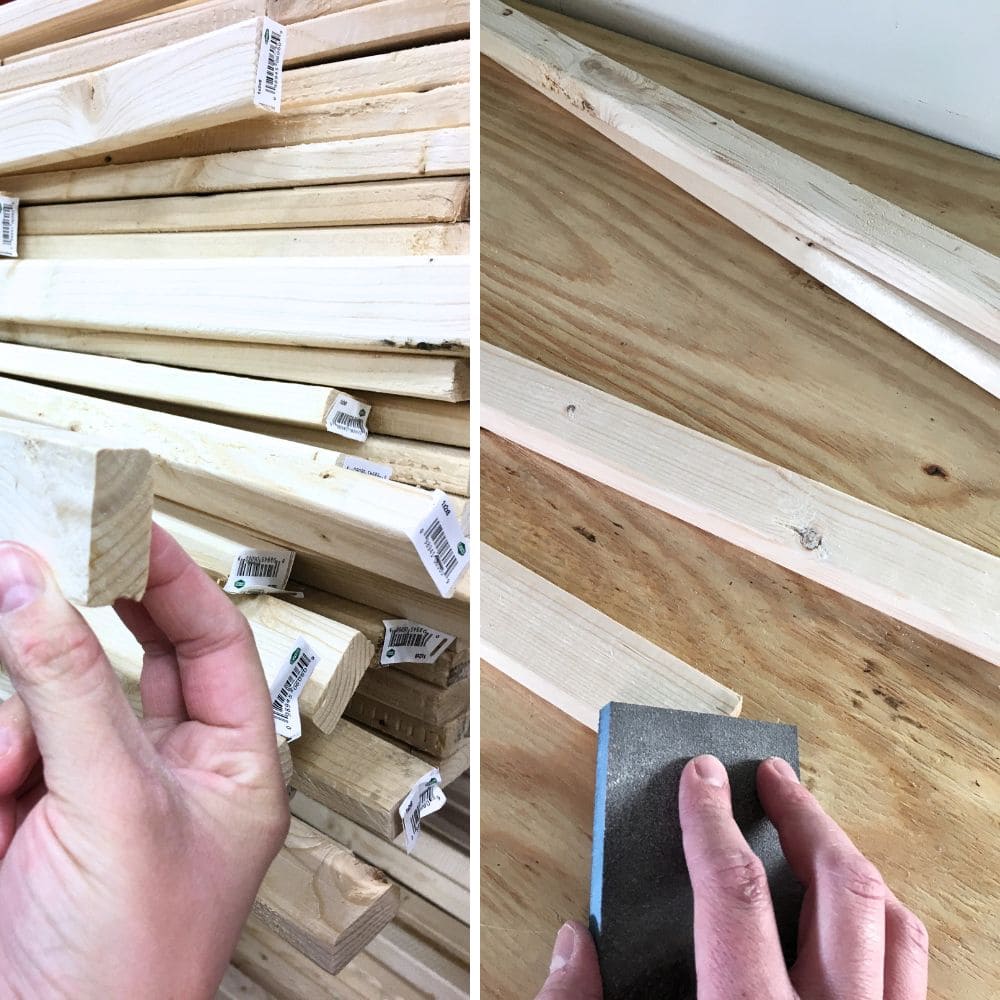
Once you have the furring strips cut to the right measurements, you can build a frame around your piece of wood and secure the frame with a nail gun and brad nails, or you can glue and clamp them together.
I have this cheap brad nailer, with 1 1/4″ brad nails and a small air compressor that gets the job done!
You can also just use a regular old hammer and some nails to attach the frame to the sign.
Check out our post on how to make a wood sign for all the details of this process to guide you in assembling your own custom wooden sign.
For more wooden decor ideas here’s our wooden Valentine decorations!
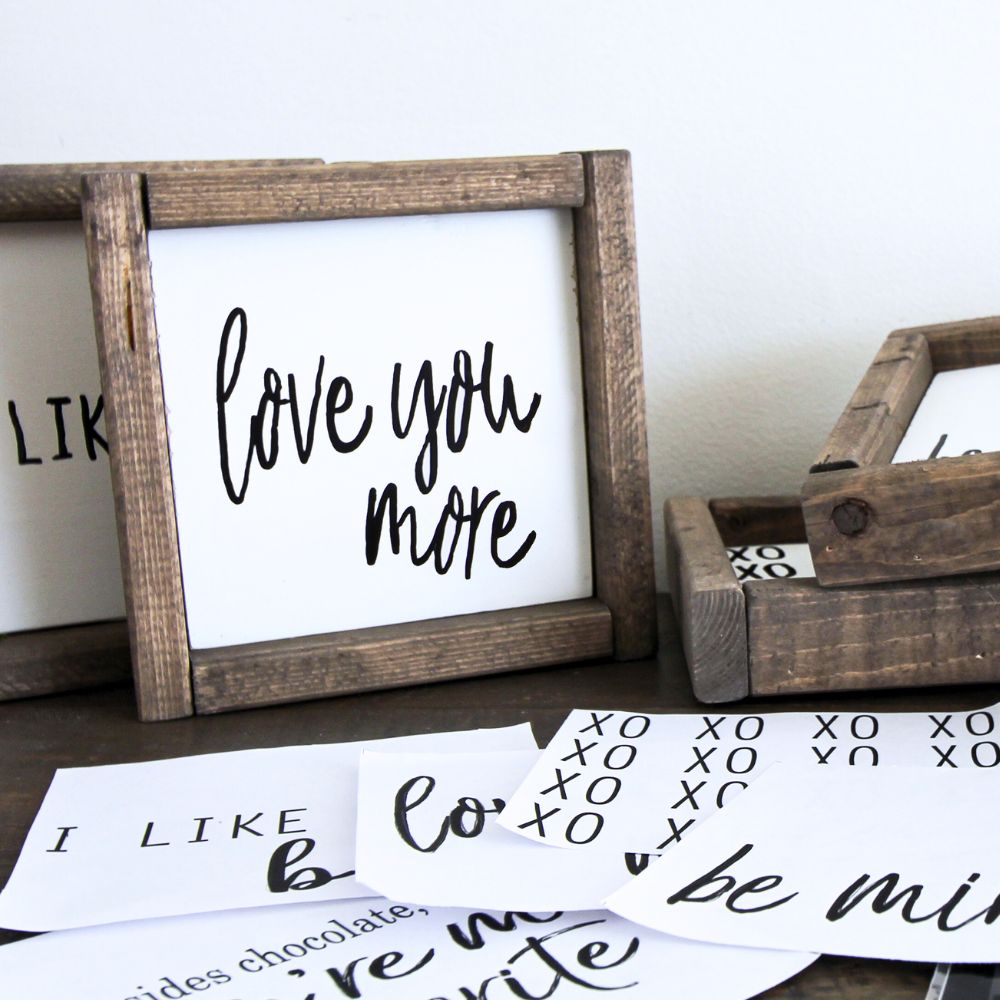
Printing Love You More Template
Once you have your wood board and frame ready, it’s time to add the design.
Head on over to our farmhouse sign templates and printables post to get your free printable Love You More template. We also have other designs available if you want to switch things up.
After downloading the template, simply print it out on a regular sheet of paper.
The template is already sized for 5 1/2″x 5 1/2″ wood signs, but you are free to resize it if you prefer a bigger or smaller lettering.
Tracing Love You More Design on Wooden Sign
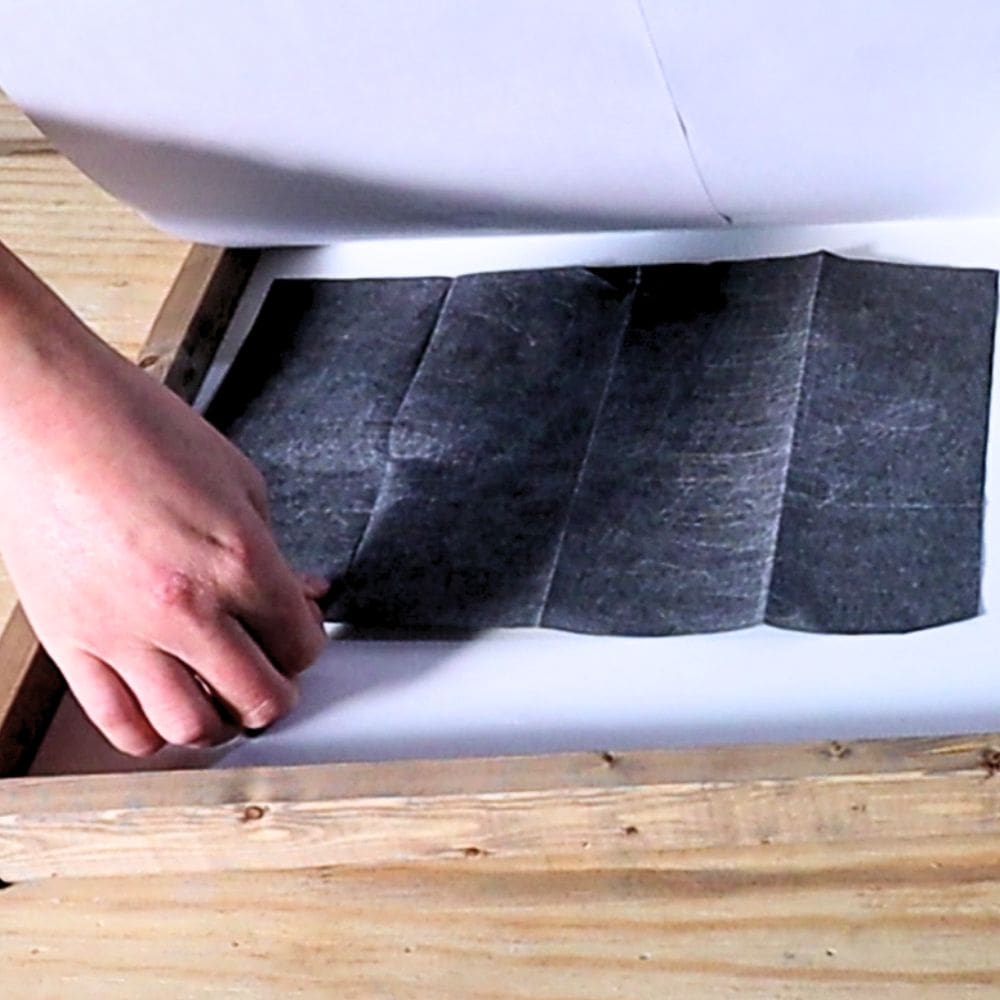
With our free printable template and some graphite paper, outline the design on your wooden sign.
The graphite paper acts as a transfer paper, allowing you to easily trace the design onto the wood without any smudging or mistakes.
Use a pencil for tracing as it is easier to erase any mistakes or make any adjustments.
Would you like to save this?
The trickiest part of the tracing process is making sure the template stays in place as you trace.
Use tape to hold it in place, or you can have someone help you hold it steady. Just make sure to remove it carefully afterward so you don’t accidentally rip your design.
Coloring and Decorating Love You More Wooden Sign
Once you’re done tracing the design, it’s time to make it pop by adding some color. A Sharpie pen is perfect for this as it creates clean and bold lines that stand out on the wood.
Plus, they come in a variety of colors so you can choose your loved one’s favorite or use multiple colors for a more vibrant look.
Start by coloring in the Love You More letters, making sure to stay within the lines for a neat finish. You can also add some designs or patterns around the quote to make it more unique and personalized. It’d be a more special sign if it truly reflects your relationship and style.
Once you’re happy with the coloring, let it dry for a few minutes before decorating the frame. You can add embellishments like flowers and ribbons to make it more festive for Valentine’s Day. You can also leave it as is for a more minimalist look. The choice is yours!
If you would like to use old book pages for your Valentine’s sign, check out how we did it in this I Love You wood sign!
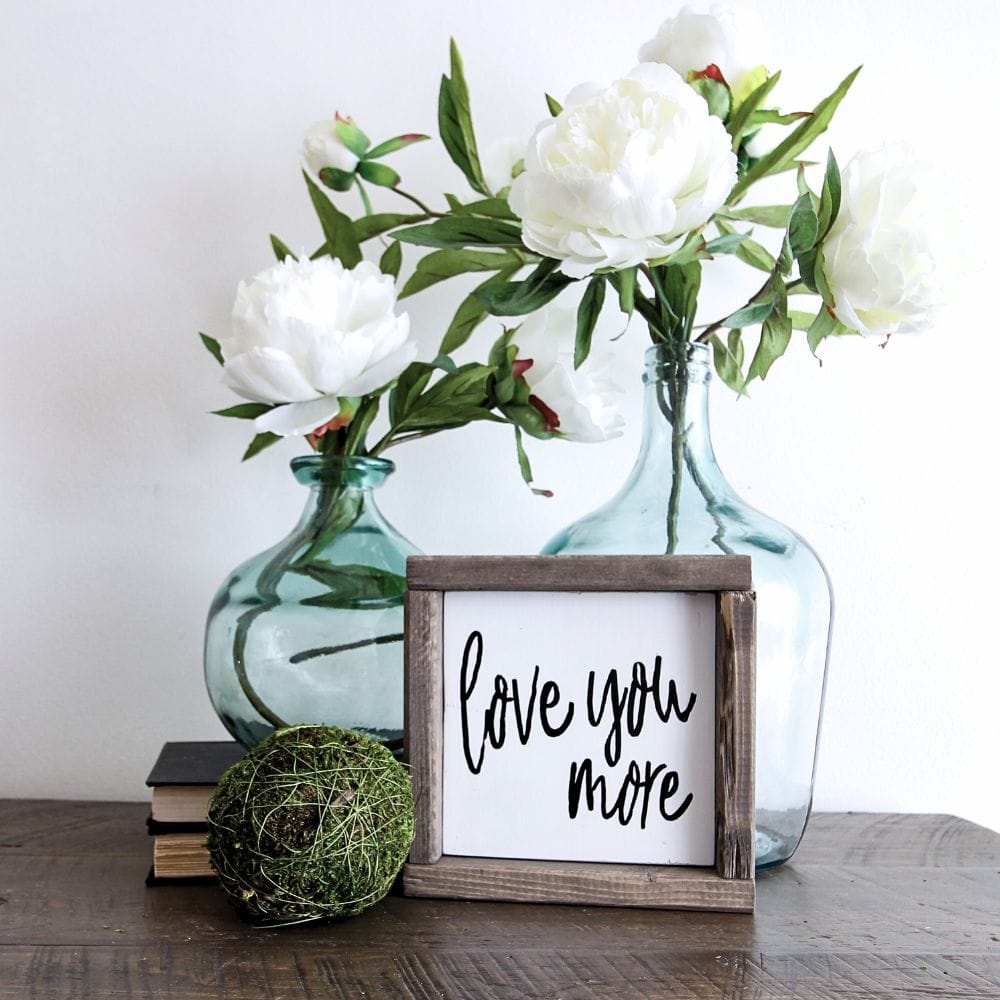
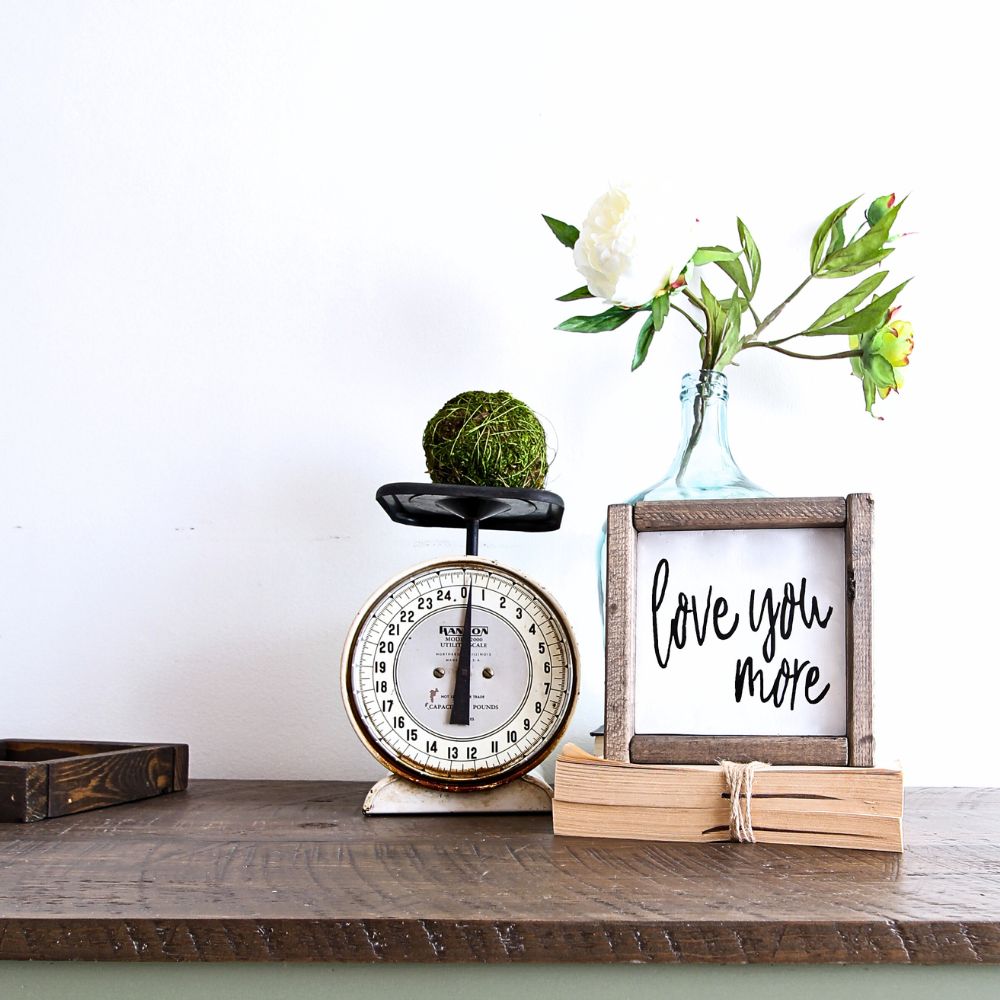
Displaying Love You More Wooden Sign
After finishing your Love You More wooden sign, it’s time to find the perfect spot to display it. This sign can easily be propped up on a shelf or hung on a wall.
It also makes for a great addition to a gallery wall – you can make multiple signs with different quotes and designs to create a beautiful collage on your wall.
Your significant other will love seeing this sign every day and feeling loved.
And there you have it, your very own personalized Love You More wooden sign!
Not only is this a great Valentine’s Day decor piece, but it also serves as a constant reminder of your love throughout the year.
So why not give it a try and make one for that special someone in your life?
Can I use paint instead of a Sharpie pen for coloring?
Yes, you can definitely use paint instead of a Sharpie pen for coloring your Love You More wooden sign.
If you’re more comfortable with painting or want a different look for your sign, then using paint is a great option.
Just make sure to use a small brush for more precise application and take your time in coloring to prevent any mistakes.
Additionally, using paint opens up more possibilities for customization. You can mix and match colors, add patterns or designs, and even include different finishes like metallic or textured paints.
The end result will be a one-of-a-kind sign that truly reflects your love and creativity.
This Love You More wooden sign is a beautiful and heartfelt way to express your love for your significant other.
Whether you’re celebrating Valentine’s Day or an anniversary, or just want to show them how much they mean to you, this DIY project is the perfect way to do it!
If you want more Valentine’s sign creative ideas check out our top picks of signs for Valentine’s Day!

Love You More Wooden Sign
This Love You More wooden sign is the perfect decor piece if you're looking for a sweet and sentimental way to express your love.
Instructions
- Start by cutting the wood board into 5 1/2" pieces for the sign and furring strips into 2 5 1/2" and 2 6 3/4" pieces for the frame. Make sure to measure and cut accurately or have them cut at your local hardware for a perfectly sized sign.
- Download our free Love You More template from our website. Print it out on a regular sheet of paper.
- Trace the design onto your wooden sign using graphite paper and a pencil. Use tape to keep the template in place as you trace.
- Color in the letters with a sharpie pen, staying within the lines for a clean finish. Add personalized touches or decorations around the quote.
- Let it dry for a few minutes before decorating the frame with embellishments or leaving it as is. You can add flowers, ribbons, or leave it minimalist.
- Display your Love You More wooden sign on a shelf, wall, or as part of a gallery wall. It makes for a beautiful and constant reminder of your love for your significant other.
Recommended Products
As an Amazon Associate and member of other affiliate programs, I earn from qualifying purchases.


More Valentine’s Decor Ideas
- Valentine’s Day Wood Signs
- Homemade Valentine Decorations
- DIY Love Sign For Your Valentine
- Valentine Home Decor
- Happy Valentine’s Day Signs

Follow us on YouTube to get more tips for painting furniture. Or share your project with us on our Facebook Group and be part of our community. See you there!