
We Took a Chance on a Moody Bedroom Makeover. Did We Go Too Far?
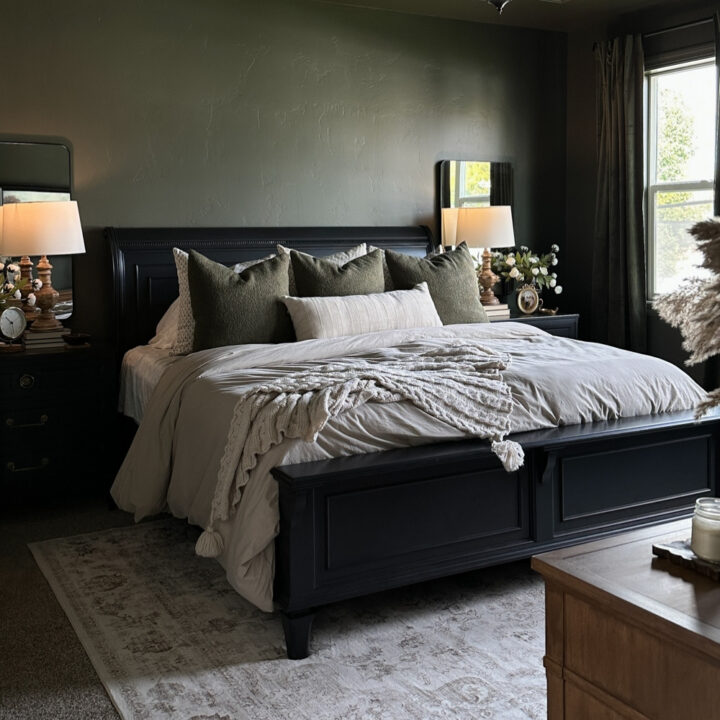
This moody bedroom makeover completely changed how our room looks and feels, and I still can’t believe the difference. We wanted our bedroom to feel cozy and inviting, but painting everything with such a dark color was honestly VERY scary at first.
For this budget bedroom makeover, we focused on making big changes without replacing everything we already owned. We even updated our furniture to match the new look! If you’re thinking about updating yours too, check out these best painted furniture ideas for inspiration.
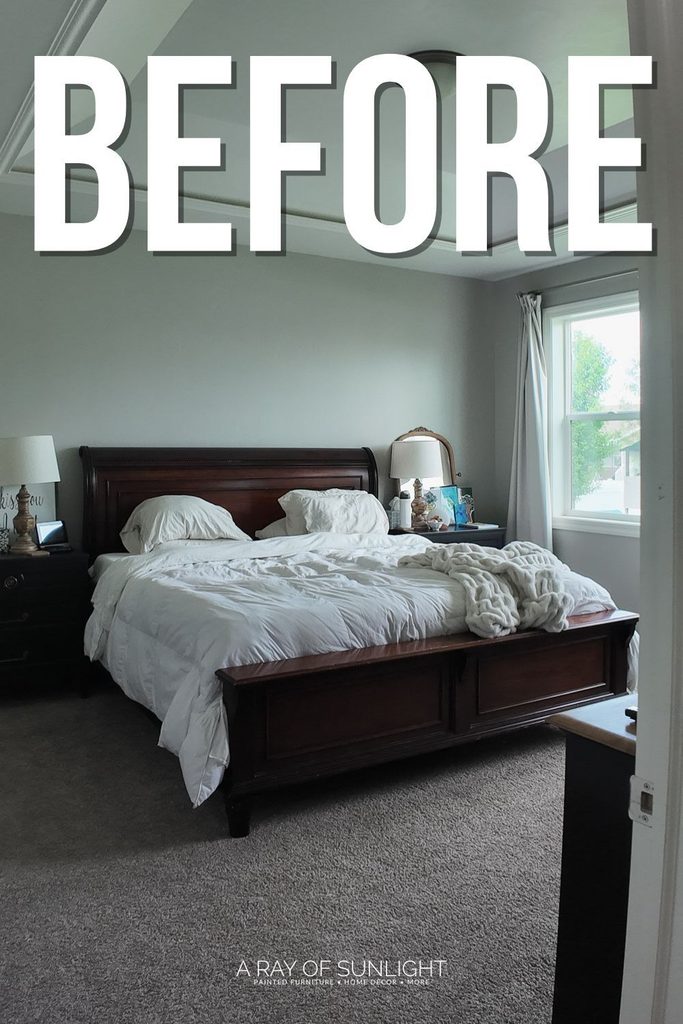
Our master bedroom is gorgeous with a beautiful tray ceiling, but everything was just beige and gray. We hadn’t really updated the furniture either, and I wanted to give the whole room an overhaul so it would feel cozy and inviting, somewhere we could relax in the evenings.

Every time I looked for inspiration, I kept coming back to dark green color drenched rooms. But to be completely honest, I was terrified to paint everything such a dark color! I was so worried we’d end up painting the ceiling and all the trim white again!
But my mom kept telling me to just go for it because she has a color drenched room and absolutely loves it. So we finally decided to take the chance, update the furniture, and see if we could turn our bedroom into the cozy space I had been imagining.

Supplies Used for Moody Bedroom Makeover
As an Amazon Associate, I earn from qualifying purchases. I also may earn from other qualifying purchases with other companies or get free product to review and use. All opinions are my own.
- Paintable Outlet Covers
- Spackling
- SurfPrep Sander (Use code RAY10 to get 10% off your order)
- Foam Sanding Pad (Use code RAY10 to get 10% off your order)
- Green FrogTape
- XL Drop Cloths
- Sherwin Williams Roycroft Bronze Green Paint
- Zibra Paintbrush
- Paint Roller
- Yellow Paint Container for painting on a ladder
- Putty Knife
- PreTaped Plastic
- Paint Sprayer
- Velvet Curtains
- Bedding
- Area Rug
- Lifelike Peonies
- Throw Pillows
Color Drenching Our Bedroom Dark Green
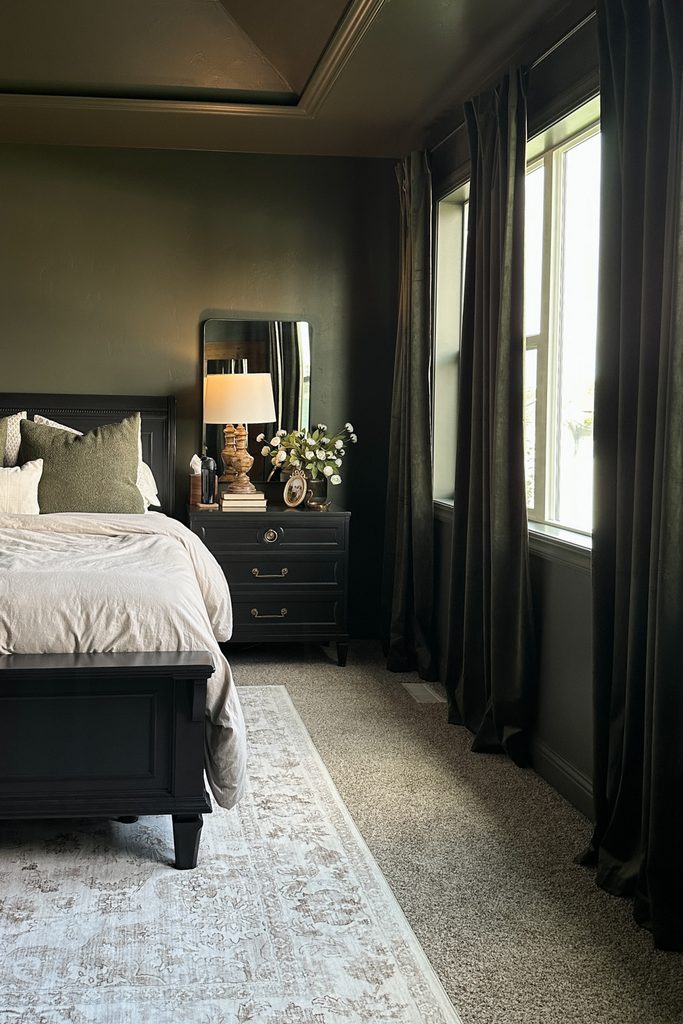
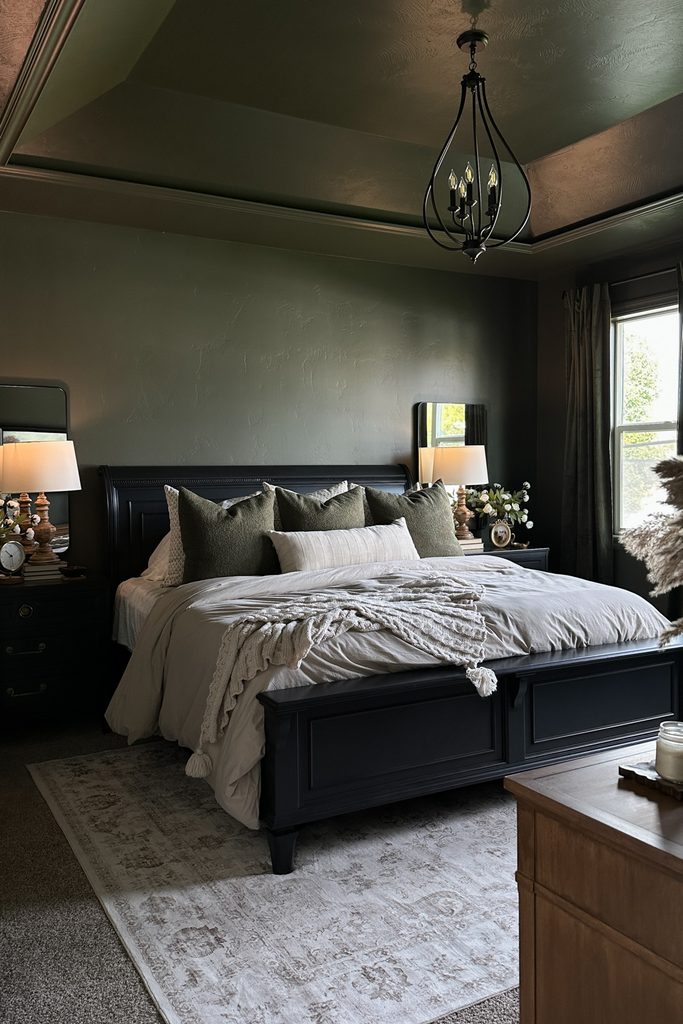
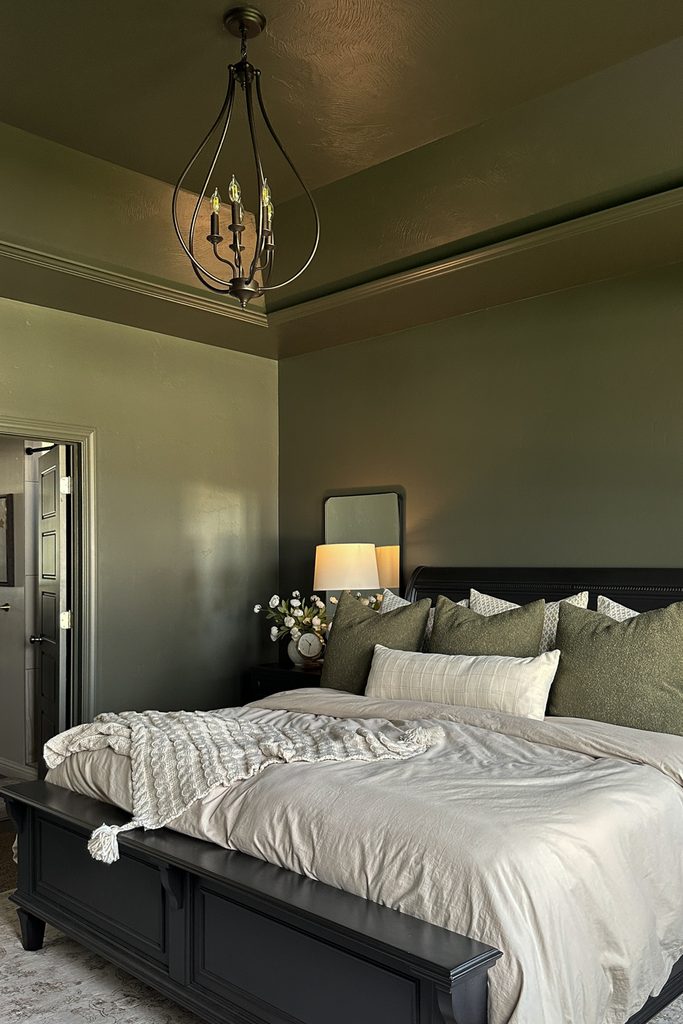
The biggest part of this moody bedroom makeover was color drenching the entire room, which means painting the walls, ceiling, trim, and doors the same color. We found this absolutely amazing green, Roycroft Bronze Green. It’s such a deep, earthy green that it almost looked brown in the Sherwin Williams store.
We used Sherwin Williams Cashmere paint and the paint calculator recommended five gallons, but I bought 3 to start, and that ended up being enough for the entire 15’x16′ room!
Painting the Walls and Ceiling
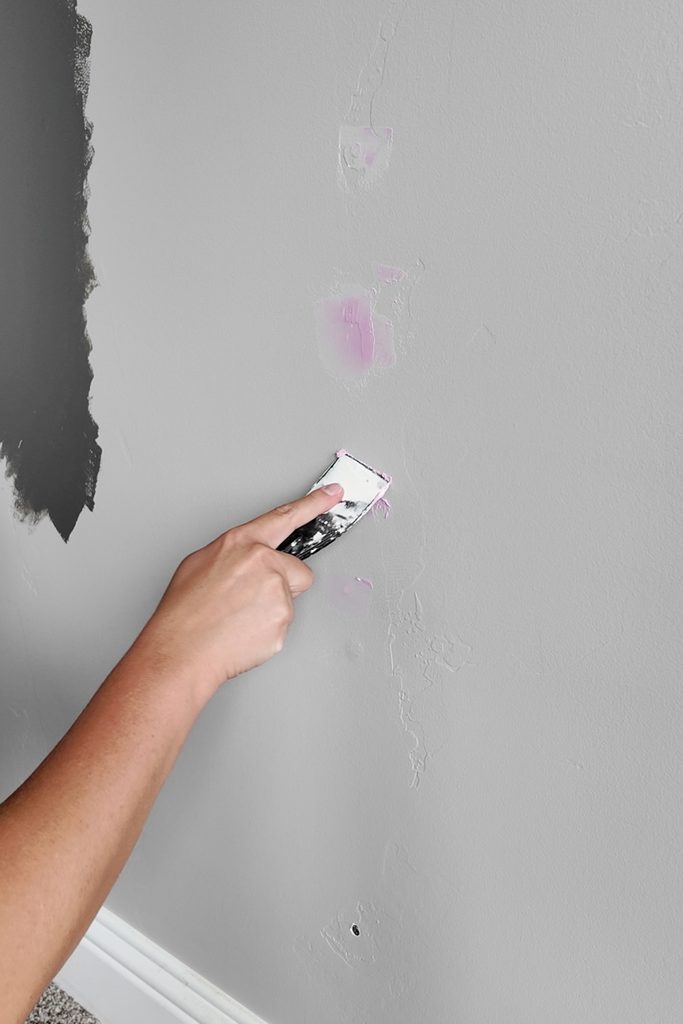
Before we started painting, we removed the outlet covers and everything hanging on the walls, filled any holes and damage with spackling, and sanded everything smooth. Taylor also used our SurfPrep sander with a foam sanding pad attached to the shop vac to lightly scuff the trim to help the paint stick.
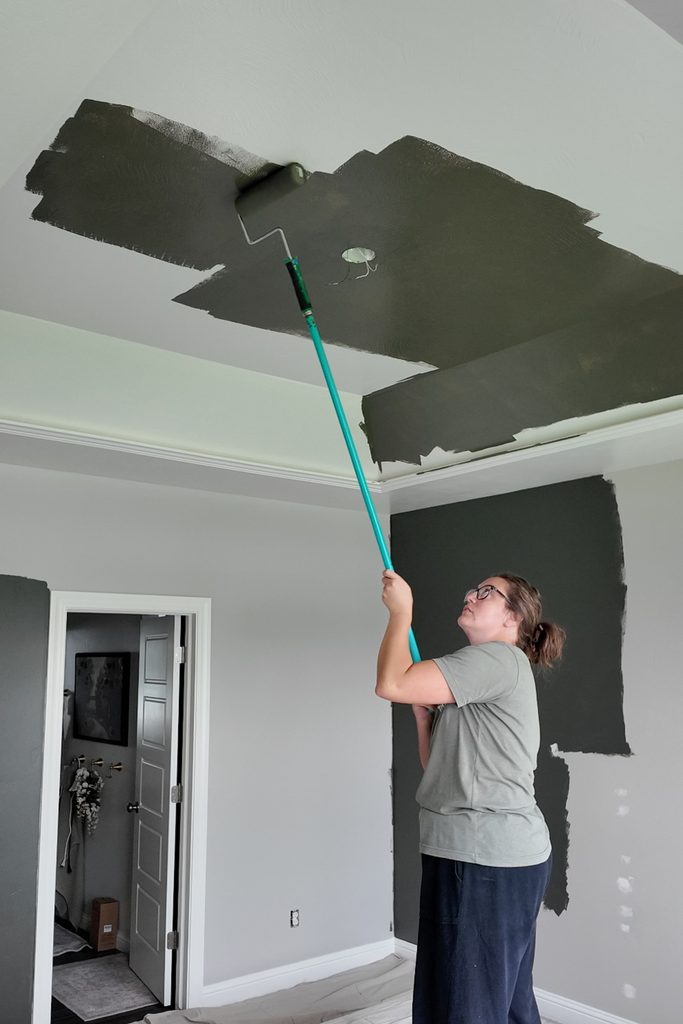
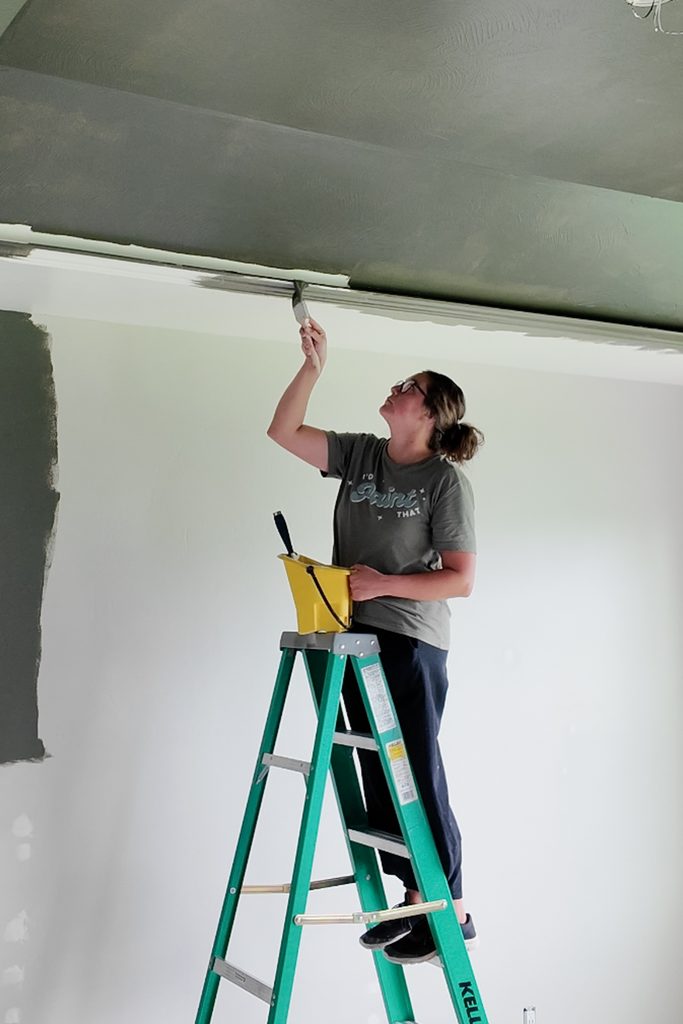
One thing I love about color drenching is that you don’t have to tape off the ceiling, walls, and trim because everything is the same color. You can just keep painting from the ceiling down to the ground.
I attached my paint roller to a broomstick to make it easier to paint the ceiling without a ladder. Our tray ceiling had crown molding details, so I used a mini roller and paintbrush for those areas. Then I worked my way down to the walls, using my favorite Zibra brush for painting walls to get into the corners.
Painting the Baseboards Without Getting Paint on the Carpet
Now, painting the baseboards was a little tricky because we have carpet in our bedroom, and the last thing I wanted was green paint all over it! I started with regular painter’s tape along the carpet, but that wasn’t enough, so I added green FrogTape and tucked it underneath the baseboards to help keep the carpet out of the way.
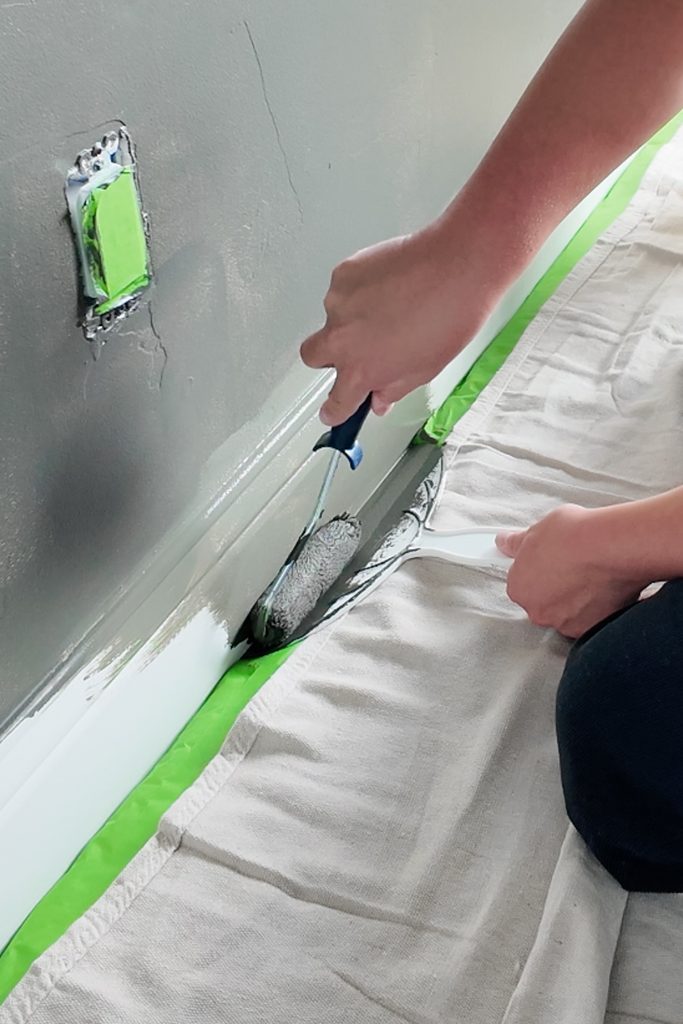
Then, when it was time to paint, I grabbed a really long putty knife so I could work on a bigger section at once. I tucked it between the carpet and the baseboard, pushing it just underneath the baseboard while I brushed on the paint. Then I went back over it with a mini roller.
Would you like to save this?



Painting the Bedroom Doors and Windows
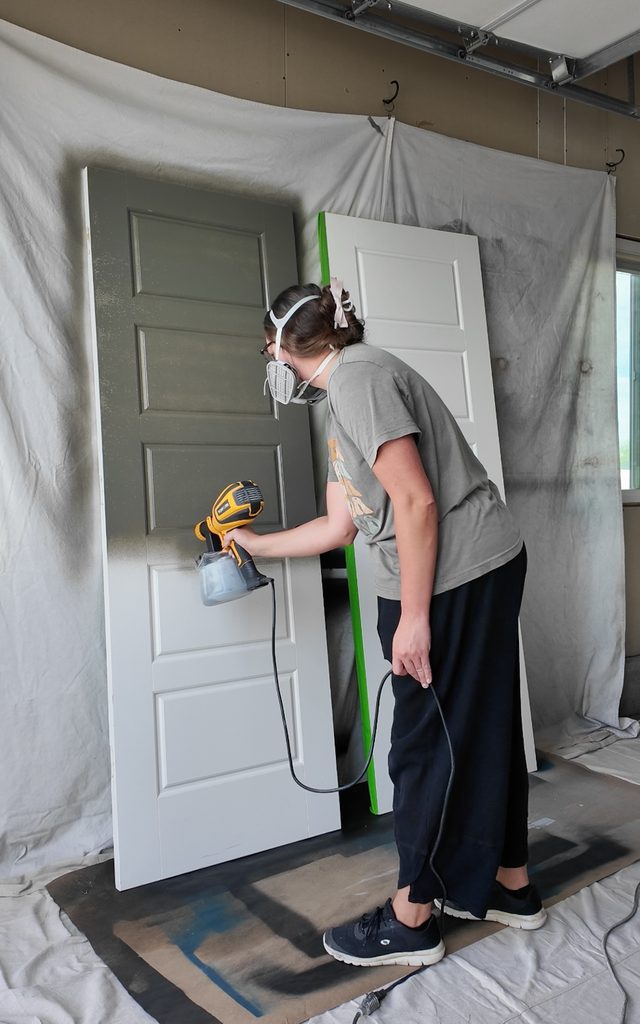
We removed the doors to spray them outside instead of painting them by hand (which would have ended up with uneven sheen I bet!). But here’s something I wish I’d known beforehand. I didn’t cover the backs of the doors or fill the doorknob holes with plastic or foil, and I ended up getting green overspray on the white side. So then I had to go back and repaint the backs white again!
We also painted the casings around the windows, but left the actual windows and plastic-y parts alone. And once again, green FrogTape was absolutely worth the extra cost because it sealed the edges and kept the paint from seeping underneath.
For the most part, I only needed two coats of paint, although there were a few areas, especially on the trim, that needed three. The whole project took about two days, maybe a little longer, and that included moving furniture, fixing and sanding everything, painting, and replacing the light fixture.
Updating Our Bedroom Furniture and Decor
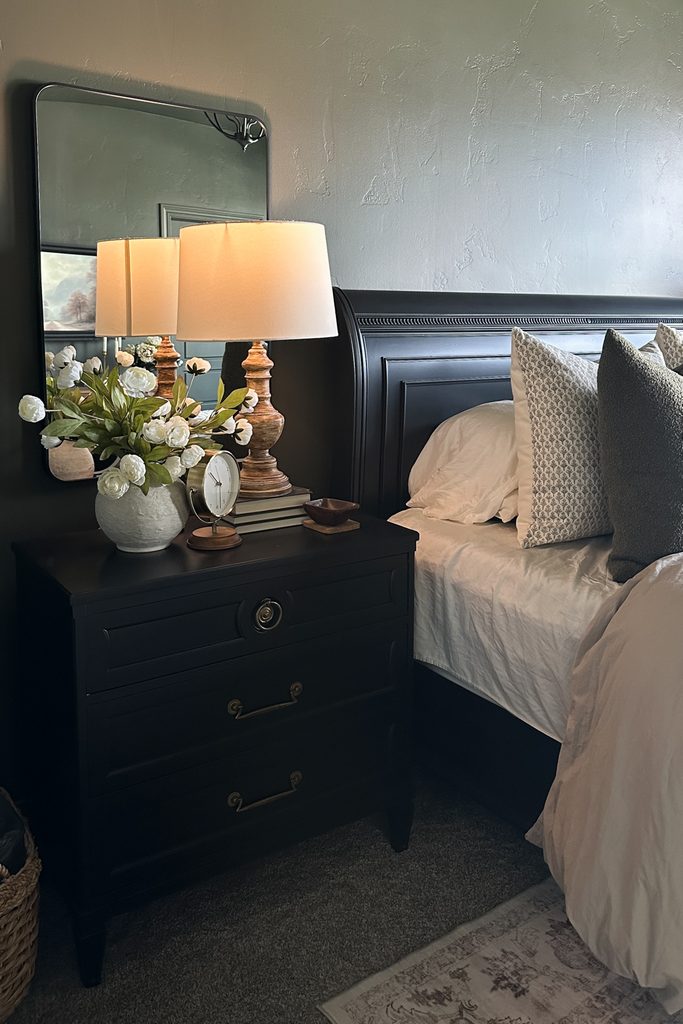
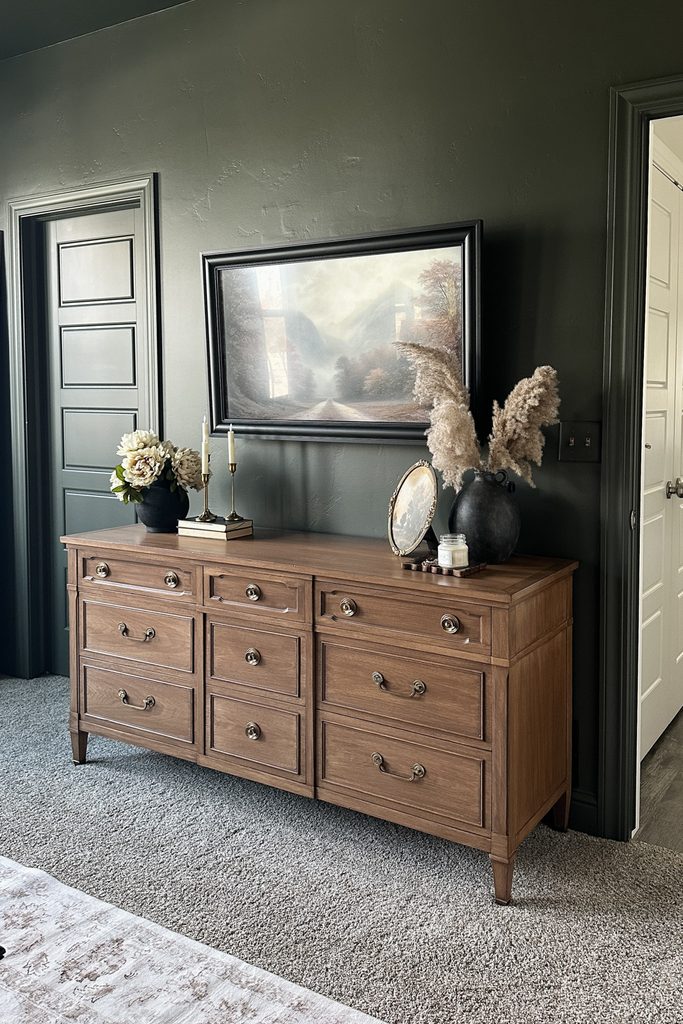
Color drenching was the biggest part of this dark green bedroom makeover, but we also updated our furniture. We painted our bed frame and nightstands and refinished our dresser because I wanted to get rid of the farmhouse look and the orange and red wood tones.
- Here’s our nightstand makeover: the fastest way to make old furniture look expensive.
- For our bed frame makeover, check out how to darken a warm wood bed frame without stripping it.
- And for the dresser makeover, see refinishing a wood dresser with acetone and paint wash.
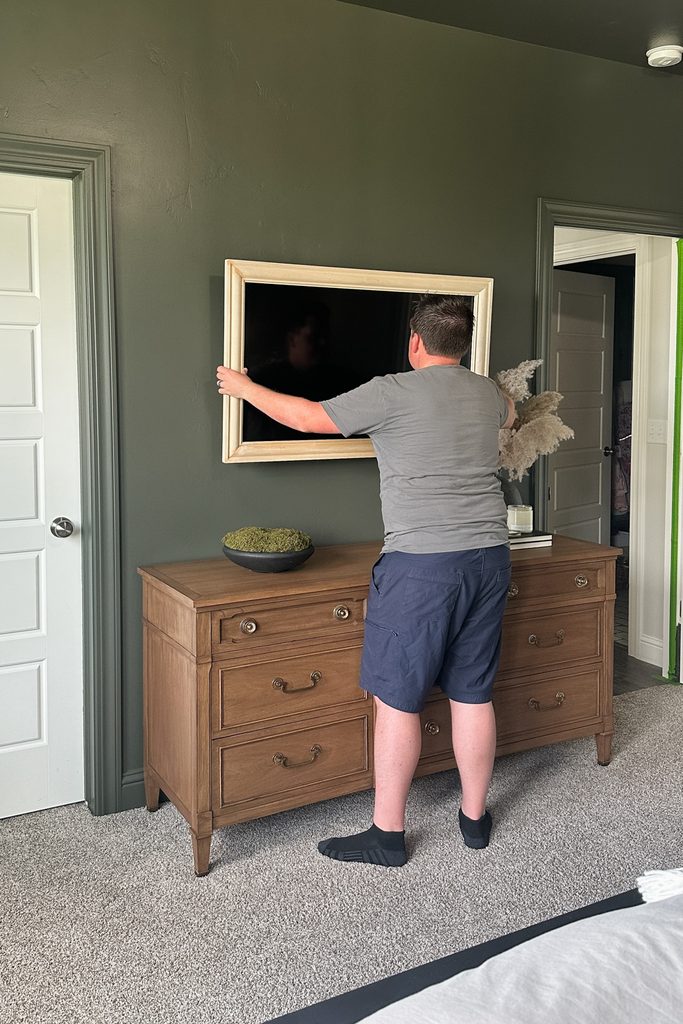

We also wanted our regular old TV to look like one of those pretty frame TVs, but I wasn’t about to buy a brand new one! So we mounted it closer to the wall and made a DIY frame around it (blog post coming soon on those details!)
For the rest of the bedroom, we hung goooorgeouss velvet curtains, added mirrors above the nightstands, hung a gallery wall, and finally got new bedding. We also replaced our old boob light with a pretty chandelier from my parents’ remodel, which we got for free!

But here’s the thing. Even after decorating everything, something still felt off. I couldn’t figure out what it was until I realized we didn’t have an area rug under the bed.
I wanted a large rug with some of the same brown tones as our dresser, but there was no way I was spending $300 or $400 on one. After ordering multiple rugs from Amazon, I finally found this area rug for only $100, and it’s the finishing touch that just pulled everything together.
All in all, we updated our entire bedroom for just around $1,000, give or take for the furniture makeover supplies. And after being so scared to paint everything such a dark color, I can honestly say we didn’t go too far at all! I absolutely love how our bedroom turned out, and it finally feels like a place where we can relax and man, it’s soooo peaceful and cozy in here!

We Took a Chance on a Moody Bedroom Makeover. Did We Go Too Far?
This moody bedroom makeover shows you how to color drench your room with dark green paint, update your furniture, and bring everything together with budget friendly decor.
Materials
- Paintable Outlet Covers
- Spackling
- Foam Sanding Pad (Use code RAY10 to get 10% off your order)
- Green FrogTape
- XL Drop Cloths
- Sherwin Williams Roycroft Bronze Green Paint
- Putty Knife
- PreTaped Plastic
- Velvet Curtains
- Bedding
- Area Rug
- Lifelike Peonies
- Throw Pillows
Tools
Instructions
- Remove the outlet covers and everything hanging on the walls. Fill any holes and damage with spackling, then sand everything smooth. Lightly scuff any areas like trim with a SurfPrep sander and foam sanding pad attached to a shop vac to help the paint stick.
- Start painting the ceiling with Sherwin Williams Cashmere paint in Roycroft Bronze Green. Attach a paint roller to a broomstick to reach the ceiling, then paint the crown molding details with a smaller roller and paintbrush before working down the walls with a Zibra paintbrush.
- Apply painter's tape along the carpet, then add green FrogTape and tuck it underneath the baseboards to keep the carpet out of the way. Push a long putty knife between the carpet and baseboard while brushing on the paint, then go back over it with a mini roller.
- Remove the bedroom doors and spray them outside instead of painting them by hand. Cover the backs of the doors and fill the doorknob holes with plastic or foil to prevent overspray from getting onto the other side.
- Paint the casings around the windows, leaving the actual windows and plastic parts alone. Apply green FrogTape along the edges to keep the paint from seeping underneath.
- Apply two coats of paint to most areas, adding a third coat wherever needed.
- Update your existing furniture to match the new bedroom color scheme. Finish decorating with curtains, mirrors, wall decor, lighting, new bedding, and an area rug to bring everything together.
More bedroom Makeover Ideas
Follow us on YouTube to get more tips for painting furniture. Or share your project with us on our Facebook Group and be part of our community. See you there!