How To Fix A Drawer Bottom That Falls Out
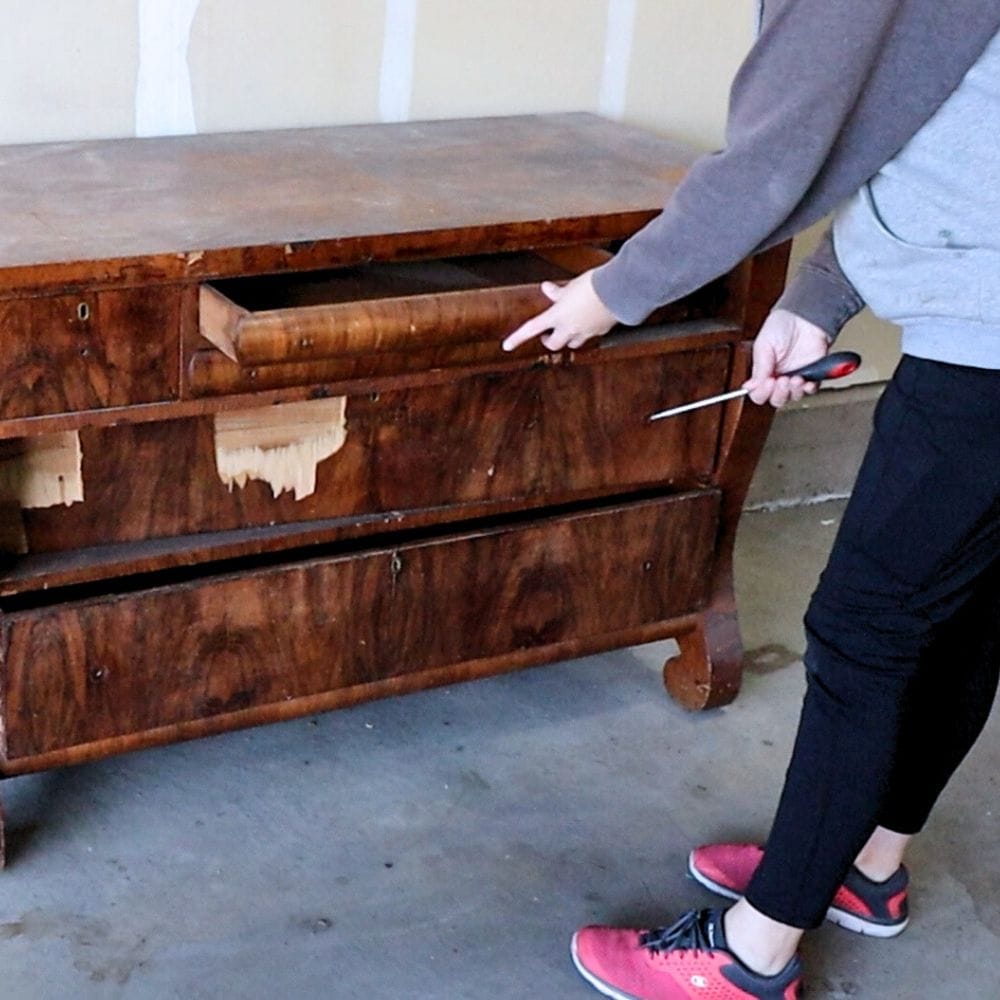
Nothing is more frustrating than going to open a drawer and having the bottom fall out, leaving your belongings scattered everywhere. Dresser drawers can have issues such as old dresser drawers that stick. They can happen with many drawers. In this guide, we’ll show you how to fix a drawer bottom that falls out!
This repair is relatively simple and can save you from having to purchase a new drawer or dresser.
Drawers provide a convenient and organized space to store our belongings. However, over time, the constant use and weight of our items can take a toll on their bottoms.

This can result in drawers falling out or getting stuck, making it difficult to retrieve our things. Drawers fall out due to the bottom panel becoming loose from its frame or supports.
This can happen from constant pulling and pushing of the drawer, causing wear and tear on the adhesive or nails holding the bottom in place.
It can also occur if the bottom panel is made of weak material such as particle board or thin plywood.
Now let’s dive into how to fix your falling drawer bottom!
Supplies Used to Fix A Drawer Bottom That Falls Out
As an Amazon Associate, I earn from qualifying purchases. I also may earn from other qualifying purchases with other companies or get free product to review and use. All opinions are my own.
- 1/8″ Plywood
- Saw
- Sandpaper
- Screwdriver or Hammer
- Staple Gun or Small Nails
- Wood Glue
- Wooden Dowels
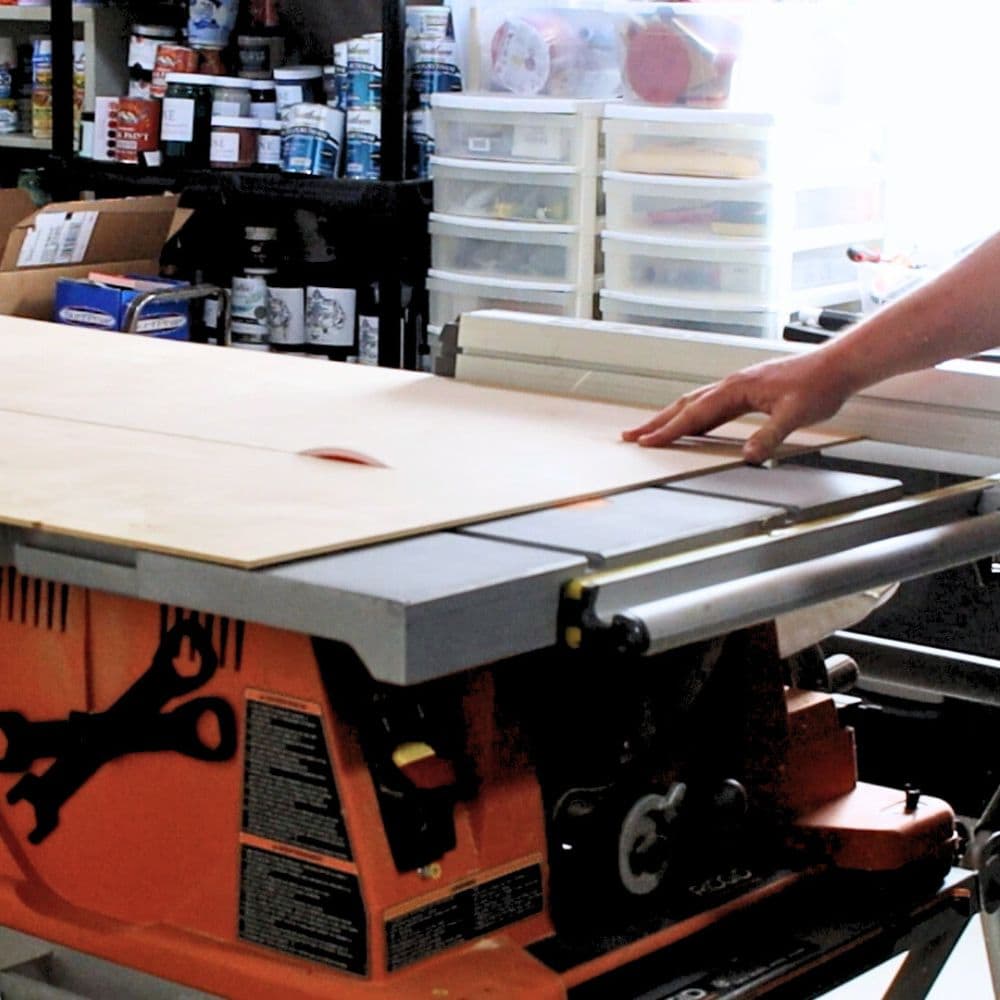
Cut New Wood Drawer Bottom
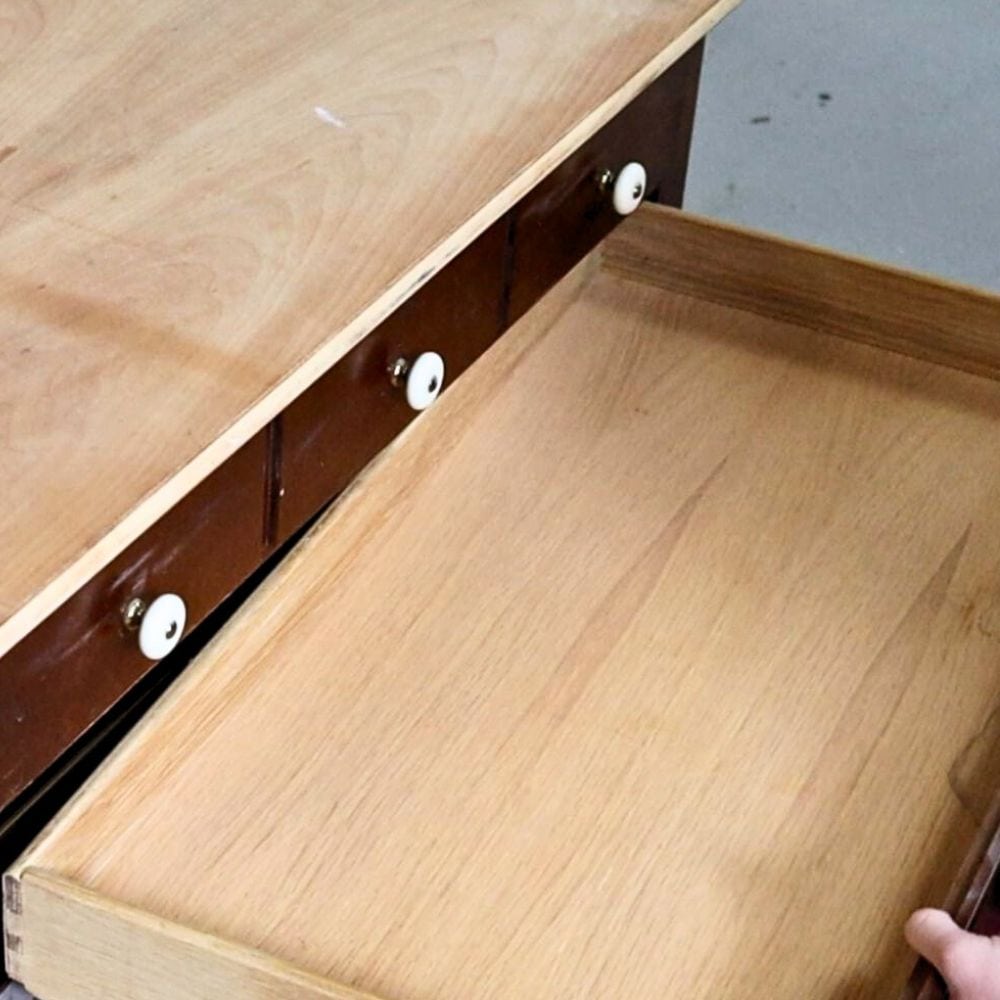
First, measure the length and width of your drawer to determine the size of the new bottom. It is best to use 1/8″ plywood as it is sturdy yet thin enough to fit into the groove of most drawer frames.
Next, carefully cut out the new bottom piece according to your measurements. It is always better to cut a slightly larger piece that can be trimmed down later if needed.
Once your new bottom is cut, test its fit by placing it in the drawer frame. It should slide easily into place without any gaps or overhangs.
If there are any imperfections, you can use sandpaper to smooth them out or trim the edges with a saw.
Once you are satisfied with the fit, set the new bottom aside. This will be used for replacement later in the process.
Remove the Old Drawer Bottom
Now let’s move on to removing the old falling out drawer bottom in order to replace it with your newly cut piece. Be sure to remove all objects from your drawer and turn it over onto a flat surface.
You may need to use a screwdriver or hammer to gently pry out any nails or staples securing the bottom panel in place.
If the bottom is glued, you may need to carefully use a putty knife or chisel to separate the old panel from the frame.
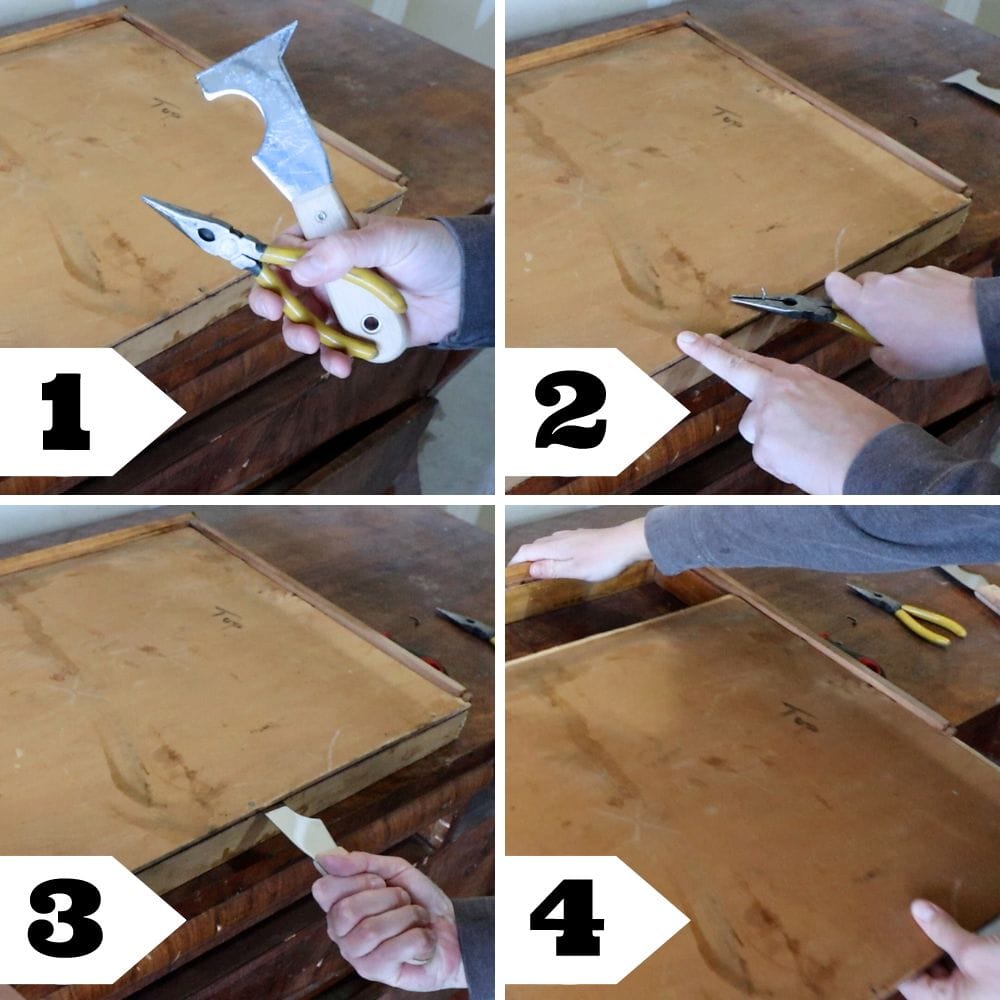
Once the old bottom is removed, clean out any debris or leftover adhesive from the frame. This will guarantee a smooth fit for the new bottom piece.
Assemble New Drawer Bottom
The next step is to assemble your new drawer bottom. Take the cut plywood piece and lay it flat on your work surface.
Then, carefully place the drawer frame on top of the panel. Make sure all edges are aligned and the panel is centered within the frame.
Now it’s time to secure the new bottom in place. You can use a staple gun or small nails to attach the panel to the frame.
Be sure to space out your staples or nails evenly along each edge for maximum support.
Would you like to save this?
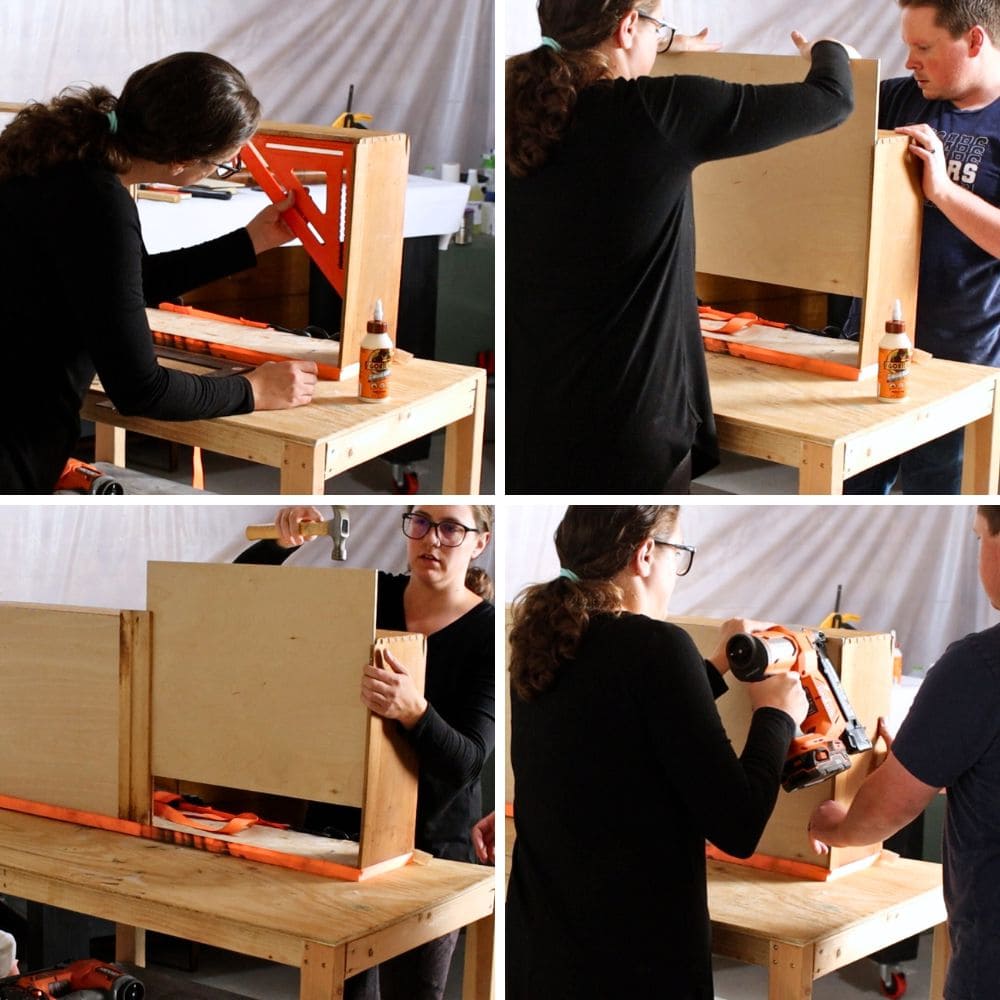
You can also add additional support on the side of the drawer bottom. This can be done by gluing small wooden dowels or triangle braces to the sides of the bottom panel and the adjacent walls of the drawer frame. This will help keep it in place and prevent the bottom from shifting.
Once you have finished securing the new bottom, reassemble the drawer and test it out by pulling and pushing it a few times. It should feel sturdy and secure, with no movement or wobbling of the bottom panel.
If not, you can make any necessary adjustments, such as adding more staples or reinforcing the sides, until you have a functional and stable drawer bottom.
Here’s our dresser drawer bottom replacement post to learn more about the step by step process of replacing a dresser drawer bottom!
Will this repair work on all types of dresser drawers?
Absolutely! This repair technique can work on most types of dresser drawers. This method should apply as long as you have a standard rectangular or square drawer with a removable bottom panel.
However, if your drawer has a unique shape or size, it might need a few tweaks to the steps in this guide.
For example, if the drawer has curved sides or an odd shape, you may need to use a different type of material for the bottom panel or add more support on the edges.


But overall, this repair method is versatile and can be applied to a variety of dresser drawers.
Especially if the bottom panel is detachable and can be replaced, this technique should work in fixing any falling out issues.
How long will this repair typically last?
This repair method should provide a long-lasting solution for your falling drawer bottom. As long as the new panel is properly secured and supported, it can withstand the weight of your items and daily use.
The lifespan of this repair will also depend on the type and quality of materials used. Using sturdier wood or adding extra support can prolong its durability.
Maintaining your drawer and avoiding excessive weight or rough handling can also contribute to its longevity.
However, if the new panel becomes loose or damaged over time, you can always follow these steps again for an easy fix.
This repair is definitely a more cost-effective and efficient alternative to purchasing a new drawer or dresser.
To have a sturdy and functional drawer once again, we hope this guide has been helpful in teaching you how to fix a drawer bottom that falls out.
Remember, it’s important to use sturdy materials and properly secure the new bottom in place for long-lasting results.
On top of these, maintaining your drawer and treating it with care can also extend its lifespan.

How To Fix A Drawer Bottom That Falls Out
We'll show you how to fix a drawer bottom that falls out and save you from having to purchase a new drawer or dresser.
Materials
Tools
Instructions
- Carefully measure the length and width of your drawer and cut a new 1/8" plywood bottom piece to replace the old one. Test the fit and make any necessary adjustments before moving on to the next step.
- Gently remove any nails or staples securing the old bottom panel in place with a screwdriver or hammer. Clean out any debris or leftover adhesive for a smooth fit of the new bottom piece.
- Lay your new bottom piece flat and place the drawer frame on top, making sure all edges are aligned and centered. Secure the bottom with staples or nails spaced evenly along each edge.
- For additional support, you can glue small wooden dowels or triangle braces onto the sides of the bottom panel and adjacent walls of the frame. Reassemble the drawer and test it out for stability. Make any necessary adjustments here for a secure fit.
Recommended Products
As an Amazon Associate and member of other affiliate programs, I earn from qualifying purchases.


More Drawer Repair Tips
- How To Fix Broken Dresser Drawer Tracks
- How To Fix A Dresser Drawer Side
- How To Repair Particle Board Drawer

Follow us on YouTube to get more tips for painting furniture. Or share your project with us on our Facebook Group and be part of our community. See you there!