
How We Turned a Cheap Desk Into Two Nightstands
Time to show you how to turn a desk into nightstands using an old solid wood desk we found on Facebook Marketplace for around $35! Older nightstands can feel way too short next to today’s taller beds, especially when your bedroom is tight on space.
So we’re turning this desk into two tall, skinny nightstands instead. And the best part? It’s really not that hard to do! For more inspiration, check out these furniture makeover ideas for your next project.
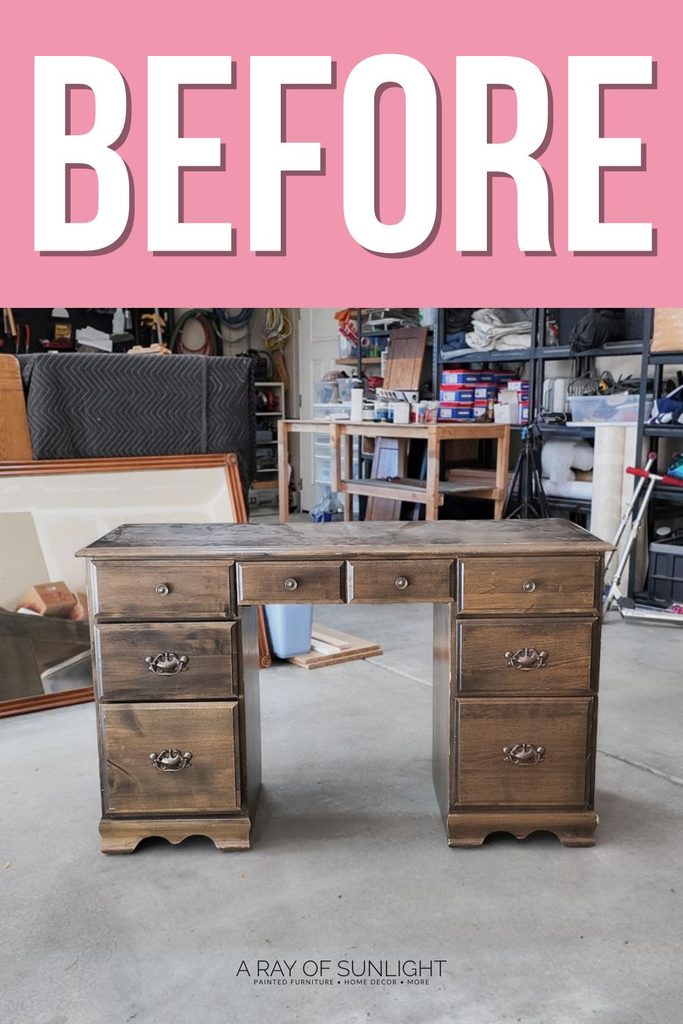
Welcome to Furniture Fixer Upper day, where we join 4 of our talented furniture friends and bring you brand new makeovers! I’ll link to my friend’s makeovers after our after photos at the bottom of this post! Don’t forget to check out their masterpieces!! Okay, back to our makeover!
We originally bought this desk thinking we would use it as a desk, but it just wasn’t doing much for us. And instead of getting rid of it, I figured we could make something more useful out of it.

I’ve done this type of project multiple times, and I still can’t get over what you can turn a desk into! The process really isn’t that crazy, and you don’t need a bunch of fancy tools either. So don’t let it scare you because this desk into nightstands makeover is something you can totally do!

Supplies Used to Turn a Desk Into Nightstands
As an Amazon Associate, I earn from qualifying purchases. I also may earn from other qualifying purchases with other companies or get free product to review and use. All opinions are my own.
- Electric Screwdriver
- Jigsaw
- Clamps
- Table Saw
- Bondo Wood Filler
- DeWalt Orbital Sander
- Shop Vac
- Sander Adapter
- Power Drill
- Kreg Cabinet Hardware Jig
- Heirloom Traditions Surface Prep Wipes
- Festool Rotex Sander
- Sanding Discs
- Drop Cloths
- PreTaped Plastic
- Paint Sprayer
- Heirloom Traditions Paint in Warm Embers
- Wood Filler
- AquaLock Black Primer
- Paint Roller
- Gold Pulls
How to Cut a Desk in Half
The first step to making these DIY nightstands from an old desk was taking off the desk top. Most of the time, the top is just screwed on underneath, so we removed the drawers to find all the screws. My electric screwdriver came in so handy because its head tilts to get into tight spaces!
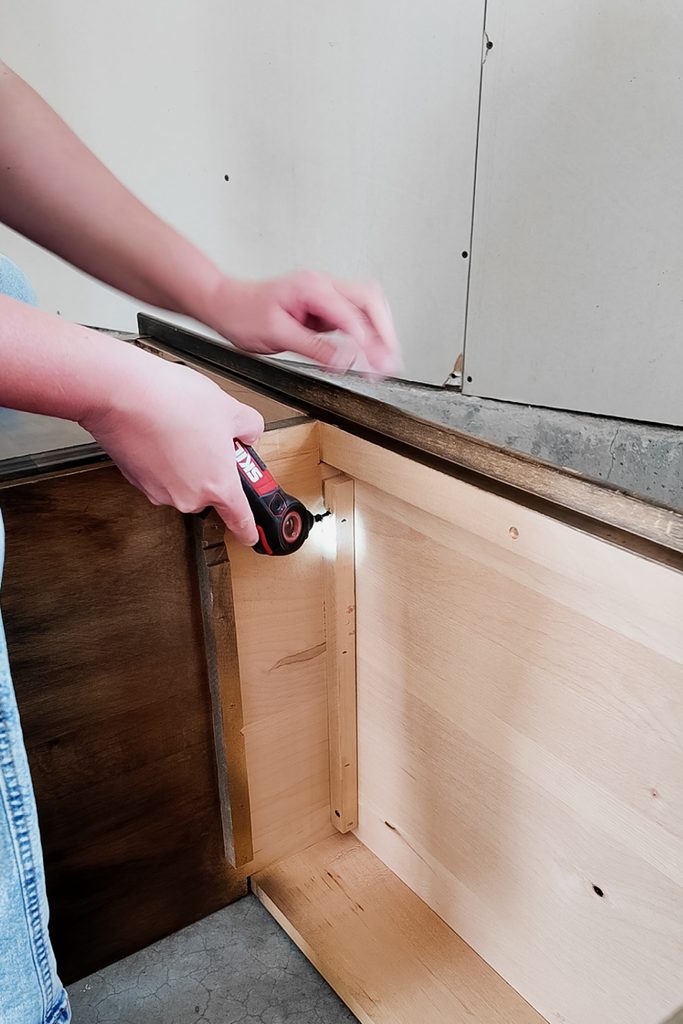
We saved the top for later because I had a different plan for it. Then I pried off the little supports holding the middle drawer in place. They were just stapled on, so they came off really easily!
Next, I needed to cut the pieces holding the two towers of drawers together. I tried using a circular saw with a wooden guide, but it felt way too aggressive, like it was going to kick back at me! The blade even cut into the side when I pulled away. Oops.
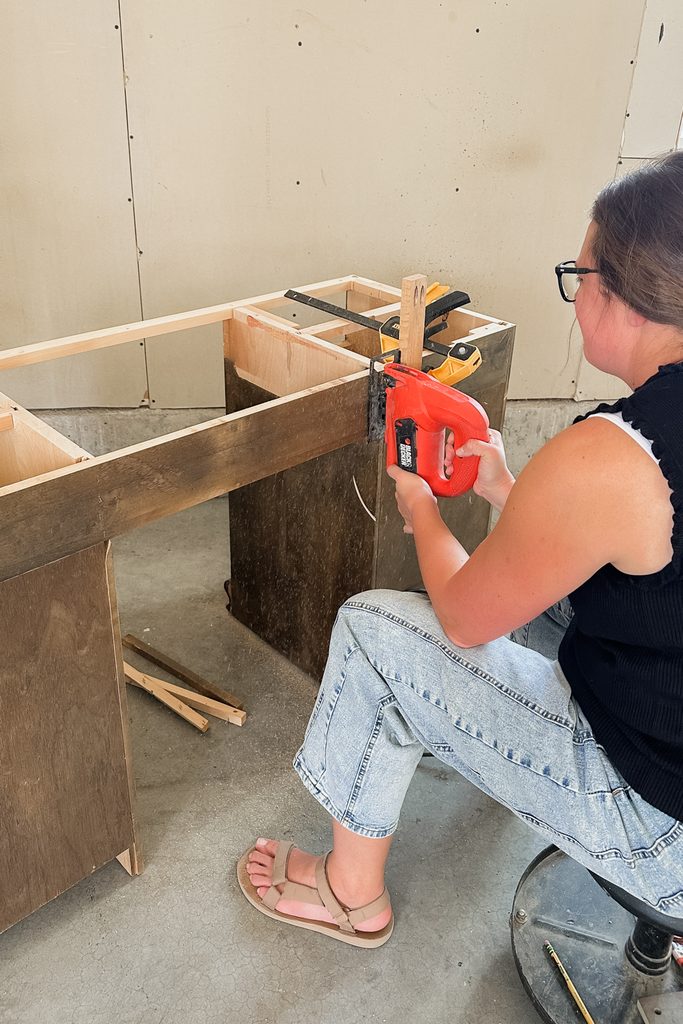
So I grabbed our jigsaw, which I love using way more, it’s so simple to use and not aggressive at all. I clamped down a piece of scrap wood as a guide and cut the remaining braces off.
Repairing the Wood
Once the desk was separated, there were just a couple of lgaps where the supports had been, so I mixed up some Bondo wood filler and filled those spots. I made sure to overfill everything so I could sand it smooth later.
I also filled the old hardware holes because that bat wing style hardware is terrible. This type of hardware deserves to go straight in the trash, and that’s exactly where it went!
Making New Tops
I wanted to reuse the original desk top, but the edges had a routed detail that I couldn’t match with the router bits I have. So my little hack was to cut the tops going the other way, with the wood grain running front to back instead of side to side. That way, we could cut two rectangles without having to match the original routed edges.
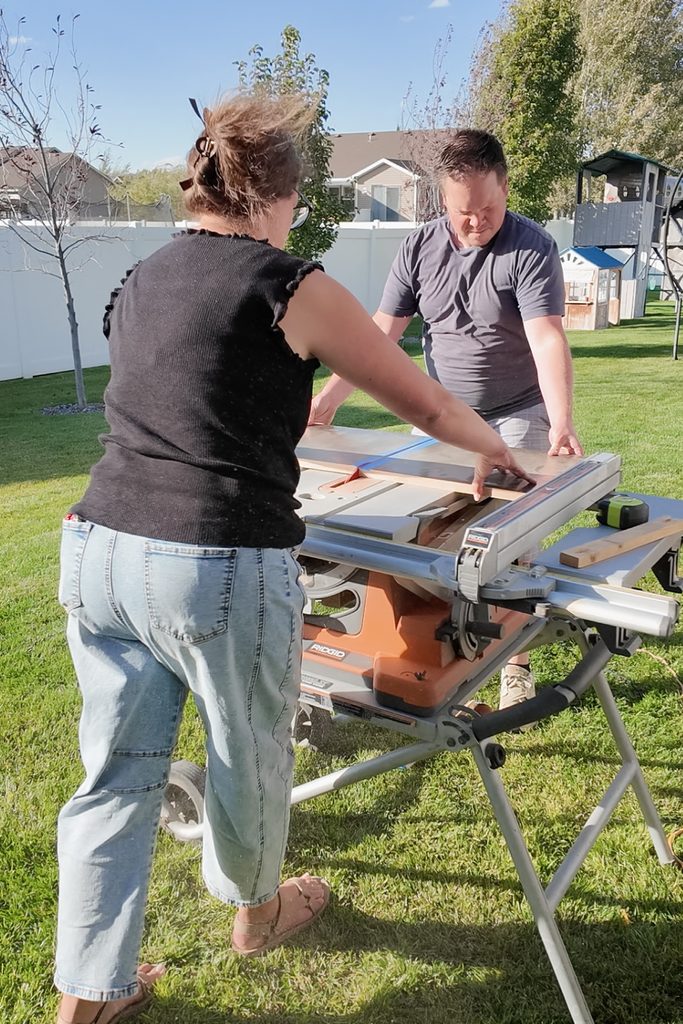
We used our table saw to cut the new tops, leaving about a 3/4″ overhang on both sides. Here’s another little hack: tape the edge of the wood where you’re going to cut it so the blade doesn’t chip the wood.




Sanding and Attaching the Nightstand Tops
Then I sanded all the Bondo smooth with our DeWalt orbital sander, using 120 grit and then 220 grit sanding screens. Then I took the new tops over to my workbench, flipped them over, and lined everything up so the tops were centered on the nightstands.
Before attaching them, I was trying to decide if I should cut off the little curvy detail at the bottom. I used some tape and a Sharpie to outline a different curve, but I wasn’t sure if I liked it. While I thought about what to do with the bottom, I drilled a couple of new holes in the supports and screwed the tops back on.
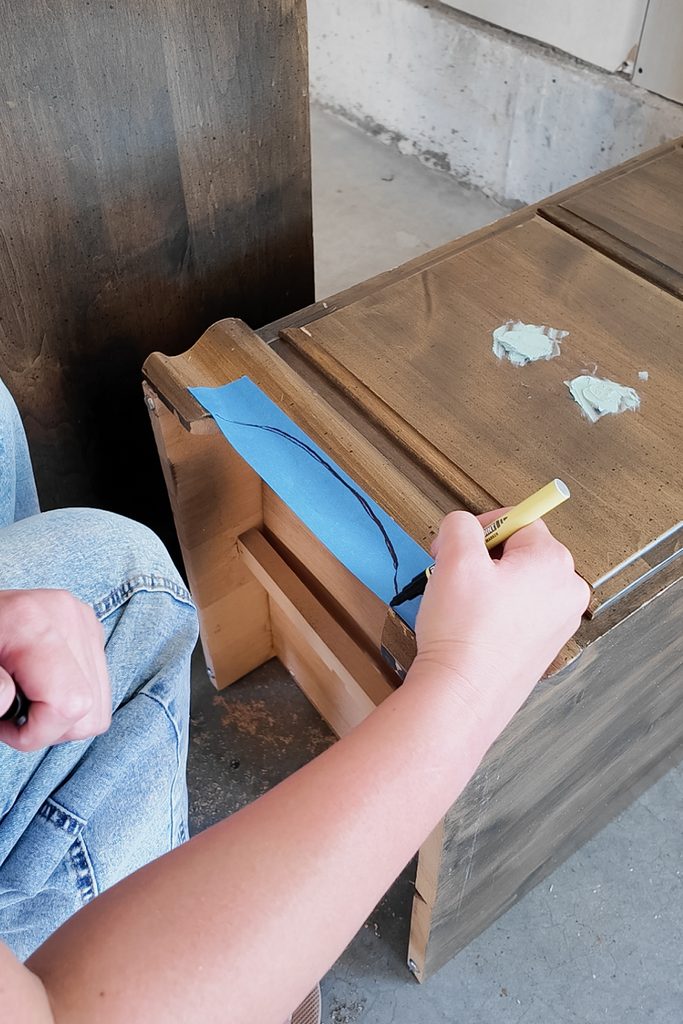
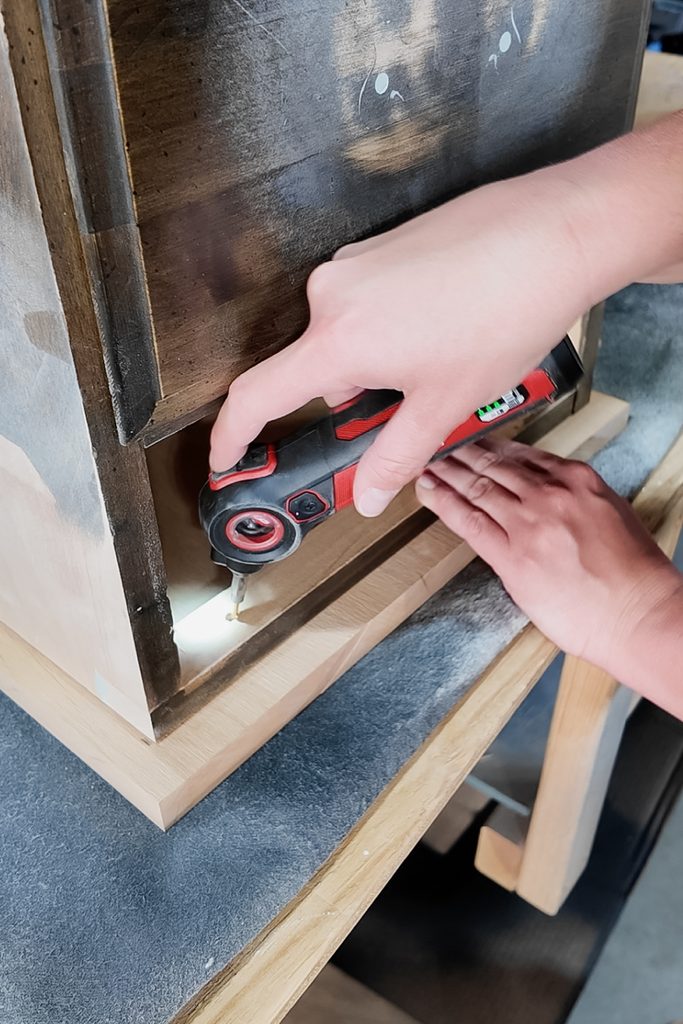
Oh my goodness, I could finally see the nightstands taking shape! Then I used ChatGPT to mock up what they would look like painted, and honestly, the half circle shape looked like a frowny face. So we decided to leave the original curvy detail.
I also decided against routing the edges of the new tops. Instead, I used my DeWalt sander to lightly curve the edges so they weren’t straight and sharp.
Preparing the DIY Tall Narrow Nightstands for Paint
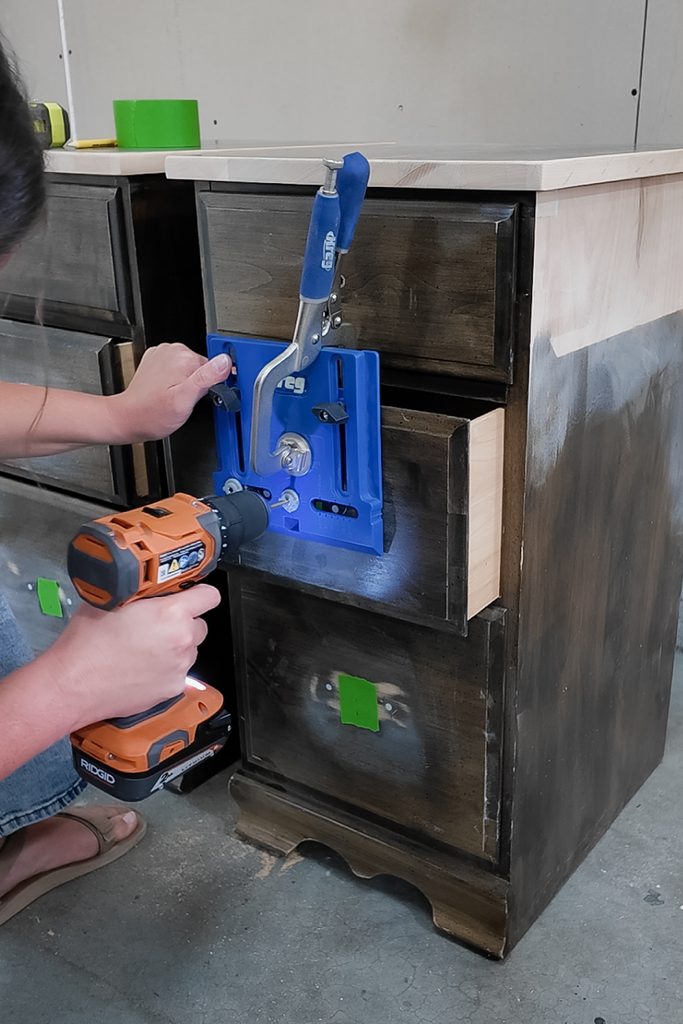
I wanted just one knob on each drawer, so I used my Kreg cabinet hardware jig to drill new holes. Learn more on how to drill new hardware holes here.
Would you like to save this?
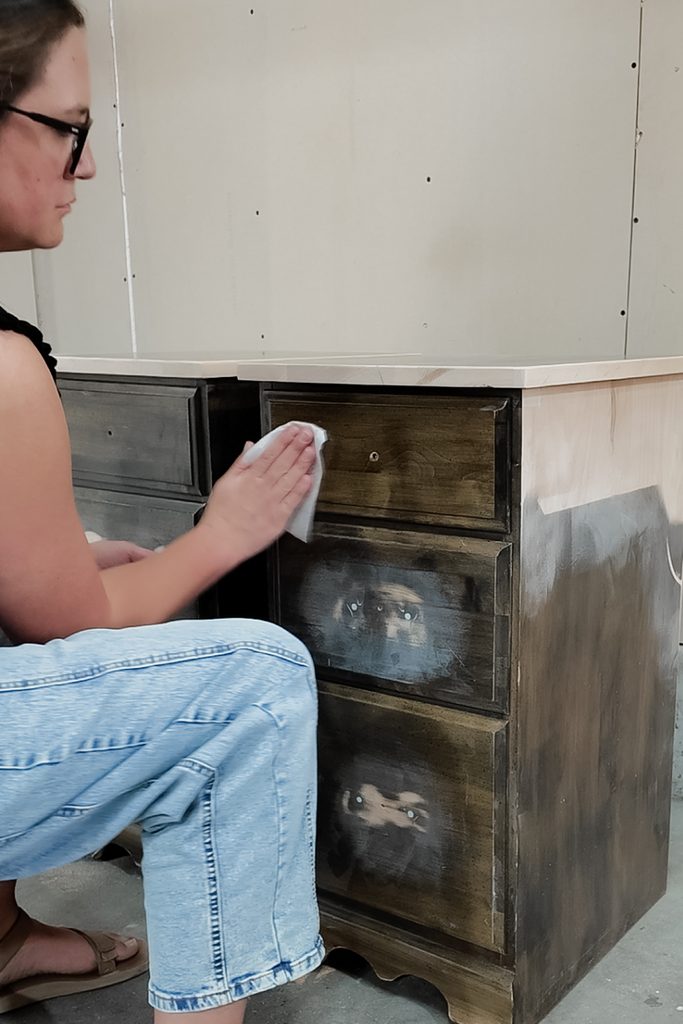
I cleaned the nightstands with Heirloom Traditions Surface Prep Wipes. They clean and dull the surface to help the paint stick. But after cleaning everything, I started looking at the tops a little more closely. There were scratches all over them, and I knew those dings and dents would show through the paint.
Removing the Old Finish From the Nightstand Tops
I needed to remove the old finish from the tops to get rid of all those scratches and dents. I first tried acetone because it had worked so well on my last few projects. But no go! It barely did anything except make the finish look a little hazy.
So I grabbed my DeWalt orbital sander with 80 grit sandpaper and started sanding. After a couple of minutes of barely making progress, I tried our carbide scraper, but it just kept sliding across the finish without digging in. UGH! This finish did not want to come off!
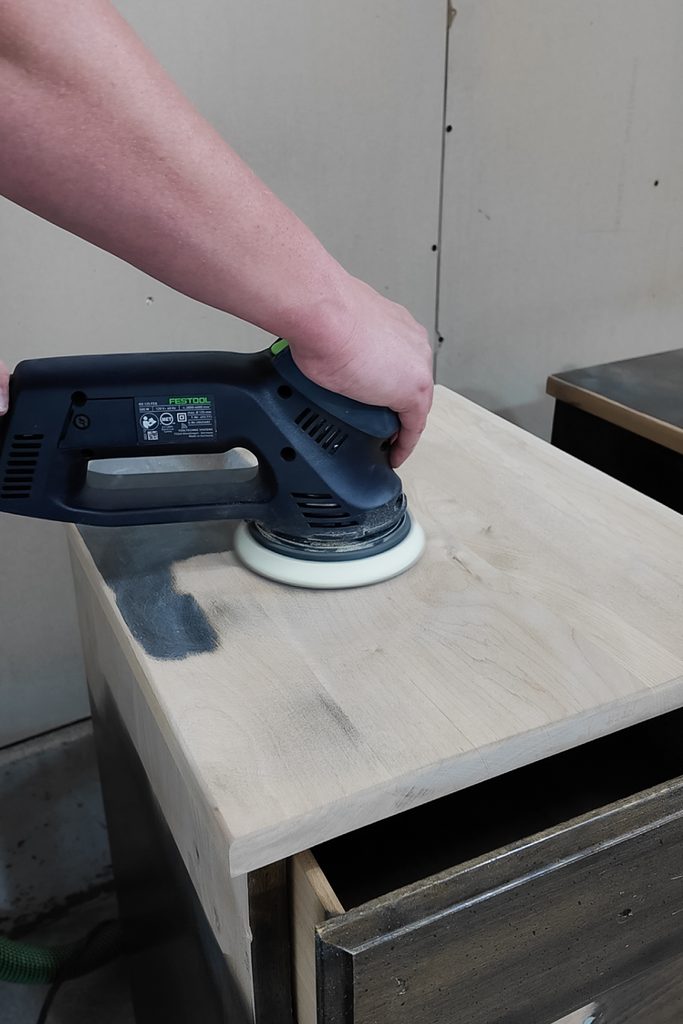
But then I remembered our Festool Rotex sander, which is gear driven and so much more powerful. It ate through that old finish at least twice as fast as the DeWalt sander! With the tops down to bare wood, I sanded by hand to remove the sanding swirls and smoothed everything down with 220 grit.
Painting Nightstands Black
It was finally time to paint! I went with Heirloom Traditions Paint in Warm Embers. It’s an all in one paint with a built in topcoat, which is perfect because I wanted to skip priming and all those extra steps. Check out my Heirloom Traditions All In One Paint review here.
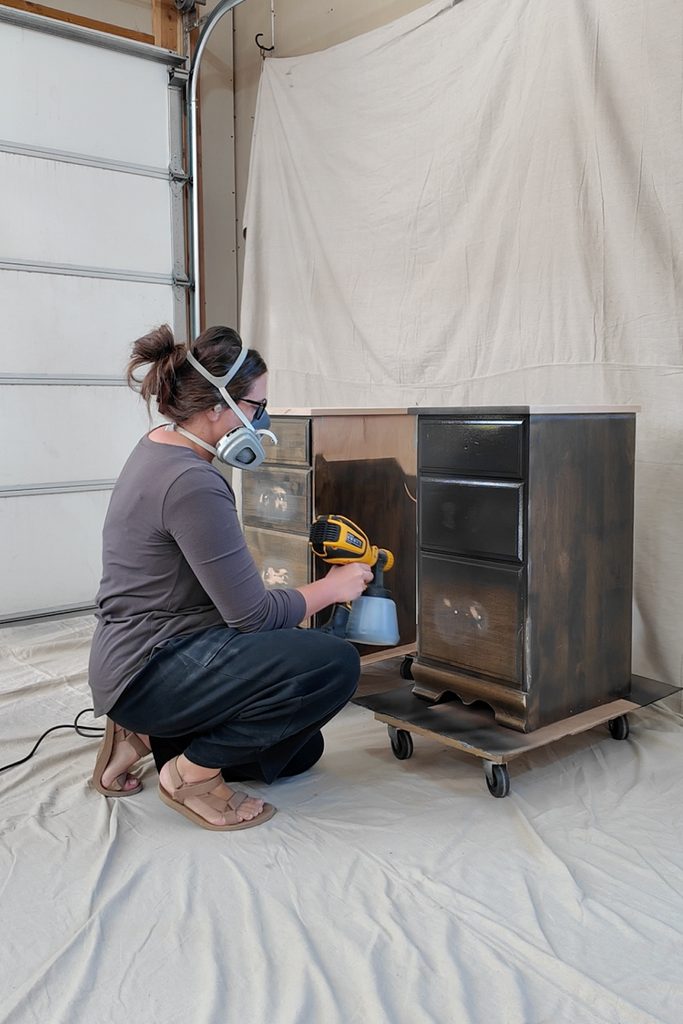
We set up a basic paint booth in the garage with drop cloths and put the nightstands on piano dollies. I taped off the drawers and kept them inside the nightstands while spraying. This saves so much space, saves my back, and helps prevent rough overspray on the drawer fronts. Learn more about the right spray paint tools you need when painting furniture.
After the first coat was mostly dry, I staggered the drawers to spray their tops and sides. Since these drawers overlap the cabinet, I also had to pull them out and brush the areas I couldn’t reach with the sprayer.
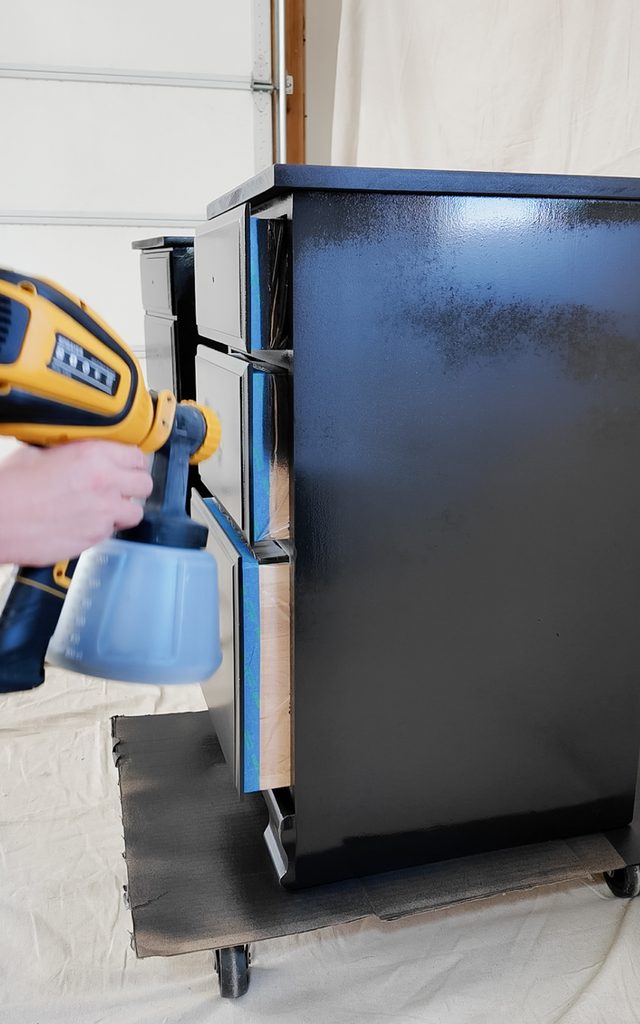
After a couple of coats, I found some dings and scratches, so I filled those with wood filler and painted again. But even after three or four coats, I could still see the ghost lines and wood grain where I’d sanded down to raw wood.
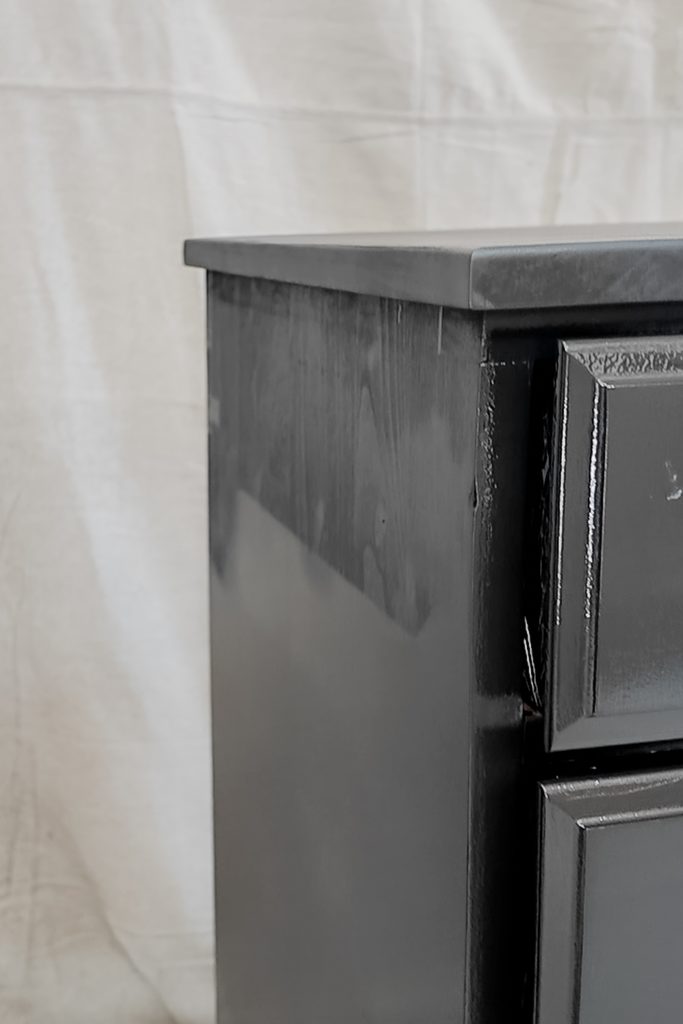
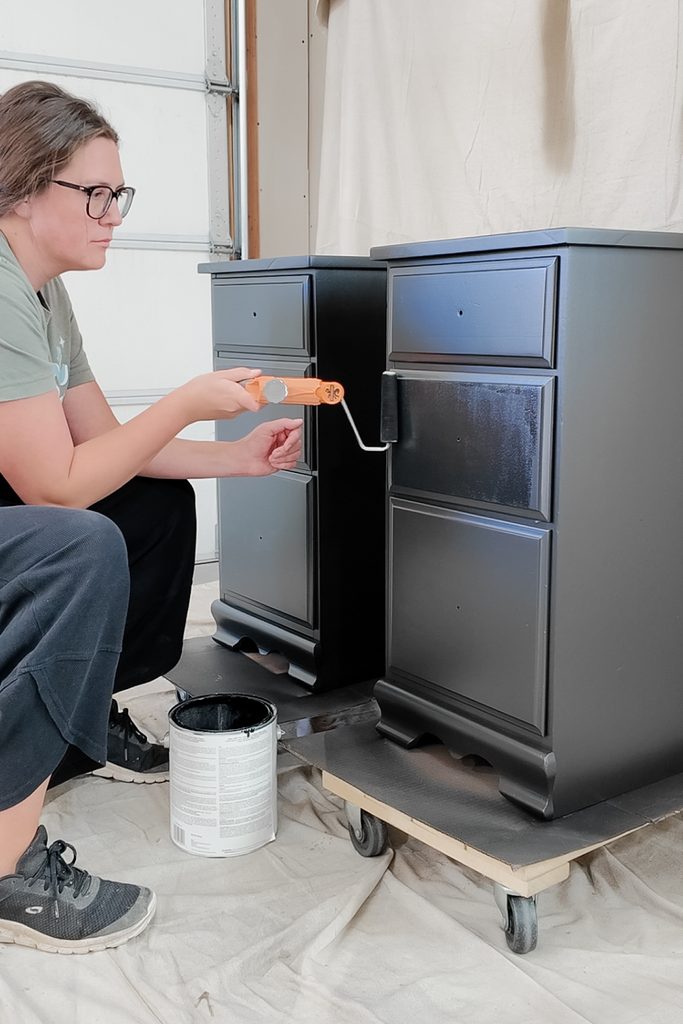
So I rolled black AquaLock primer onto those flat areas, sanded the roller texture smooth, and sprayed my last two coats of Warm Embers. Since the paint has a built in topcoat, I was done!
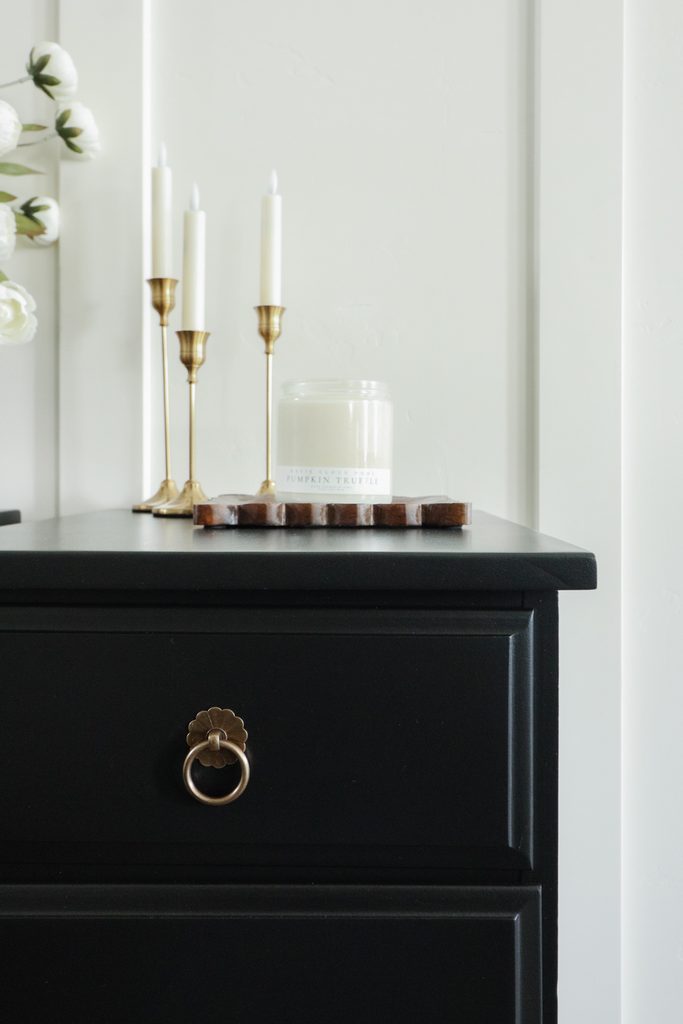
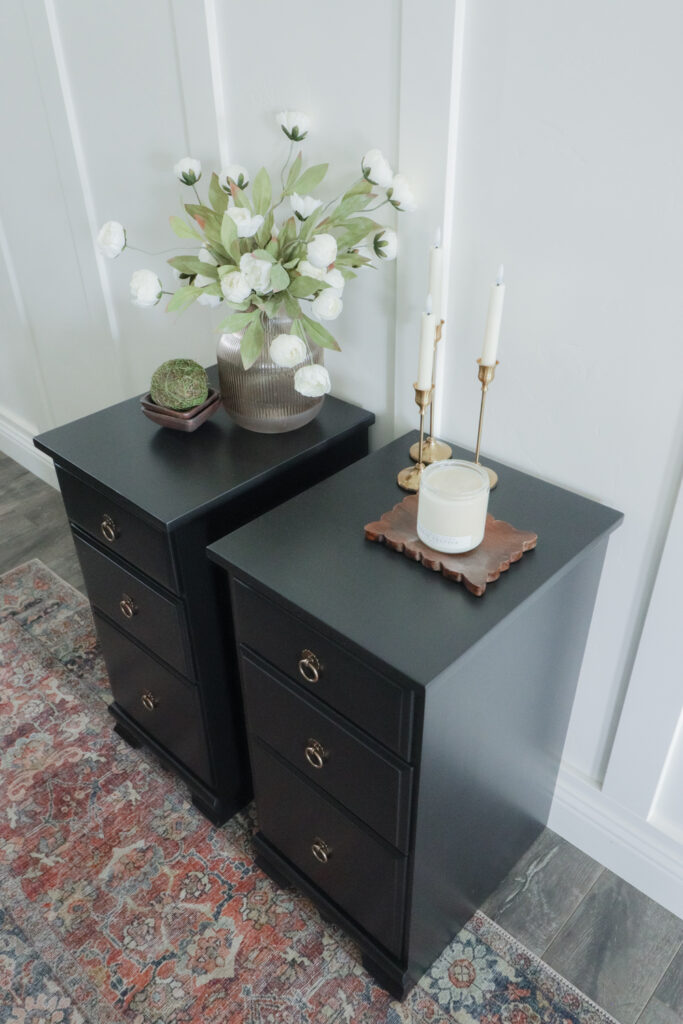
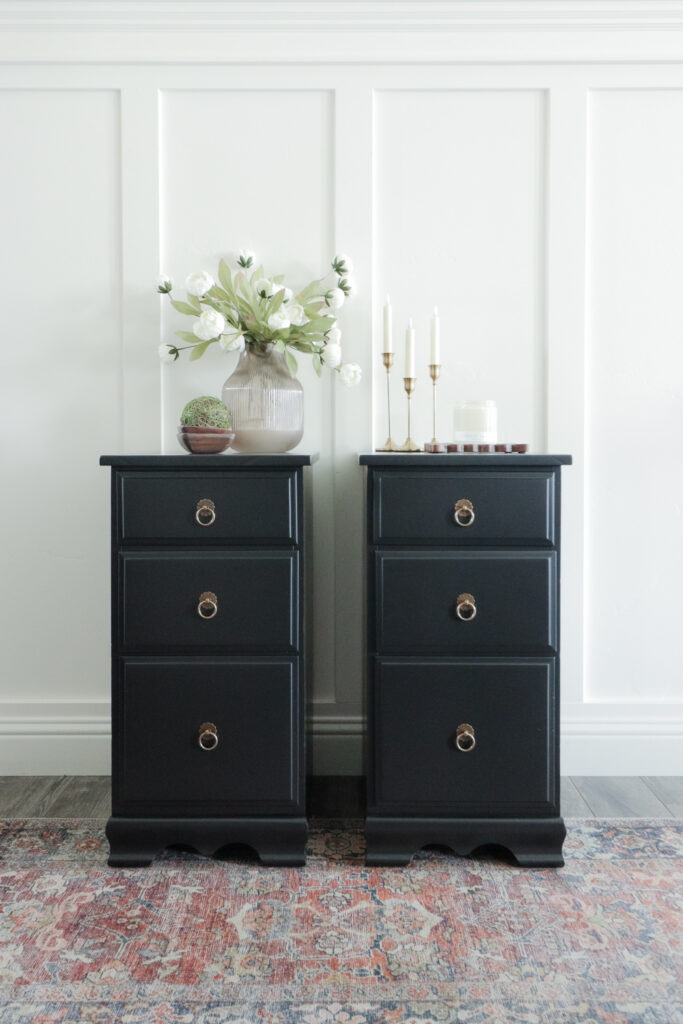
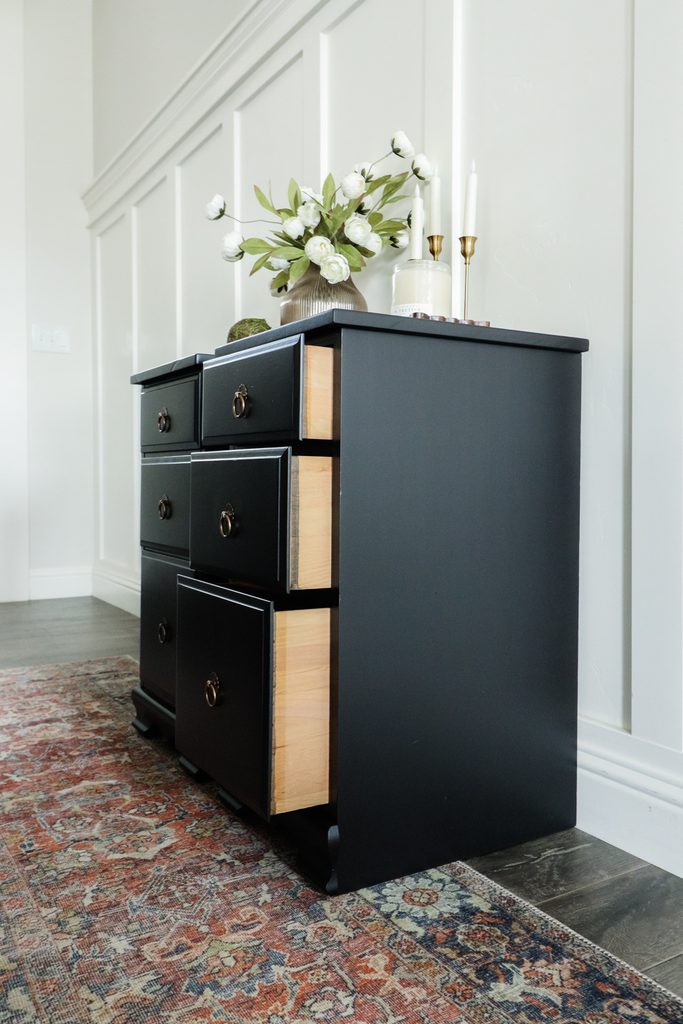
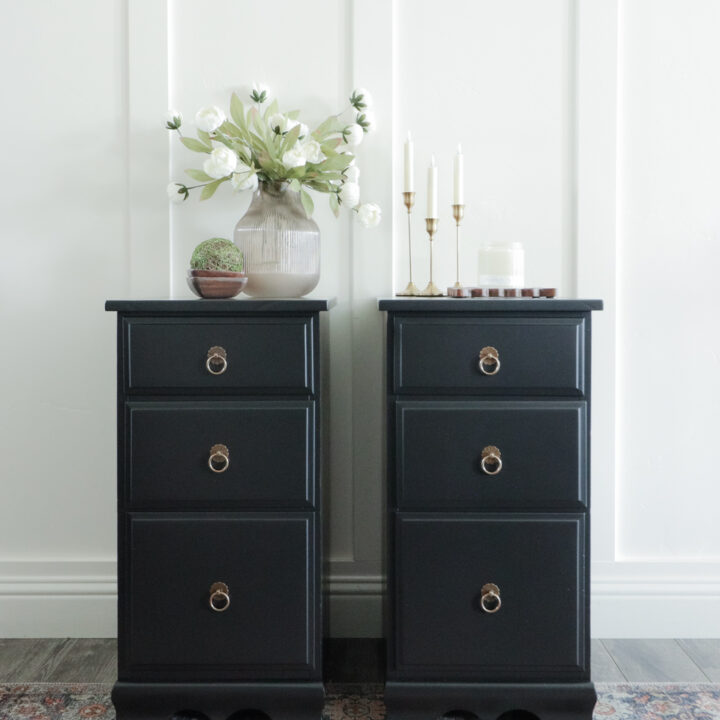
All that was left was adding the new hardware to these painted nightstands. I bought these cute gold pulls because they compliment the hardware on my next project, a dresser that will go in the same bedroom. I love how they look against the warm black paint. And here’s what they look like now!
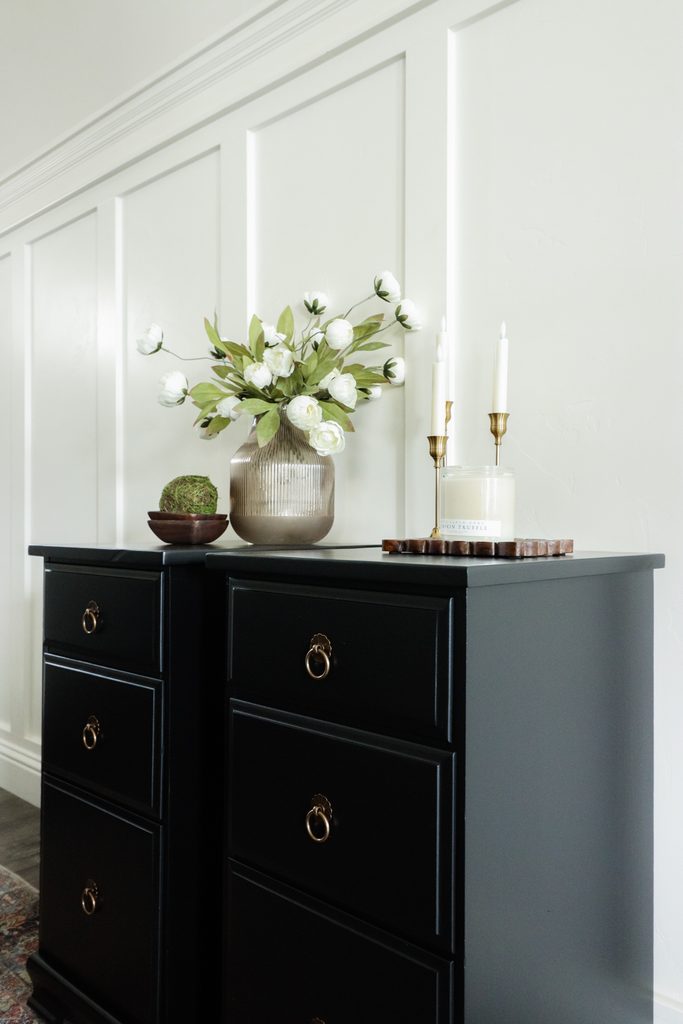
We were able to repurpose an old desk into two very usable nightstands instead of getting rid of it. These DIY nightstands for a small bedroom are exactly what we needed. I still can’t get over how pretty this old desk makeover turned out!
Don’t forget to check out these other awesome before and after furniture makeovers from my Furniture friends!! (Click the links below the photos!)
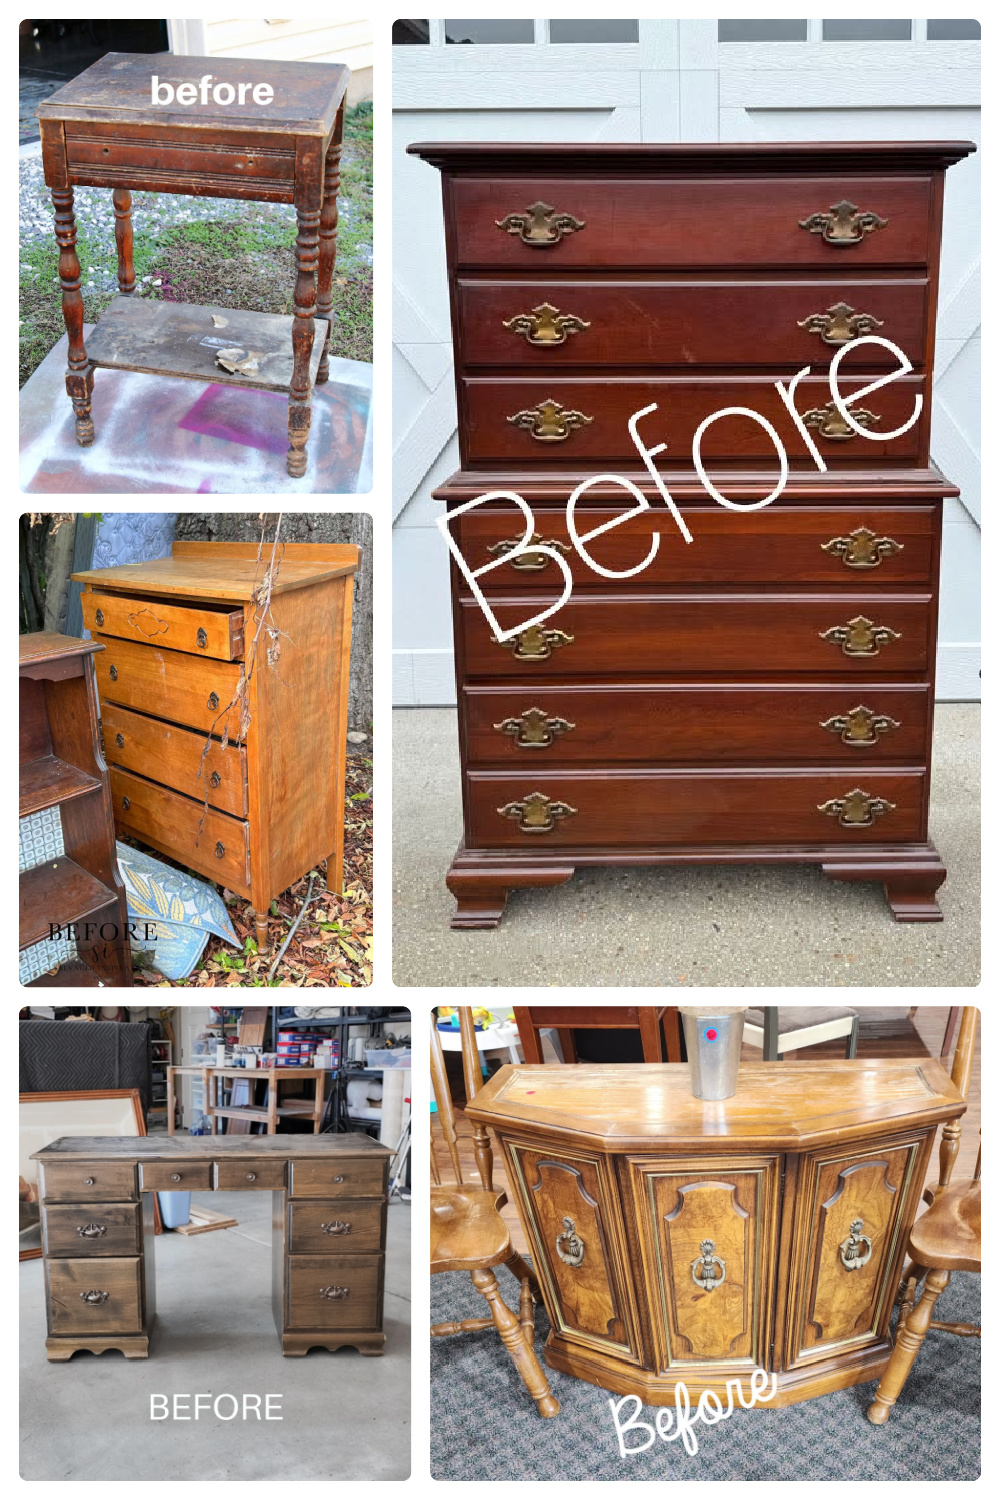
- Use the Vaseline Layered Paint Method to Save a Trashed Table from Petticoat Junktion
- Elegant Chalk Painted Dresser Makeover from Confessions of a Serial DIYer
- Trashed Dresser Gets Stained Look Without Staining from Salvaged Inspirations
- Vintage Cabinet Makeover from My Repurposed Life

How to Turn a Desk Into Nightstands
Learn how to turn a desk into nightstands and make DIY nightstands from an old desk, perfect for a small bedroom.
Materials
Tools
Instructions
- Remove the drawers to find all the screws underneath the desk top. Unscrew the top with an electric screwdriver and save it for later.
- Pry off the little supports holding the middle drawer in place. Clamp down a piece of scrap wood as a guide and cut the braces connecting the two drawer towers with a jigsaw.
- Mix up some Bondo Wood Filler and overfill the gaps where the supports were attached. Fill the old hardware holes with Bondo too.
- Cut the original desk top into two rectangles with a table saw, leaving about a three quarter inch overhang on both sides. Tape along the cutting lines so the blade doesn't chip the wood.
- Sand the Bondo smooth with a DeWalt orbital sander, using 120 grit and then 220 grit SurfPrep sanding screens. Center the drawer towers on the new tops, drill a couple of holes in the supports, and screw the tops back on.
- Lightly curve the edges of the new tops with the DeWalt sander so they aren't sharp or splintery. Drill new holes for one knob on each drawer with a Kreg cabinet hardware jig.
- Clean the nightstands with Heirloom Traditions Surface Prep Wipes to clean and dull the finish. Sand the old finish and scratches off the tops with a Festool Rotex sander, then sand by hand to 220 grit.
- Set up a basic paint booth with drop cloths and tape plastic inside the drawers. Spray Heirloom Traditions Paint in Warm Embers, keeping the drawers inside the nightstands and staggering them to paint their tops and sides.
- Fill any remaining dings and scratches with wood filler, let it dry, and sand everything smooth. Roll black Aqua Lock primer onto the areas where the ghost lines and wood grain show through, then sand the roller texture smooth with 220 grit sandpaper.
- Spray the last two coats of Warm Embers and let the paint dry. Add the round gold knobs to finish the nightstands.
More Furniture Makeover Ideas
- Fast Sofa Table Makeover: How I Got Rid of the Orange Wood Finish
- Flawless Black Painted Chairs: My Secret Method (No Streaks!)
- How to Upcycle a Desk into a Pair of Nightstands
Follow us on YouTube to get more tips for painting furniture. Or share your project with us on our Facebook Group and be part of our community. See you there!