
End Table Makeover Gone Wrong: From Bad Paint to Beautiful Wood

Not every furniture makeover turns out the way you expect, and this end table makeover gone wrong: from bad paint to beautiful wood is definitely one of those projects. After a previous paint job didn’t hold up as I hoped, I decided it was finally time to undo it and give these old tables another chance.
This oak end table makeover took plenty of mistakes and changing plans along the way. If you love seeing what’s possible with old furniture, check out my furniture makeover ideas for even more inspiration like this.
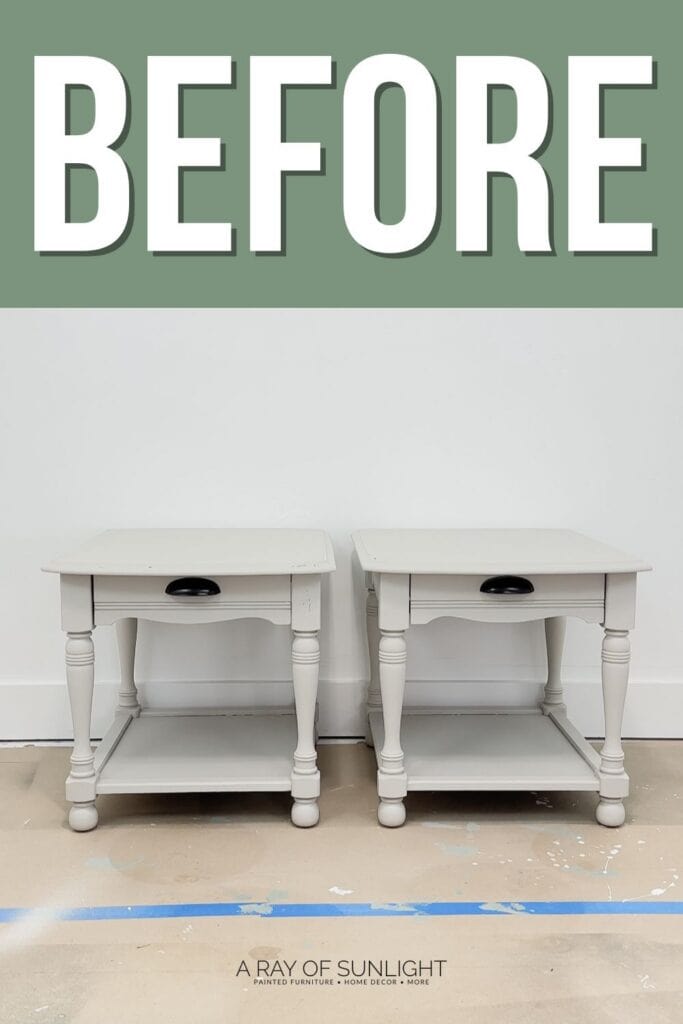
We bought these nightstands a long time ago, and they were originally the typical really ugly orange oak. I bought them because they’re solid and such good quality for only $10 a piece, but the finish was outdated. At the time, I wanted to try some new to me paint that said it didn’t require any sanding, priming, or topcoat.

I thought it would be a great test because oak bleeds through a lot, so I tested it on a little area. After a couple of days, I scratched at it, and it wasn’t scratching off. So I thought this was actually going to work.
I painted the nightstands without sanding, priming, or topcoat, and I didn’t have any bleedthrough stains. But after everything was completed, the paint wasn’t holding up as well as I wanted it to. Even after letting it cure for about a month, I could still pretty easily scratch it off with my fingernail, so I knew I couldn’t put my name on them and sell them as a finished set.
So I held on to them for another few years. At this point, this furniture makeover gone wrong had turned into a project all about fixing a bad furniture paint job. That meant undoing the paint I had put on years ago and getting the nightstands back down to the original wood before giving them a new finish.

Supplies Used for DIY End Table Makeover
As an Amazon Associate, I earn from qualifying purchases. I also may earn from other qualifying purchases with other companies or get free product to review and use. All opinions are my own.
- GreenEZ Stripper
- SurfPrep Sander (Use code RAY10 to get 10% off your order)
- Shop Vac
- 120 Grit Sandpaper
- 220 Grit Sandpaper
- Medium Grit Half Inch Foam Pads (Use code RAY10 to get 10% off your order)
- Fine Grit Foam Pad (Use code RAY10 to get 10% off your order)
- Stainless Steel Wire Brush
- Tack Cloth
- Fusion Mineral Paint in Bedford
- Zibra Slightly Angled Flat Brush
- Zibra Pointed Round Brush
- Zibra Topcoat Brush
- KwikWood
- Special Walnut Oil Based Stain
- Chip Brush
- Lint Free Rag
- Mohawk Blendal Sticks
- New Cup Pulls
- Kreg Cabinet Hardware Jig
- Kreg Hardware Clamp
- Screwdriver
- Topcoat
- Paint Sprayer
Removing Paint from Wood Furniture
So we brought them down to our workroom and did a paint stripper versus sander comparison to figure out the best way to remove the old paint. We tried the GreenEZ stripper, Stripwell QCS (Use code SUNLIGHT10 to get 10% off your order!), Ryobi Corner Cat sander, and DeWalt orbital sander on different sections. To be honest, there wasn’t one HUGE winner because there were pros and cons to each one. You can check out my Stripwell QCS review here.
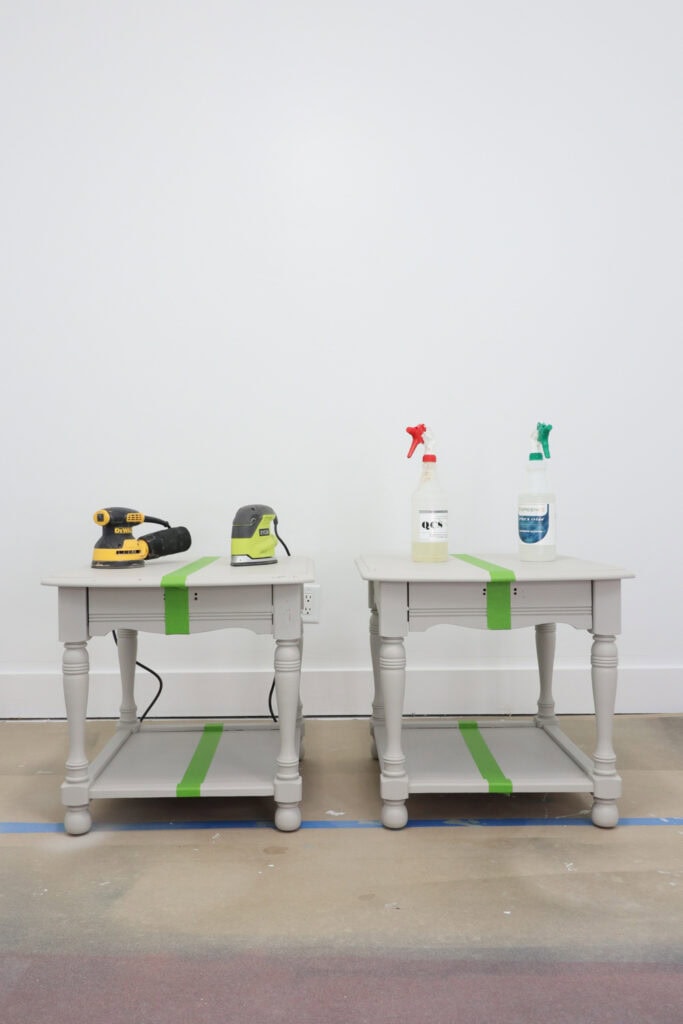
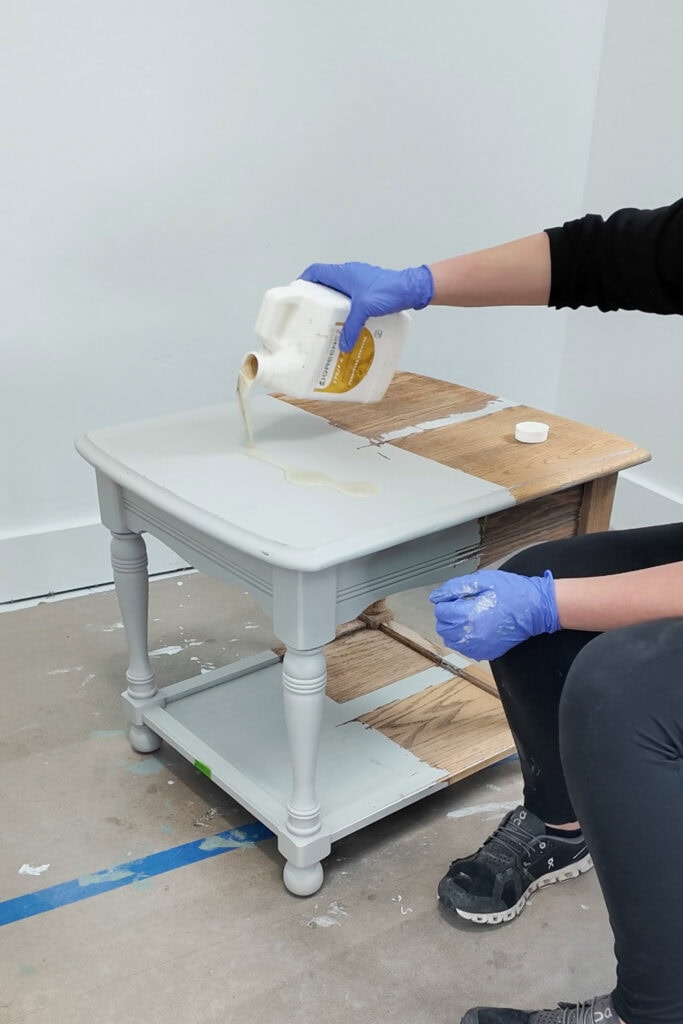
After letting everything dry, the GreenEZ had gotten more of the finish down to raw wood, so we went with it. It took about two and a half hours to get most of the paint off these two nightstands. The flat top was super easy, but the rounded details and grooves were a lot harder. Oh my goodness, my back hurt because hours of sitting there stripping off paint in a hunched over position was not fun.
Then I walked away and let the tables dry for about 48 hours. Then I tried sanding, but within 20 seconds the sandpaper was so gunked up because the residue was still too wet. So I took a break and came back to it later.
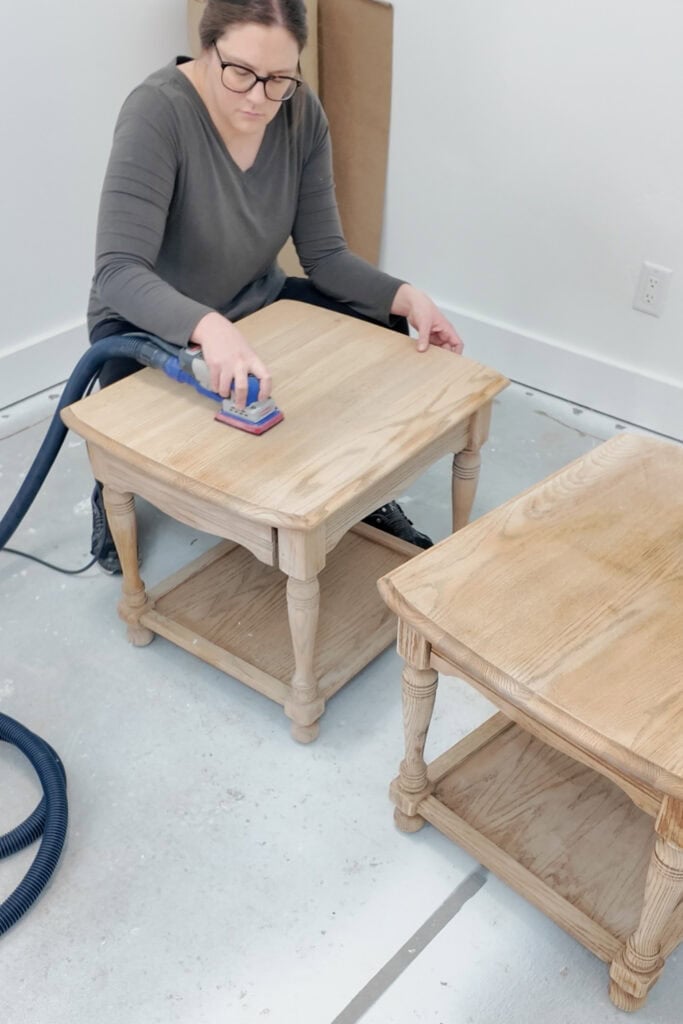
After a month, everything looked drier and was coming off much better. I sanded with 220 grit sandpaper using my SurfPrep sander hooked to my shop vac, medium grit half inch foam pads for the curves and details, and used a stainless steel wire brush to remove residue from the grooves and crevices.
But there were still a few little places with paint. This was a lot of work, I’m not gonna lie. At that point, I was done and over with it and walked away. I’m not even joking, these sat for about a year and a half before I was finally ready to tackle them again, get them sold, and make some room in my workspace.
Refinishing Oak Furniture
I went back and forth about doing a dark, or light wood stain, dark stain was where my heart was. I love a really good dark brown stain without red tones, but I was nervous the paint in the corners would still be visible. So Taylor and I decided to try more of a white oak look with a white wash.
Paint Wash on Wood
Since these had sat around for a while, I quickly hand sanded the top, shelf, and flat areas with 220 grit sandpaper. Then I used our shop vacuum and brush attachment, plus a tack cloth, so I wouldn’t have any dust in my finish.
I tested Fusion Mineral Paint in Algonquin and Bedford on the backs of the end tables. I felt like Algonquin was gonna be too pink, while Bedford was a more natural, neutral wood color. After asking Taylor for his opinion and staring at the options, I decided to go with Bedford. If you haven’t tried it, check out my Fusion Mineral Paint review here.
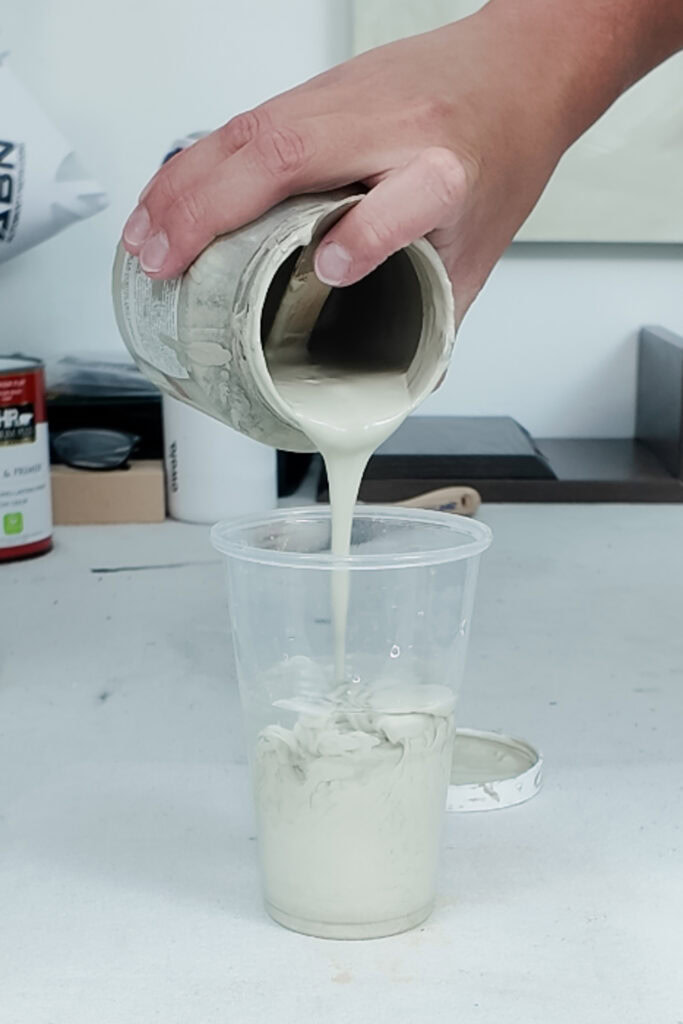
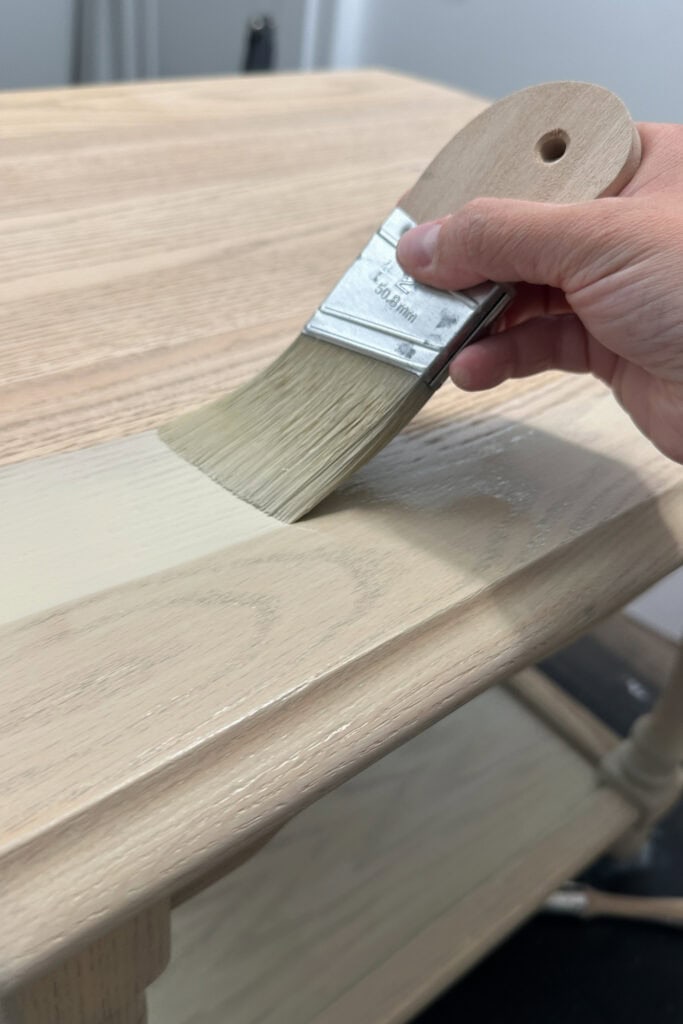
I mixed about 75% water and 25% paint, then used Zibra paintbrushes, switching between a short, slightly angled flat brush and a pointed round brush for the curves and details. I brushed a nice light, thin coat over everything and let it dry.
Would you like to save this?
Then I was really impatient because I wanted to see what it would look like topcoated, so I grabbed the Zibra topcoat brush and topcoat, and it definitely darkened the color a little bit. I thought I was gonna love it, so I kept going and topcoated these. Here are more best paint brushes for polyurethane.
Then I brought them upstairs to see them in a home setting and test some hardware. There were four holes on each drawer, and I wanted hardware that would cover them because I didn’t want to fill them and color match the filling. We had cup pulls that covered all four holes, but I also didn’t want these nightstands to scream farmhouse.
Filling Old Hardware Holes
Then I grabbed some little black knobs, and I absolutely adored them. Unfortunately, that meant fixing the drawers, so I filled all four holes with Kwikwood. After it dried over the weekend, I sanded the repairs flush with 120 grit and 220 grit sandpaper and did two more coats of the Bedford paint wash. Learn more about my favorite way of filling holes when replacing cabinet or furniture hardware here.
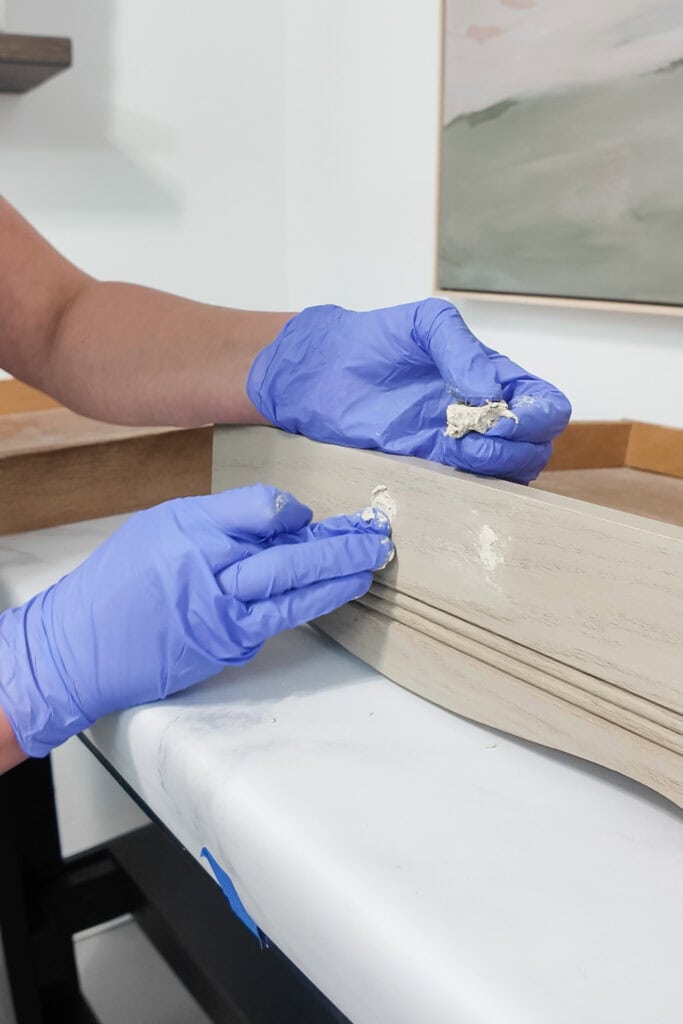
Honestly, I was shocked because you could barely see the outline of the Kwikwood repair, but it was still there. And I still wasn’t 100% sold because when it came down to it, I really wanted a dark wood finish. I had settled for light wood because I thought it would be easier.
Dark Wood Finish with Stain
I had already put two coats of waterbased topcoat over the paint wash, but I wanted it darker and more brown, not just yellow. So I tested Special Walnut oil based stain on the inside and decided, you know what, let’s take a chance. I rubbed it over both nightstands, used a chip brush for the details, and wiped away the excess with a lint free rag.
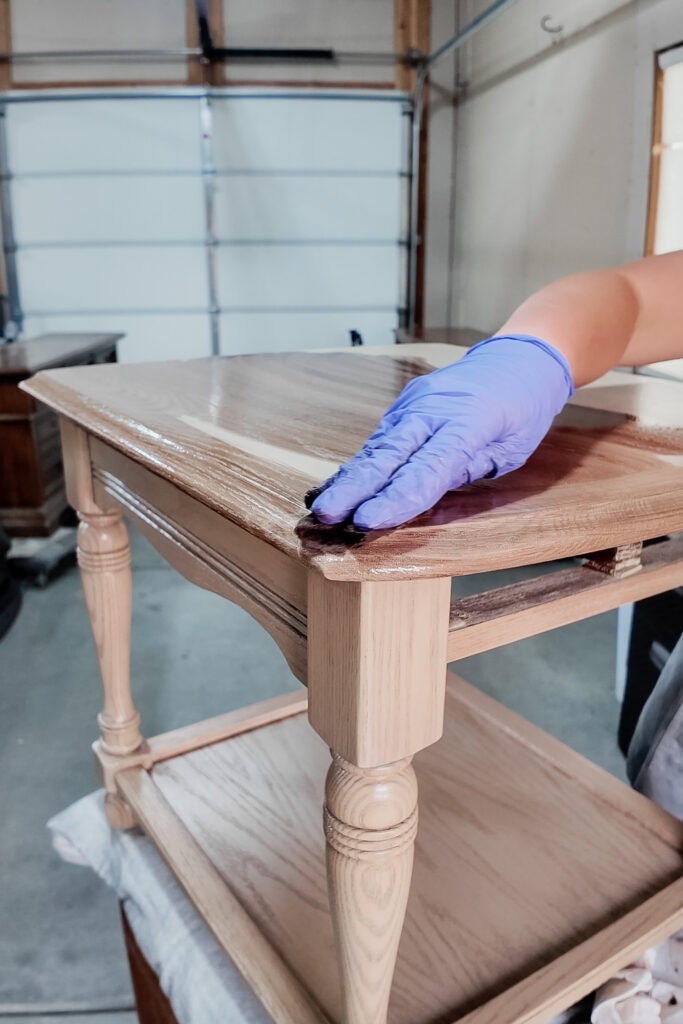
I couldn’t tell much of a difference right away, but as I compared it to the other nightstand, I could see that it deepened the color a little bit. I let it dry for a couple of days, but I still couldn’t decide if I should make them darker. So I posted on Facebook, got a lot of mixed opinions, and finally decided I was just gonna stick with it and stage them.
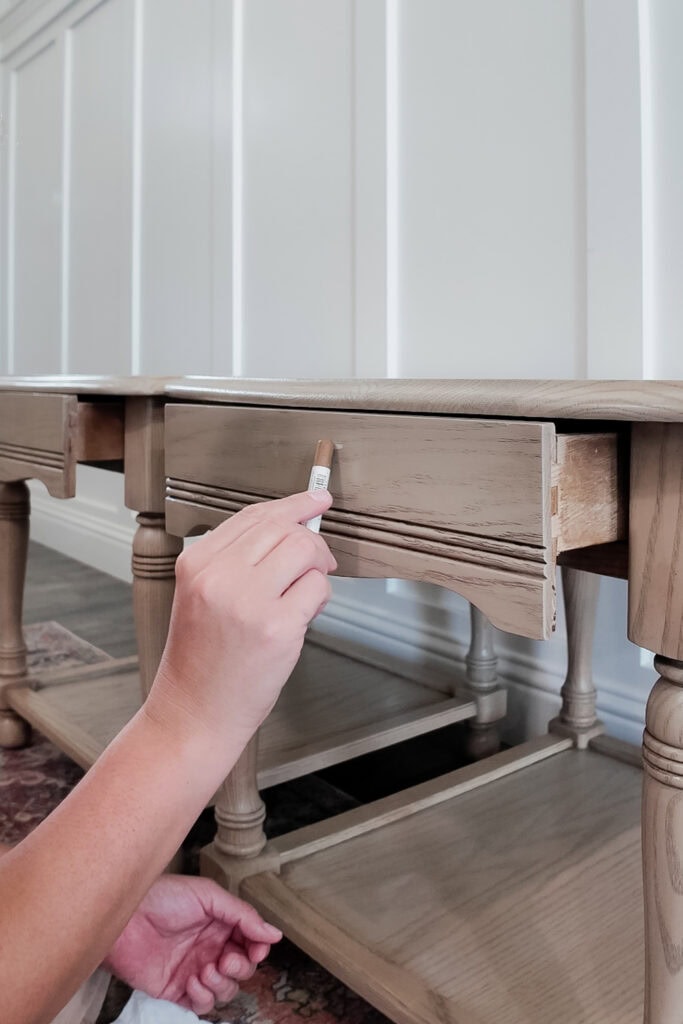
I still needed to fix the drawer holes, so I grabbed some Blendal sticks and tried to blend the repairs completely. But I could not for the life of me get them to blend correctly, because of the topcoat, and it was very frustrating. So once again, I was trying to decide between making the nightstands darker or calling it a day and seeing if they would sell as they are. You can check out my guide on how to repair deep scratches in wood furniture, where I successfully used the Blendal sticks.
After thinking about it, I staged them and actually liked them. So I decided to use the farmhouse cup pulls that would hide the old holes and move forward. More work wasn’t going to get these sold for more money.
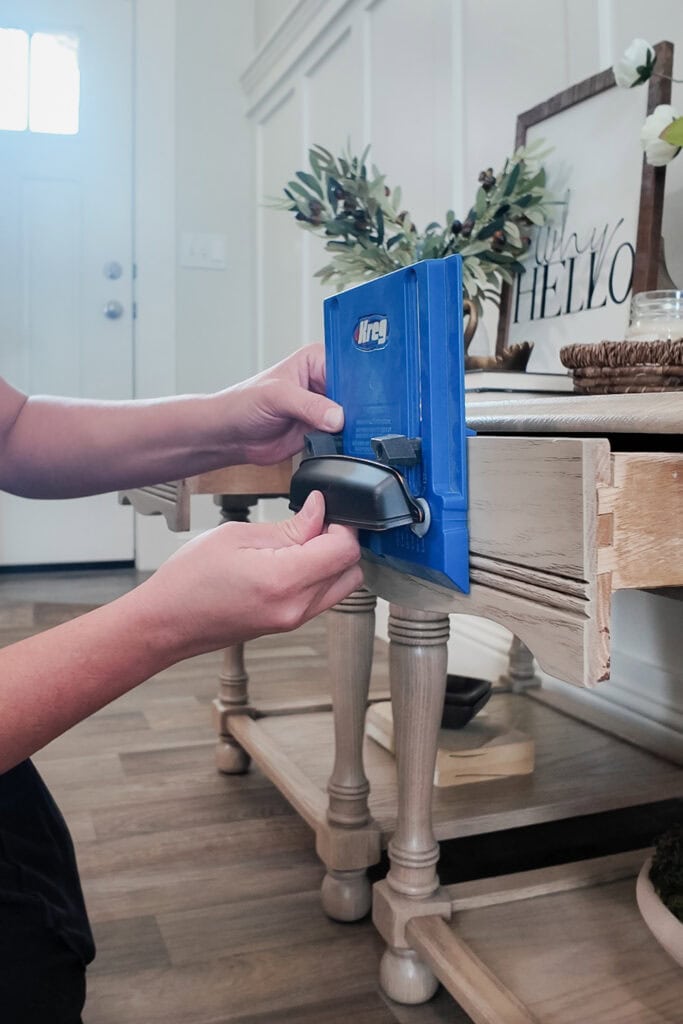
I attached the new cup pulls using the Kreg cabinet hardware jig to measure where I needed the new holes.
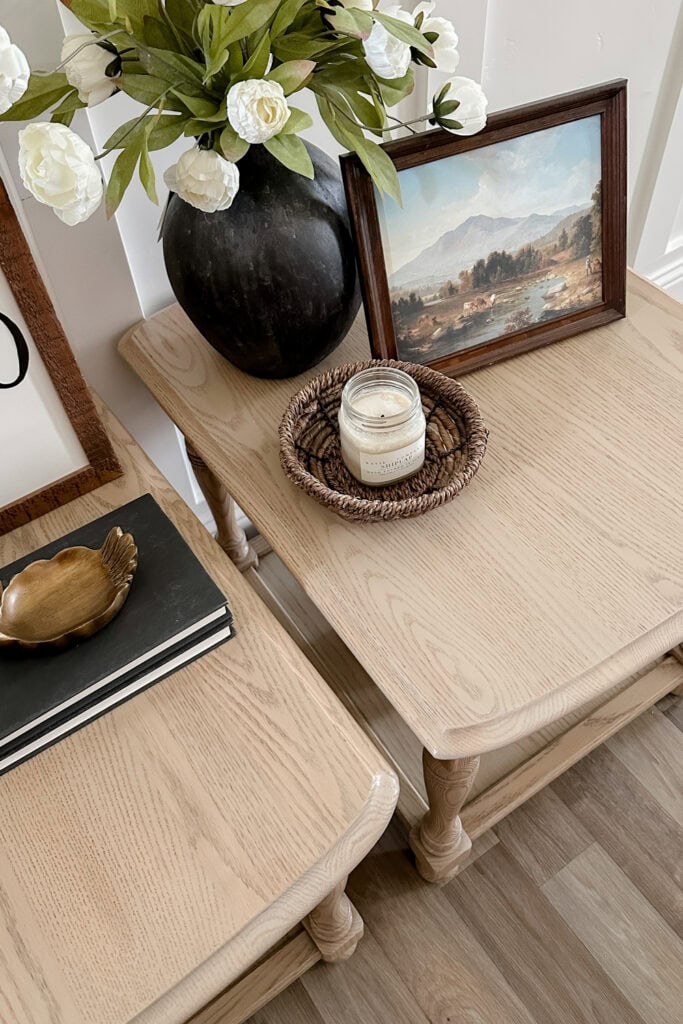
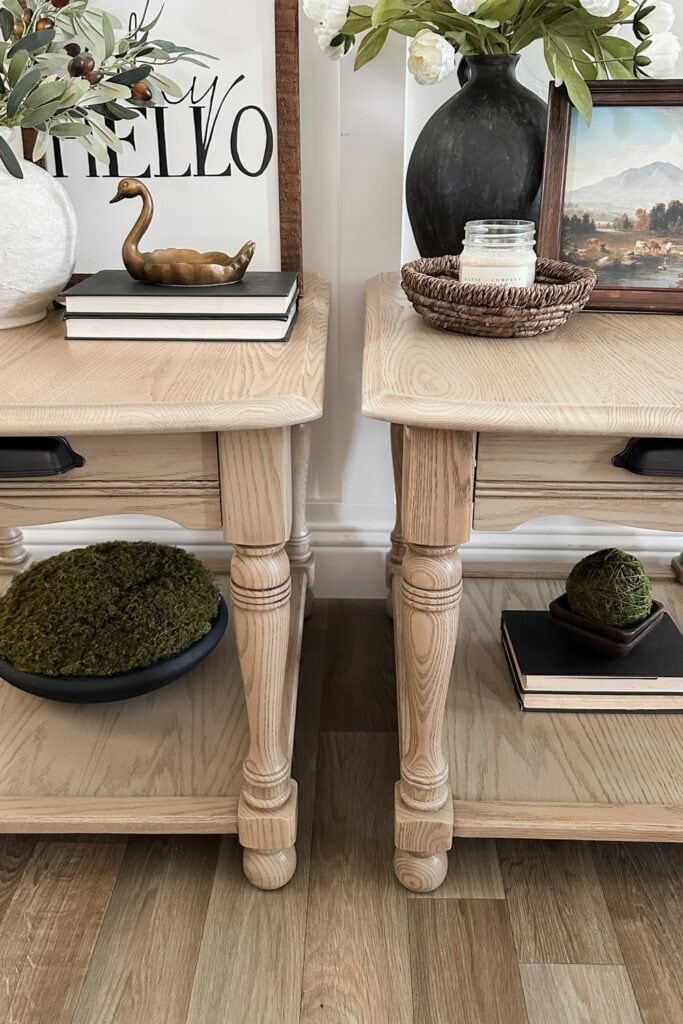
When I stepped back, I had mixed feelings about this stained wood furniture makeover. I think I should’ve gone with a dark stain because I probably would have preferred it, but there might’ve been issues with that too. Overall, once I got all the decorations on, it pulled everything together so much more.
These were high quality nightstands, and I was happy with how they turned out. I learned a lot, made a lot of mistakes, and if I could go back, I shouldn’t have put the topcoat on because then I could have stained them darker.
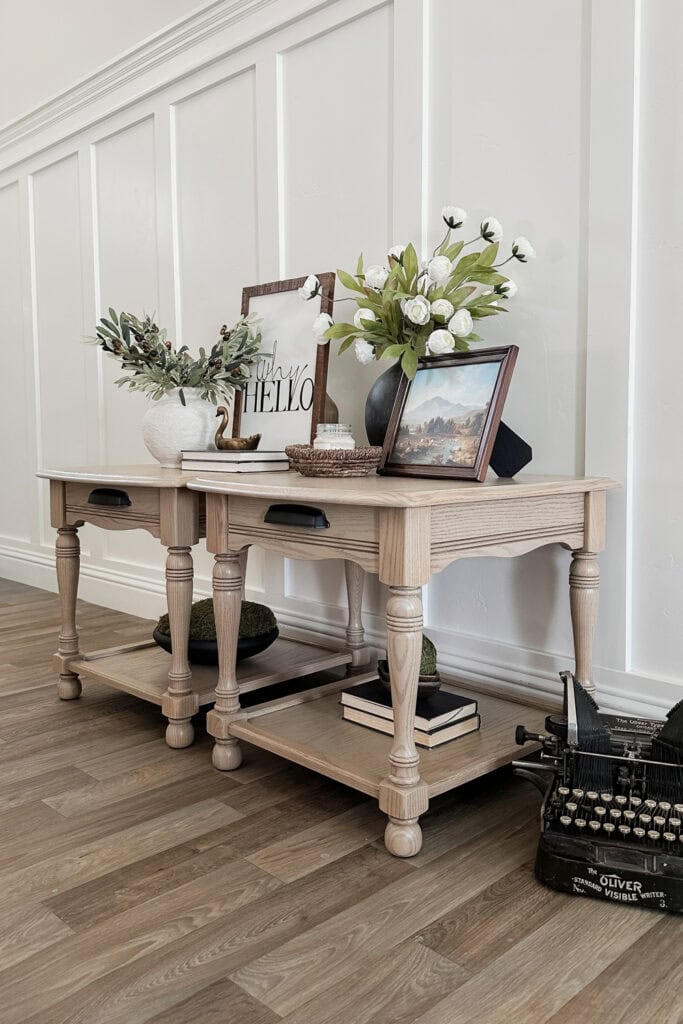
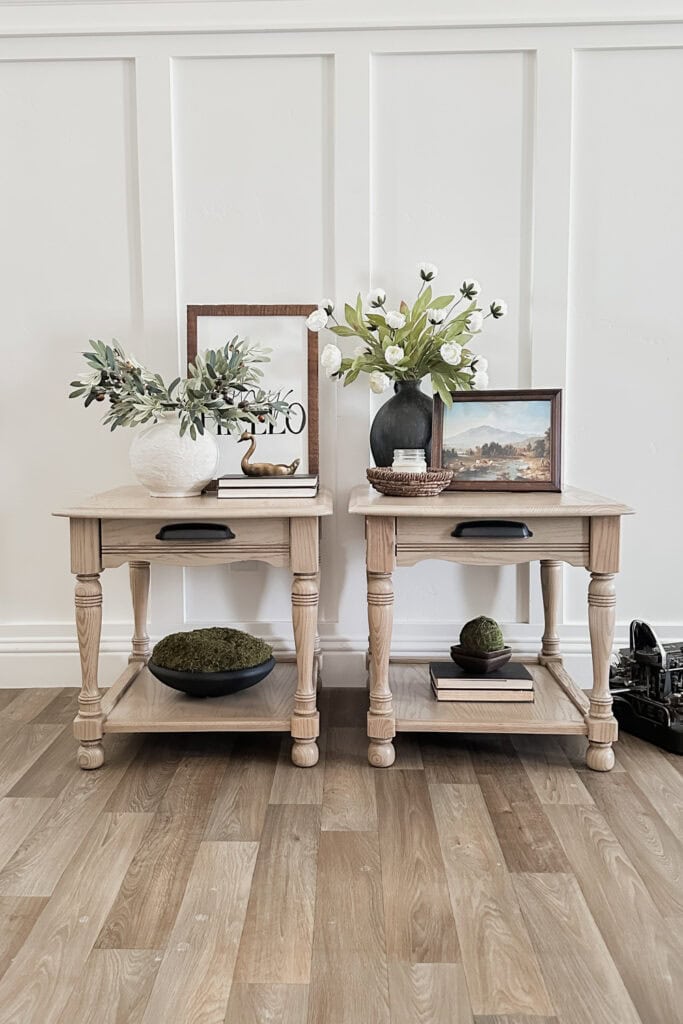
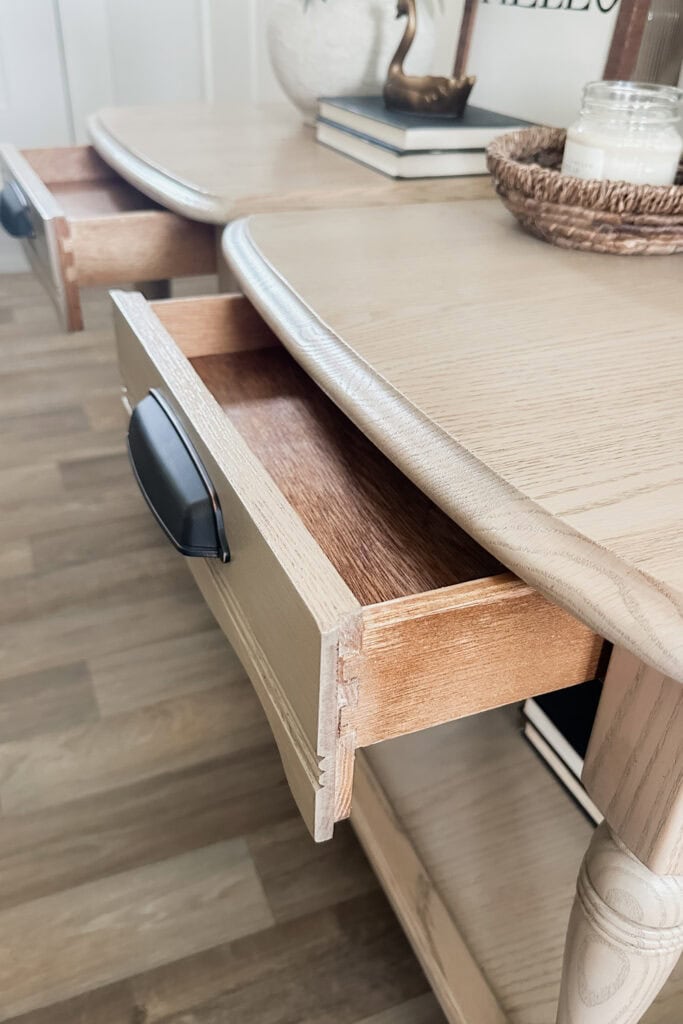
UPDATE: I asked Taylor to list them on Facebook Marketplace for $250, and then I would topcoat them. Within an hour, someone asked to come see them, and a few hours later they were sold, cash in hand. I was shocked because I struggled with these tables so much and didn’t know if they would sell well.
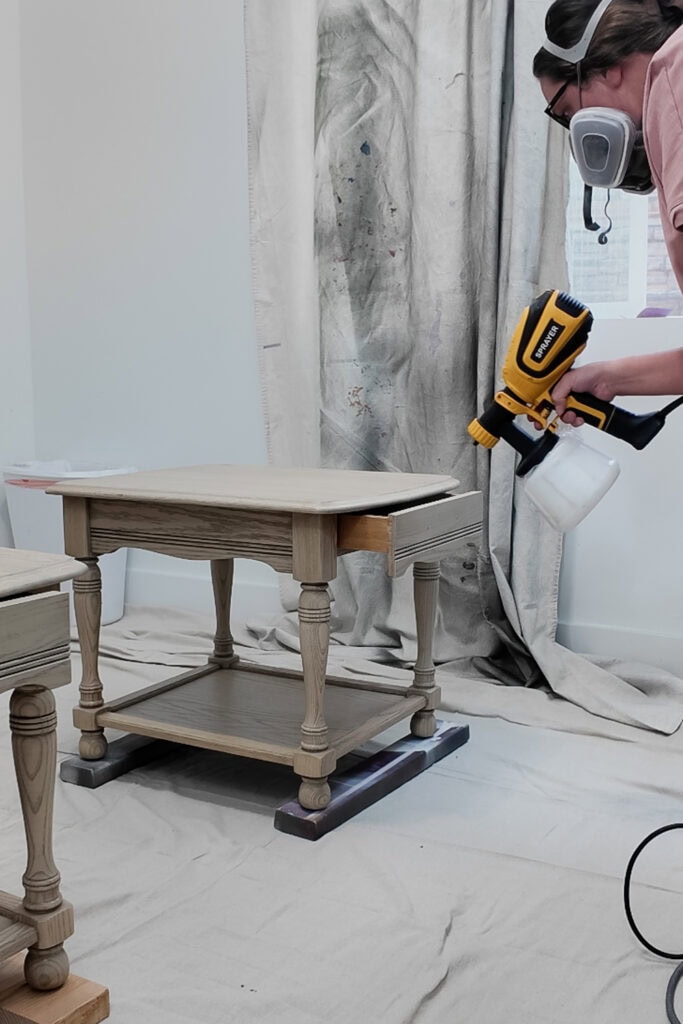
Needless to say, we were scrambling to topcoat these before someone came to look at them. I sprayed the topcoat on, mixing a little matte with satin so they wouldn’t be super shiny, lightly sanded the flat surfaces with a fine grit foam pad, cleaned off the dust, and sprayed the details. I brushed the topcoat on the top and shelf so they would feel smoother to the touch.
Guys, I’m utterly shocked that these sold SO fast! I fretted over these for a week, trying to decide what to do. And wow, they sold within a few hours!

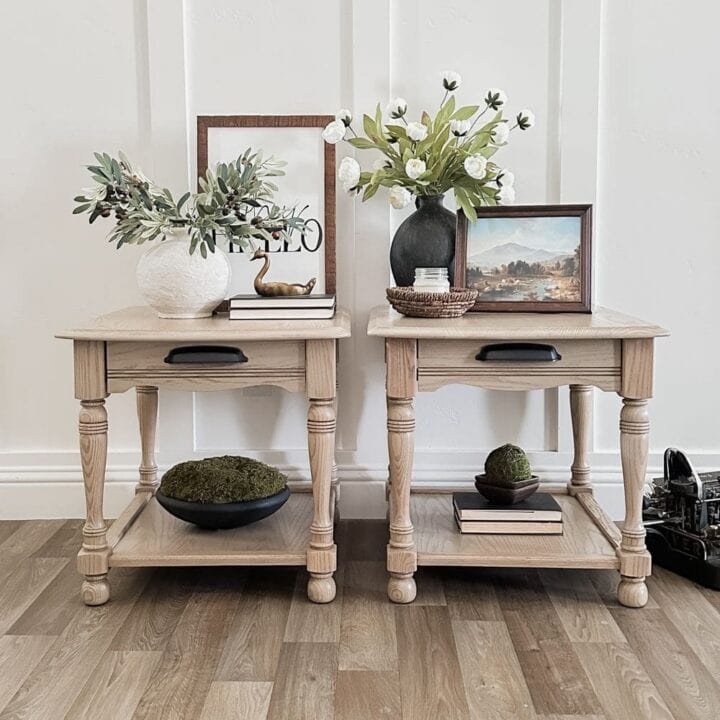
DIY End Table Makeover
See this oak end table makeover gone wrong: from bad paint to beautiful wood by using paint wash and stain.
Materials
- GreenEZ Stripper
- 120 Grit Sandpaper
- 220 Grit Sandpaper
- Medium Grit Half Inch Foam Pads (Use code RAY10 to get 10% off your order)
- Fine Grit Foam Pad (Use code RAY10 to get 10% off your order)
- Stainless Steel Wire Brush
- Tack Cloth
- Fusion Mineral Paint in Bedford
- KwikWood
- Special Walnut Oil Based Stain
- Chip Brush
- Lint Free Rag
- Mohawk Blendal Sticks
- New Cup Pulls
- Topcoat
Tools
Instructions
- Remove the old paint from the furniture with GreenEZ stripper. Let the furniture dry completely before moving on to sanding.
- Sand with 220 grit sandpaper using a SurfPrep sander hooked to your shop vac. Use medium grit half inch foam pads for the curves and details and a stainless steel wire brush to remove residue from the grooves and crevices.
- Sand the top, shelf, and flat areas by hand with 220 grit sandpaper. Then use your shop vacuum and brush attachment, plus a tack cloth, so you don't have any dust in your finish.
- Mix about 75% water and 25% Fusion Mineral Paint in Bedford to create a paint wash. Use a Zibra slightly angled flat brush on the flat areas and a pointed round brush for the curves and details. Brush a nice light, thin coat over everything and let it dry.
- Fill the old hardware holes with KwikWood and let it dry completely. Sand the repairs flush with 120 grit and 220 grit sandpaper, then apply two more coats of the Bedford paint wash over the drawer fronts.
- If you want the finish a little darker and more brown, apply Special Walnut oil based stain over the furniture. Use a chip brush to get into the little details and wipe away the excess with a lint free rag.
- You can use Blendal sticks to blend the repaired hardware holes with the surrounding wood grain.
- Attach new cup pulls to each drawer using the Kreg cabinet hardware jig to measure where you need the new holes. Drill the holes and attach the hardware.
- Apply the topcoat, mixing a little matte with satin so the furniture isn't super shiny. Lightly sand the flat surfaces with a fine grit foam pad, clean off the dust, spray the details, and brush the topcoat onto the top and shelf for a smoother finish.
Recommended Products
As an Amazon Associate and member of other affiliate programs, I earn from qualifying purchases.


More Furniture Makeover Ideas
Follow us on YouTube to get more tips for painting furniture. Or share your project with us on our Facebook Group and be part of our community. See you there!