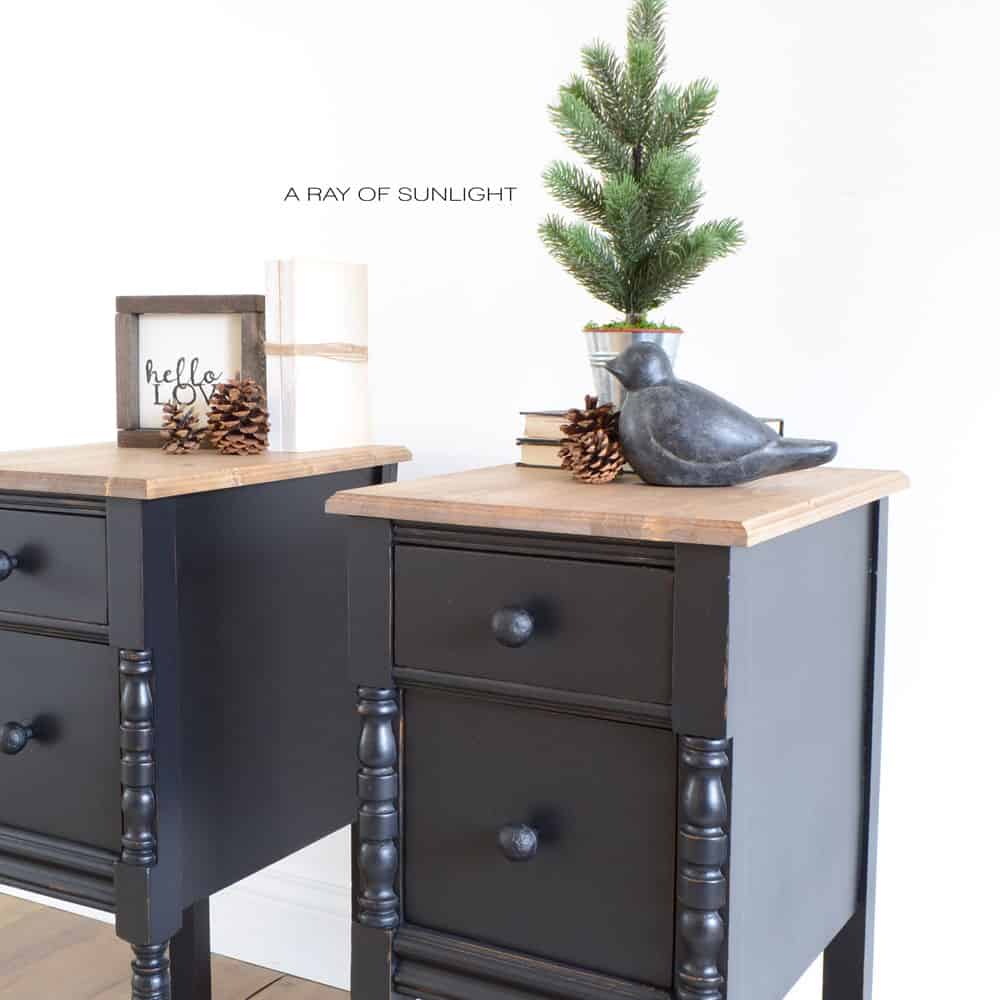
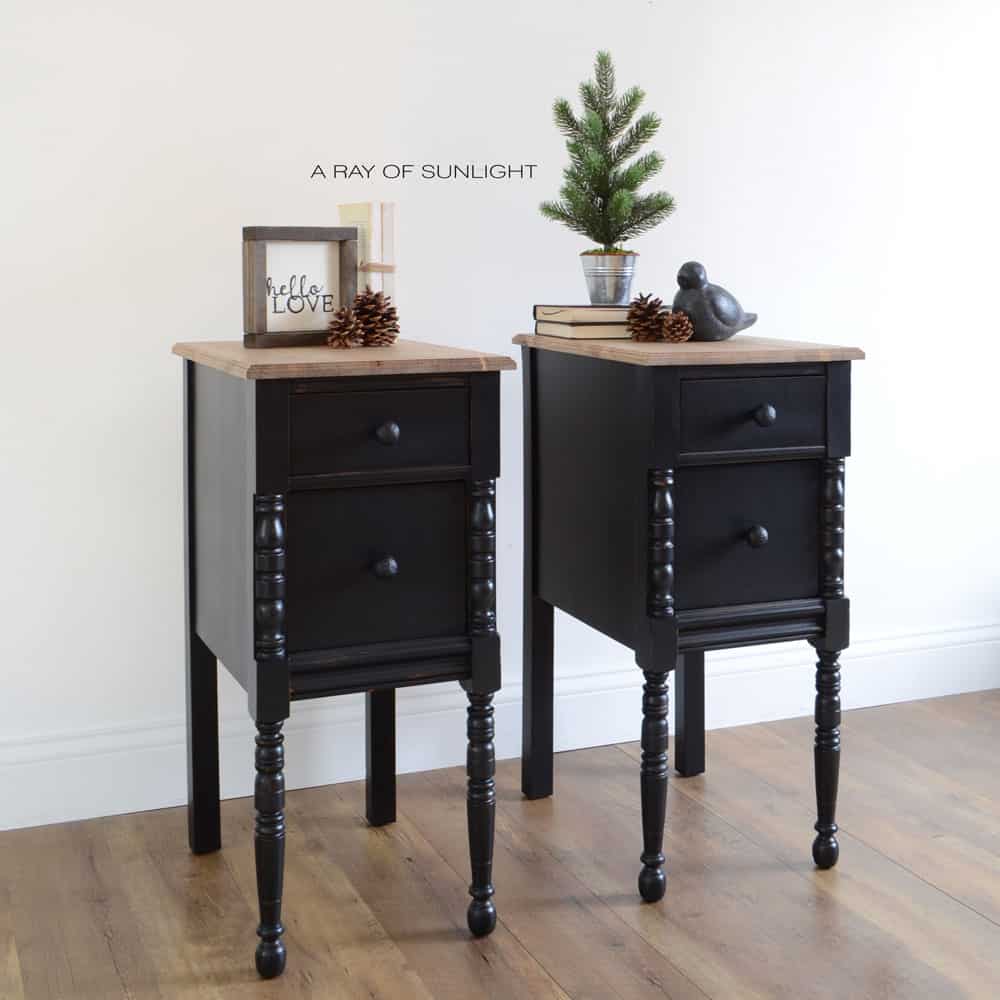
DIY Black Farmhouse Nightstands from a Vintage Vanity
Most vintage nightstands are short and wide, so they take up a lot of space and aren’t as tall as the bed. Check out how we made these tall DIY black farmhouse nightstands from a vintage vanity.
These black painted furniture pieces are a great way to add some modern edge and contrast in any room, and they are the perfect example of how a simple coat of black paint can completely transform an old piece into something trendy and stylish.
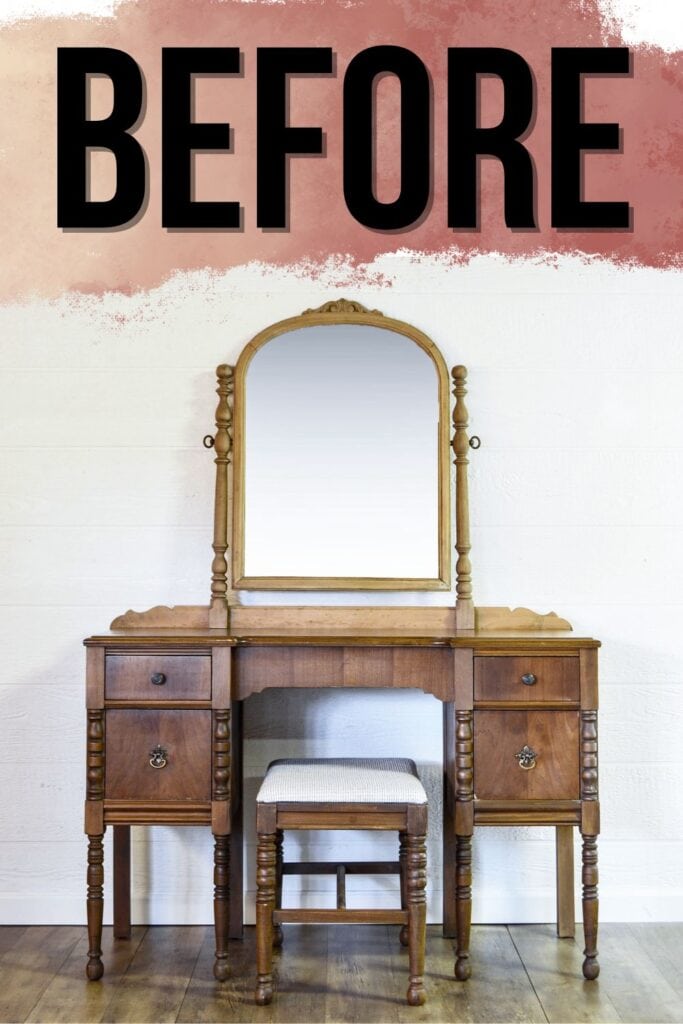
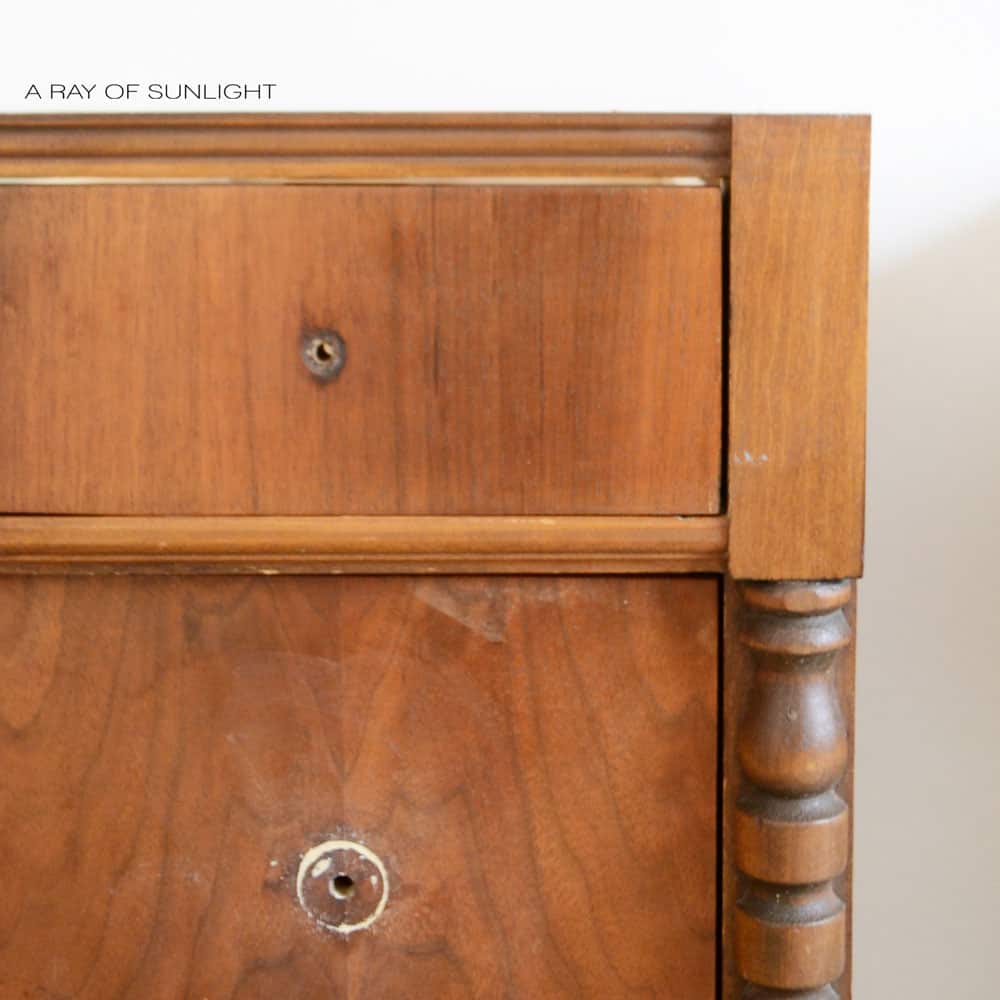
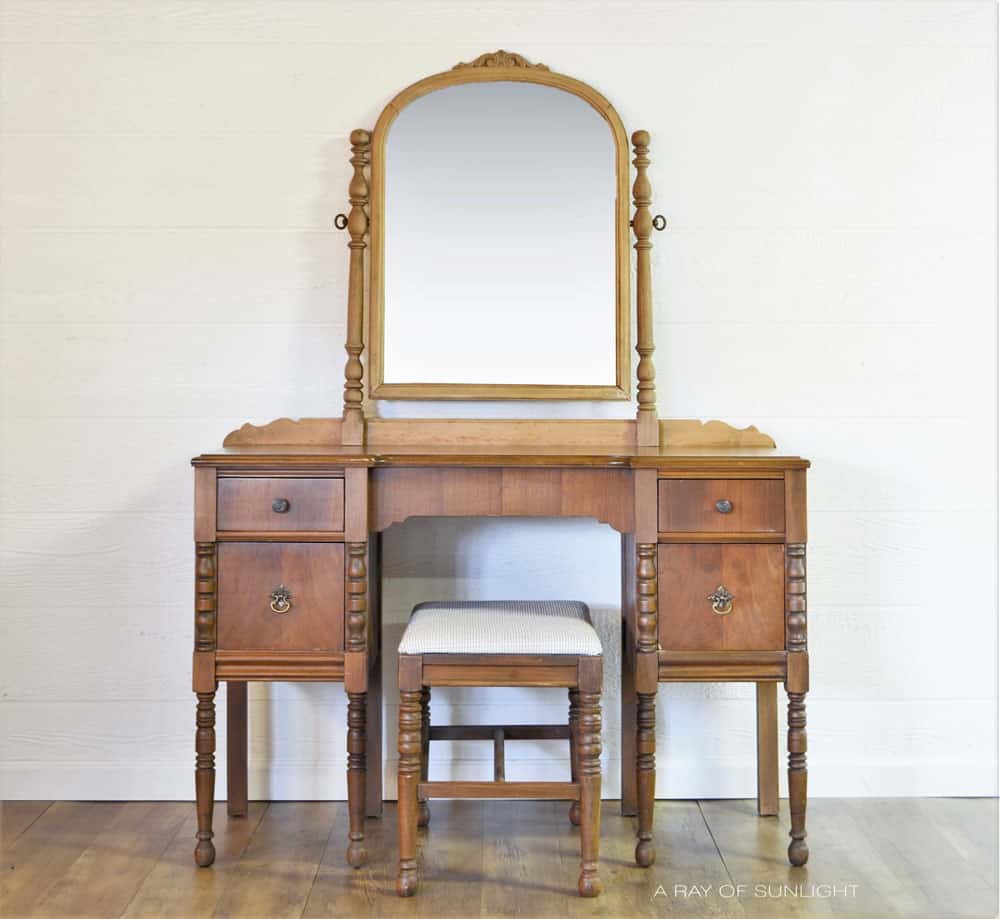
These nightstands started out as a vintage vanity that I found at an estate sale. But man was that vanity in rough shape.

The top needed some veneer work, and the mirror and mirror frame was loose and wobbly. And at the time, I just couldn’t imagine the time and headache it would take to fix those problems.
(Scroll to the bottom of this post for ways that I have learned to fix these problems.)
Supplies Used for DIY black farmhouse nightstands from a vintage vanity
As an Amazon Associate, I earn from qualifying purchases. I also may earn from other qualifying purchases with other companies or get free product to review and use. All opinions are my own.
- JigSaw
- Router
- Screwdriver
- Bondo
- Krud Kutter
- 220 Grit Sandpaper
- Liquorice Chalk Paint from Country Chic Paint
- Painting Sponge (Paint Brush)
- My Favorite Waterbased Polyurethane Topcoat
- Wood for the Tops
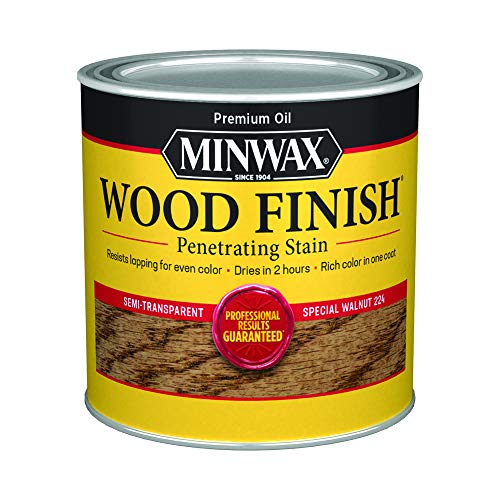
- Special Walnut Stain
Make sure you have all these necessary supplies and tools ready to go so you can easily follow along.
Take the Vanity Apart
With a screwdriver, I was able to remove the mirror, top, and front brace.
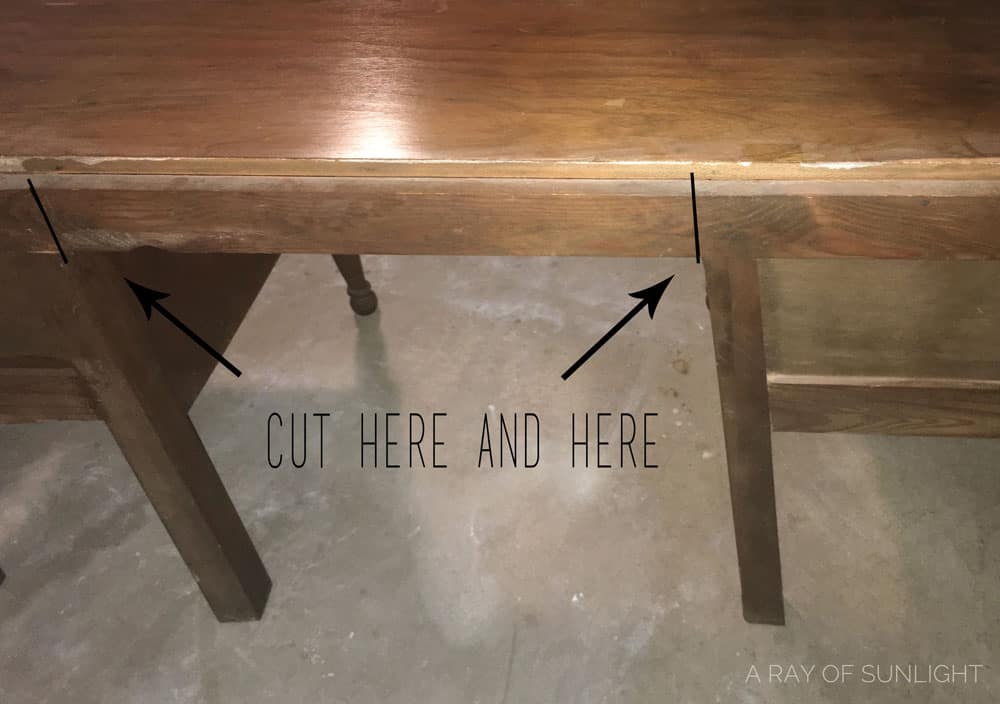
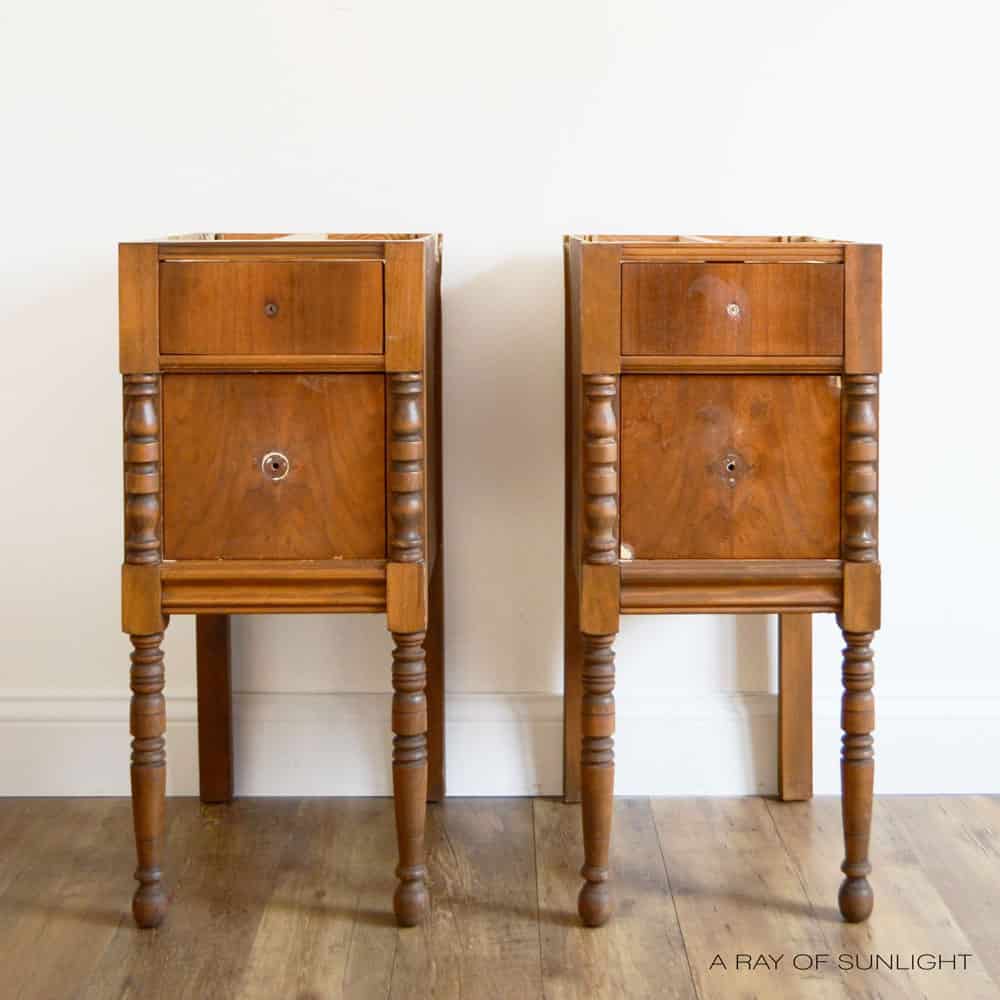
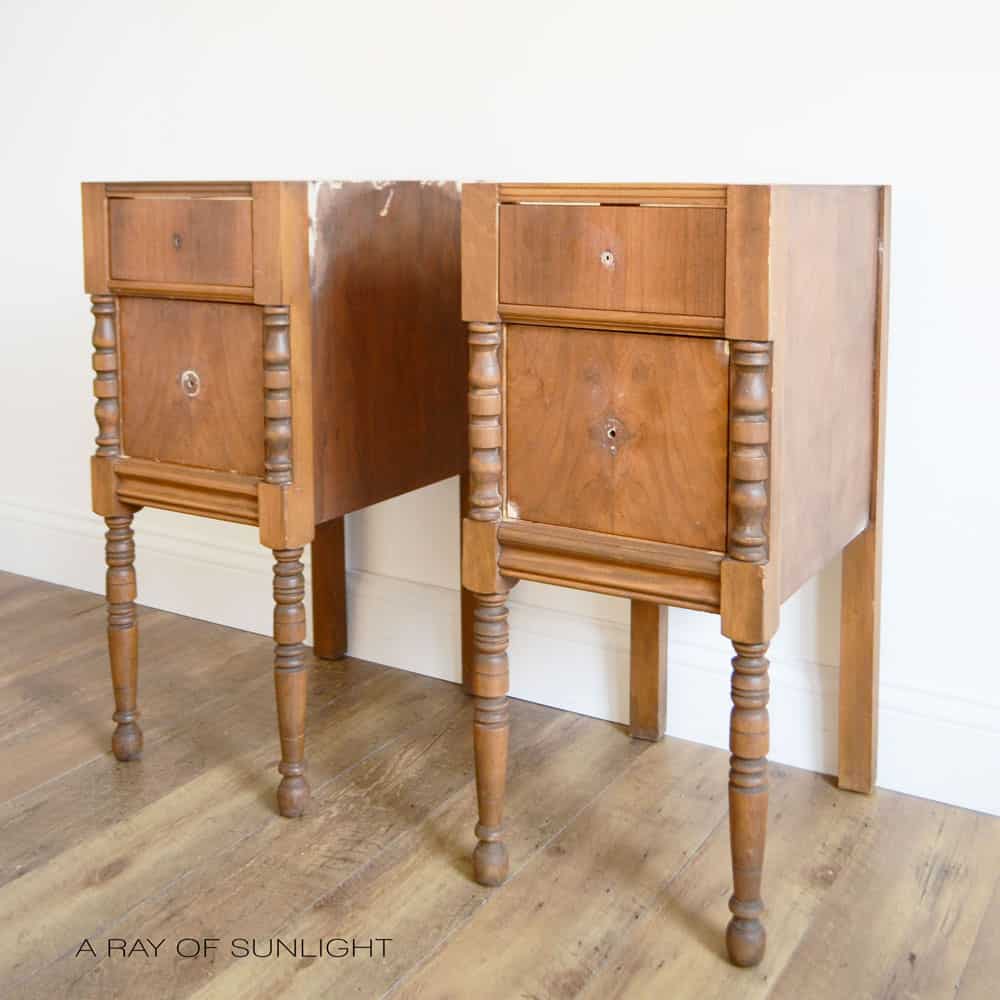
The back brace wasn’t quite as easy (pictured below), but with 2 quick cuts with the jigsaw (each right against the sides), I ended up with two separate pieces.
Then I filled in any holes left from the little demolition with Bondo. Check out how to fix a chipped wood corner and repair damaged furniture with Bondo here!
Get the Secrets!
Grab this super convenient How to Repair Furniture Ebook with all of our secrets on how to repair furniture for only $14.
You can print it out and have instant access whenever you come across damaged furniture, and know exactly how to fix it!
Click on the picture of the book to purchase!

Prep the Nightstands for Paint
Then I cleaned and scuff sanded each piece thoroughly before I started to paint. Read all about cleaning furniture before painting here.
Learn about the best way to prep furniture for paint here. Or read this post to learn about the importance of sanding before painting furniture!
Paint the Nightstands Black
Using the most amazing sponge paint brush ever, the painting sponge, I painted multiple coats of Liquorice from Country Chic Paint until there was full coverage – about 3-4 coats.
Check out my honest and detailed Country Chic Paint Review here.
Check out the best black chalk paint for furniture here. Get more black chalk painted furniture ideas for inspiration here.
I love the painting sponge because it doesn’t leave brush marks like regular paintbrushes! But I like to thin the paint out a little bit to avoid brush marks.
And the paint goes on thinner when you use a painting sponge. So you end up having to paint more coats. I think it’s worth it to have a brush mark-free finish.
Get more ideas on how to paint furniture without brush marks here.
Distress the Chalk Paint
Then I lightly distressed the edges with an old damp rag. I also really like to distress chalk paint with 220 grit sandpaper.
Either way works great! Check out the 6 best distressing furniture techniques here!
Topcoat the Chalk Paint
The painting sponge is even more amazing when applying a perfect topcoat with no streaks. I ended up applying 3 coats of my favorite water-based poly to the nightstands.
Here’s how to apply polycrylic to painted furniture. You can also use a paint sprayer to spray polyurethane topcoat too if you want!
Learn more about the best topcoats for painting furniture here!
Make New Wood Tops
I cut and routered out new tops with fresh wood. I used this laminated pine wood.

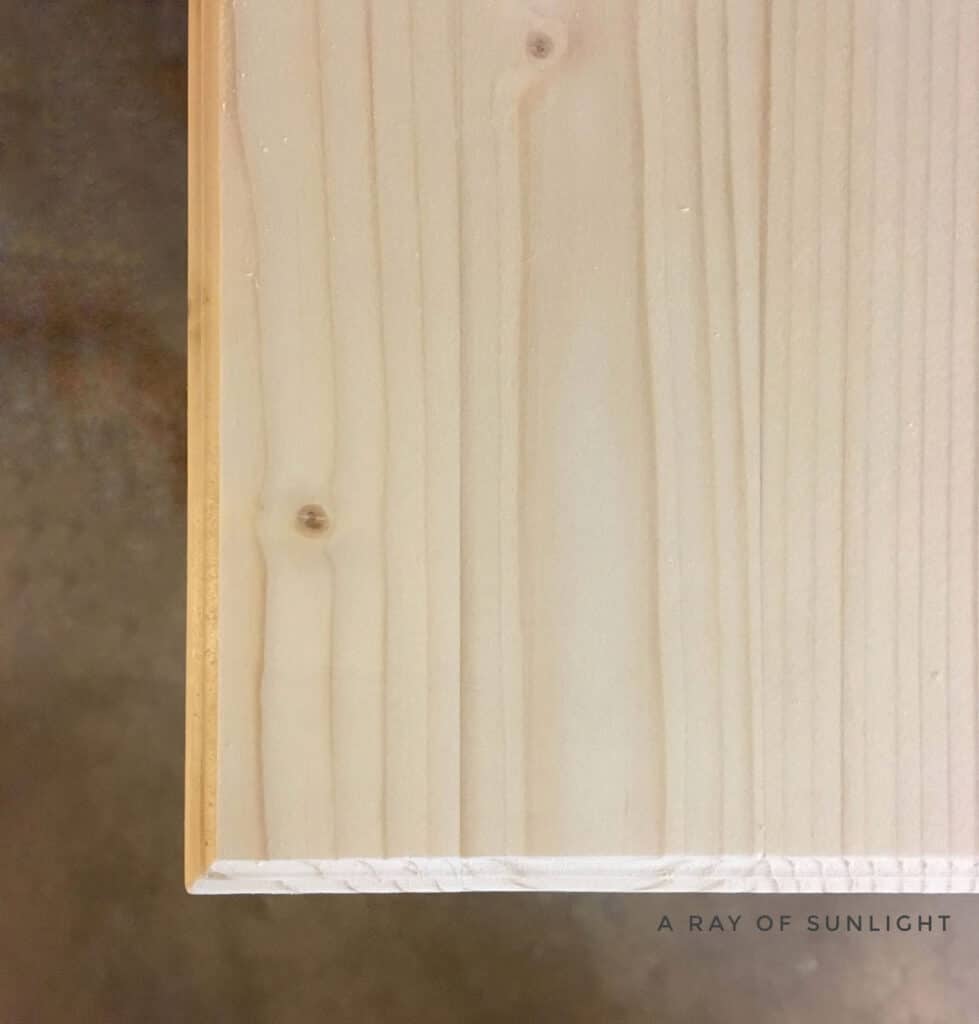
And I cut it out so it overhung the top of the nightstand a little on each side. (Somewhere between 1/2″ – 1″ overhang on each side.)
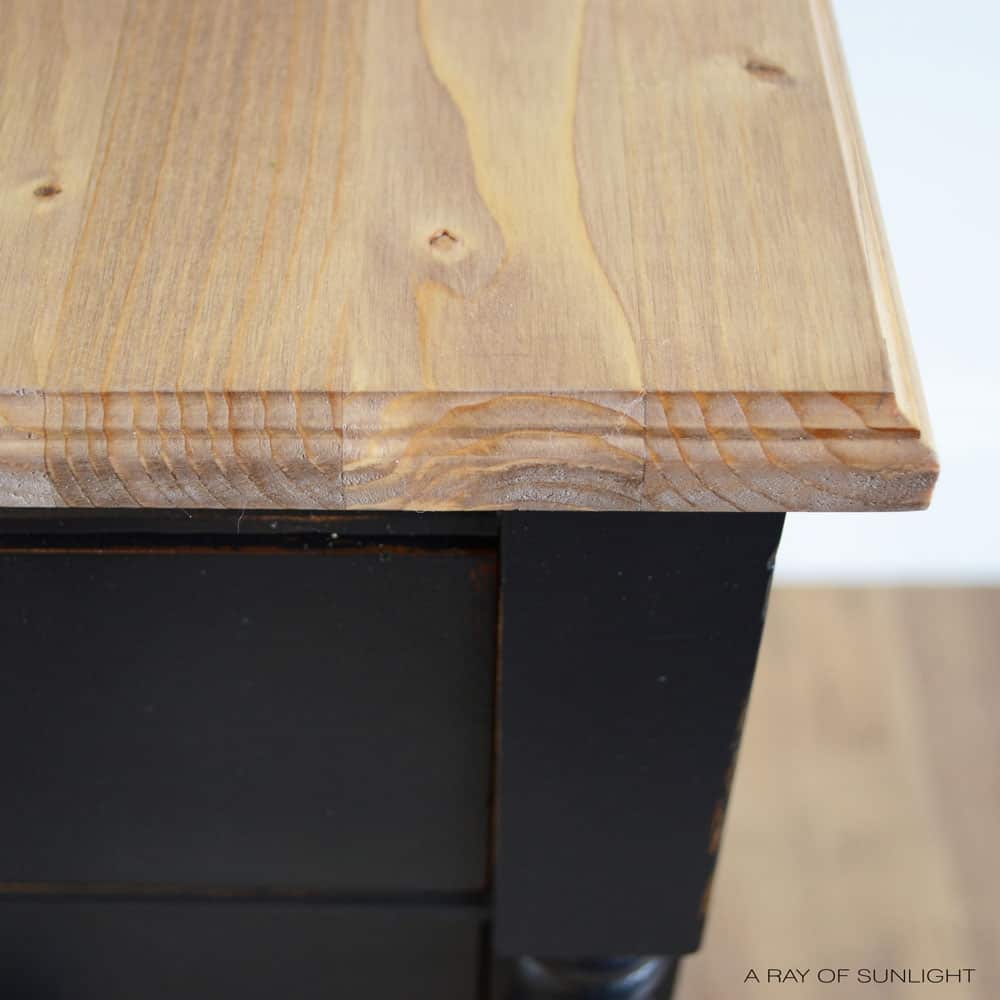
Stain the New Wood Tops
The tops were stained with a coat of special walnut and given multiple coats of polyurethane for protection. (I waited to topcoat the wood after the stain had dried for at least 48 hours.)
Check out the best wood stains for refinishing furniture here. Read this post to learn more about how to stain wood darker.
Attach the New Tops to the Nightstands
Once everything was dry, I attached the new tops.
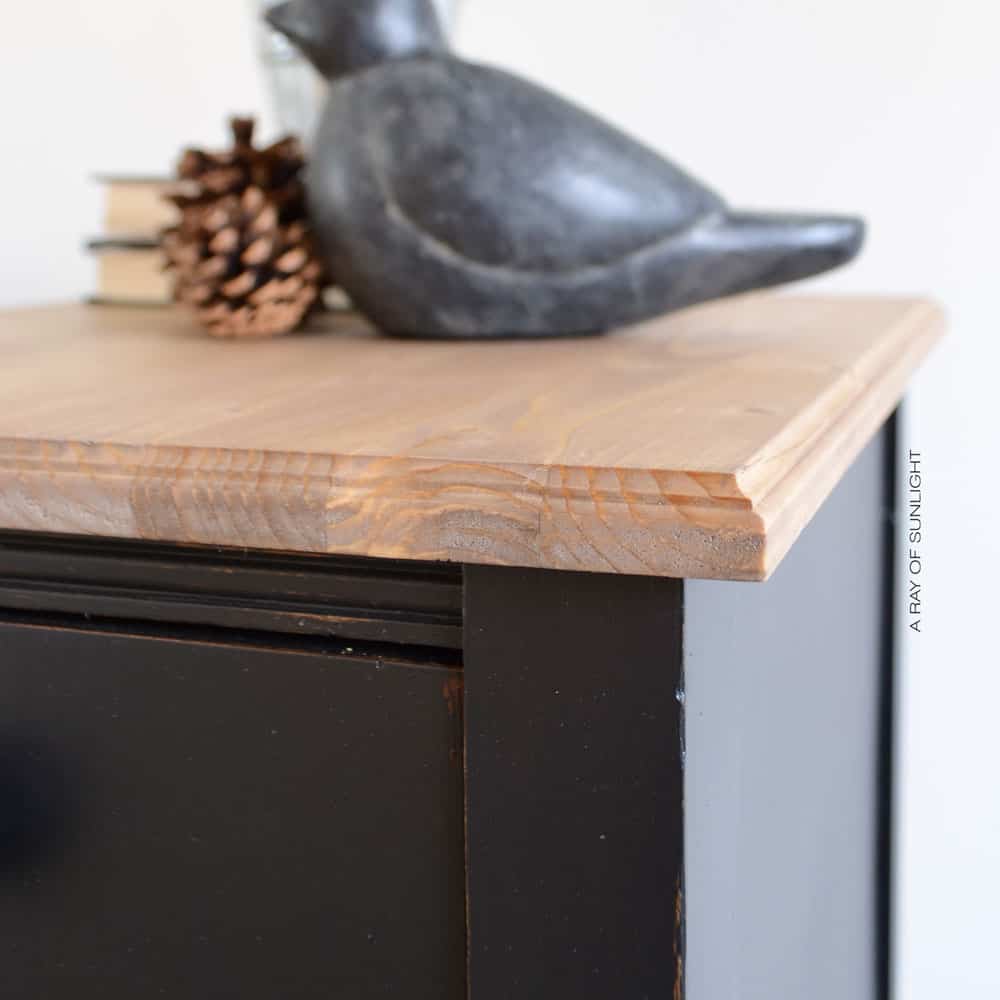
I used the same screw holes and screws that held the original top on, along with a few wood blocks (also from the original top) glued to the sides and some metal L braces on the inside back.
One thing I’ve learned since this makeover is how easy it is to repair damaged veneer, and the easiest way to remove damaged veneer (if it’s so bad that it needs to be removed.)
This once worn-out vanity is now the perfect solution to small space problems and are tall enough for modern beds!

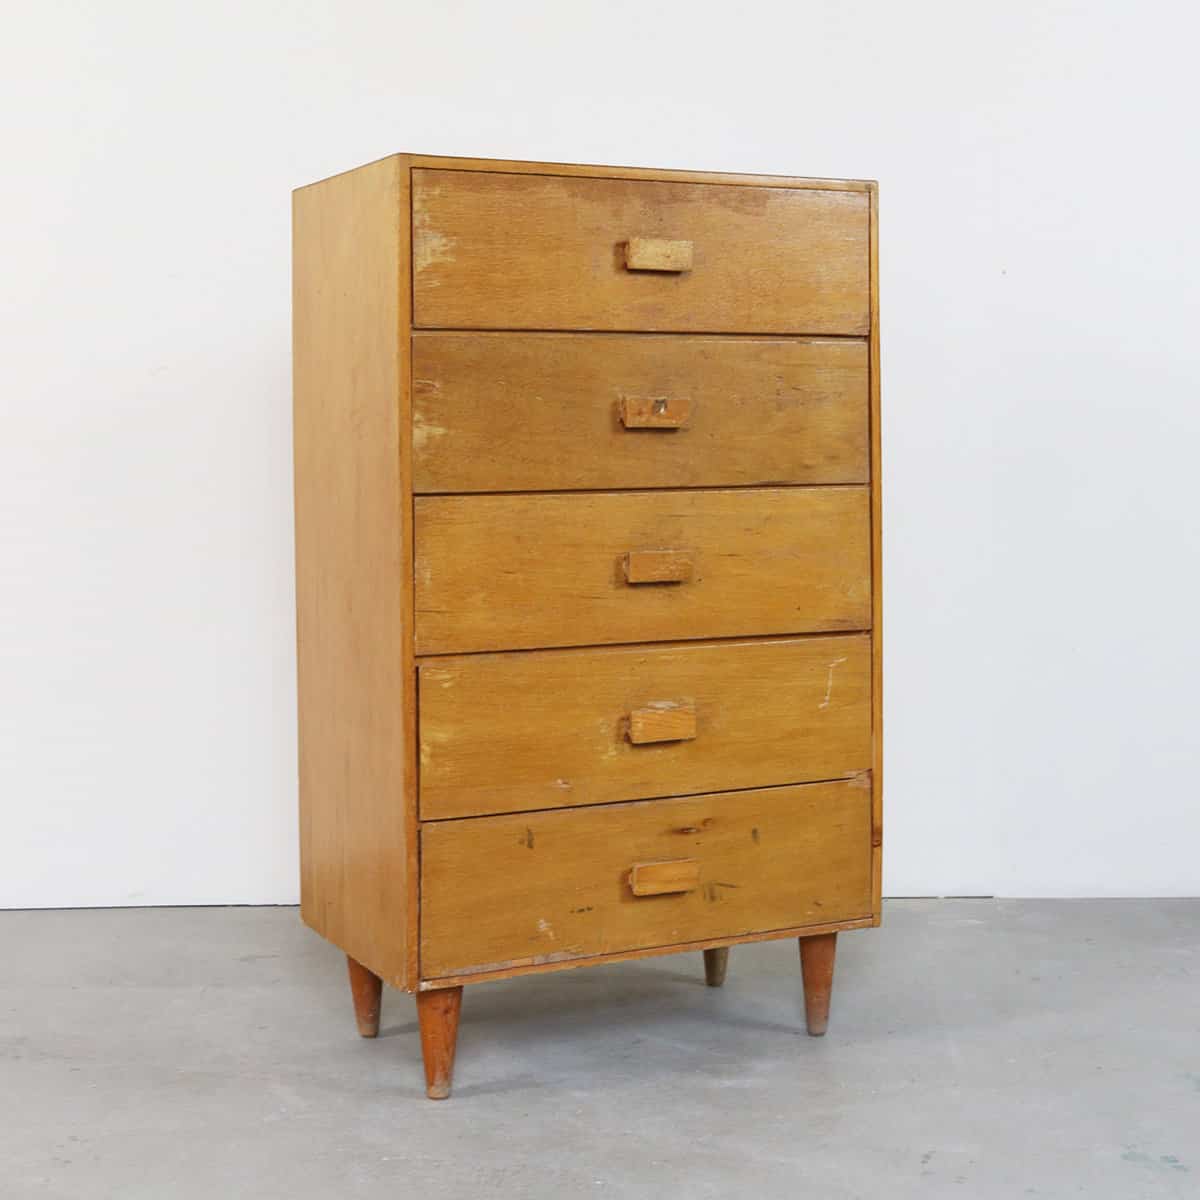
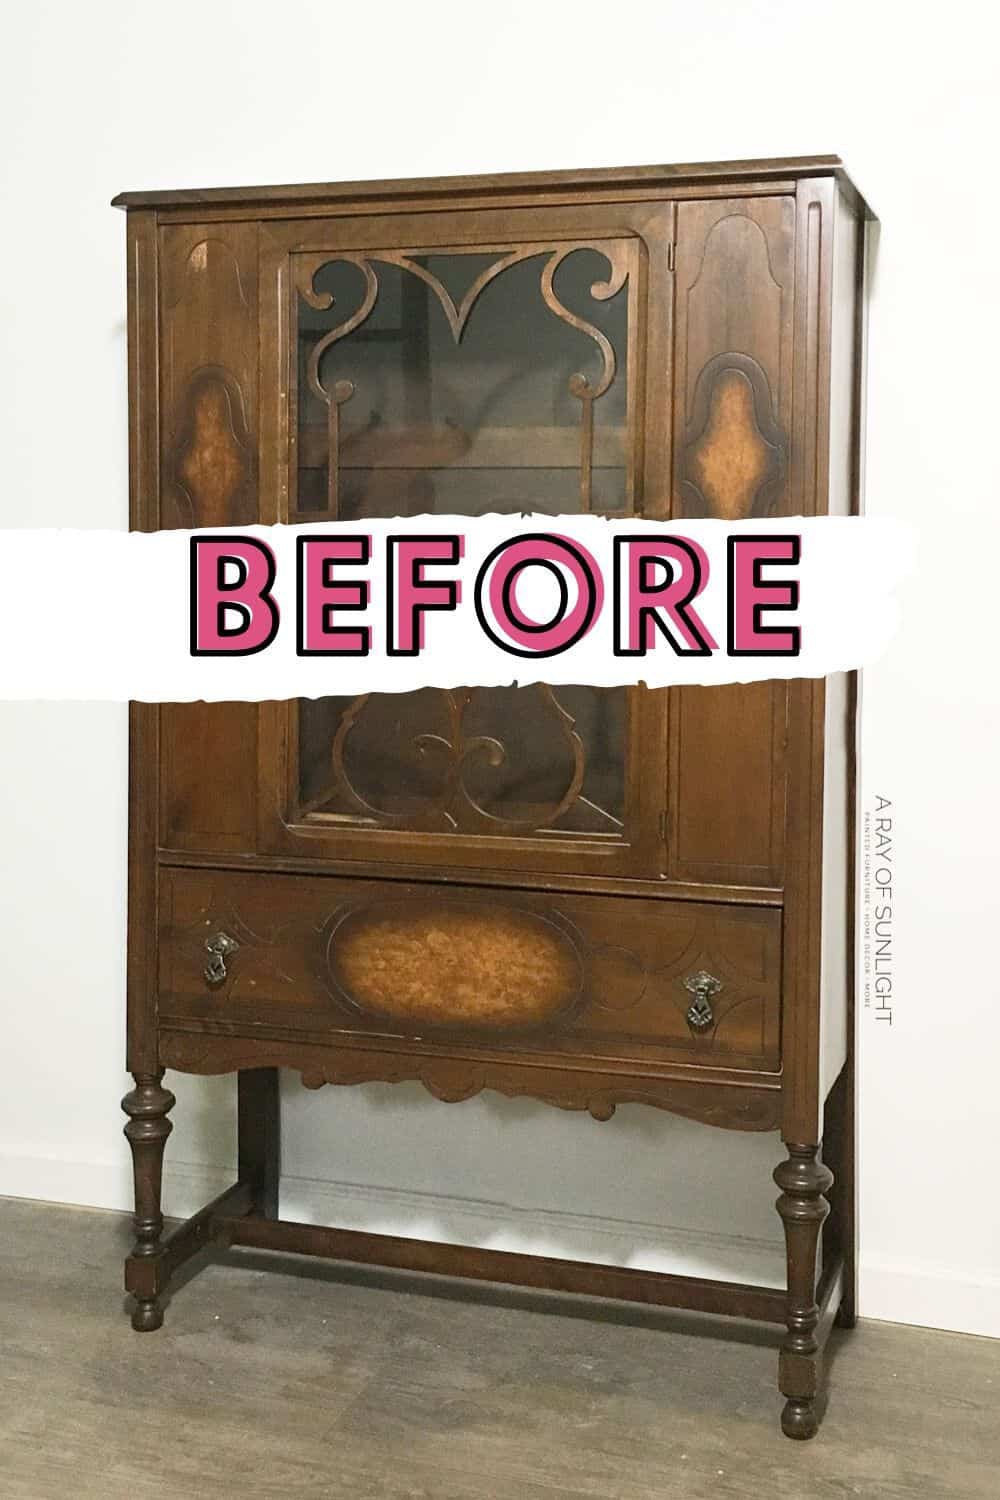
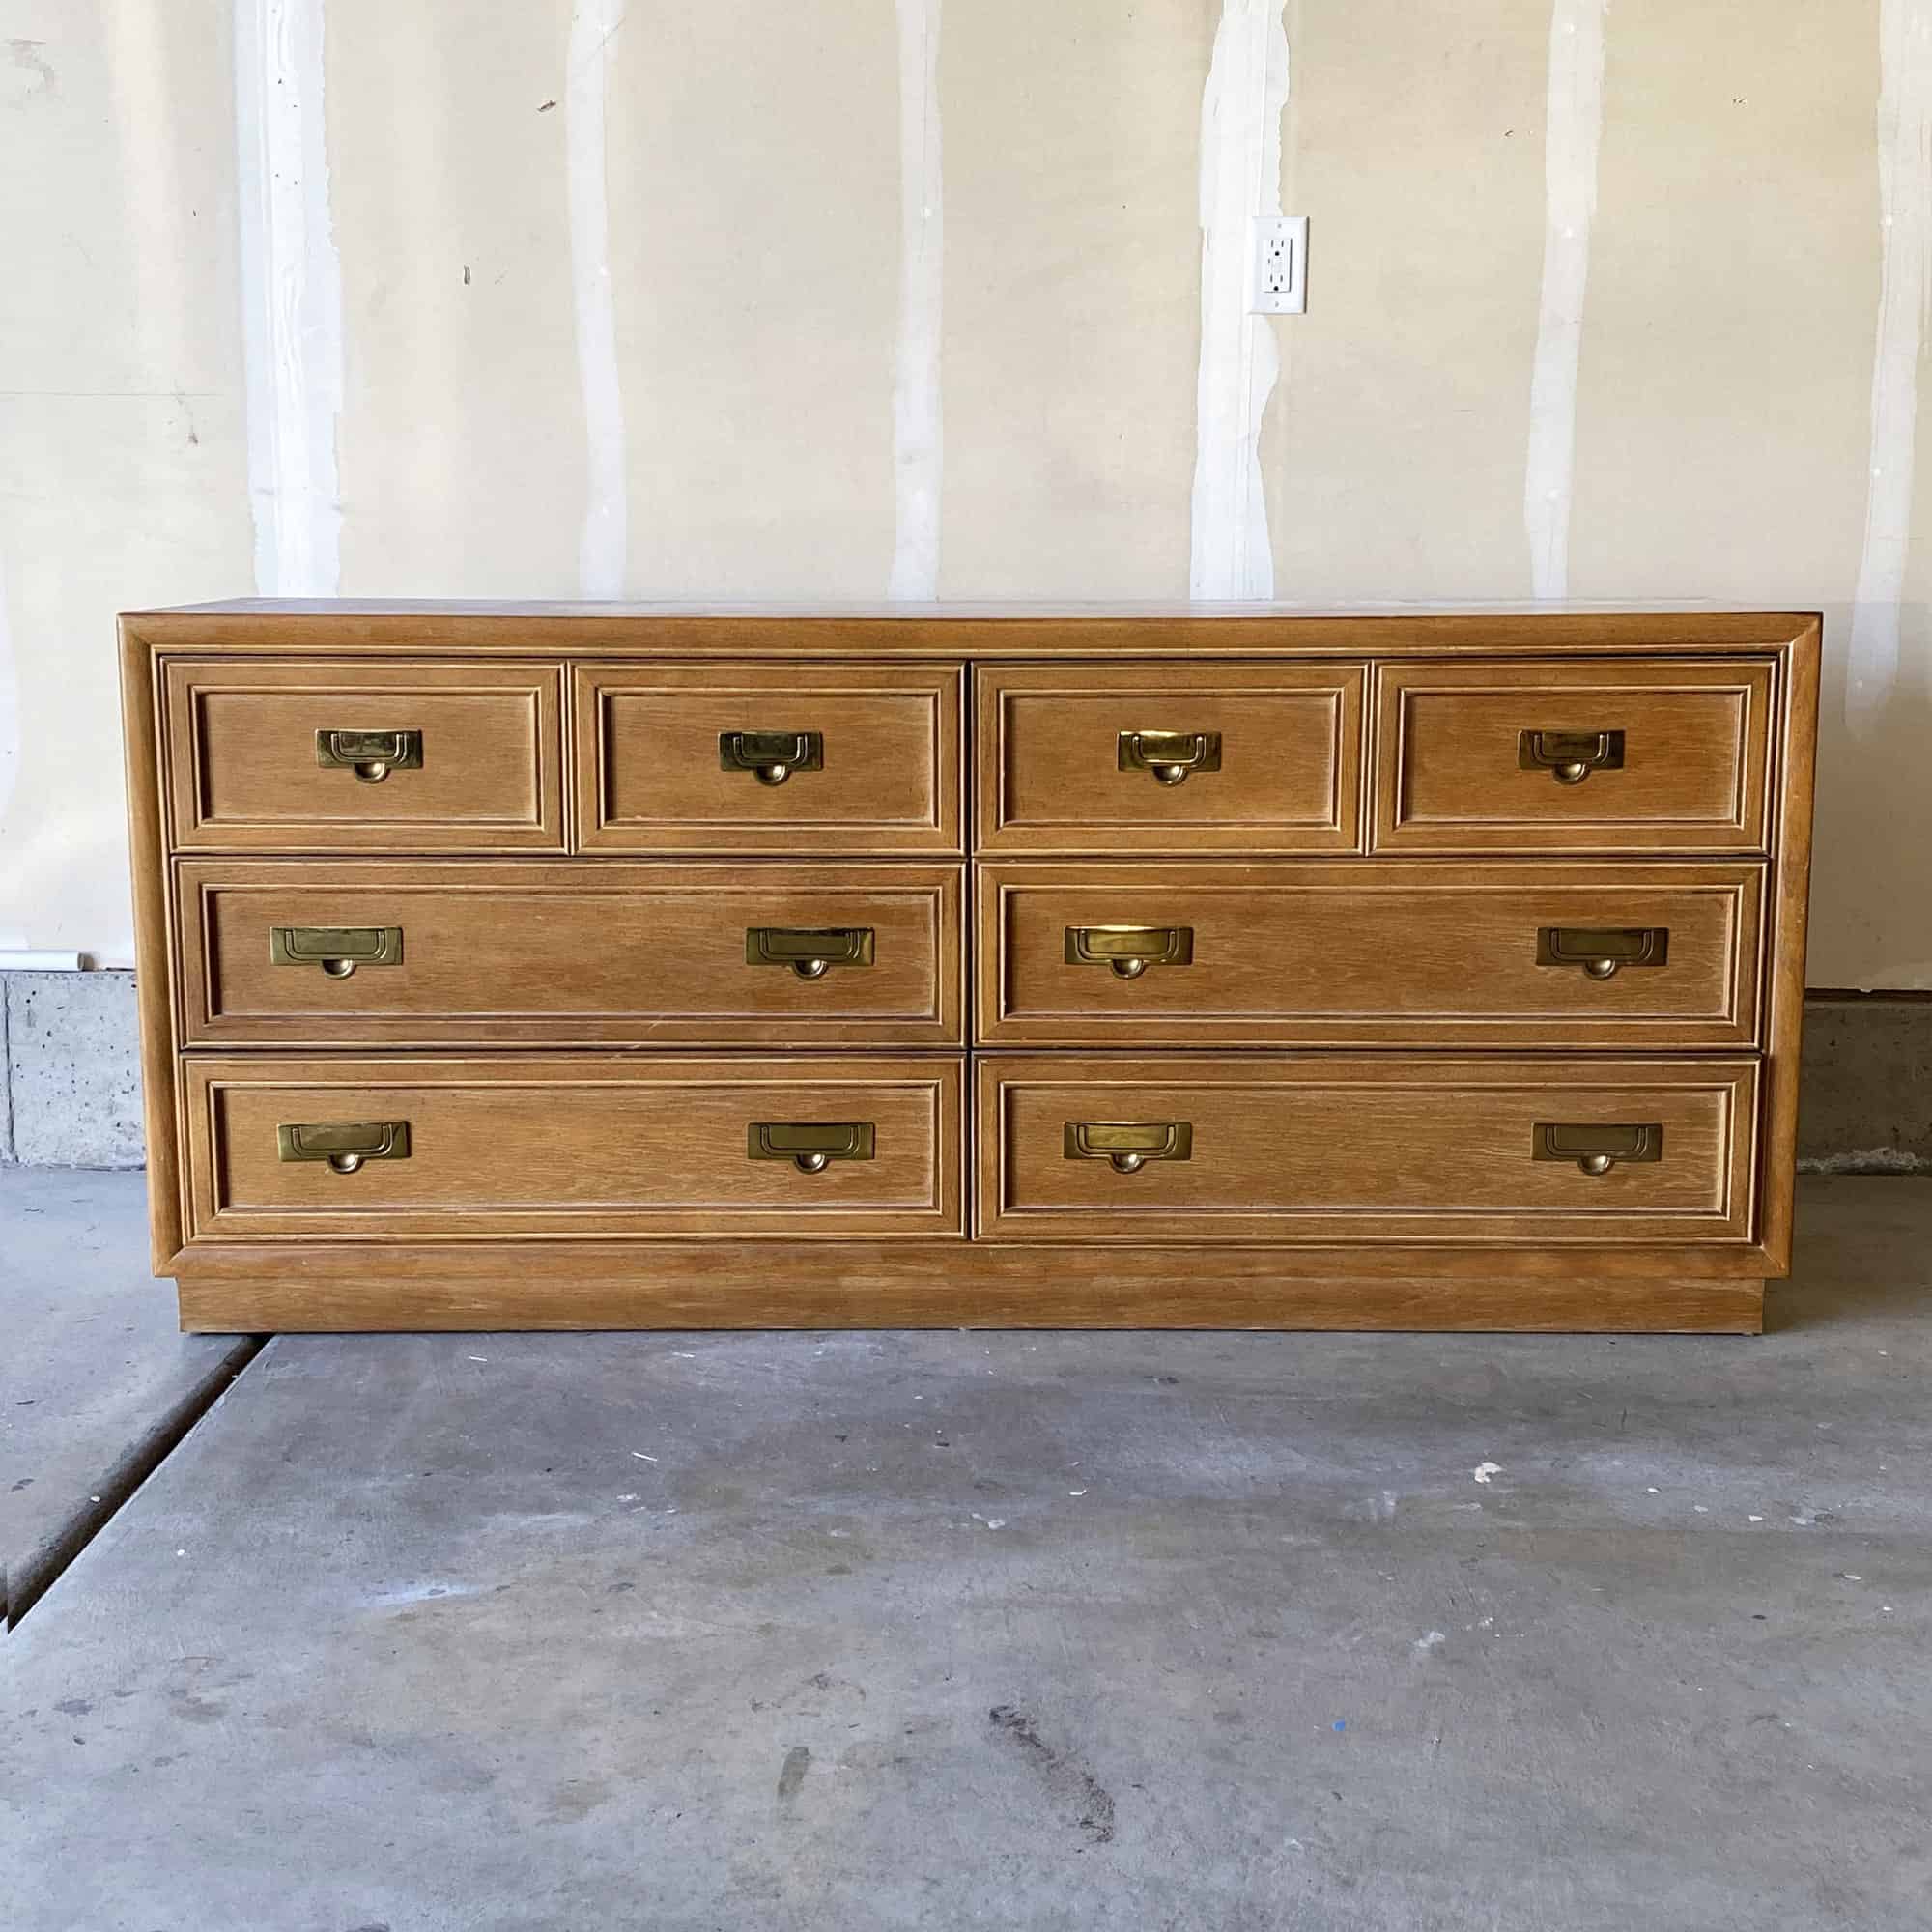
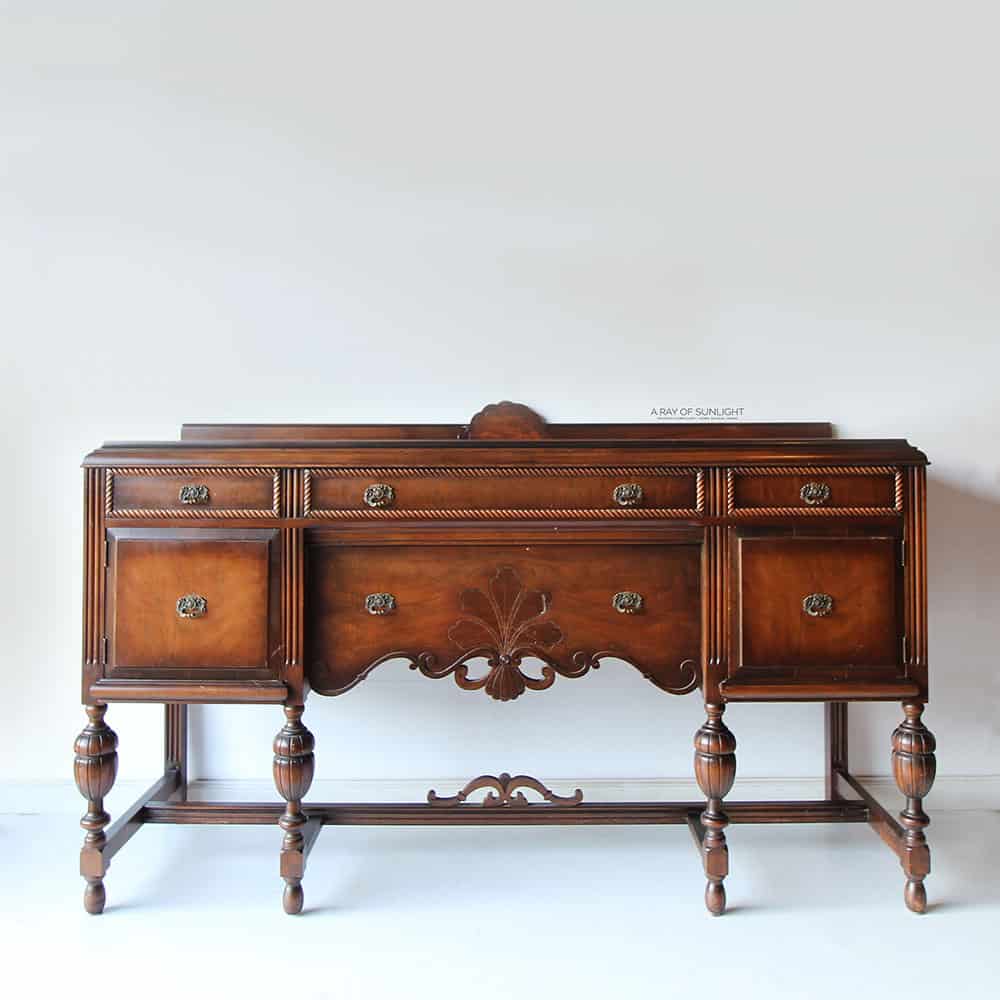
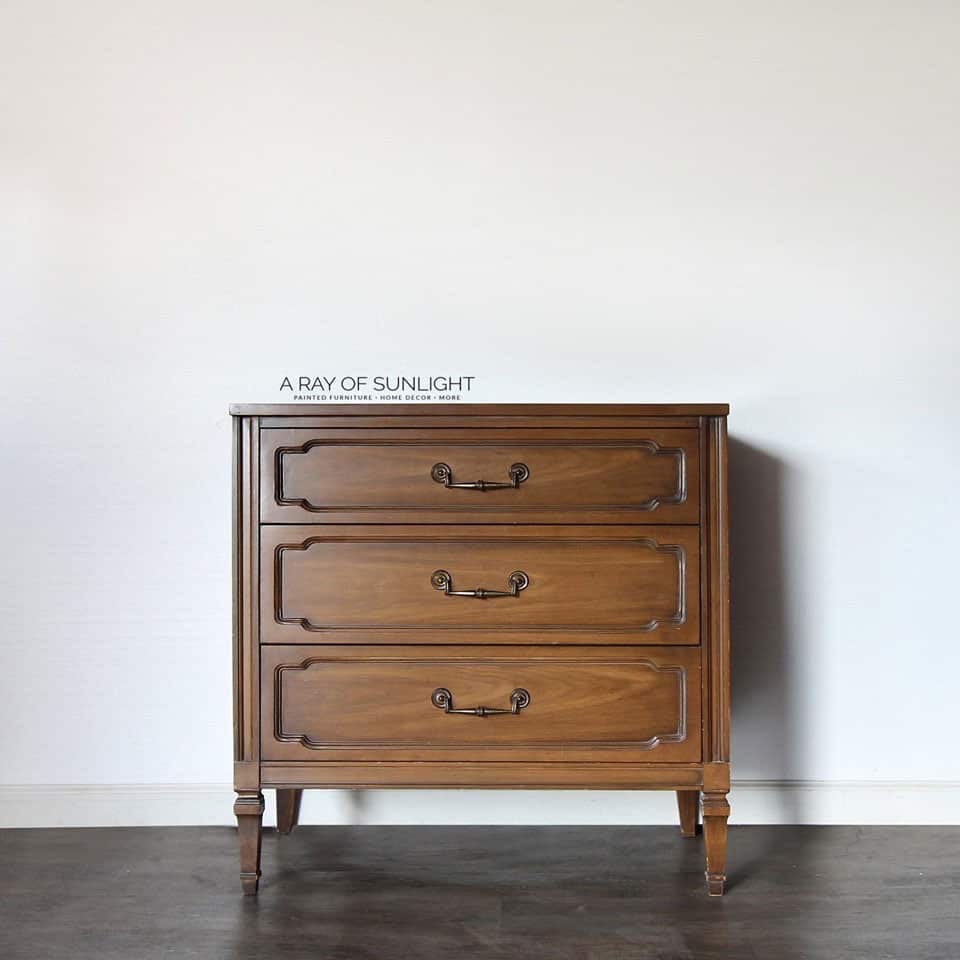
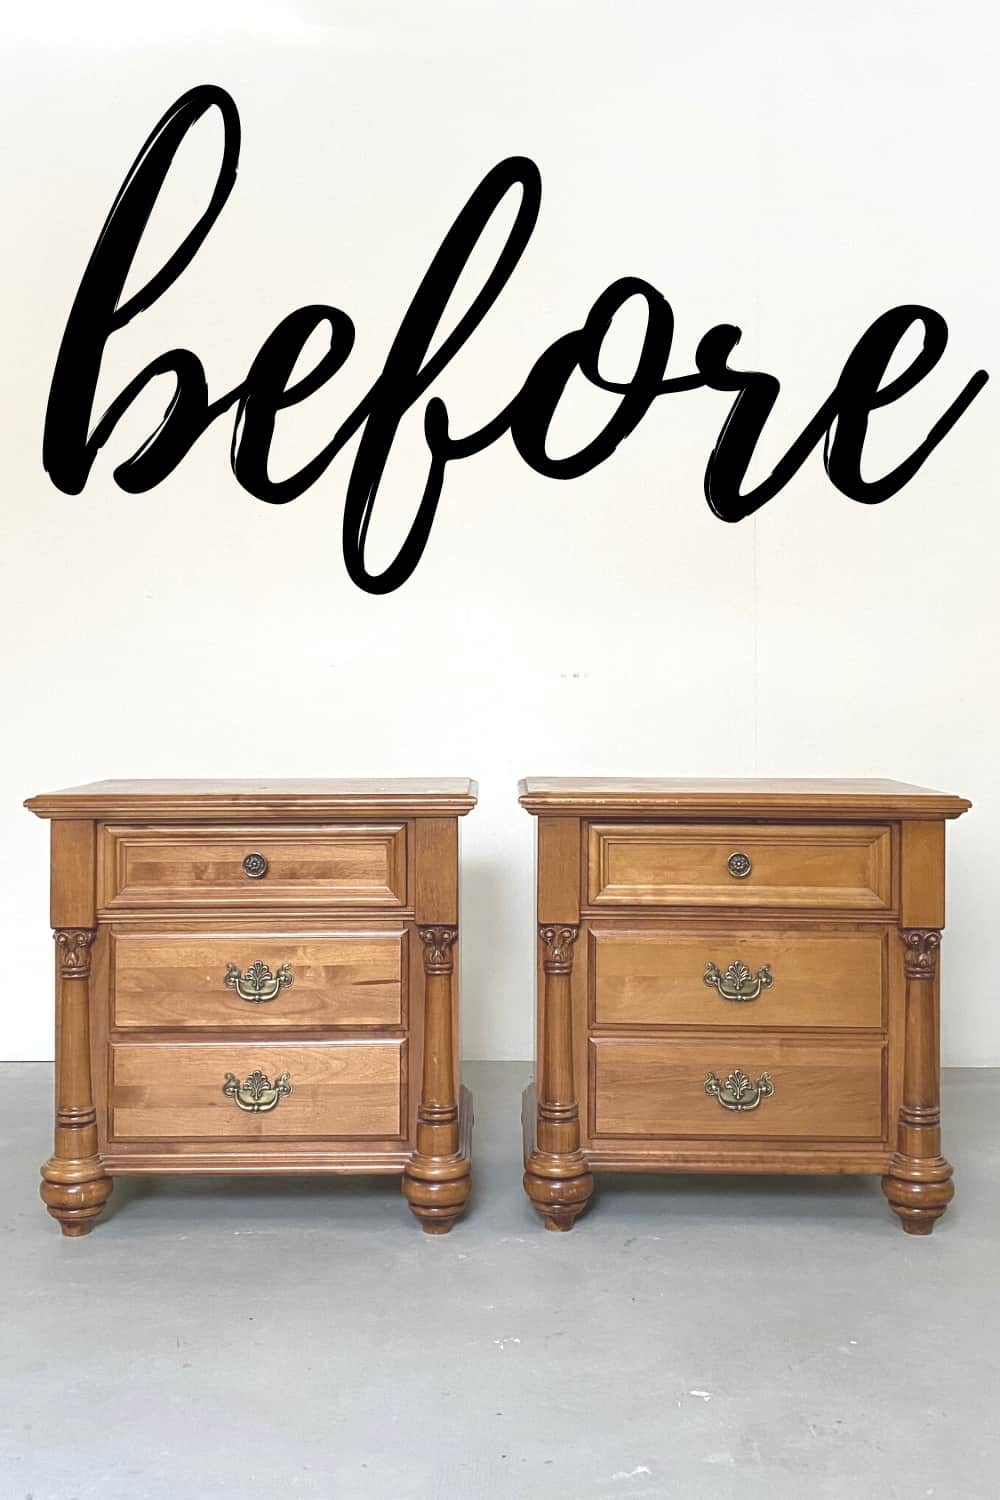
More Before And After Makeovers
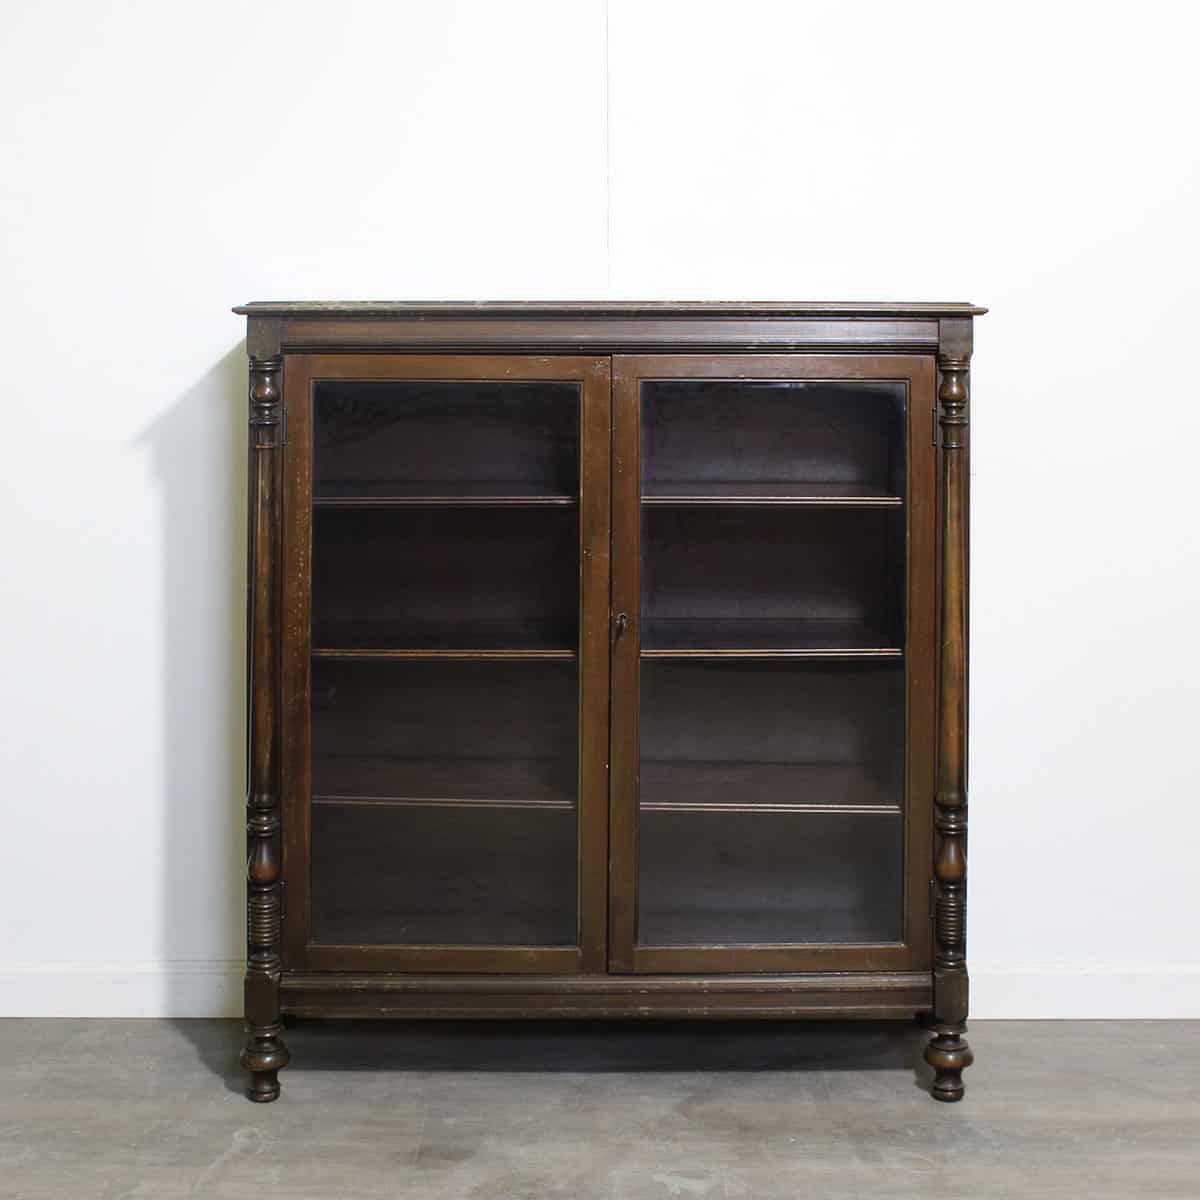
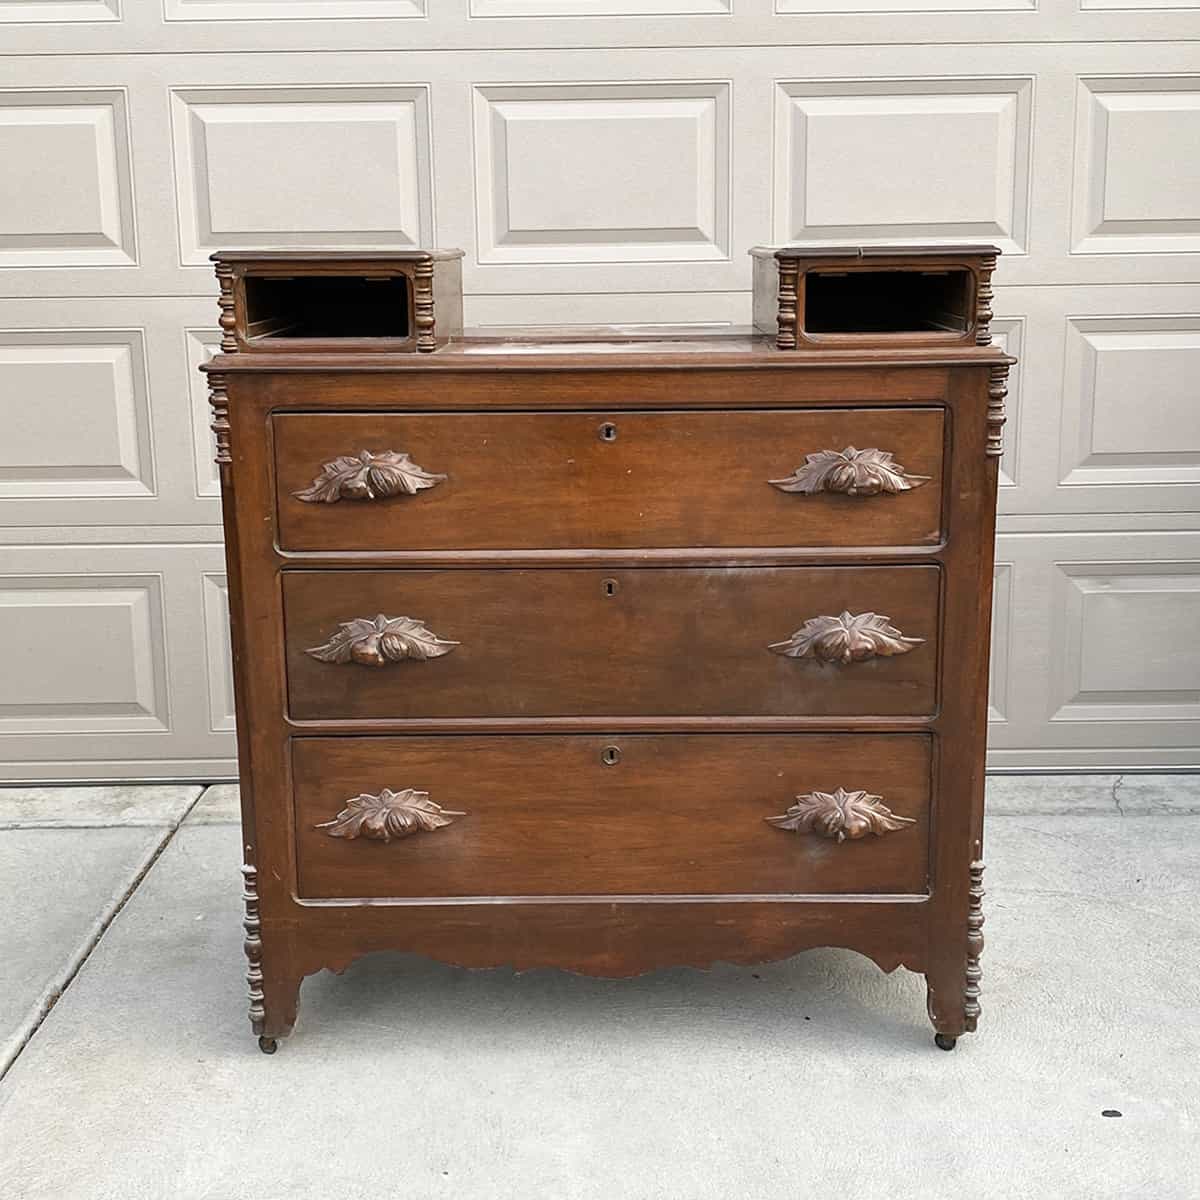
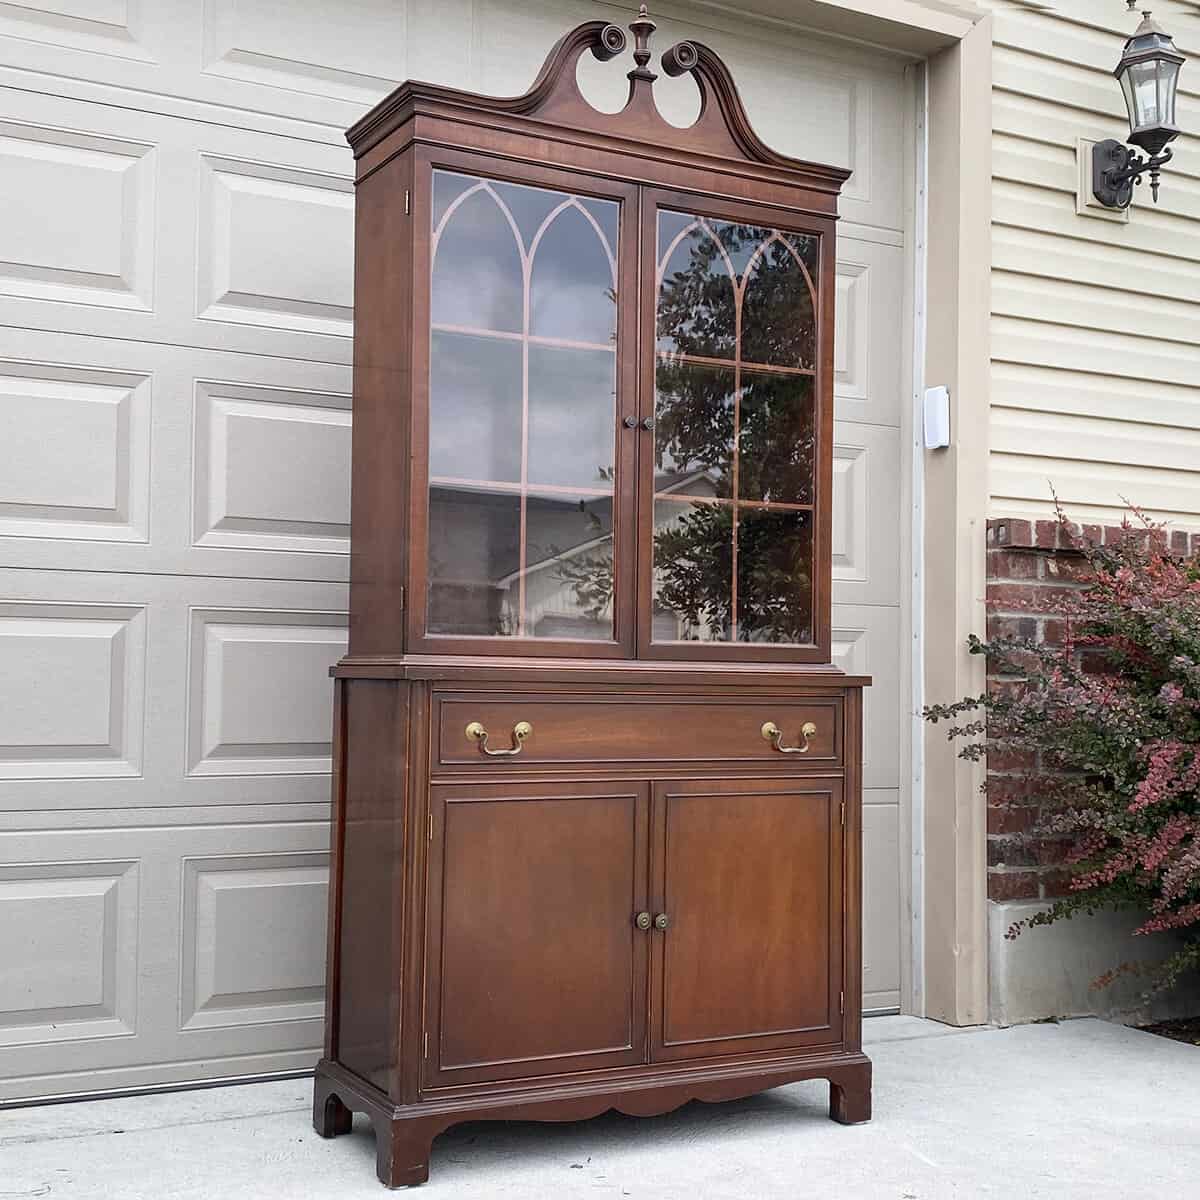
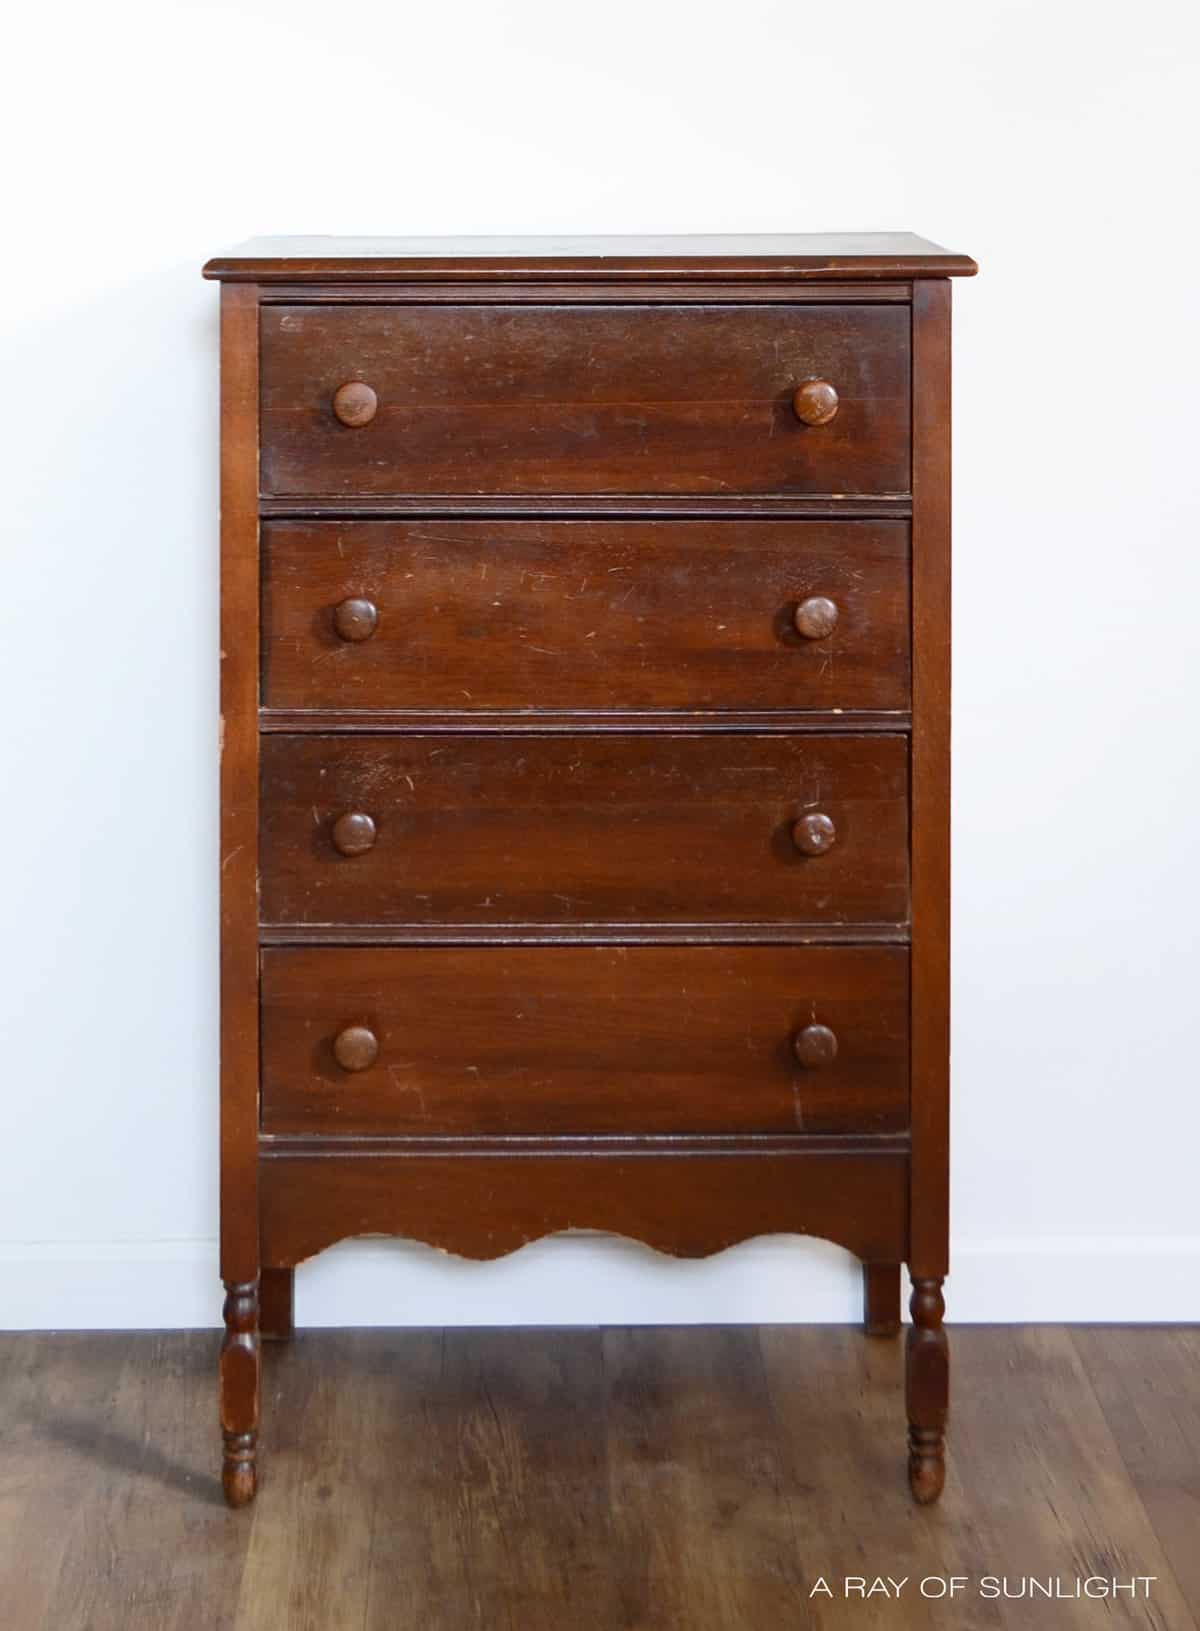
Click any of these “before” photos below to view the “after” of that makeover.
How do I know if a piece of furniture is good for repurposing?
Repurposing furniture is a great way to give new life to old pieces. But not all furniture is suitable for repurposing.
When considering whether a piece of furniture is good for repurposing, there are a few things to keep in mind.
First, look at the condition of the piece – does it have any major structural damage or missing parts that would make it difficult to use for a new purpose?
Next, consider the size and shape of the furniture – will it fit in the space you have in mind for its new use?
Also, think about the style and design – does it match your aesthetic and can it be easily transformed into something that does?


Another important factor to consider is the material of the furniture. Wood furniture is generally the easiest to repurpose, as it can be sanded and painted or stained easily. Metal furniture can also be repurposed with some sanding and spray painting.
However, sometimes it’s okay to leave a piece of furniture in its original state and simply use it for a different purpose, like using a dresser as a TV stand or a bookshelf as a room divider.
DIY Black Farmhouse Nightstands from a Vintage Vanity
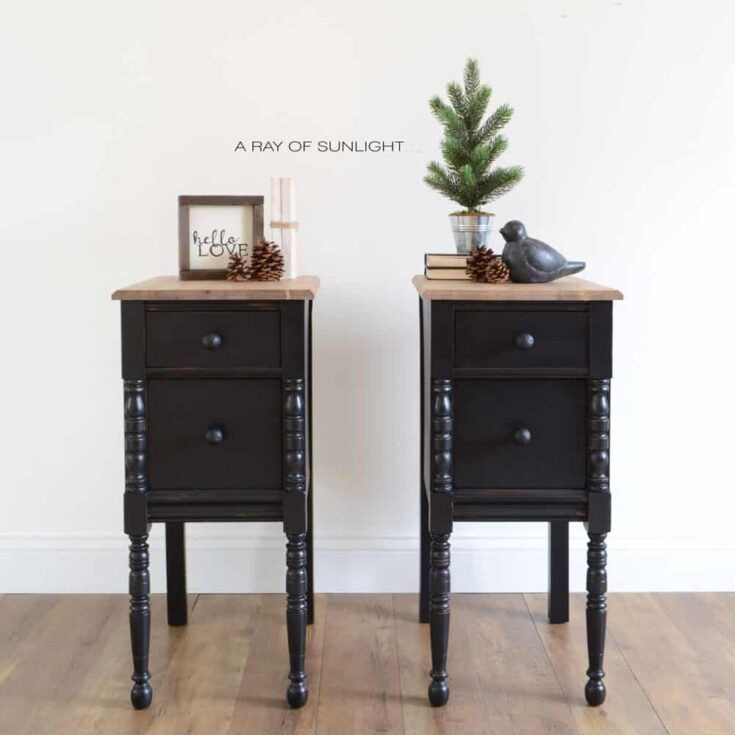
Repurpose an old vintage vanity into nightstands perfect for a small space. Here are the steps for the DIY black farmhouse nightstands.
Materials
Instructions
- Take the vanity apart to make it into 2 separate nightstands. Fill in any holes and repair any damages with Bondo.
- Clean and scuff sand to prepare the nightstands for paint.
- Paint about 3-4 coats of paint onto the nightstands for full coverage with the painting sponge. Using the painting sponge doesn’t leave brush marks like regular paintbrushes.
- Lightly distress the edges of the painted nightstands with 220 grit sandpaper or an old damp rag.
- Seal everything with 3 coats of waterbased poly using the painting sponge as well.
- For the new wood tops, cut and router them out from fresh wood. Stain the tops with a coat of special walnut. After the stain dries for at least 48 hours, seal it with multiple coats of poly for protection.
- Once everything dries, attach the new stained tops to the painted nightstands.
Recommended Products
As an Amazon Associate and member of other affiliate programs, I earn from qualifying purchases.


More Repurposed Furniture Into Nightstand Ideas
- How to Repurpose Desks
- How to Take Apart an Old Vanity for Nightstands from Timeless Creations
- Vanity Into Nightstands Transformation video from Salvaged by K. Scott
- How to Upcycle a Desk into a Pair of Nightstands
- Repurpose a Desk into Nightstands
Follow us on YouTube to get more tips for painting furniture.
Or share your project with us on our Facebook Group and be part of our community. See you there!

I have the mirror portion, but not the bottom piece. What did you do with the mirror?
I kept the mirror, and the mirror holder is in my scrap wood now.