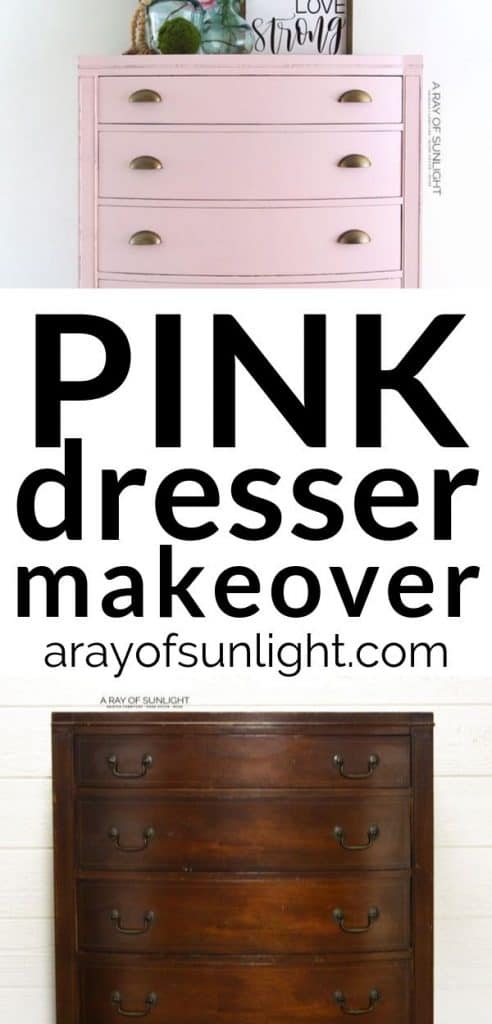
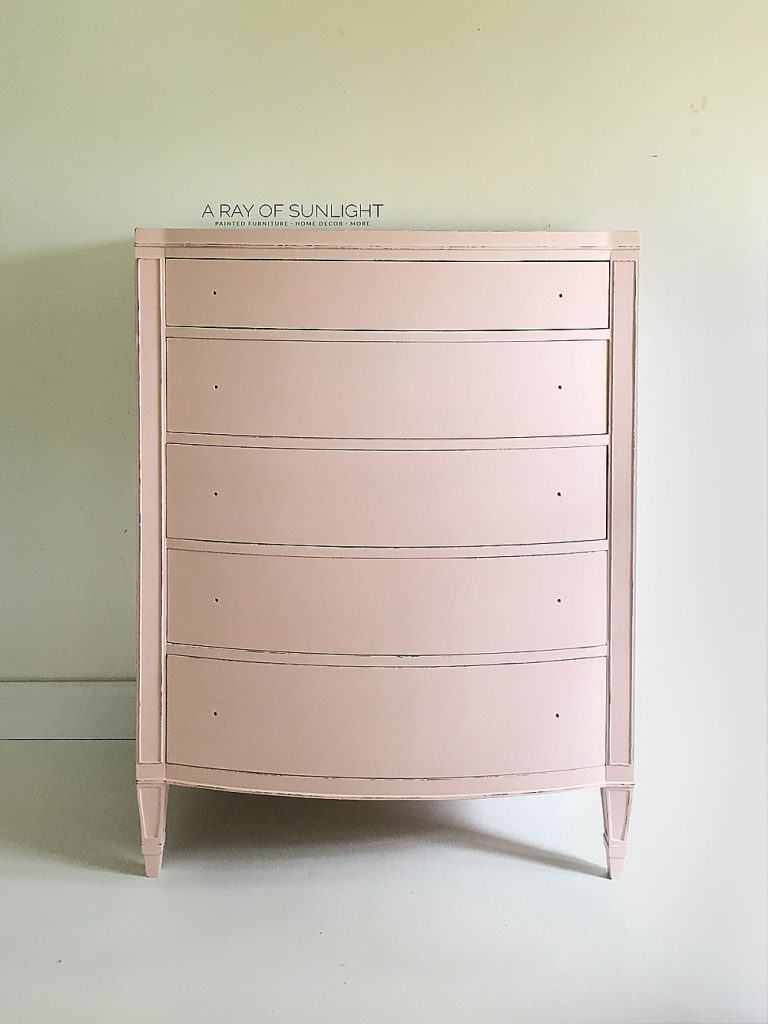
Pink Vintage Dresser with Gold Hardware
This pink vintage dresser is making us dream of girly rooms, gold decor and frilly fabric. Here’s how you can get this look for your own vintage dresser makeover!
Click here for our growing list of DIY dresser makeovers!
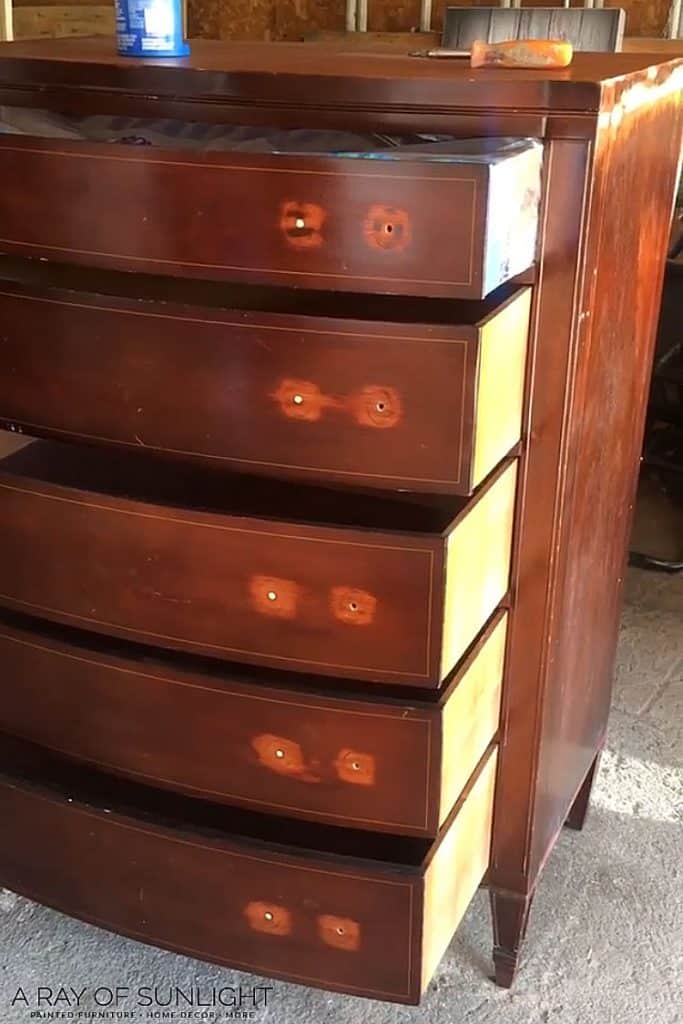
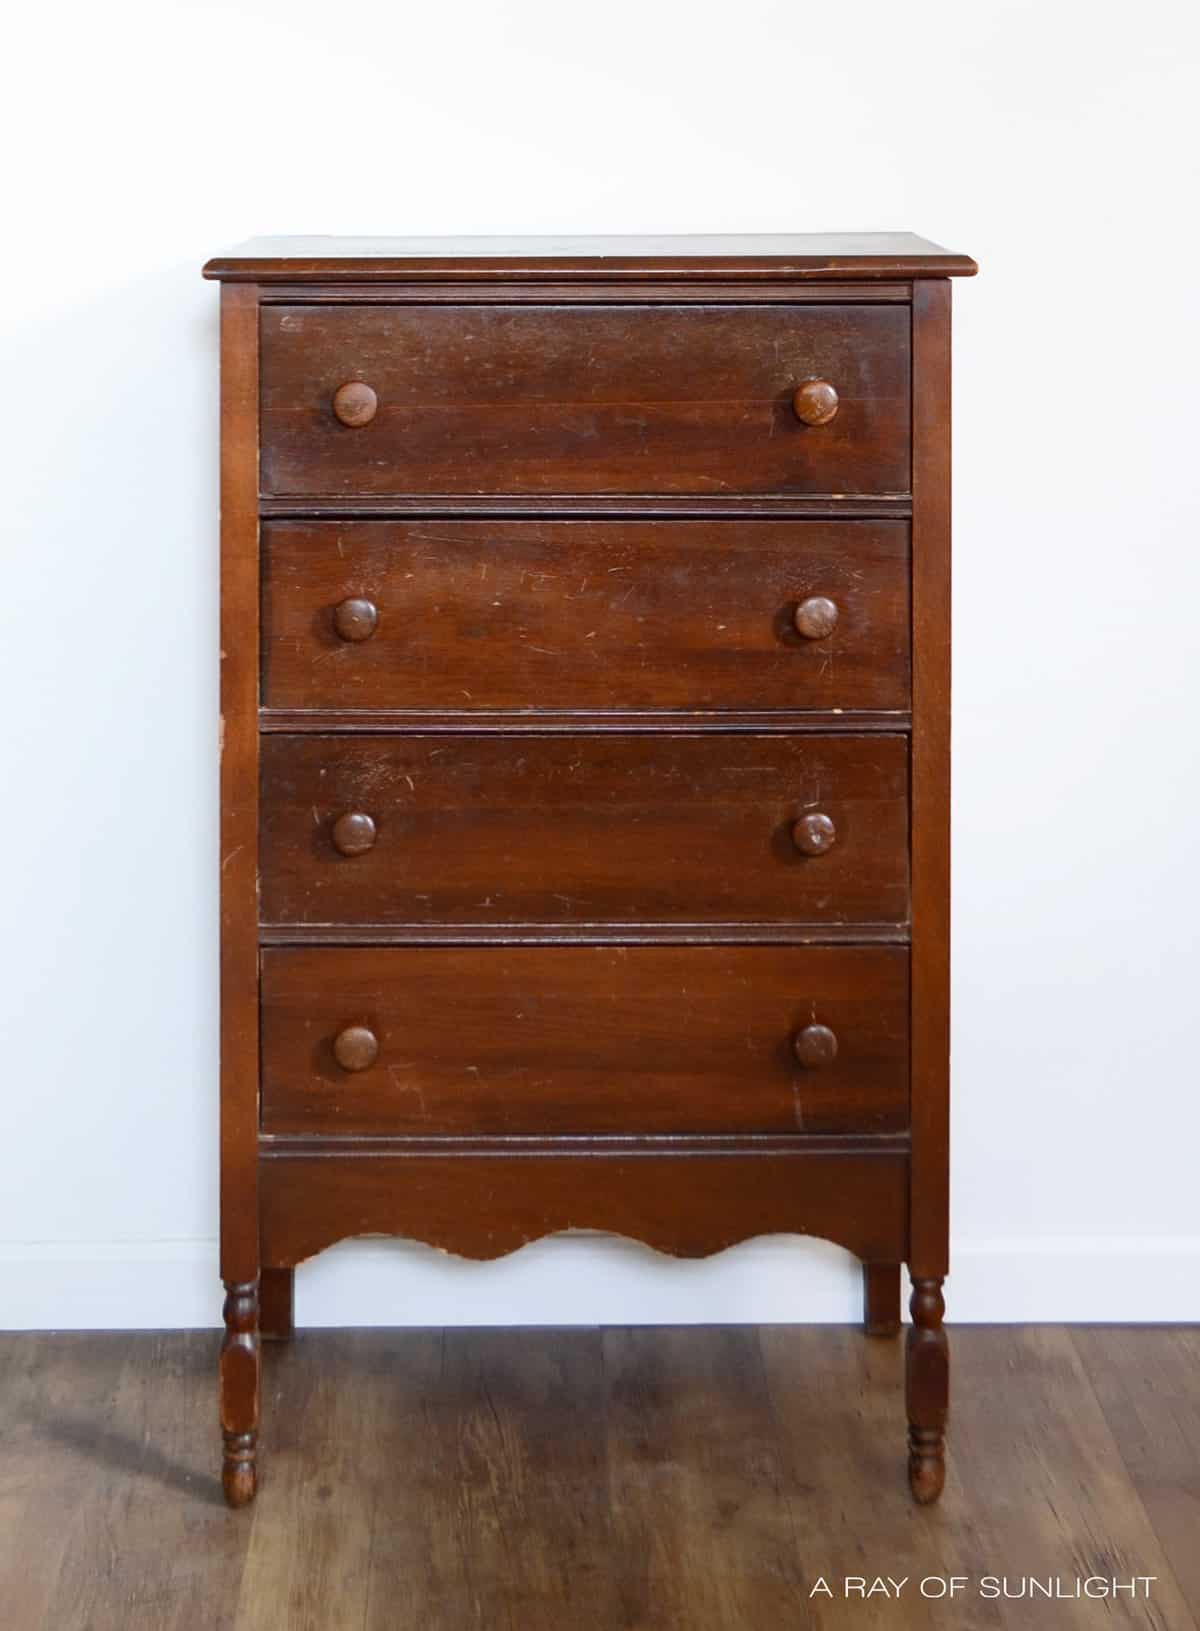
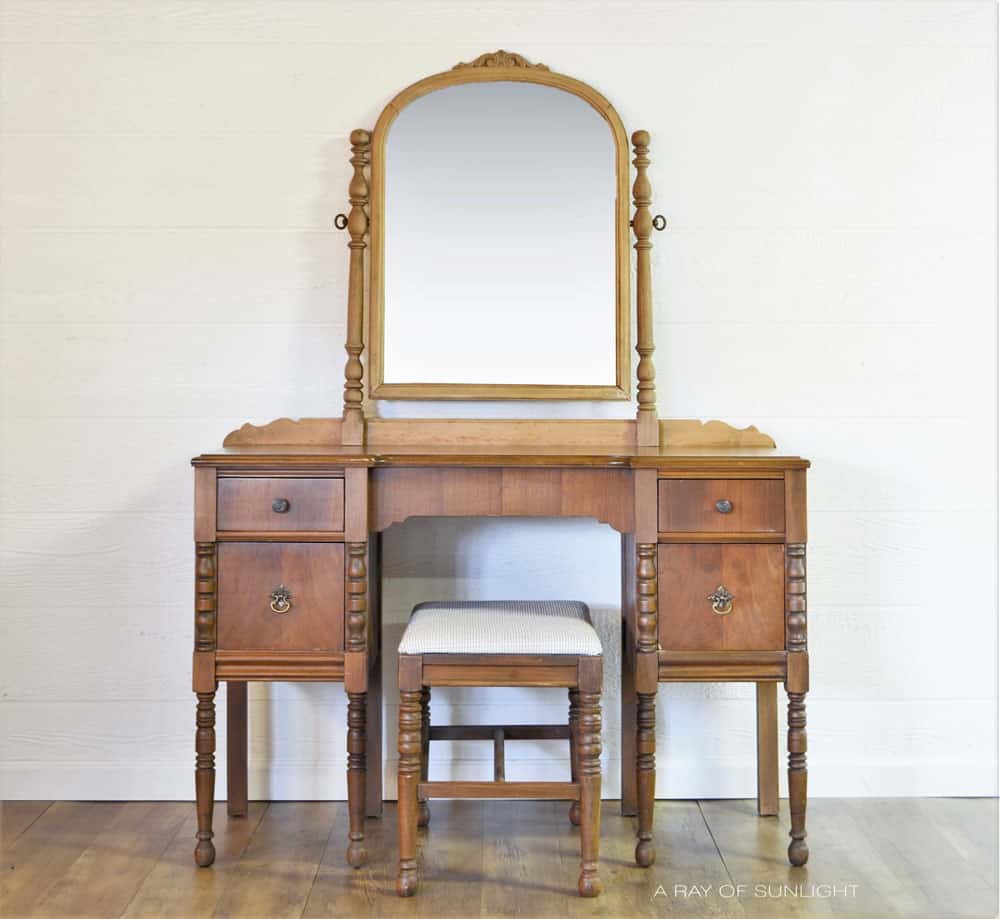
There is a first time for everything, and this is our very first distressed pink dresser!! Pink has been on my list of colors to try painting on an old dresser, and it surely did not disappoint!

Supplies Used for Pink Vintage Dresser
As an Amazon Associate, I earn from qualifying purchases. I also may earn from other qualifying purchases with other companies or get free product to review and use. All opinions are my own.
- Wood Glue
- Long Tie-Down Straps
- Bondo
- Krud Kutter
- 220 Grit Sandpaper
- Shop Vac
- Tack Cloth
- KwikWood
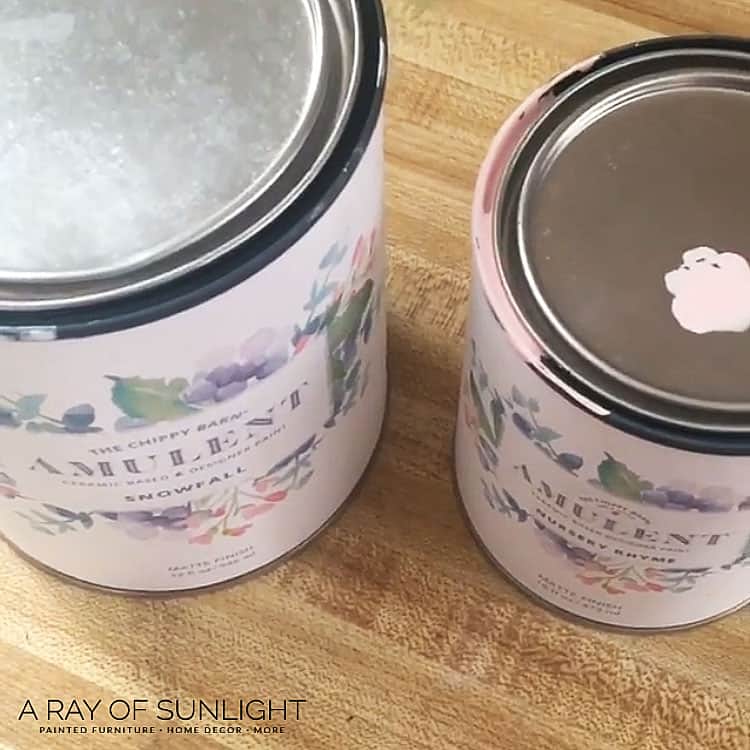
- Nursery Rhyme Paint by Amulent Paint
- Paint Sprayer
- Waterbased Polyurethane
Check out the 10 best painting furniture supplies in this post!
How to Repair An Old Dresser Before Painting
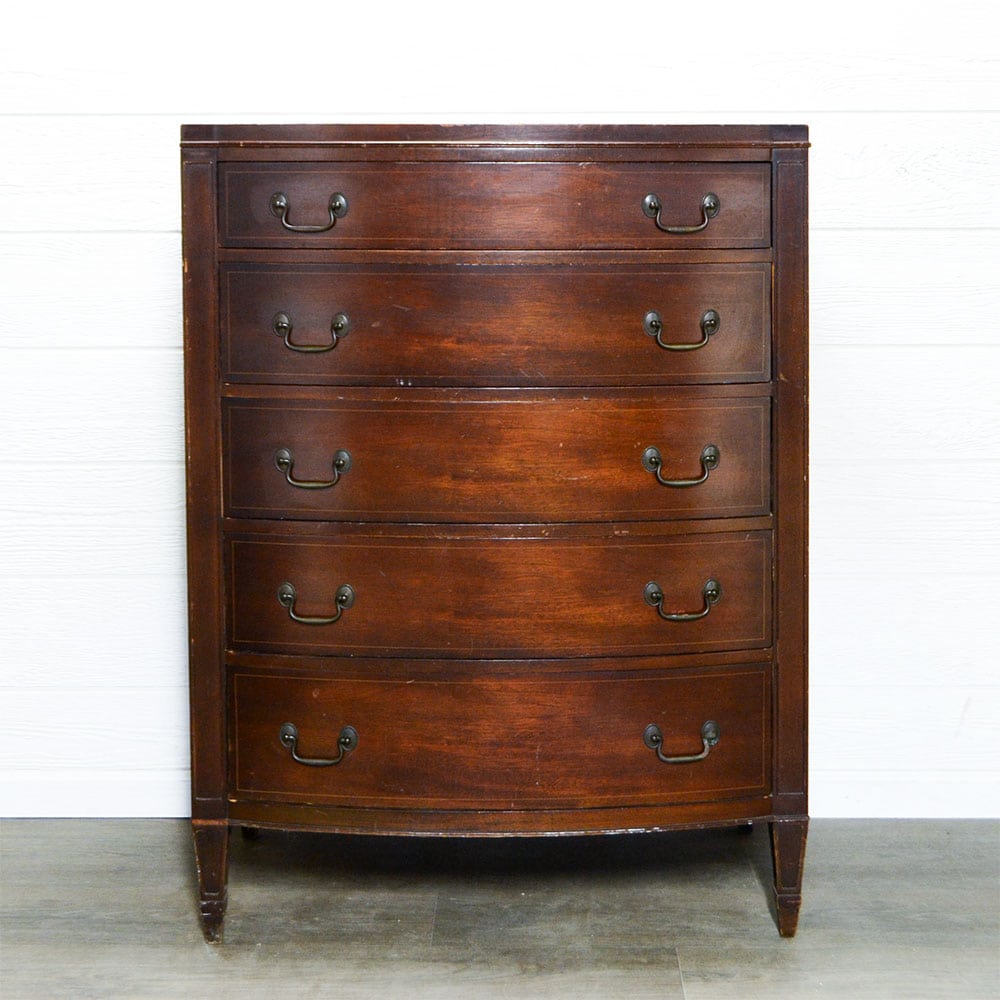
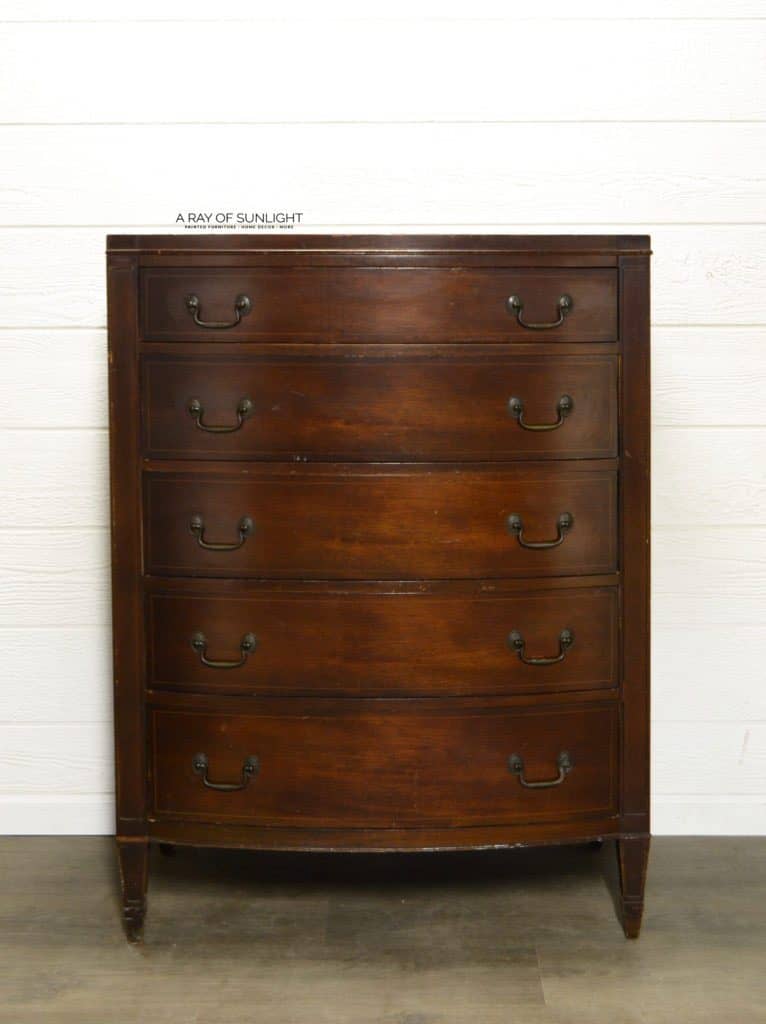
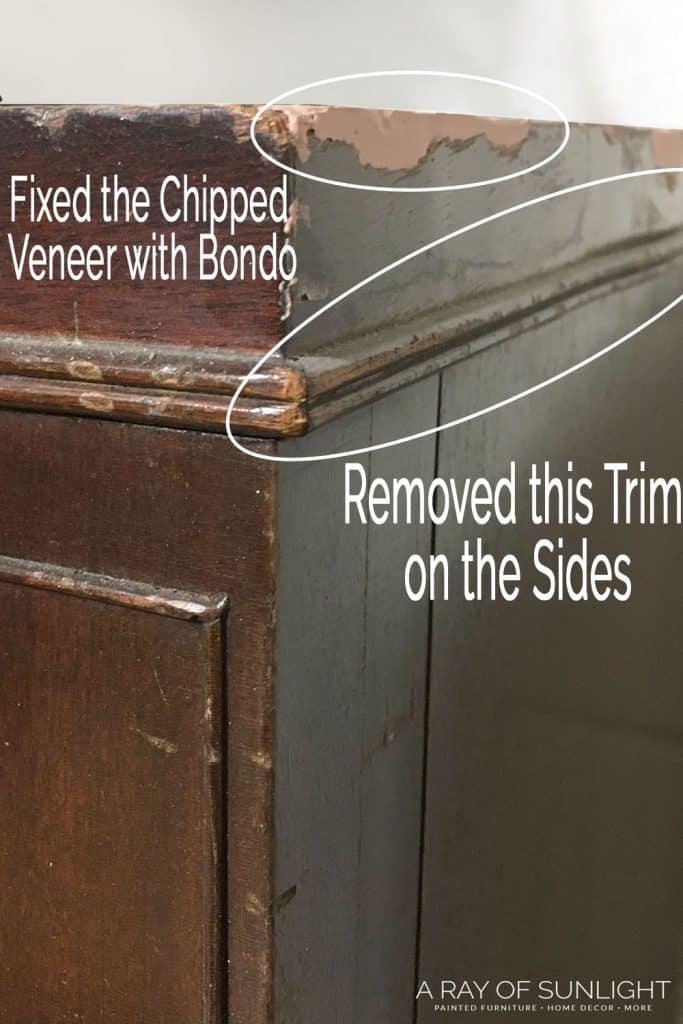
Before I could get into the fun painting part though, this dresser had some chipping veneer and some veneer that had lifted away from the dresser. Some of the original trim had broken off as well.
So before any painting happened, I started working on repairs. Read more about how to fix damaged wood furniture before painting here and how we did it on this dresser!
How to Replace Wood Trim on A Dresser
The original trim had mostly broken off of the sides of the dresser, but there was some missing from the front of the dresser as well.
I really wanted to replace the wood trim on this dresser, so I searched online to try to find a similar piece of wood trim. I had no luck finding a similar piece though!
So I thought about making new trim by replicating the old trim. I’ve done this many times before, but not with such delicate trim.
If the trim was larger, I would have gone this route though. See how to make a mold of wood trim in this post on how to repair broken trim on furniture.
Get the Secrets!
Grab this super convenient How to Repair Furniture Ebook with all of our secrets on how to repair furniture for only $14.
You can print it out and have instant access whenever you come across damaged furniture, and know exactly how to fix it!
Click on the picture of the book to purchase!

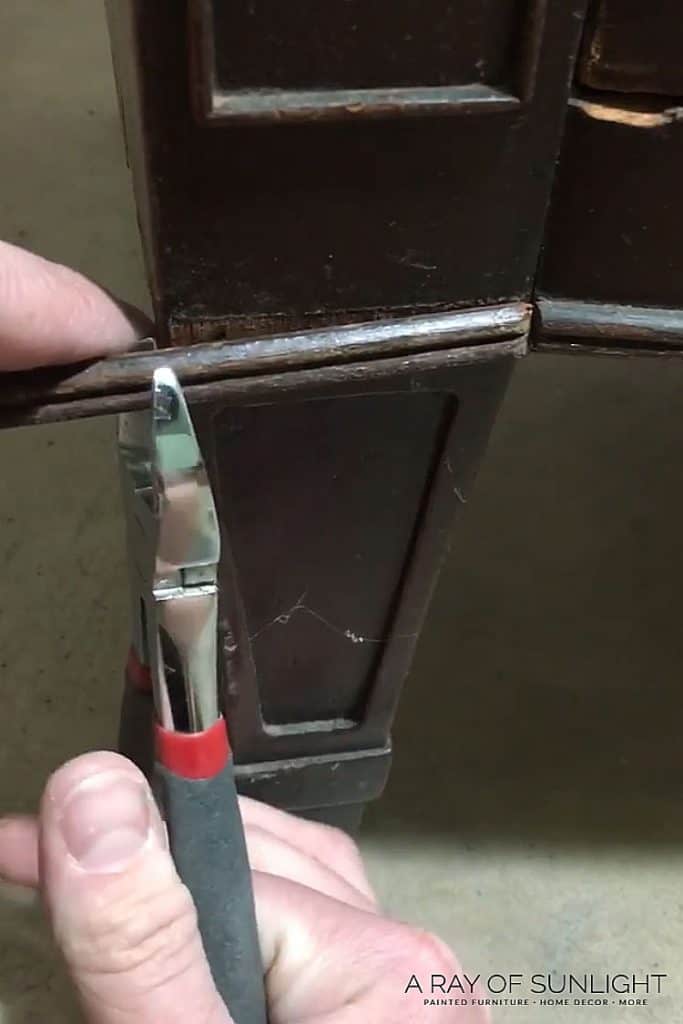
In the end, I simply removed the trim from the sides of the dresser by carefully prying it off with a thin spackling knife.

Then I used a pair of wire cutter pliers to cut the trim down to replace the trim on the front of the dresser.
Then I sanded the wood (where the trim used to be) to be nice and smooth for paint.
How to Fix Lifting Veneer and Veneer Chips
The lifting veneer was pretty simple to fix. It was lifting from the edge, so it wasn’t difficult at all. Here’s how to glue veneer back down.
I put some wood glue in between the veneer and the wood underneath and then clamped it down.
Here’s a fun little tip though! If you don’t have a clamp that is long enough for your dresser, you can use ratcheting tie-down straps instead!
I grabbed a piece of scrap wood to help spread out the pressure over the lifted veneer, and then wrapped a couple of long tie-down straps around the dresser.
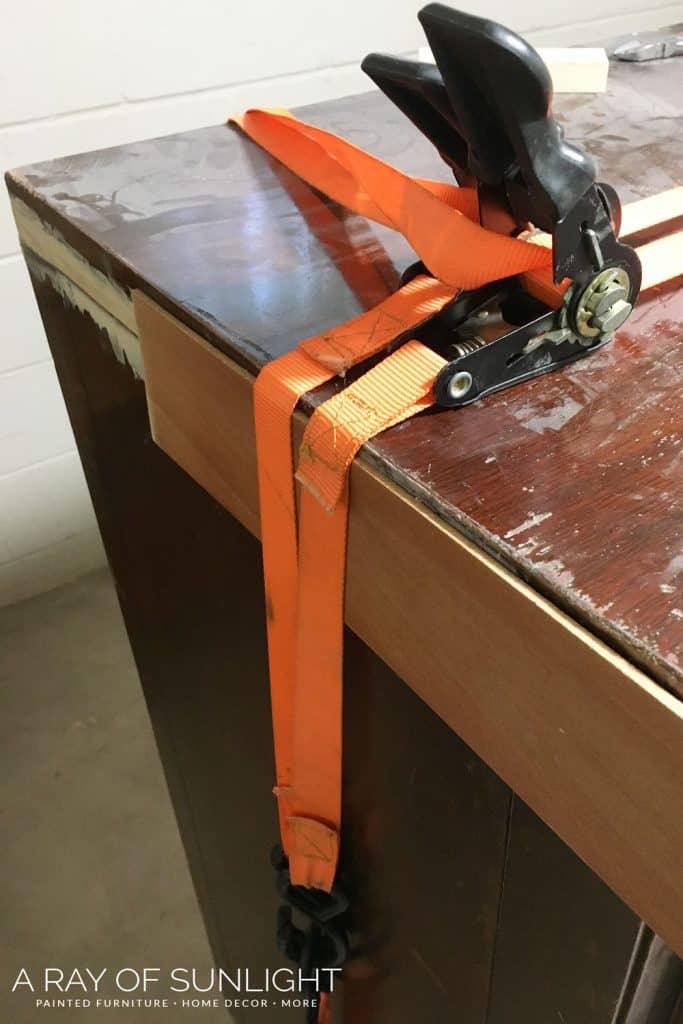
Then I used the ratchet to clamp down on the veneer and push it back down in place. Then I let it sit for 24 hours until the glue dried.
When I released my large homemade clamp, the veneer was glued back down in place.
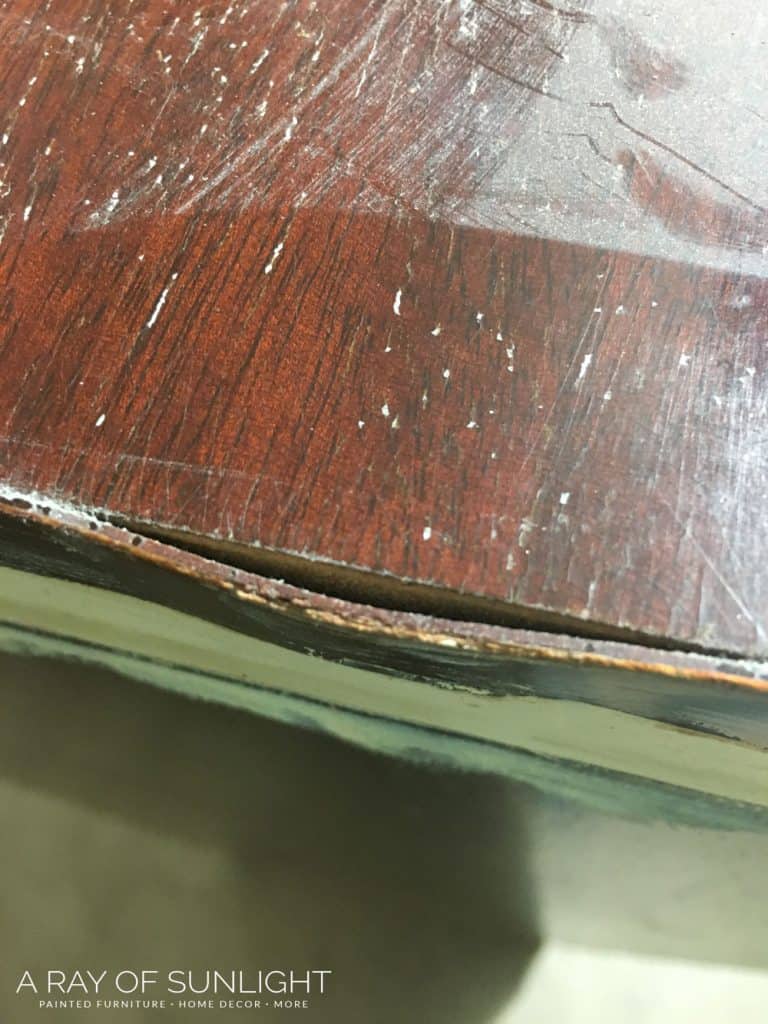
Last, but not least, there were little chips broken off of the veneer on the edges. Most old furniture has these chips in the veneer, so it’s a common furniture repair to make.
Learn more about how to repair damaged furniture with Bondo.
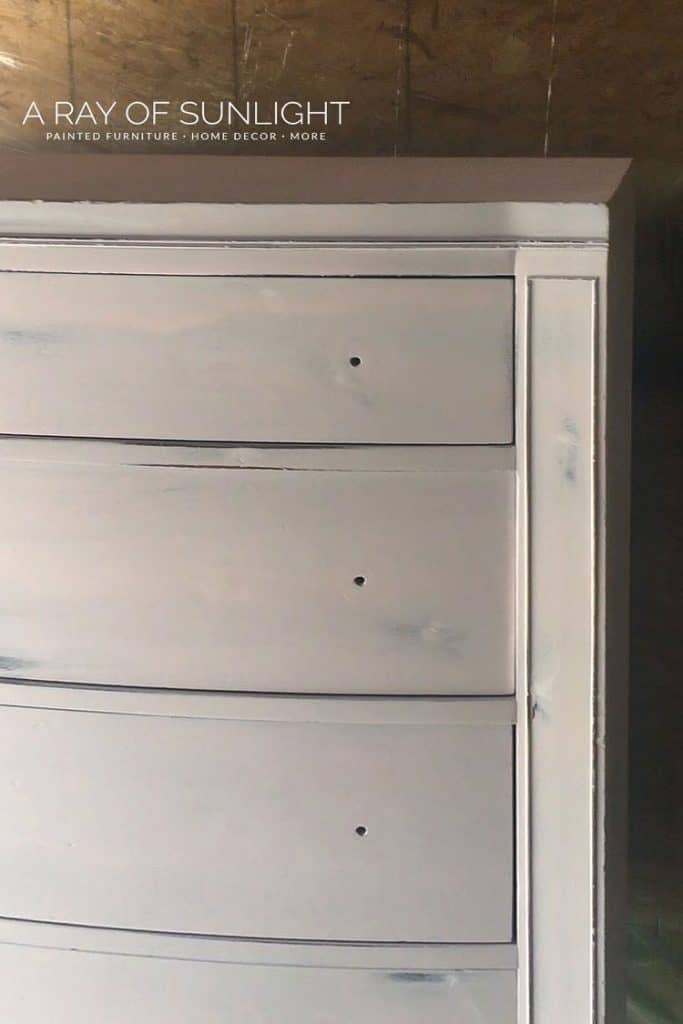
Preparing Dresser for Paint
After repairs, the next step is to prep the dresser for paint.
Prepping furniture for paint is actually a huge deal. Especially when you are going to paint a dresser in a light color! – More on that in a second!
To make sure the paint stuck to the dresser, I cleaned the dirt, grime, wax and oil off of the dresser with Krud Kutter. Learn more about how to clean furniture before painting here!
If you’re concerned about bacteria, germs, and musty odors lurking inside your piece, check out how to disinfect wood dresser here.
Then I lightly sanded the whole dresser down with 220 grit sandpaper and removed any dust with a vacuum and a tack cloth.
I also filled in half of the old hardware holes so I could switch out the hardware.
I love using either Bondo or Kwikwood to fill hardware holes because they dry super fast and super hard compared to regular wood filler!
Here’s more about filling holes when replacing cabinet or furniture hardware and the best way to change hardware on a dresser!
How to Prevent Bleed Through When Painting
In the painting world, there is a nasty little monster called bleedthrough. It’s basically wood tannins that stain through your paint, and won’t ever go away until you treat them.
They show up as yellow, pink, or orange spots that keep staining through your paint, no matter how many times you cover it up with more paint.
But there is a way to prevent those stains from coming through. You just have to use the right products! You can learn more about how to stop stains from coming through paint here.
*After a couple of coats of pink paint, I could see bleed-through showing up still. This dresser was definitely made of mahogany, one of the hardest types of wood to stop from bleeding. So after those couple of coats of paint, I went back and treated the dresser to prevent bleed through again. After the 2nd treatment, I was finally able to move on with no more bleed through.
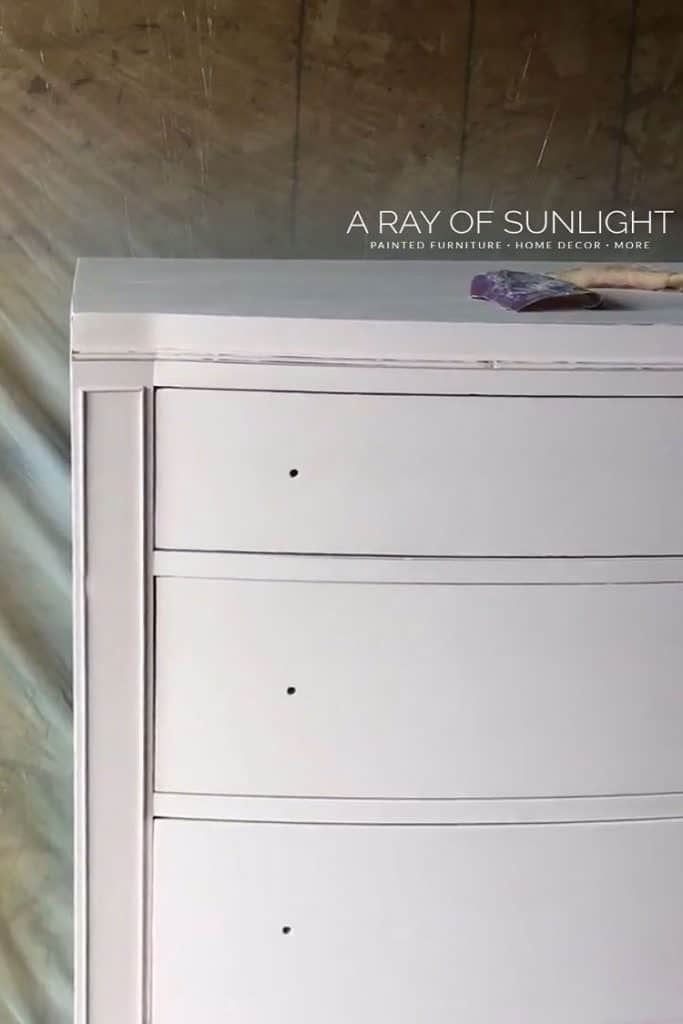
Painting A Dresser Pink
Finally, we were ready for paint!!
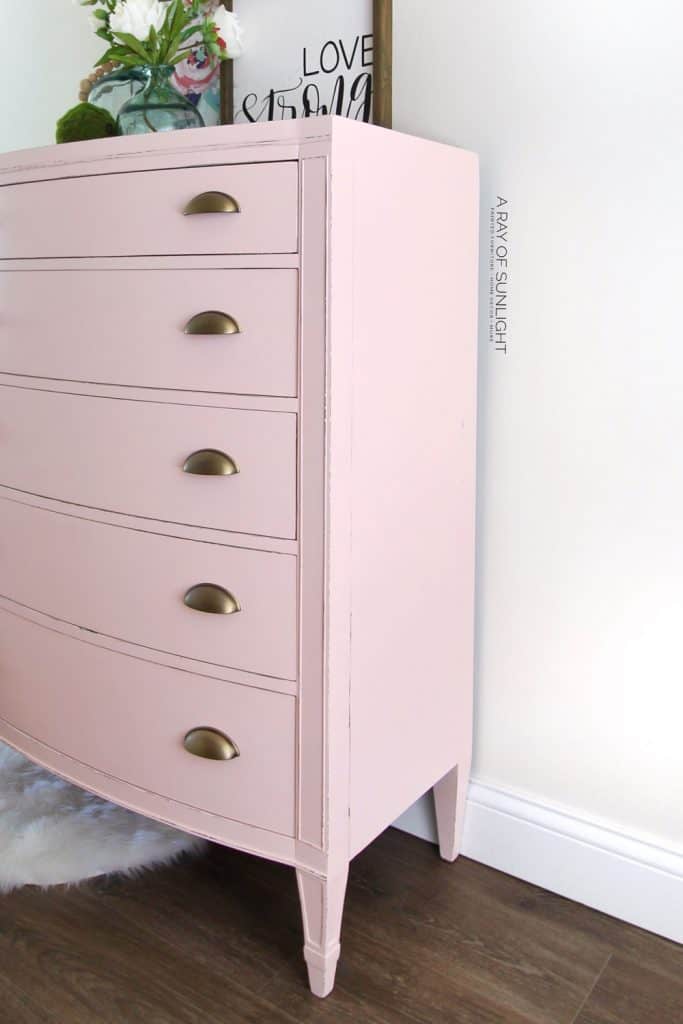
We sprayed on 3-4 coats of the pink Nursery Rhyme paint by Amulent Paint (with a bit of their white paint mixed in to make the pink a bit softer) with my very favorite paint sprayer.
I chose this color for its softness and vibrancy. I think it’s the perfect pink for a nursery, or for a girly room!
If you are looking for a bolder pink color, check out this DIY pink dresser makeover we did. And check out more pink painted furniture ideas here.
We recently upgraded from our cheap hobby sprayer, and I couldn’t be more impressed with our new sprayer. Learn more about how to paint furniture with a sprayer here.
Distressing Pink Dresser
After the paint was dry, I sanded everything down with 220 grit sandpaper and focused on sanding the edges and raised parts of the dresser for a nice distressed look.
Learn more ways to get a distressed furniture look here!
Then I vacuumed up the dust and wiped any leftover dust away with a tack cloth.
To give the paint finish extra durability and make it easier to wipe down, I sprayed on 3 coats of my favorite top coat. Learn ALL of my tips and tricks on how to spray polyurethane here!
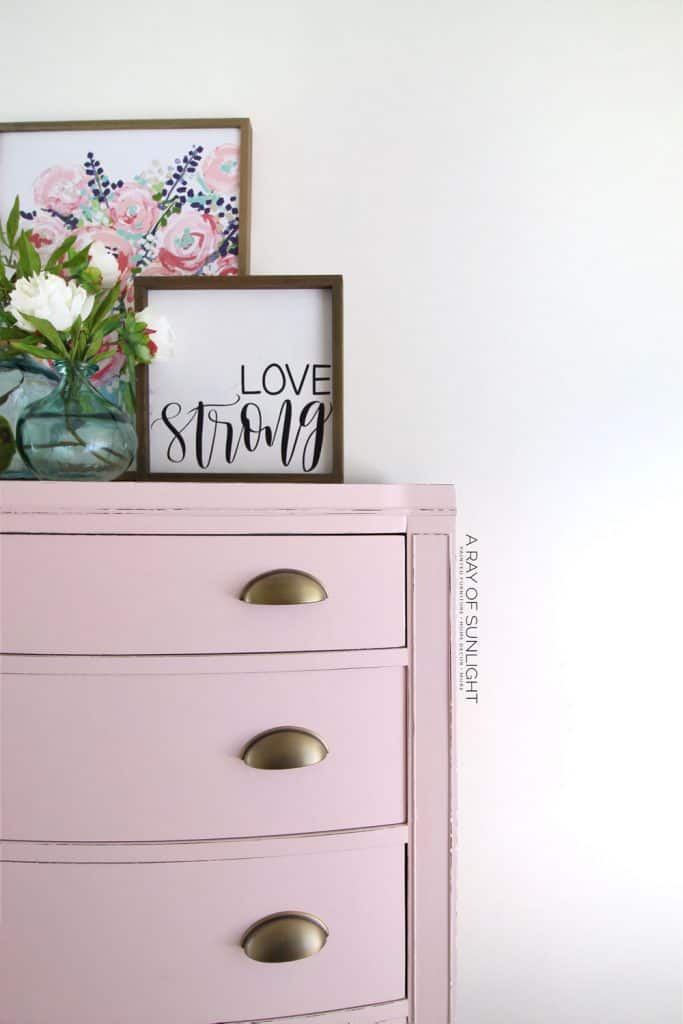
The old hardware was replaced with new gold cup pulls to give it a modern style.
Check out some gold painted furniture here.

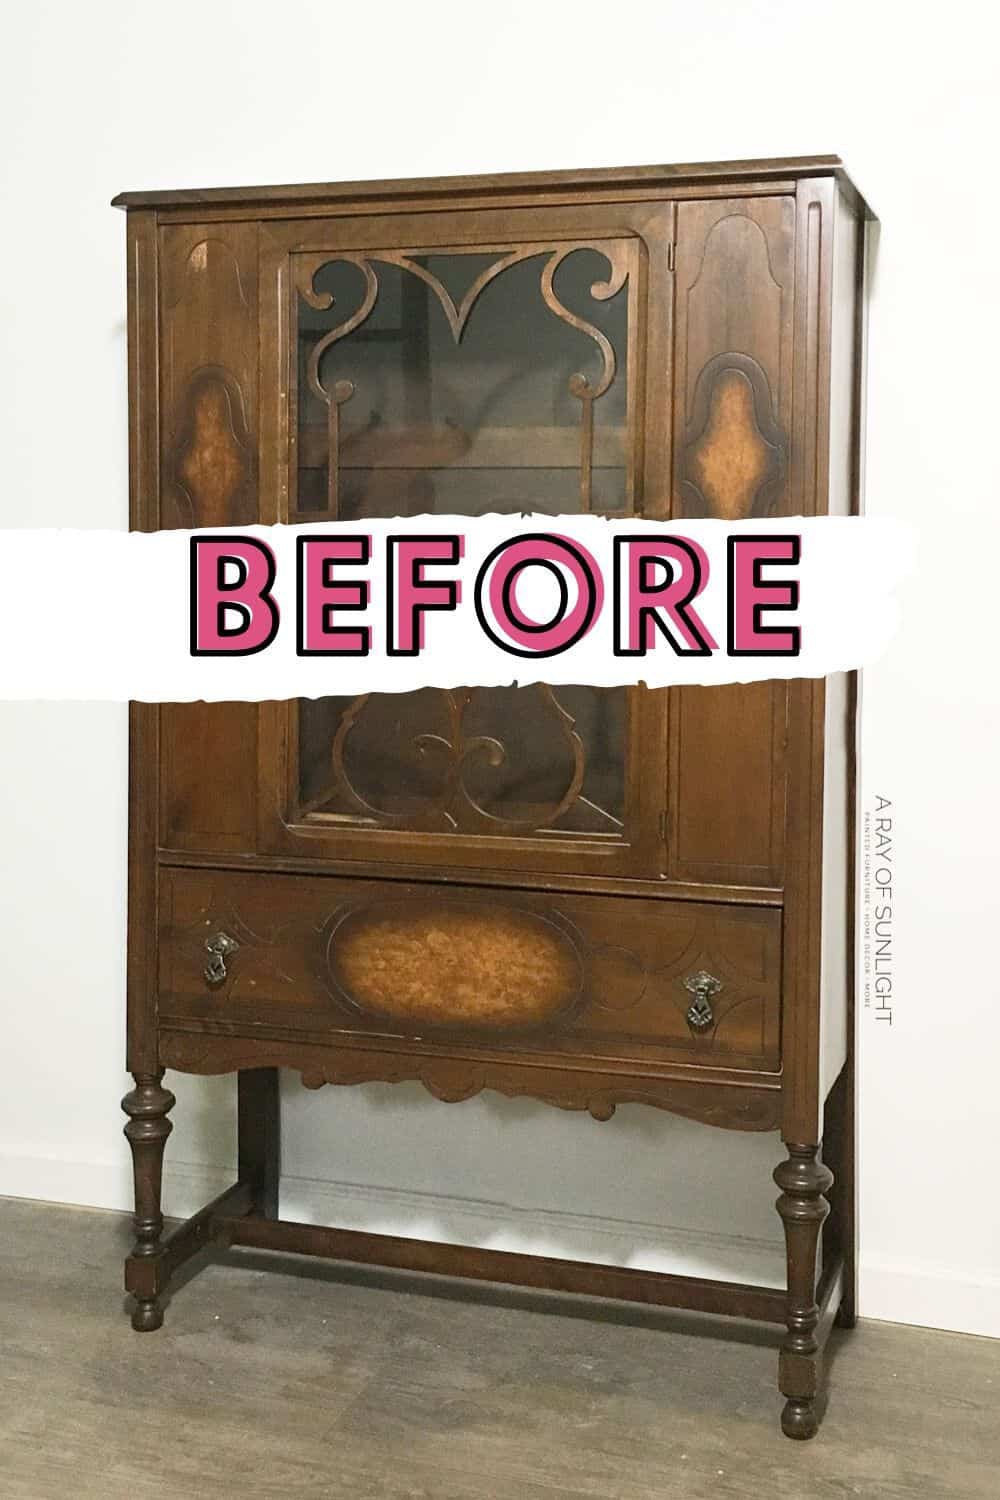
More Before And After Makeovers
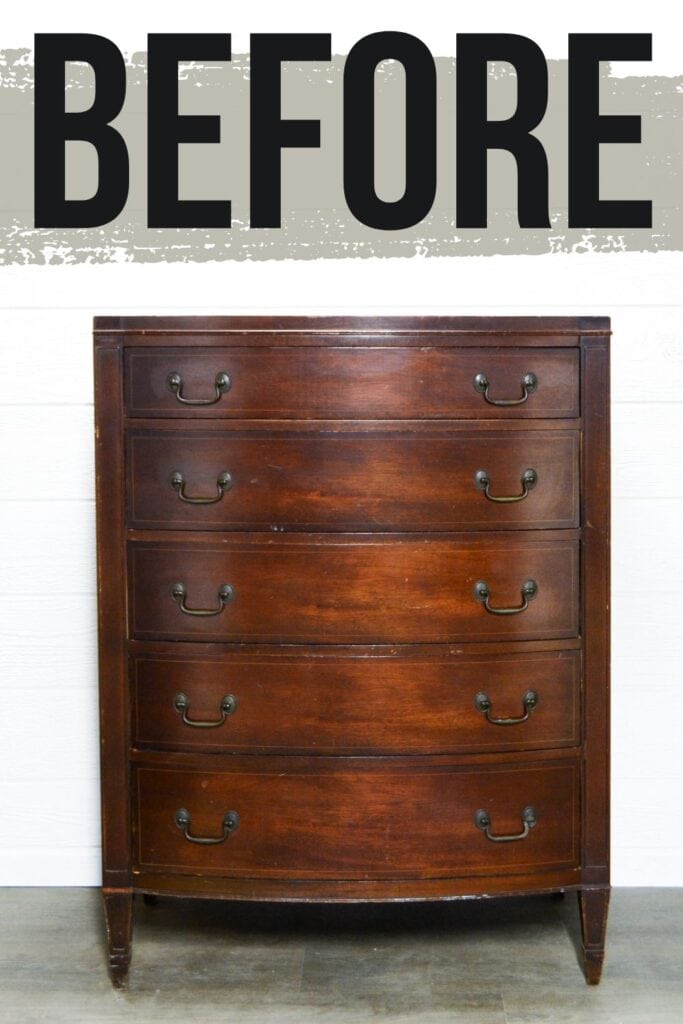
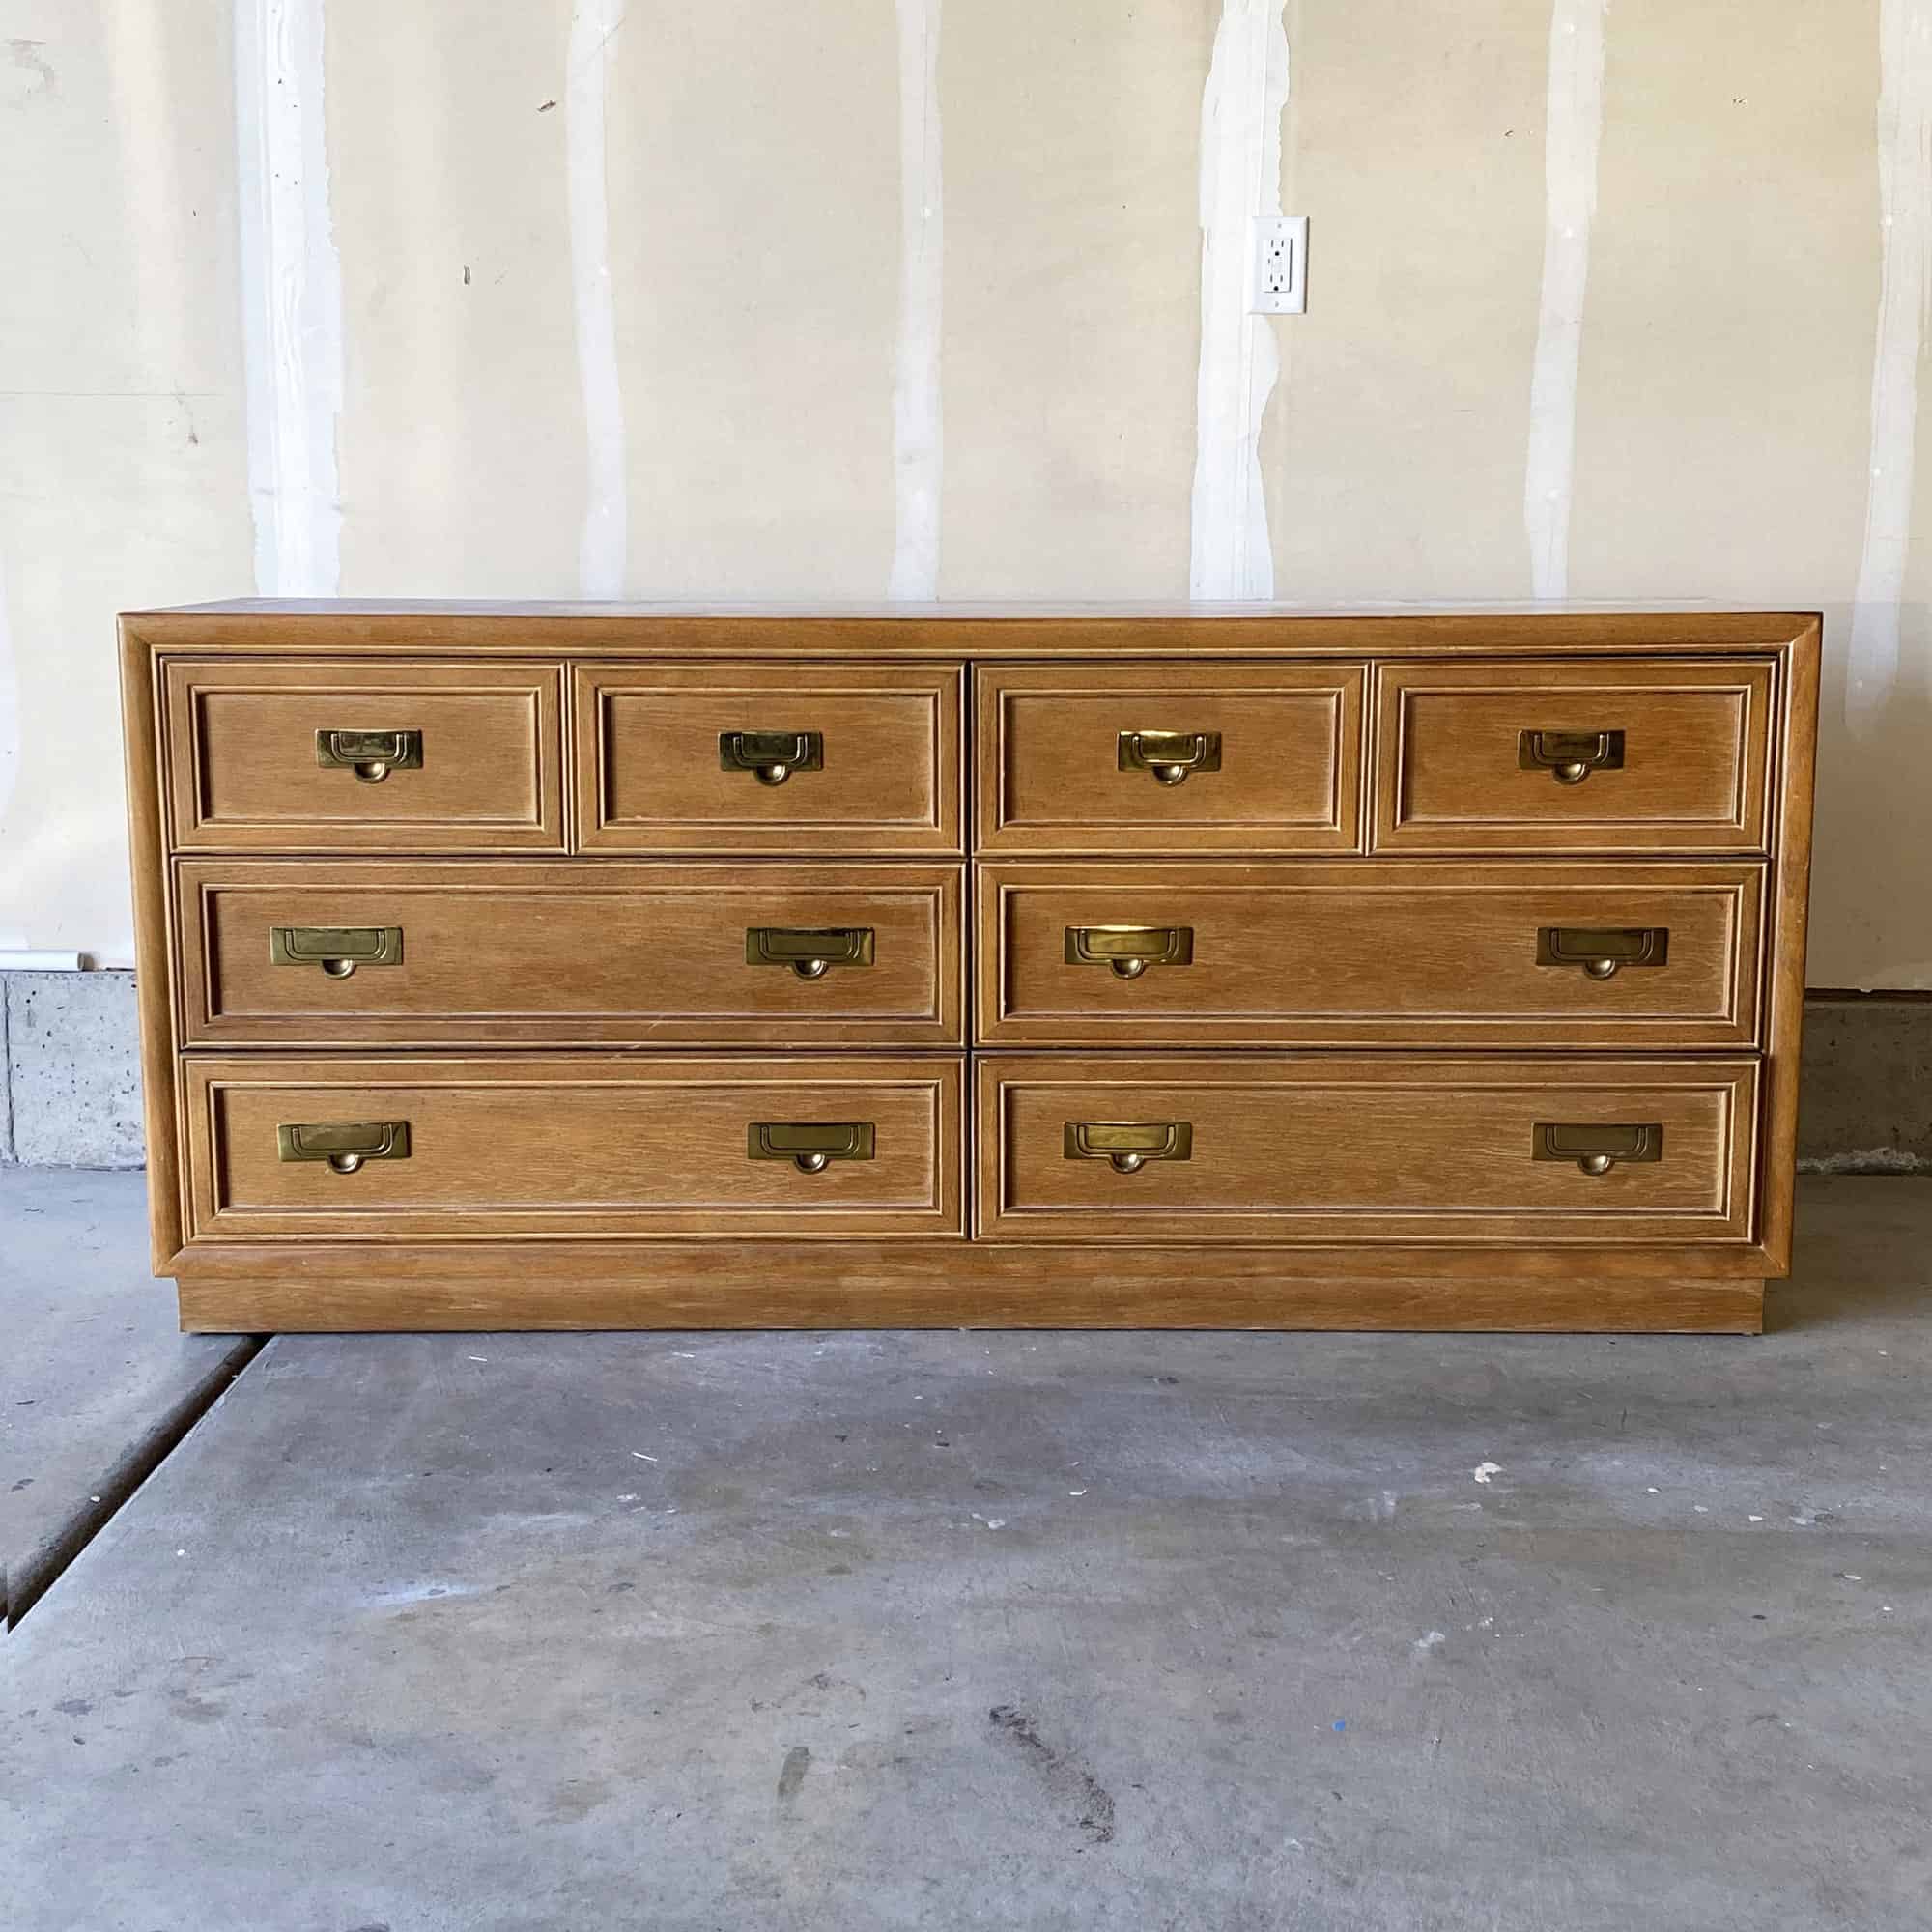
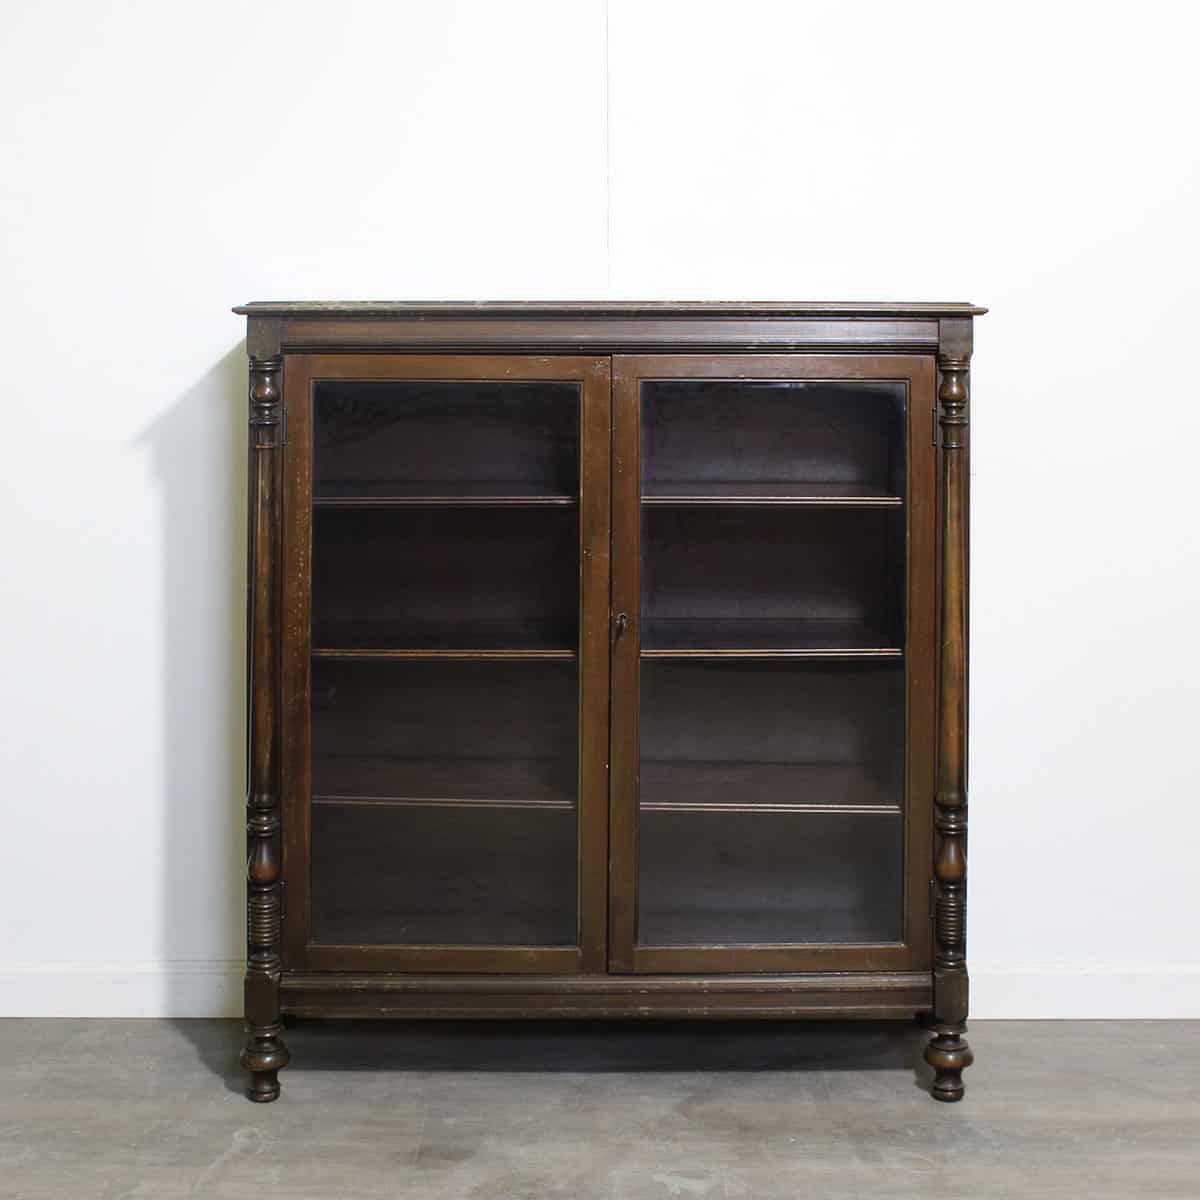
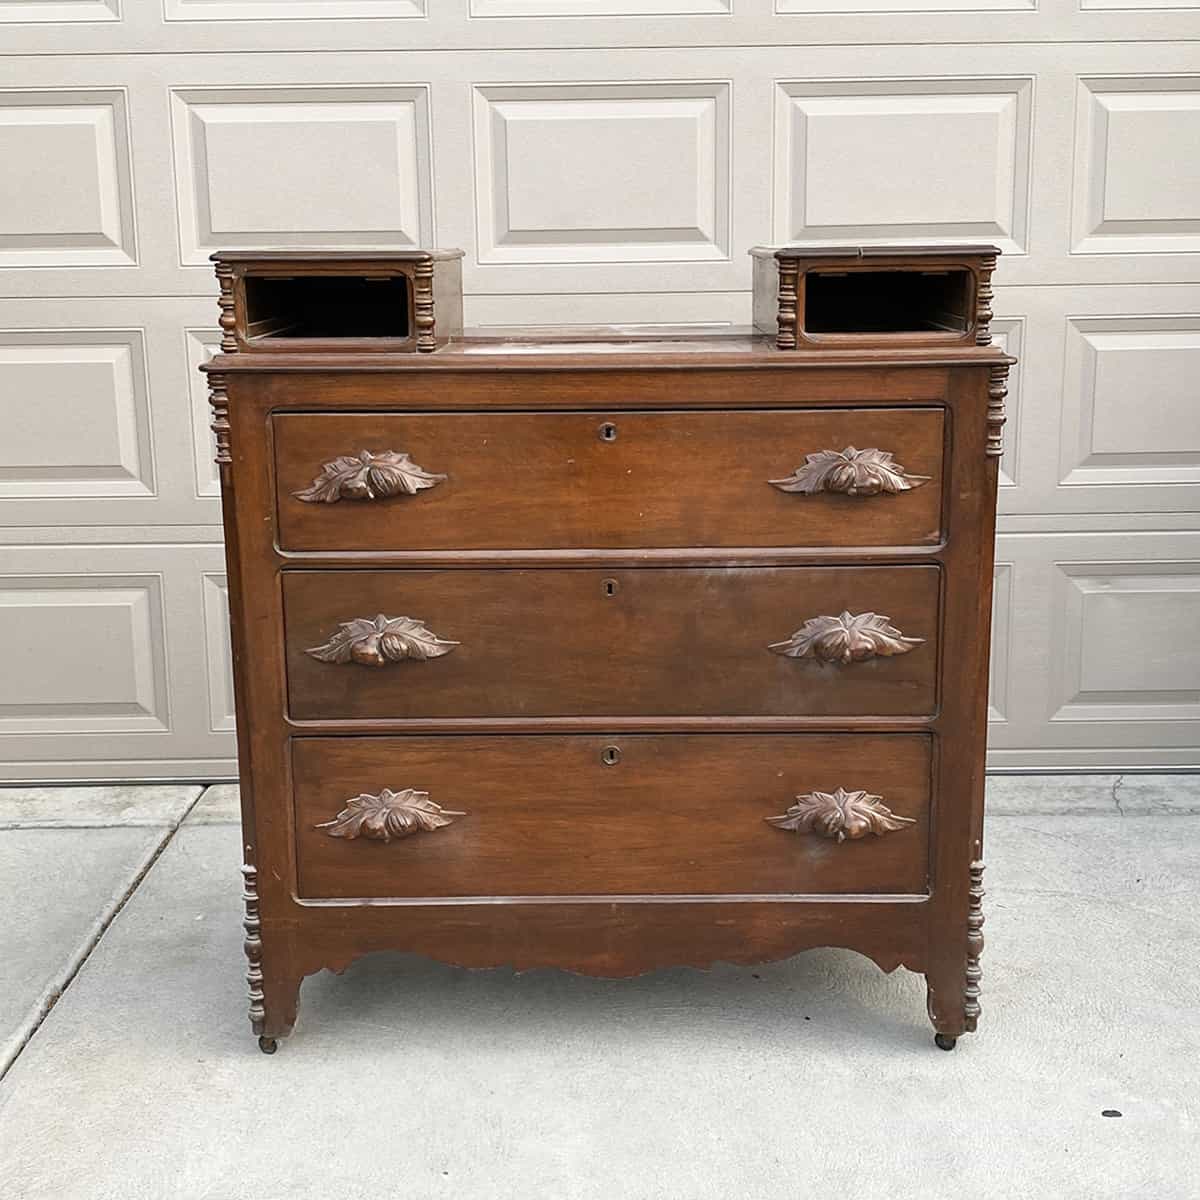
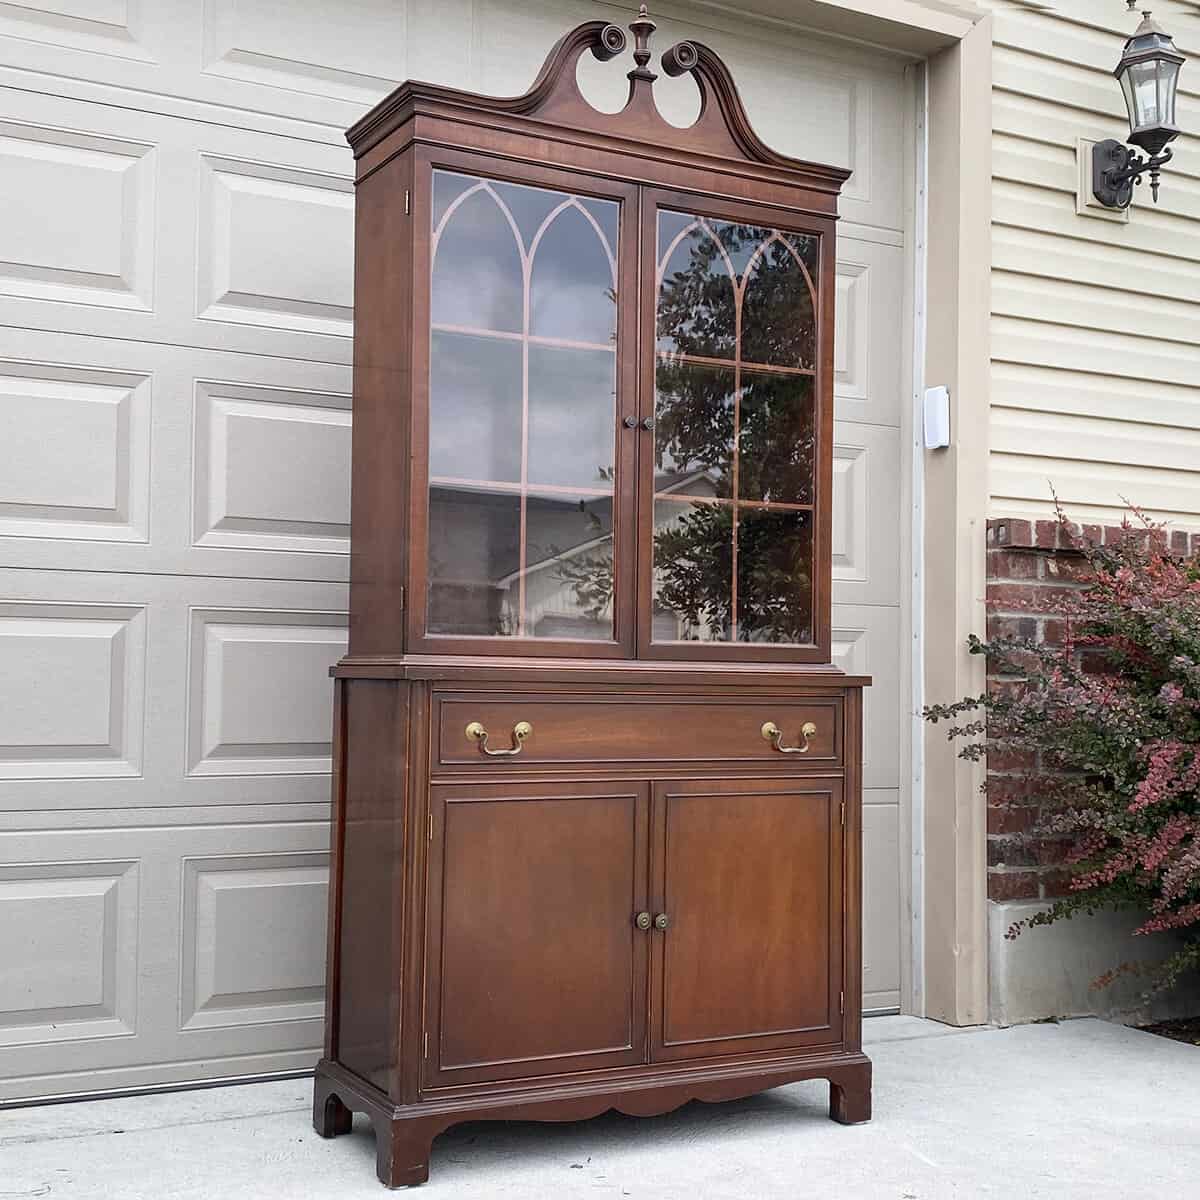
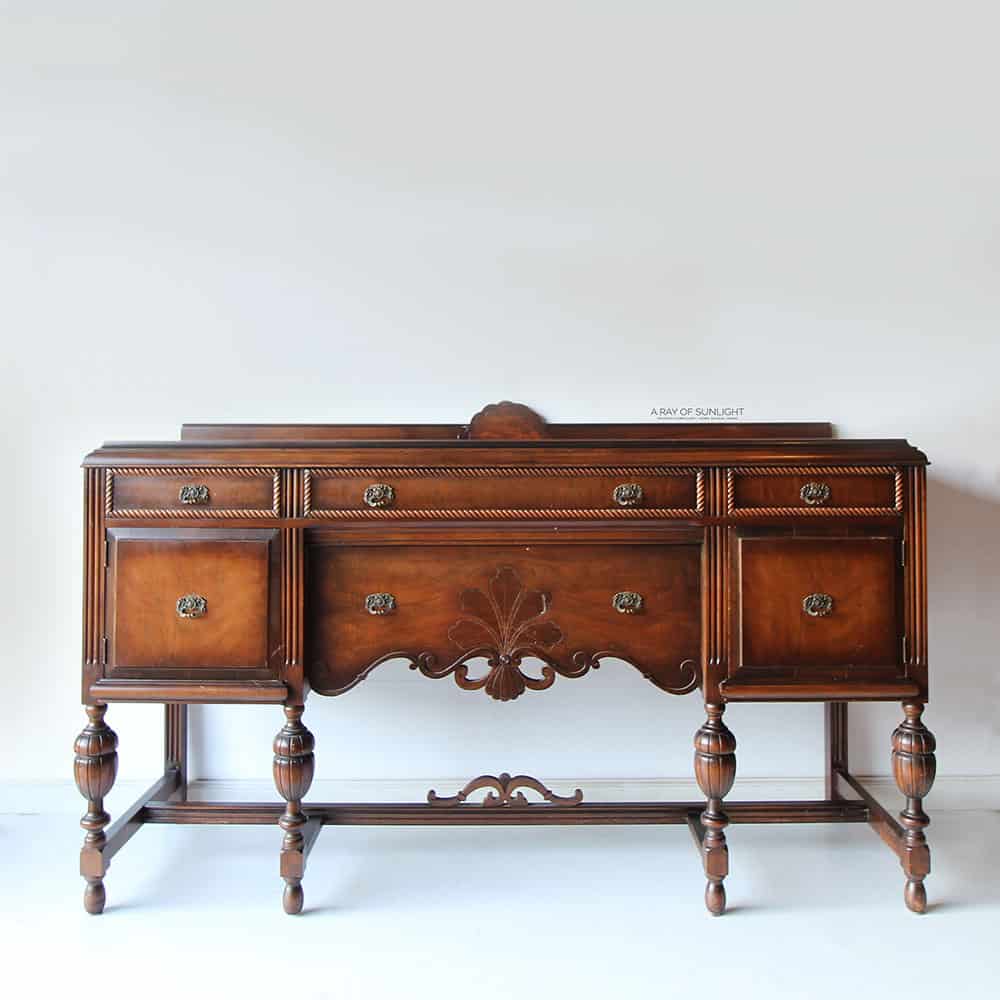
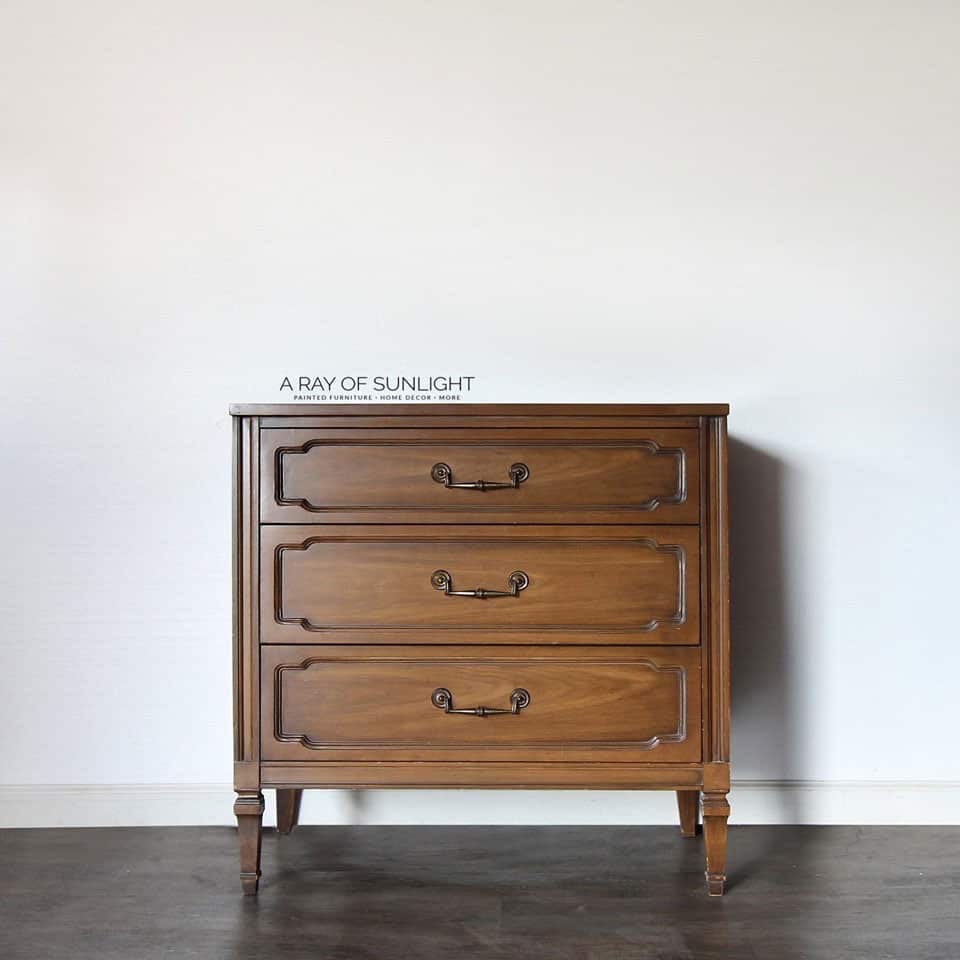
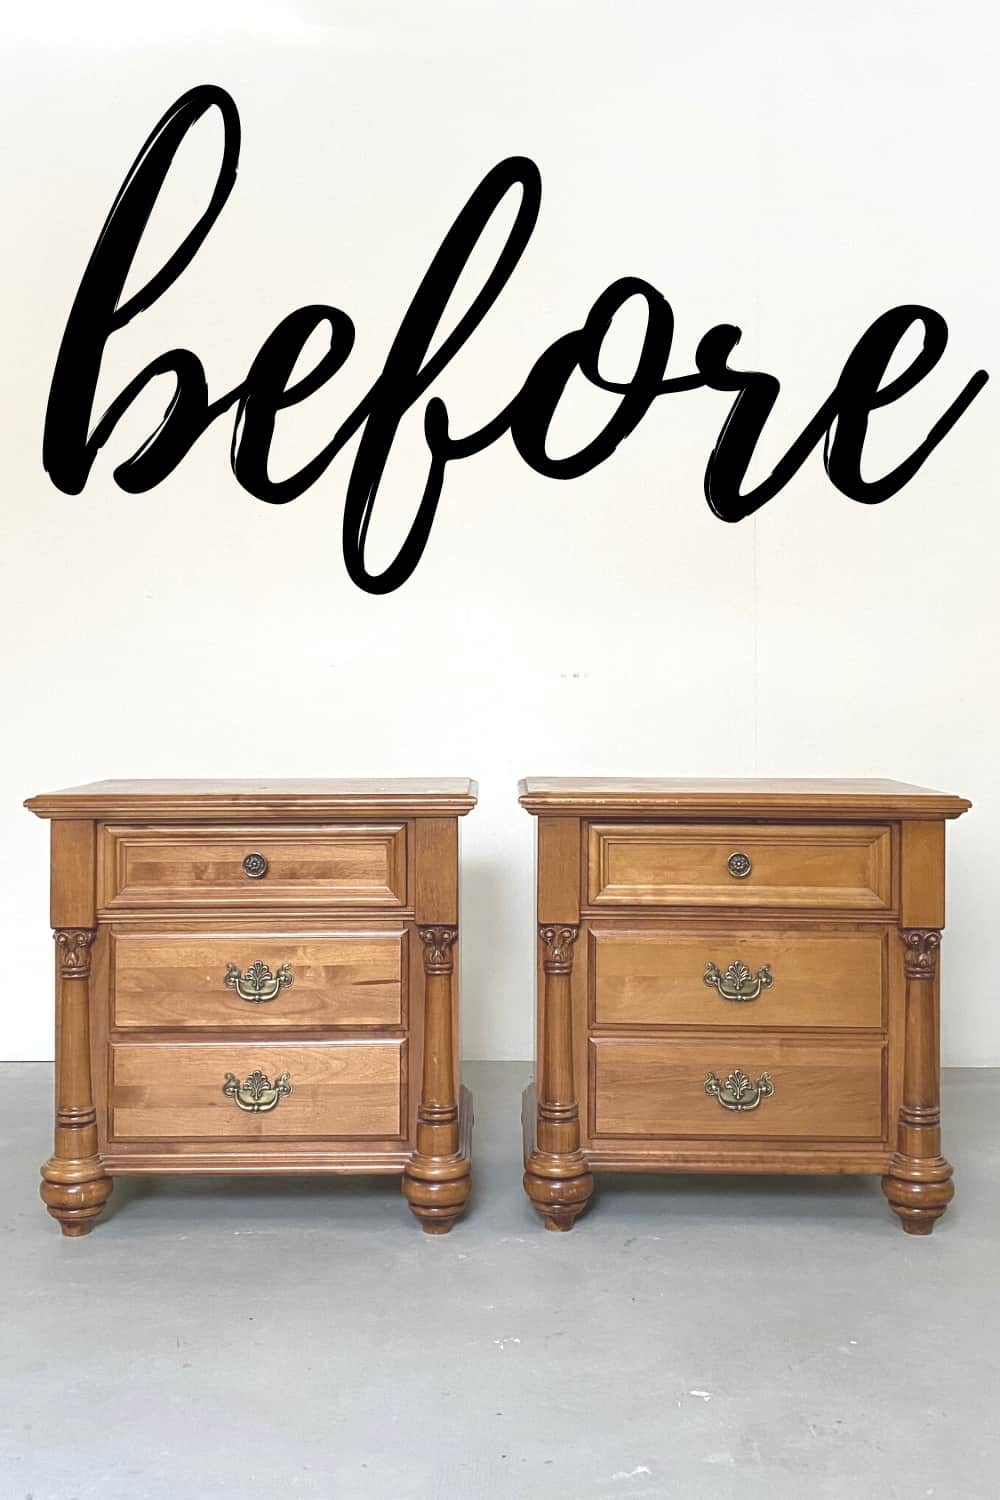
Click any of these “before” photos below to view the “after” of that makeover.
Pink Vintage Dresser with Gold Hardware
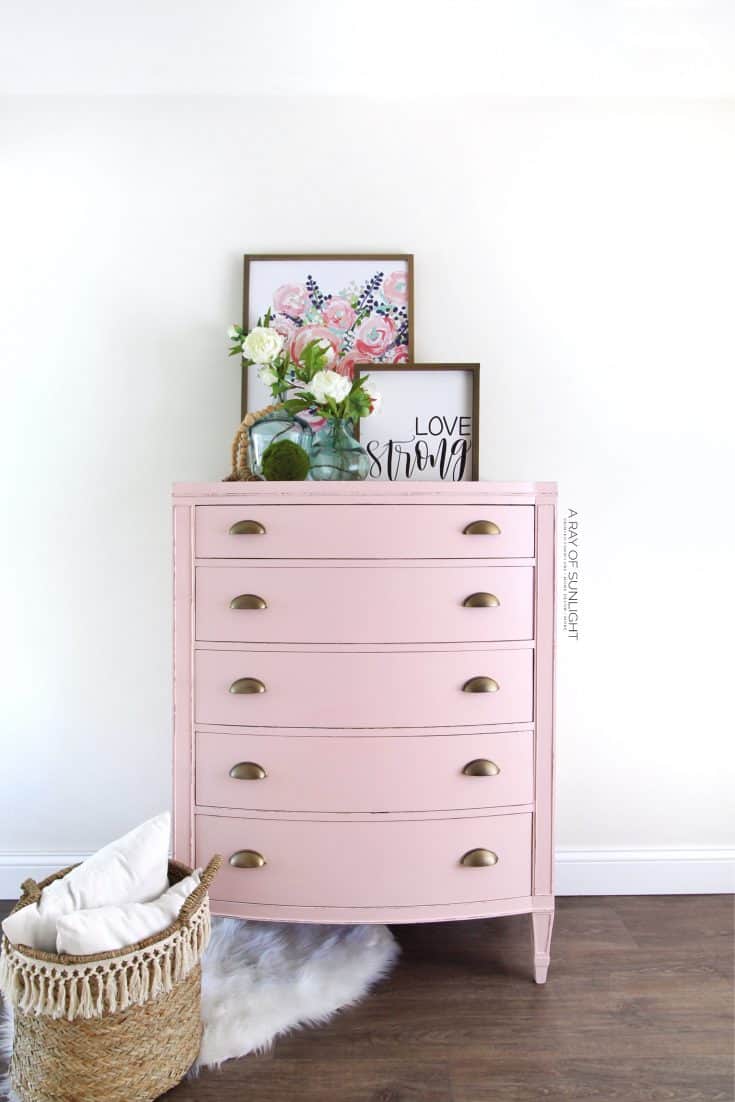
This pink vintage dresser is making us dream of girly rooms and gold decor. Here's how you can get this look for your own vintage dresser makeover!
Materials
Instructions
- Check if the dresser has any veneer or broken trims. Remove the old trim carefully with a spackling knife. You can then find a similar trim or repair and replicate the old one to replace it, whichever works for you.
- For lifting veneers, put some wood glue in between the veneer and the wood underneath. Grab a piece of scrap wood to help spread out the pressure over the lifted veneer you just glued, and then wrap a couple of tie-down straps around the dresser to clamp down on the veneer. Let it sit for 24 hours until the glue dries.
- Prepare furniture for paint by cleaning dirt, grime, wax and oil off of the dresser with Krud Kutter. Lightly sand the whole dresser down with sandpaper and remove any dust with a vacuum and a tack cloth. Fill in half of the old hardware holes as well so you can switch out the hardware.
- Spray on 3-4 coats of the pink paint. After the paint is dry, sand everything down and focus on sanding the edges and raised parts of the dresser for a nice distressed look.
- Spray painted dresser with 3 coats of polyurethane to give the paint finish extra durability.
- Replace the old hardware with the new gold cup pulls to give it a modern style!
Recommended Products
As an Amazon Associate and member of other affiliate programs, I earn from qualifying purchases.


More Dresser Makeovers
- DIY Dresser Makeover
- Blue DIY Dresser Makeover
- DIY Modern Grey Dresser
- Bedroom Dresser Ideas
- DIY Navy Blue Bedroom Dresser
Follow us on YouTube to get more tips for painting furniture.
Or share your project with us on our Facebook Group and be part of our community. See you there!