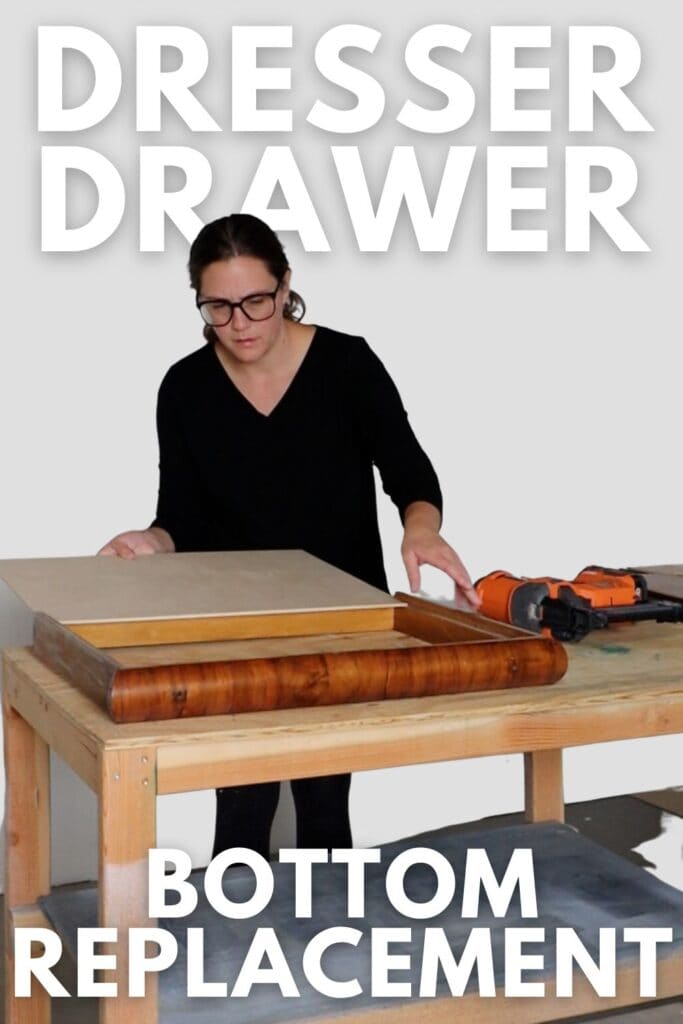
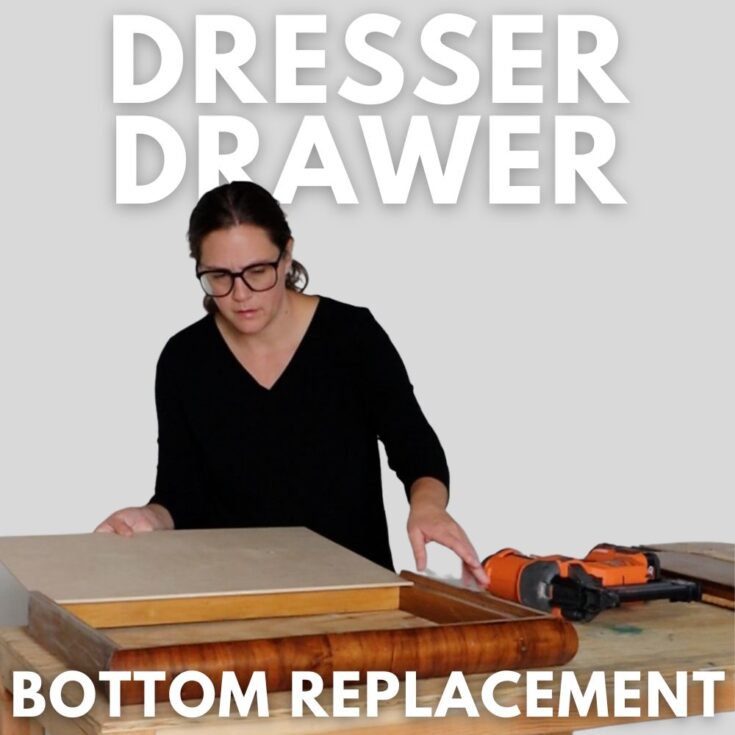
Dresser Drawer Bottom Replacement
Do you want to fix old dresser drawers that stick and refuse to open? Well, it might be time to consider totally replacing the bottom of the drawer. In this tutorial, we’ll show you how simple it is to do a dresser drawer bottom replacement!
This is a pretty straightforward process, and can really help get your drawers back in full working order. It is also much less expensive than buying an entirely new dresser. Let’s get started!
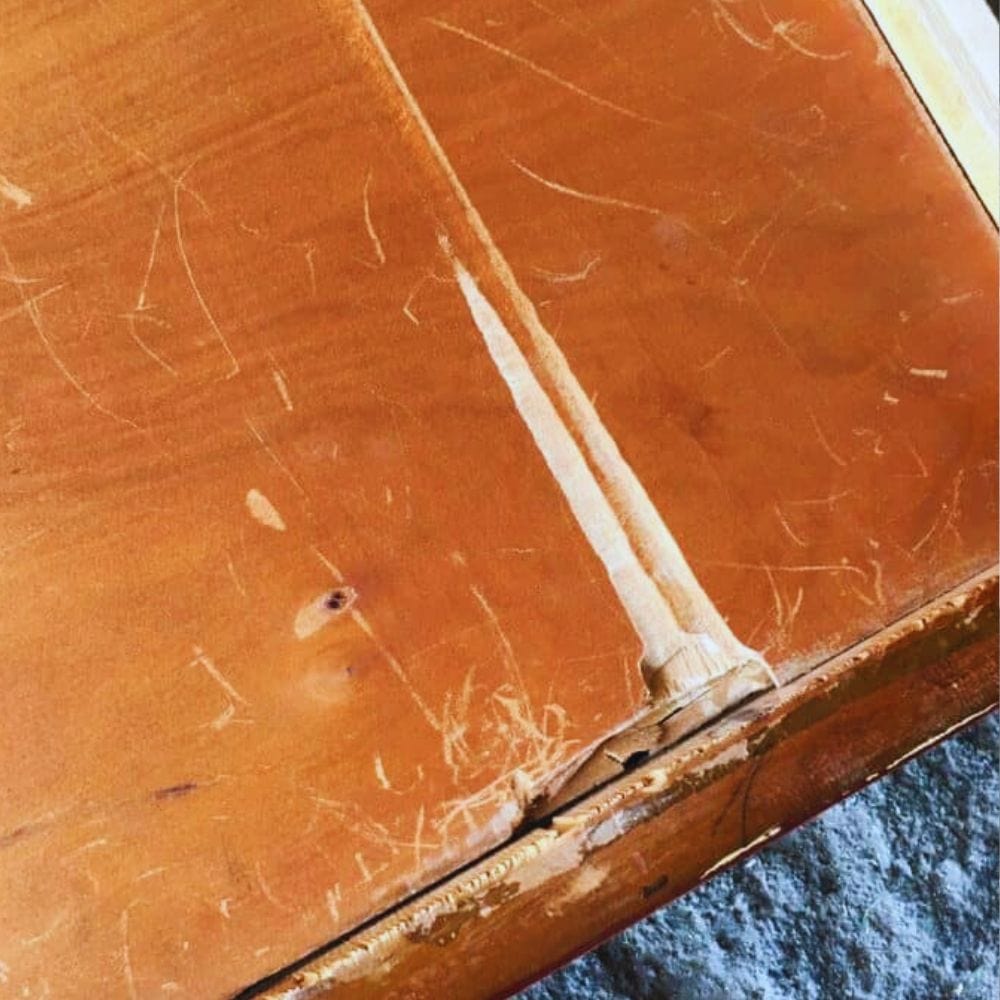
Dresser drawers are super useful for storing and organizing our stuff. But over time, the bottom of the drawer can get all warped or cracked from the daily wear and tear.

It’s all because of the weight of the things we put in there, constantly opening and closing it, and just the natural aging process of the materials.
If the drawer bottom is worn or broken, it won’t be able to handle the weight and that’s why it gets stuck. Changing the bottom of your dresser drawers can help keep them in good shape for a longer time. It’ll also make sure they’re not a safety risk when you open them.
If you see that the drawer’s condition isn’t too bad to require a full replacement, here’s how to fix dresser drawers bottom.
supplies for dresser drawer bottom replacement
How to Replace the Bottom of a Drawer
Sometimes the bottom of the drawer really just needs to be replaced. It might be too small, or it might have major damage or cracks in it.
Remove the Bottom of a Drawer
Some drawers have easily removable drawer bottoms. Just remove the nails at the back and bottom of the drawer, and then slide the bottom out.
If that’s not the case, you’ll need to take apart the drawer.
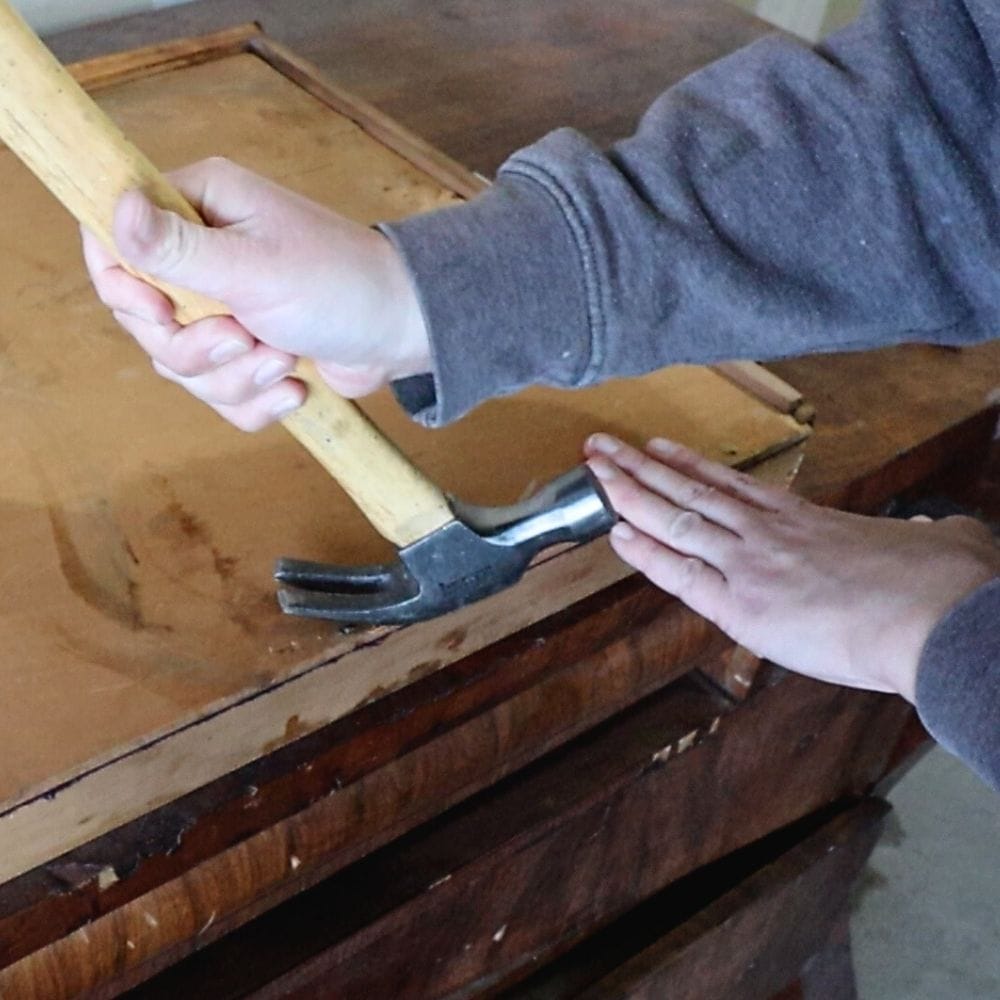
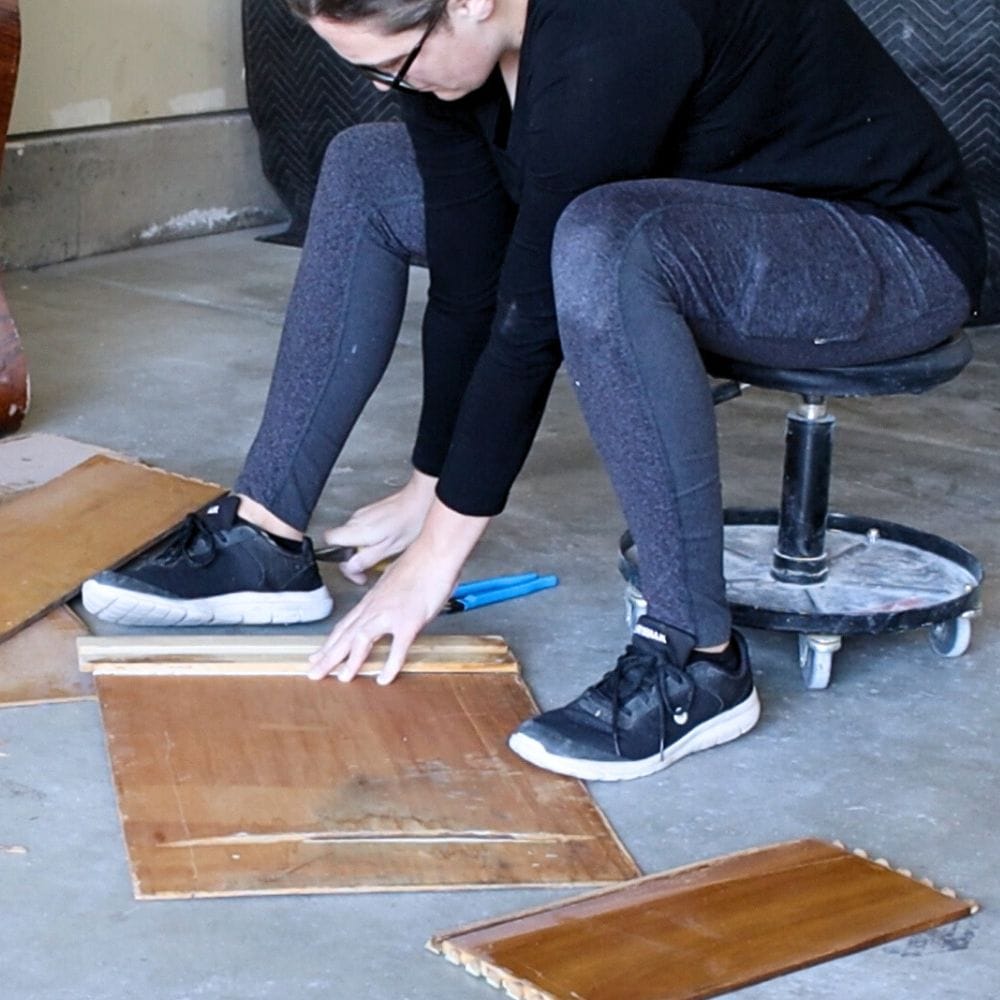
If you’re working with a dovetail jointed drawer, be sure to take the drawer apart very carefully. You don’t want to break those dovetail joints! I like to work with the back of the drawer instead of the decorative drawer front if possible.
Typically you can lightly tap a hammer on the inside of the drawer (close to the dovetails) to slide the dovetails out from each other. Do this on both sides of the drawer to remove the back of the drawer.

You may need to remove the drawer track from the bottom of the drawer if there is one. It is usually held on with a nail or two (hopefully no glue like the one in the image above.)
If there is glue holding it on, use a hammer and a thin chisel or metal scraper to pry off the drawer track without damaging the track itself. Use the same method to remove the little triangle supports.
Cut a New Bottom
With the old bottom as a guide, cut a new bottom out of 1/4″ plywood. For this project, we used 1/4″ red oak plywood.
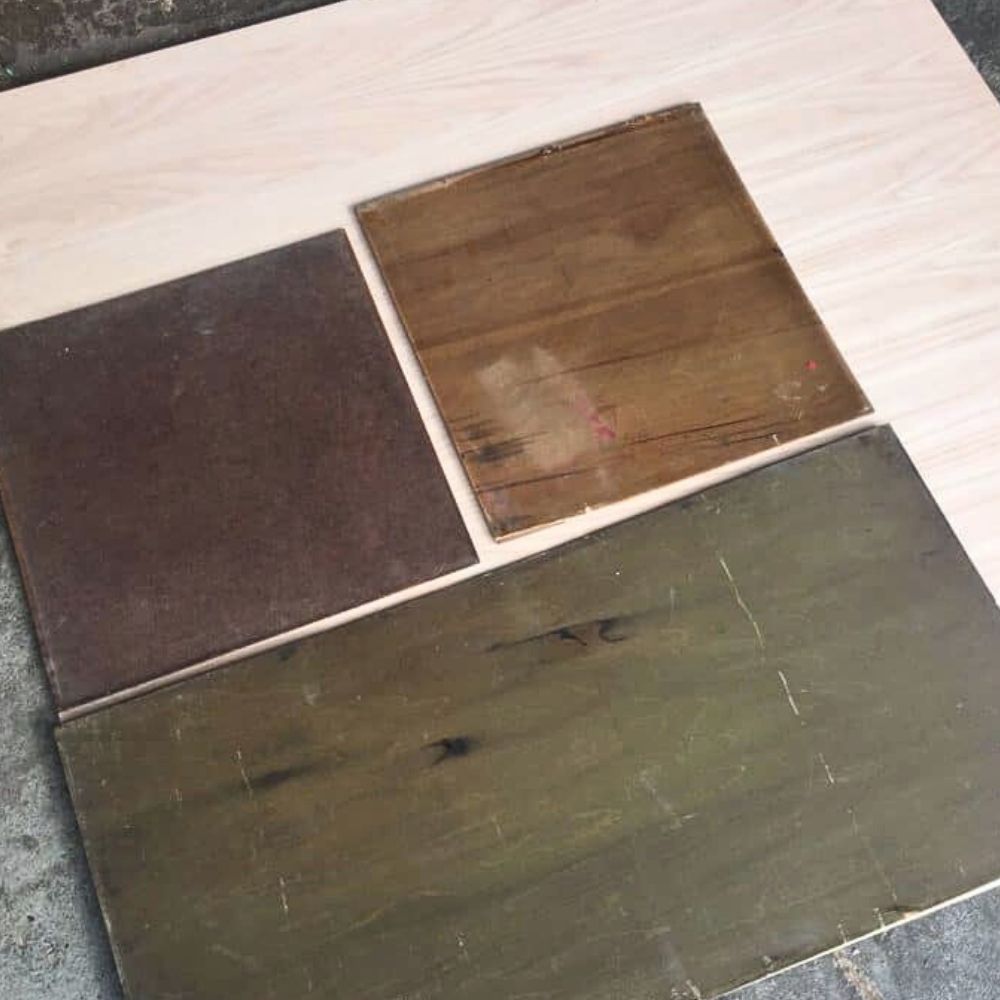
** If your bottom was sagging or wasn’t staying in place, it needs to be a little bit bigger in one direction, make sure you cut it a little bit bigger than the old bottom.
You can also check out this guide on how to fix sagging dresser drawers.
If you don’t have access to a table saw, you could use a circular saw or even a jigsaw. Your local hardware store may be able to cut it down for you as well.
After the new bottom is cut, run some sandpaper around the edges of the plywood to remove any splinters, and then reassemble the drawer. Here’s our list of sandpaper for furniture painting to learn more about the different types of sandpaper that will best suit your projects.
Attach the New Bottom
Now that you have your new bottom ready and your drawer disassembled, it’s time for the fun part – putting it all back together! Start by sliding the new bottom into place. Make sure it fits snugly; if it’s too big, you may need to sand it down a bit.
Then, reassemble the drawer. This is essentially the reversal of disassembly. Slide the back of the drawer into the dovetail joints on both sides and tap it lightly with a hammer until it’s firmly in place.
If your drawer had a drawer track, now’s the time to reattach it. Position it in the same spot as before, and secure it using the same nails or screws that held it in place initially.
Finishing Touches
After your drawer is assembled and the bottom is securely attached, give the drawer a once-over. Are there any rough edges? If so, lightly sand them until smooth. If your drawer was painted or finished, you may want to refinish the new bottom to match.
Remember, the goal here isn’t perfection – it’s function. With your newly repaired drawer, you’re one step closer to a dresser that’s as good as new.
If you do want to make your drawer look pretty, visit our post on the best materials to line dresser drawers for inspiration and step by step instructions. Check out our guide on how to remove contact paper from wood if you need to replace your liner.
So there you have it, you just completed a dresser drawer bottom replacement! Replacing the bottom of your drawers is an effective and cost-efficient way to keep them working properly for years to come.
Next time you see a worn-out drawer, consider giving your dresser a second chance with a bottom replacement!
Dresser Drawer Bottom Replacement
Want to know how to replace your old dresser drawer bottom? Don’t worry here’s our dresser drawer bottom replacement guide.
Materials
Instructions
- Gently tap a hammer on both sides of the drawer, ensuring the dovetails are removed from each other.
- If there is a drawer track from the bottom of the drawer, remove it using a hammer, thin chisel, or metal scraper.
- Cut a new bottom out of ¼” red oak plywood using a circular saw or jigsaw. Then sand around the edges of the plywood to remove any splinters.
- Reassemble the drawer by sliding it back into the dovetail joints on both sides and tapping it lightly with a hammer until it's firmly in place. If there is a drawer track, reattach it by securing it using the same nails or screws.
- Give the drawer fishing touches by lightly sanding rough edges or painting and refinishing the new bottom to match the drawer.
Recommended Products
As an Amazon Associate and member of other affiliate programs, I earn from qualifying purchases.

more dresser drawer repair tips
- Old Dresser Drawers Hard to Open
- Old Dresser Drawers Won’t Slide
- How To Fix a Dresser Drawer Side
- How to Repair Worn Drawer Runners
- How to Remove Felt From Wood Drawers

Follow us on YouTube to get more tips for painting furniture.
Or share your project with us on our Facebook Group and be part of our community. See you there!