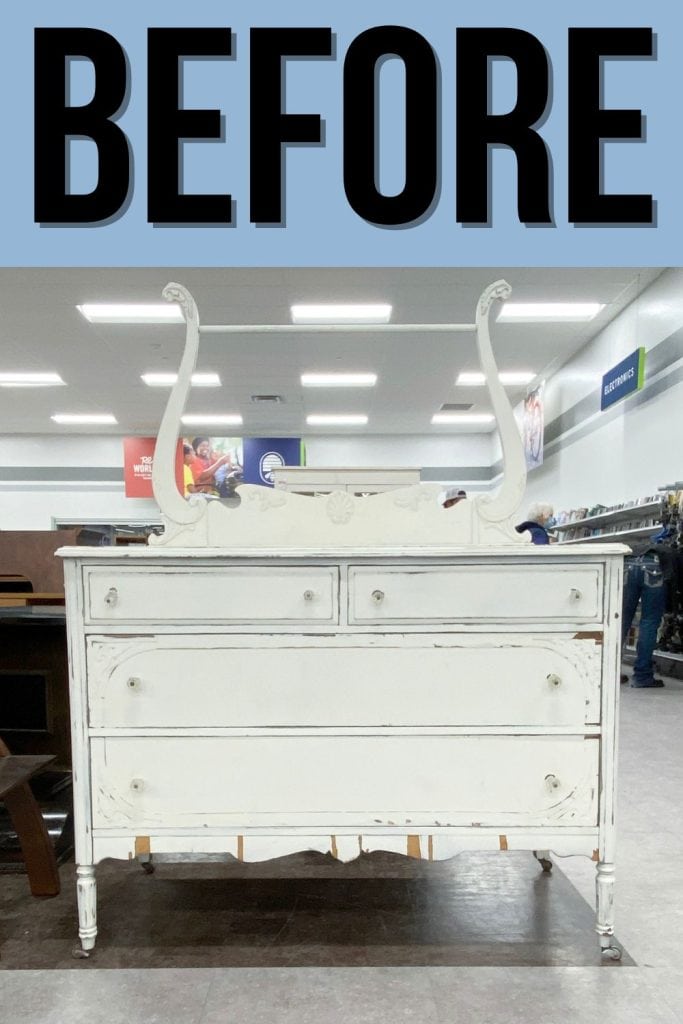
How to Fix Damaged Wood Furniture Before Painting
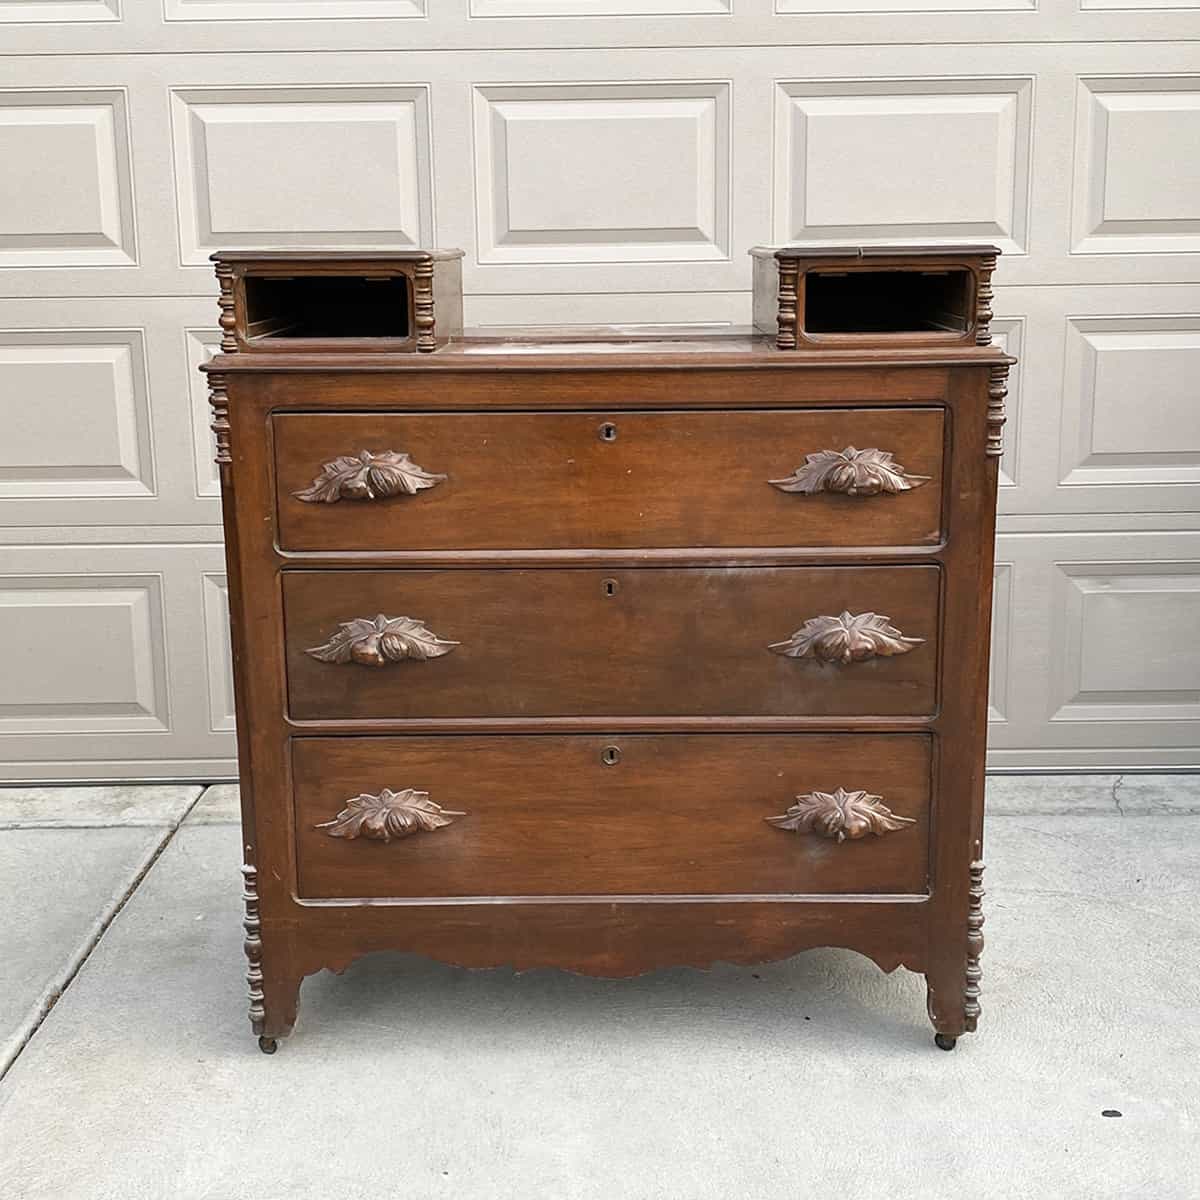
We bought this run-down dresser from the thrift store for $40…. I don’t like buying painted pieces, but I could tell that the paint job was good enough that it didn’t have to be removed. And since it had some damage, I figured it would be a great dresser to show how to fix damaged wood furniture before painting.
Find more of our DIY dresser makeovers here!

Supplies Used To Fix Damaged Wood Furniture
As an Amazon Associate, I earn from qualifying purchases. I also may earn from other qualifying purchases with other companies or get free product to review and use. All opinions are my own.
- Krud Kutter
- KwikWood
- Bondo Wood Filler
- Bondo Spreader
- Elmer’s Wood Filler
- Putty Knife
- Misting Bottle
- Flathead Screwdriver
- Wet Towel
- Clothing Iron
- Gorilla Wood Glue
- Glue Syringe
- Wood Clamps and Scrap Wood
- SurfPrep Sander 3×4 Vacuum Compatible (Use code RAY10 to get 10% off your order)
- SurfPrep 5″ Orbital Sander Vacuum Compatible (Use code RAY10 to get 10% off your order)
- Sanding Discs
- 220 Grit Sandpaper
- Shop Vac
- Tack Cloth
- Clear Shellac in a Spray Can
- Painters Tape
- Pre Taped Plastic
- Wagner FLEXiO 3500
- Melange ONE Paint (Basilisk Black and Jacobs Well colors mixed)
- Sprayer Paint Filters
- Varathane Polyurethane Satin Sheen
- Panty Hose and Foam Sponge
- Respirator
- New Black Knobs
Grab our list of 10 must have painting furniture supplies too!
Remove Hardware and Clean Furniture
Right off the bat though, the knobs were a pain to remove. The middle piece in the knob wasn’t secured to the knob, so when I tried to twist off the nut, the metal piece turned too.
So I ended up busting the knob so I could get a hold of the metal piece and unscrew the nut.
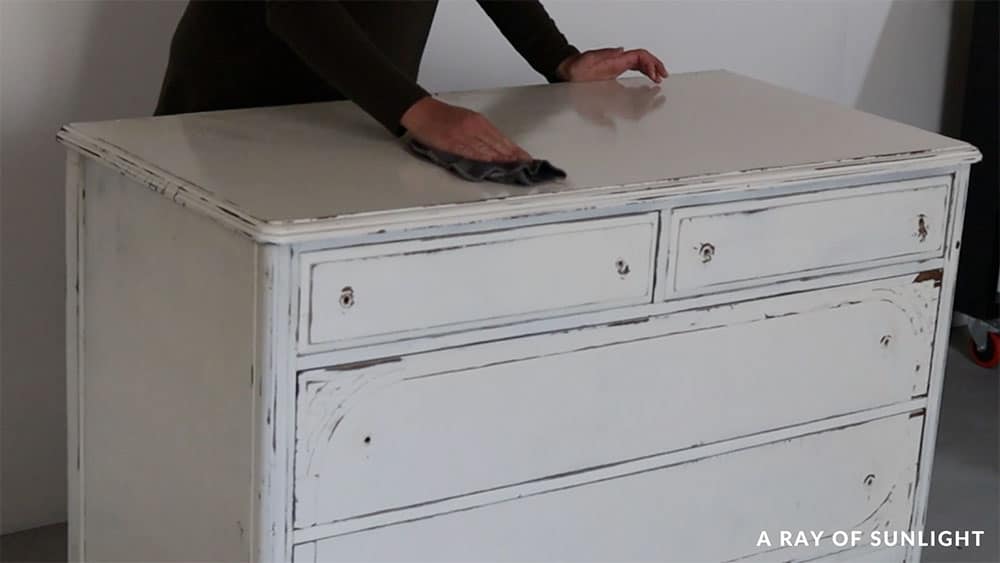
Then I cleaned the dresser with Krud Kutter to remove all of the dirt and grime. Read this post to learn more about how to clean furniture before painting.
Fix Chipped Wood Veneer
And then I removed the loose wood veneer, starting with the bottom skirt. I used a putty knife thing to get under all of it and pry it off. Then I worked on the sides. Only a little bit was loose.
And then the top… most of the top layer came off easily, and some of the bottom layer came off.
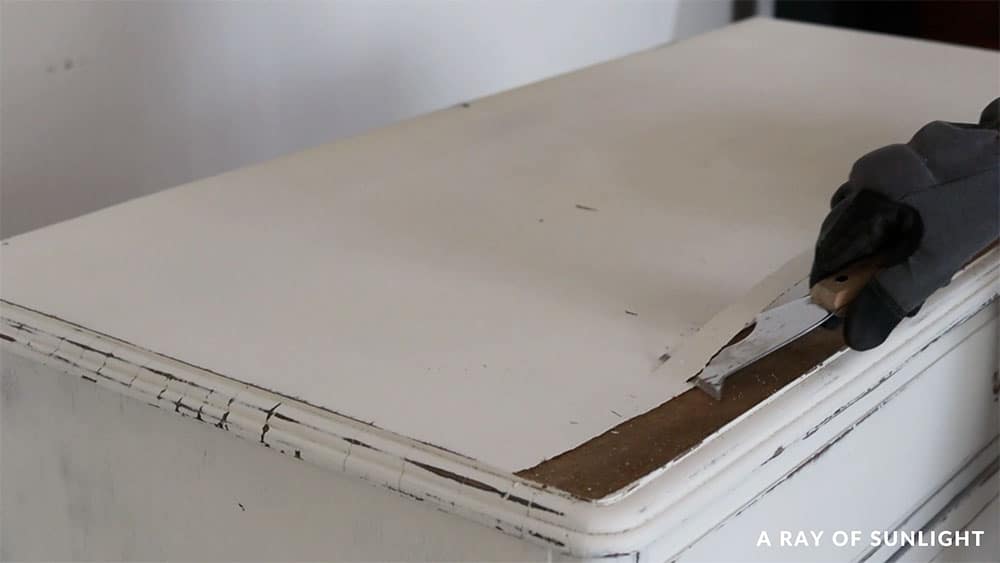
And then it got hard. So I sprayed some water on the top, to try to moisten the wood and get it to come off easier. And then I moved on to the drawers.
If there’s only a chipped paint on the furniture you can check out how to repair chipped paint on wood for a detailed guide on doing this process!
Glue the Veneer Back On
I LOVE the detail on the drawers, but the veneer was loose and chipping off on them too. I thought about making a mold of the design and removing all of the veneer…
But I kept running into roadblocks. So I decided to glue it back on the best that I could.
I used a glue syringe to put glue between the drawer and the veneer, and then I clamped a piece of wood on, to hold the veneer in place as the glue dried overnight.

Gluing was definitely easier than pulling up stubborn veneer!
Learn more on how to fix veneer that is lifting here.
The Easiest Way to Remove Wood Veneer
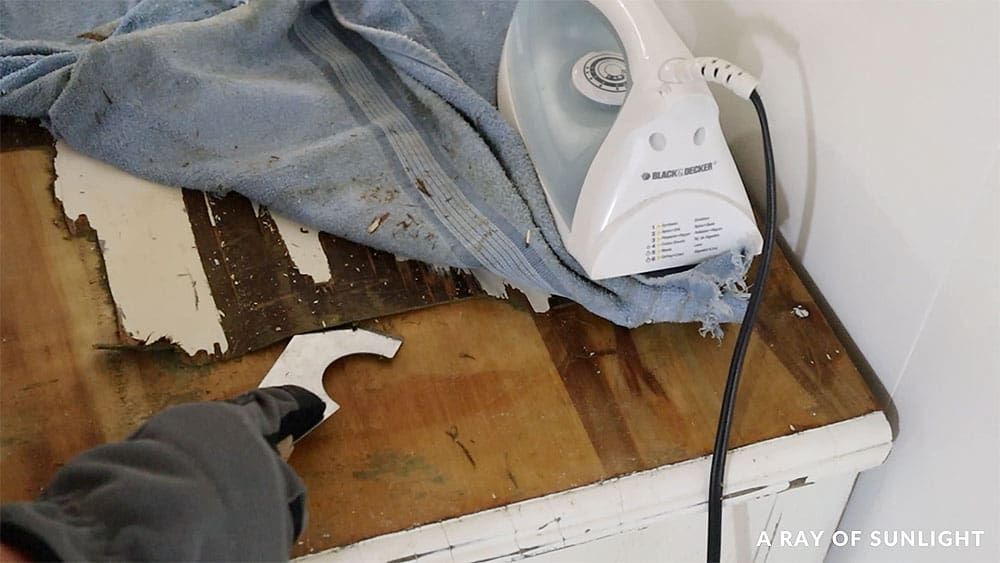
The next day, I placed a wet towel on the top of the dresser, and I used a cheap old iron, that I use only for stuff like this, to loosen up the glue and basically soak the veneer so it would come off easier.
I’m not going to lie, it still took me over an hour to take all of the veneer off the top. But it’s so much easier with the wet towel and iron.
Check out this post on the easiest way to remove wood veneer to learn more about the process.
Remove Casters
After all the veneer was off on the top, I flipped it over and popped off the old, broken casters.
The Best Wood Fillers for Veneer Repair
Now its time to fill in all of those missing veneer areas with some wood filler. This will help us to get a nice and smooth surface before painting over the damaged areas.
Get the Secrets!
Grab this super convenient How to Repair Furniture Ebook with all of our secrets on how to repair furniture for only $14.
You can print it out and have instant access whenever you come across damaged furniture, and know exactly how to fix it!
Click on the picture of the book to purchase!

Bondo
So we took the dresser out to the garage and I filled the sides of the dresser with Bondo.
Bondo is my go-to filler for large areas of chipped veneer because it spreads easily, dries quickly, and hard. Way better than regular wood filler.
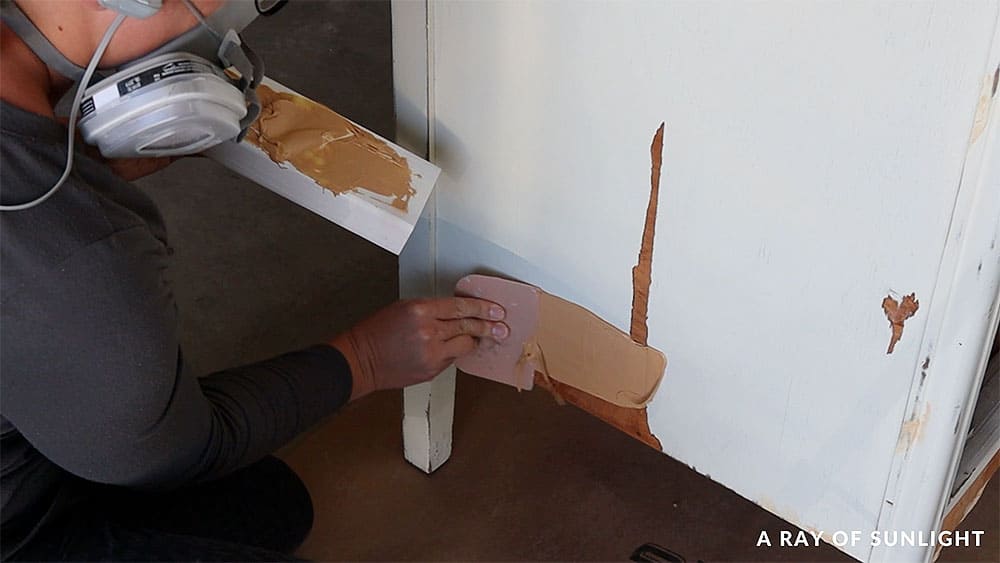
It does stink though. So I only use it outside. And you have to work really quickly because it sets up fast once you mix the 2 parts together.
Check out my honest Bondo wood filler review here to learn more.
Learn more about how to fix chipped wood furniture and how to fix a missing chunk of wood with Bondo.
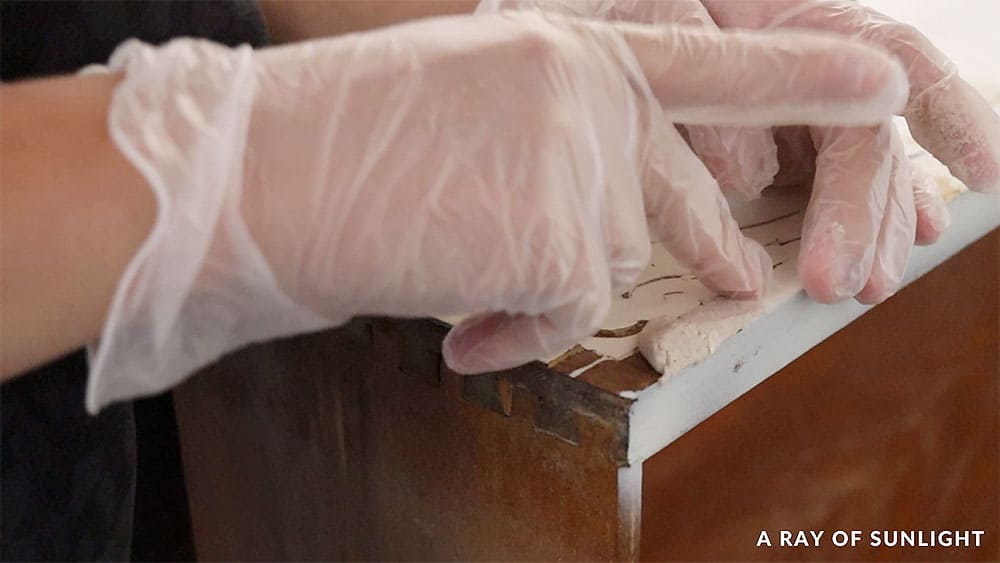
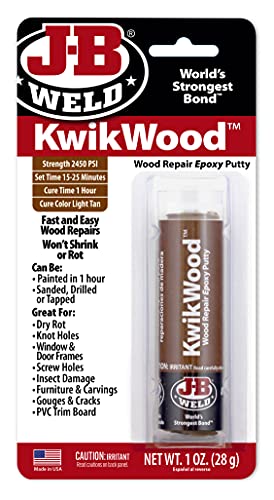
KwikWood
On the drawers, I used KwikWood to fill the chips, because I can mold the KwikWood to the right shape that I need.
Just like Bondo, it dries quickly, and it dries hard. But it doesn’t stink like Bondo does! And you can work with it a little longer than Bondo… oh and it’s not as messy.
It’s awesome! Learn more about how to use KwikWood to repair furniture here! You can also read through this post to learn more about the best wood fillers for furniture.
Sand Everything
I came back a couple of hours later and sanded everything down, flush with the wood, and had to fill a couple of small spots with wood filler.
I sanded the top of the dresser smooth and I even sanded all of the paint off the edge too. Check out the best sanders to remove paint here and the best tools for removing paint from wood here.
In the crevices, I used a flathead screwdriver to chip the paint off, and then I sanded by hand where the sander didn’t reach. And then I sanded everything else to just make it all feel smooth.
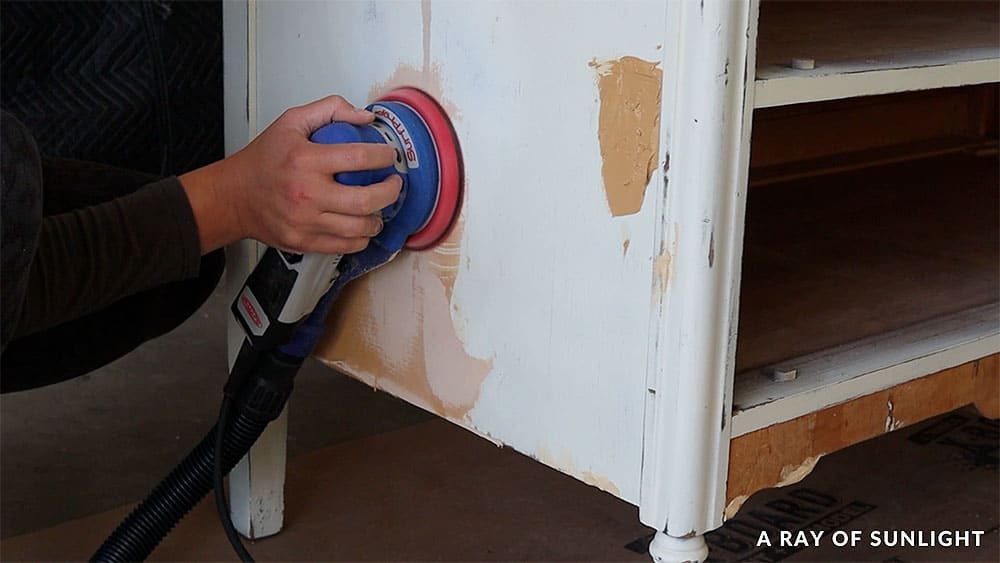
There was a lot of sanding. Learn more about the importance of sanding before painting furniture here.
Check out our SurfPrep vs Festool sander reviews to help you if you’re trying to decide which sander is right for you.
Prep and Paint Furniture
OK with all of that out of the way I moved on to cleaning the piece so then we could paint everything.
I vacuumed up all of the dust and then I used a tack cloth to wipe off any remaining dust. Learn more about how to prepare furniture for painting in this post!
I covered the top of the dresser and then I sprayed 2 coats of clear shellac.
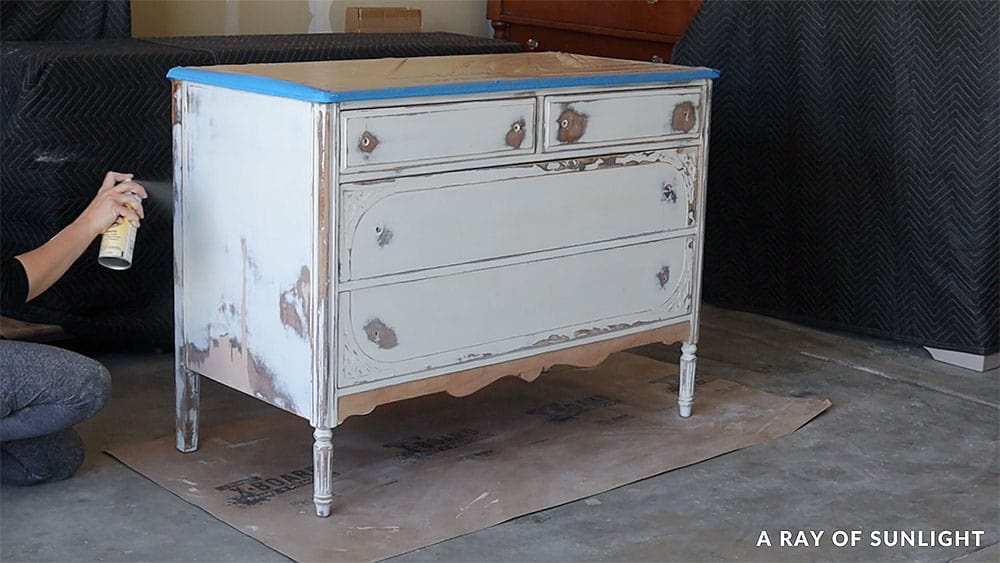
The clear shellac acts kind of like my primer. It helps the paint stick. And it prevents bleedthrough stains from coming through my paint, especially where I sanded down to bare wood.
Spraying clear shellac is also one of the tricks on how to get rid of smoke smell in furniture or any other unpleasant odors.
Learn more about the best primers for painting furniture here.
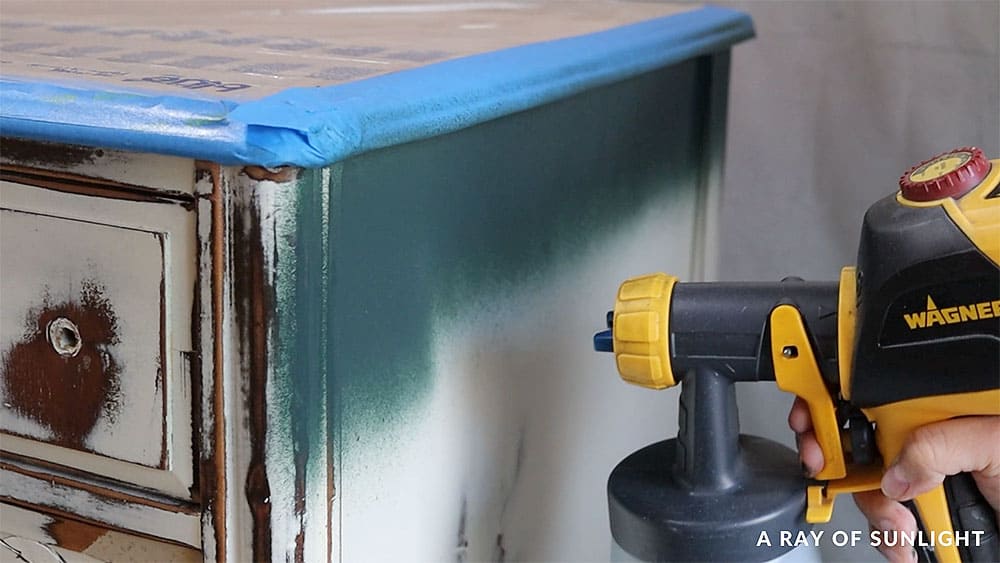
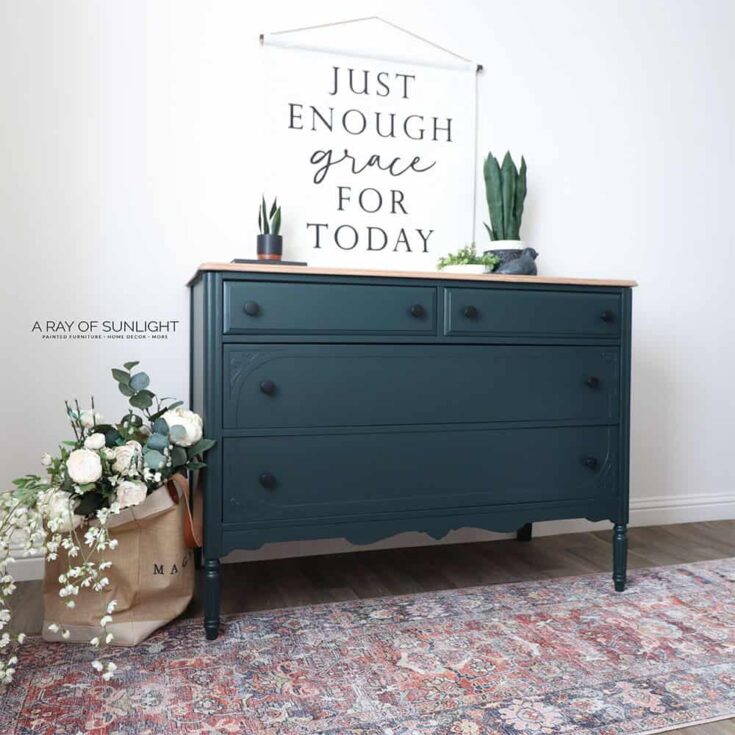
And then I was ready to paint. So for this project, I mixed up a custom color with Melange’s all in ONE paint line. Check out my detailed Melange ONE paint review to learn more.
I mixed up basically a 50/50 ratio of Basilisk Black and Jacob’s Well with probably a little bit more of the black than the green.
And then I poured it into my paint sprayer, mixed in some water, and I sprayed on two coats of paint letting the paint dry for a couple of hours between each coat.
Check out my honest Wagner 3500 paint sprayer review here.
Learn how easy it is to use this Wagner FLEXiO paint sprayer in this DIY blue painted nightstands makeover. And here’s how to thin paint for Wagner FLEXiO sprayer.
After that coat of paint was dry I could see some spots where you could see the white paint in the texture of the wood grain so I filled all of that stuff in with wood filler, let that dry, and then I sanded the wood filler down.
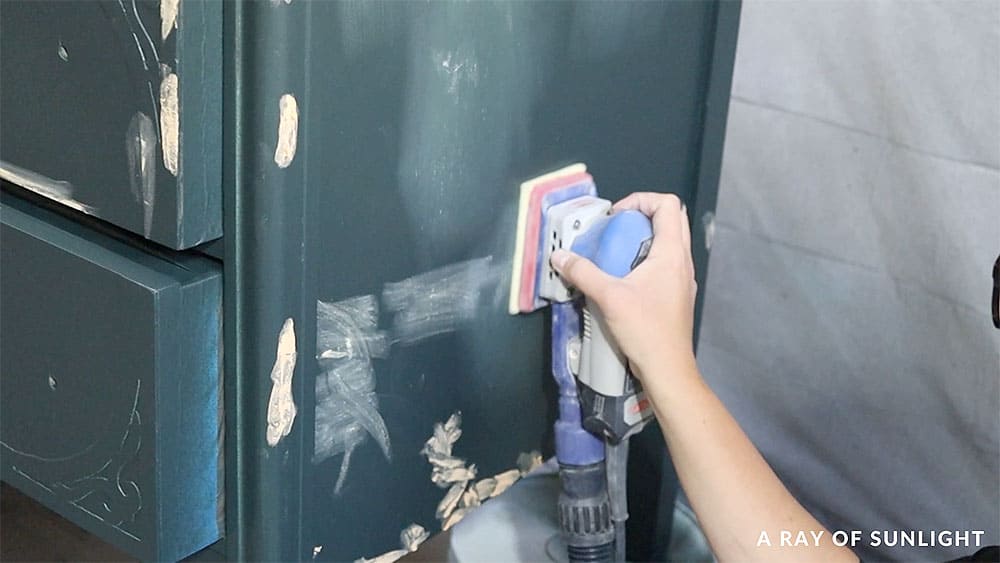
I cleaned off all of the dust again and then I sprayed my third coat of paint.
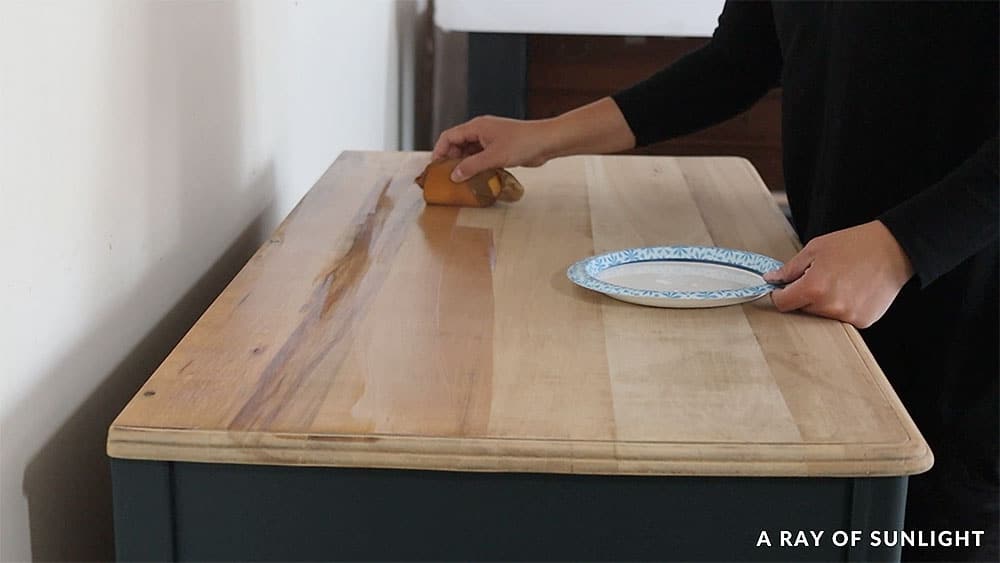
That was the ticket, so when the paint was dry I removed the plastic from the top and wiped 3 coats of some satin waterbased polyurethane on to protect it.
Learn our special tricks to apply polyurethane by hand in this post on painting furniture black.
See the full video makeover below!
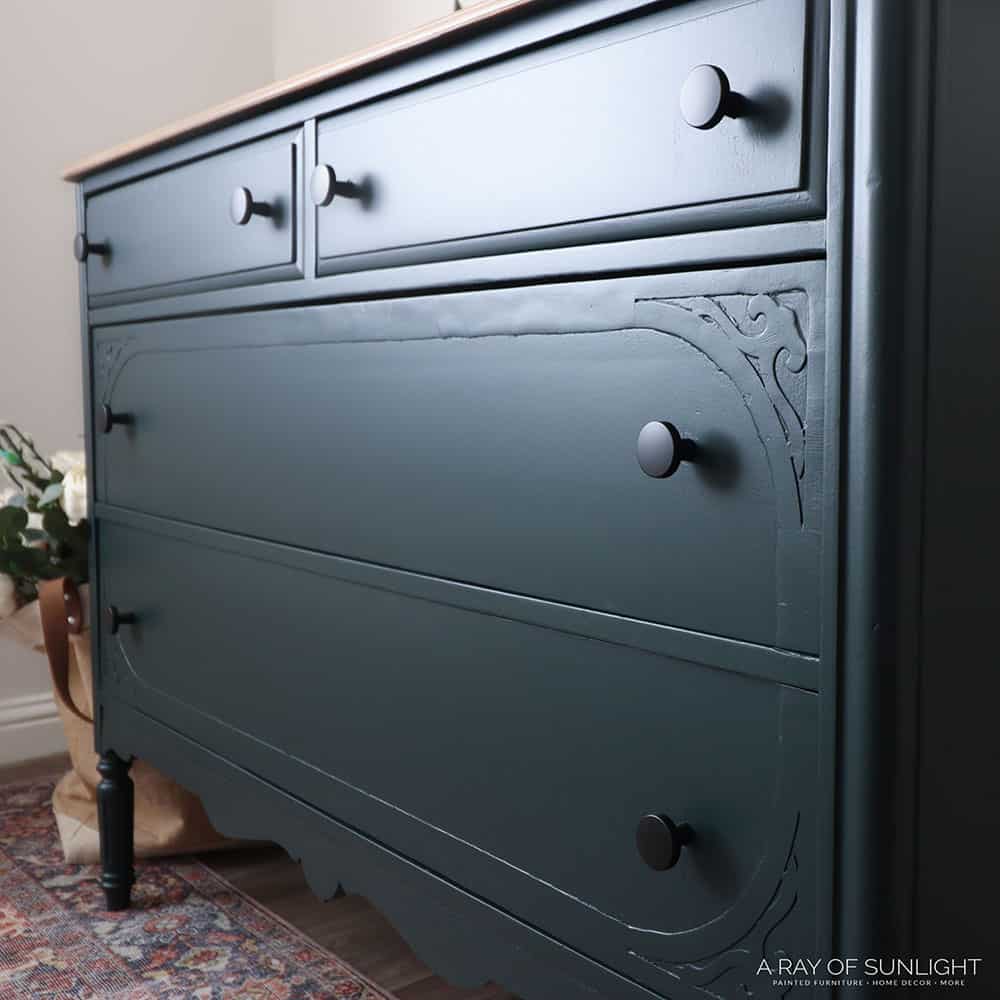
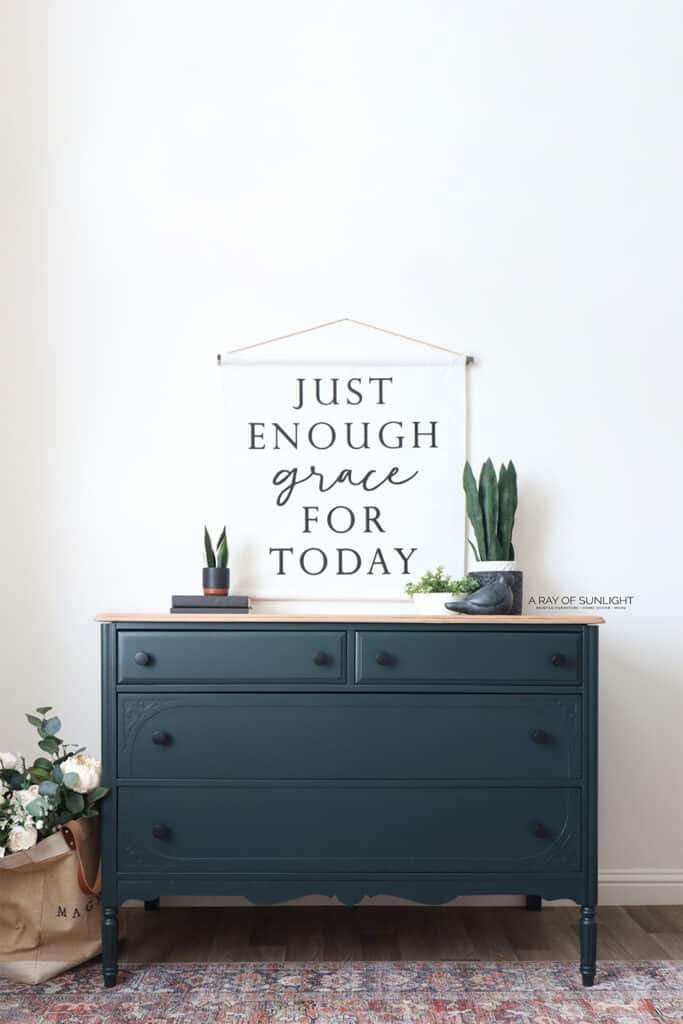
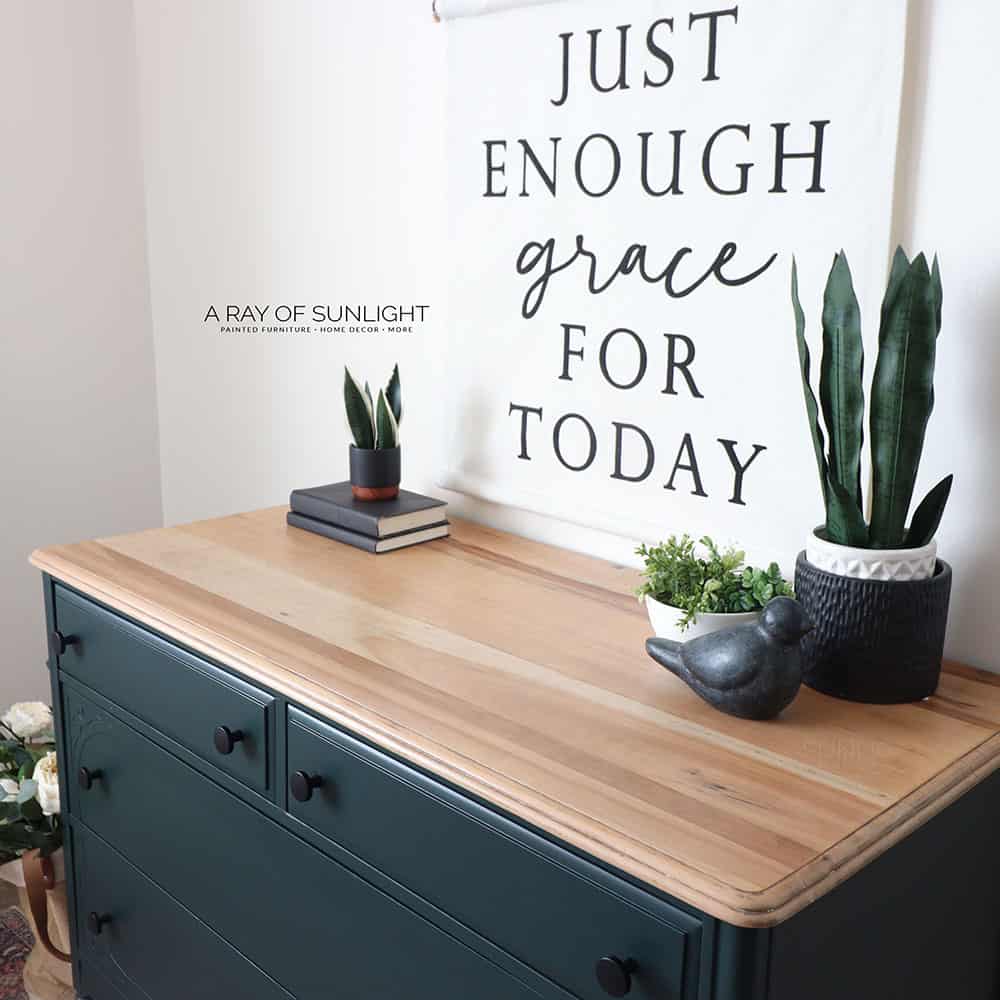
I’m so glad that I kept the detail on the drawers, and I absolutely LOVE this color… and the paint. Check out more emerald green painted furniture here.
Man, it’s a perfect finish! So stinking easy to use too. What do you think? What hardware would you have picked?
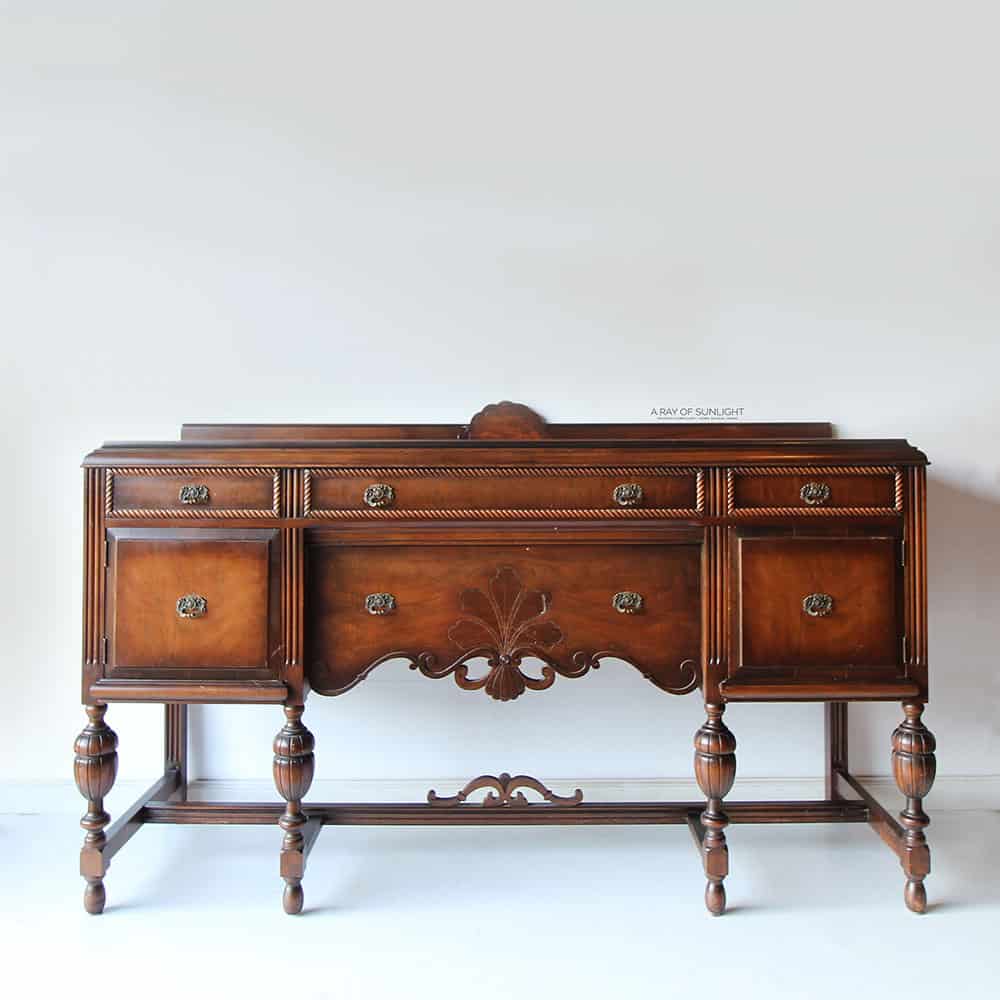
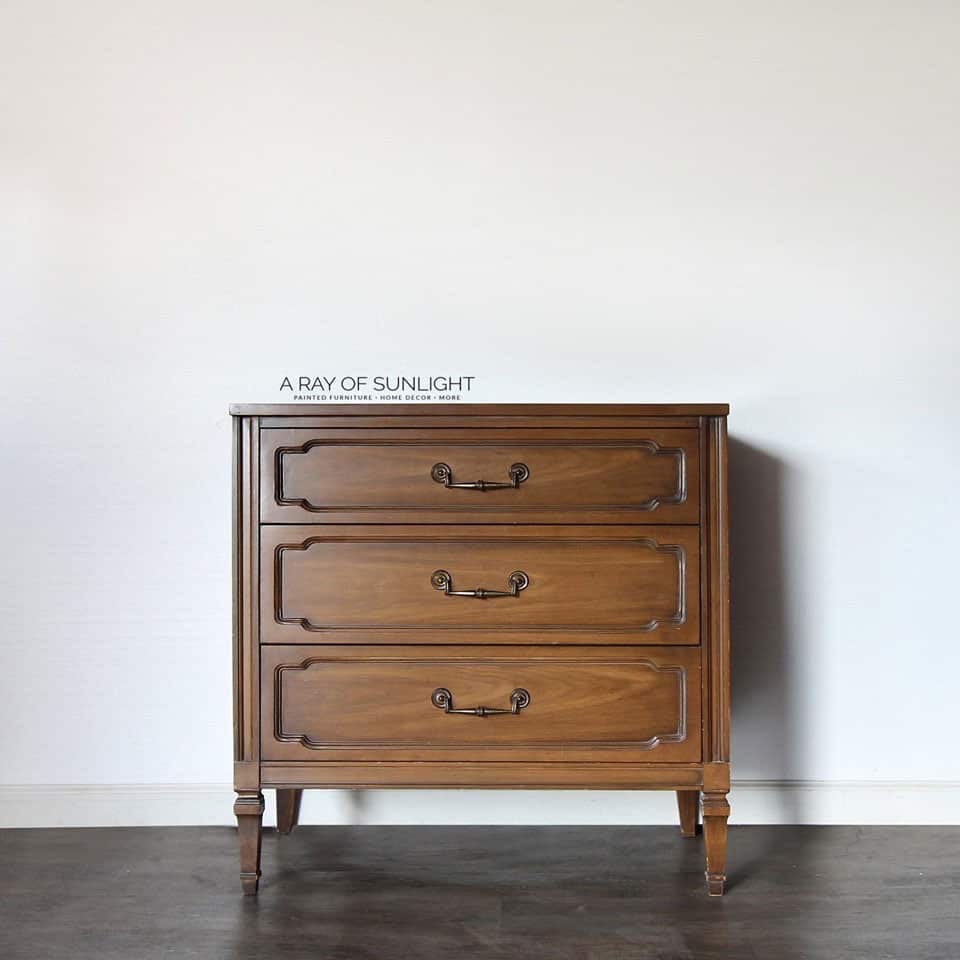
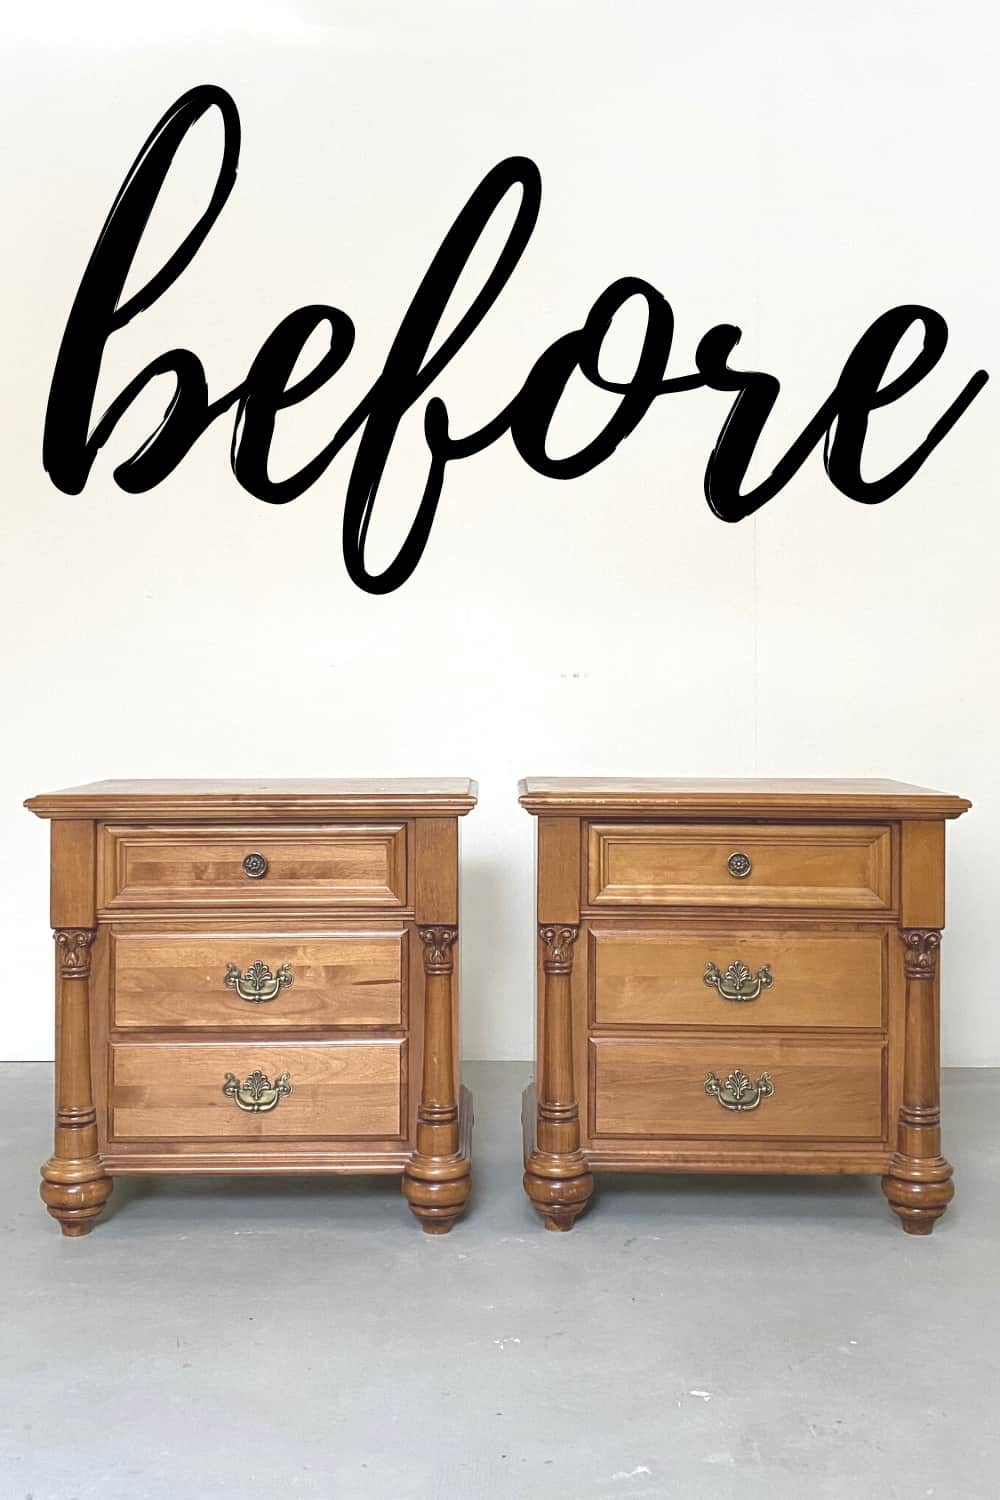
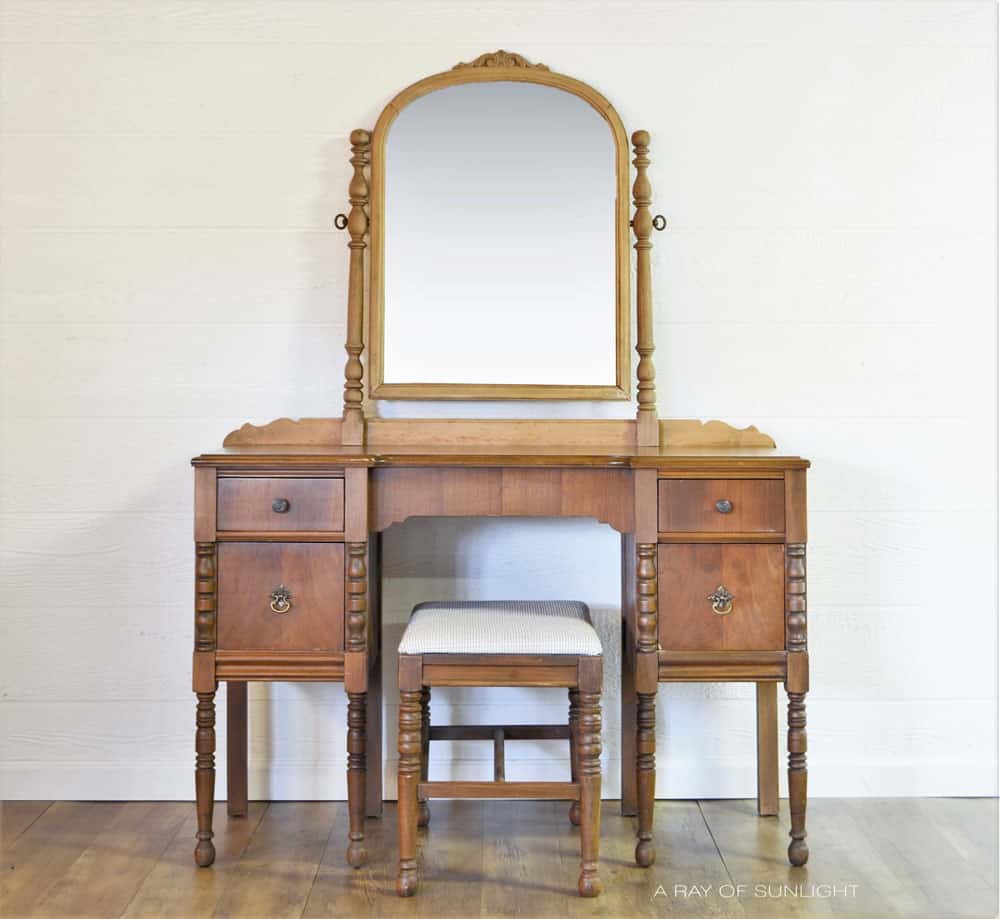
More Before And After Makeovers
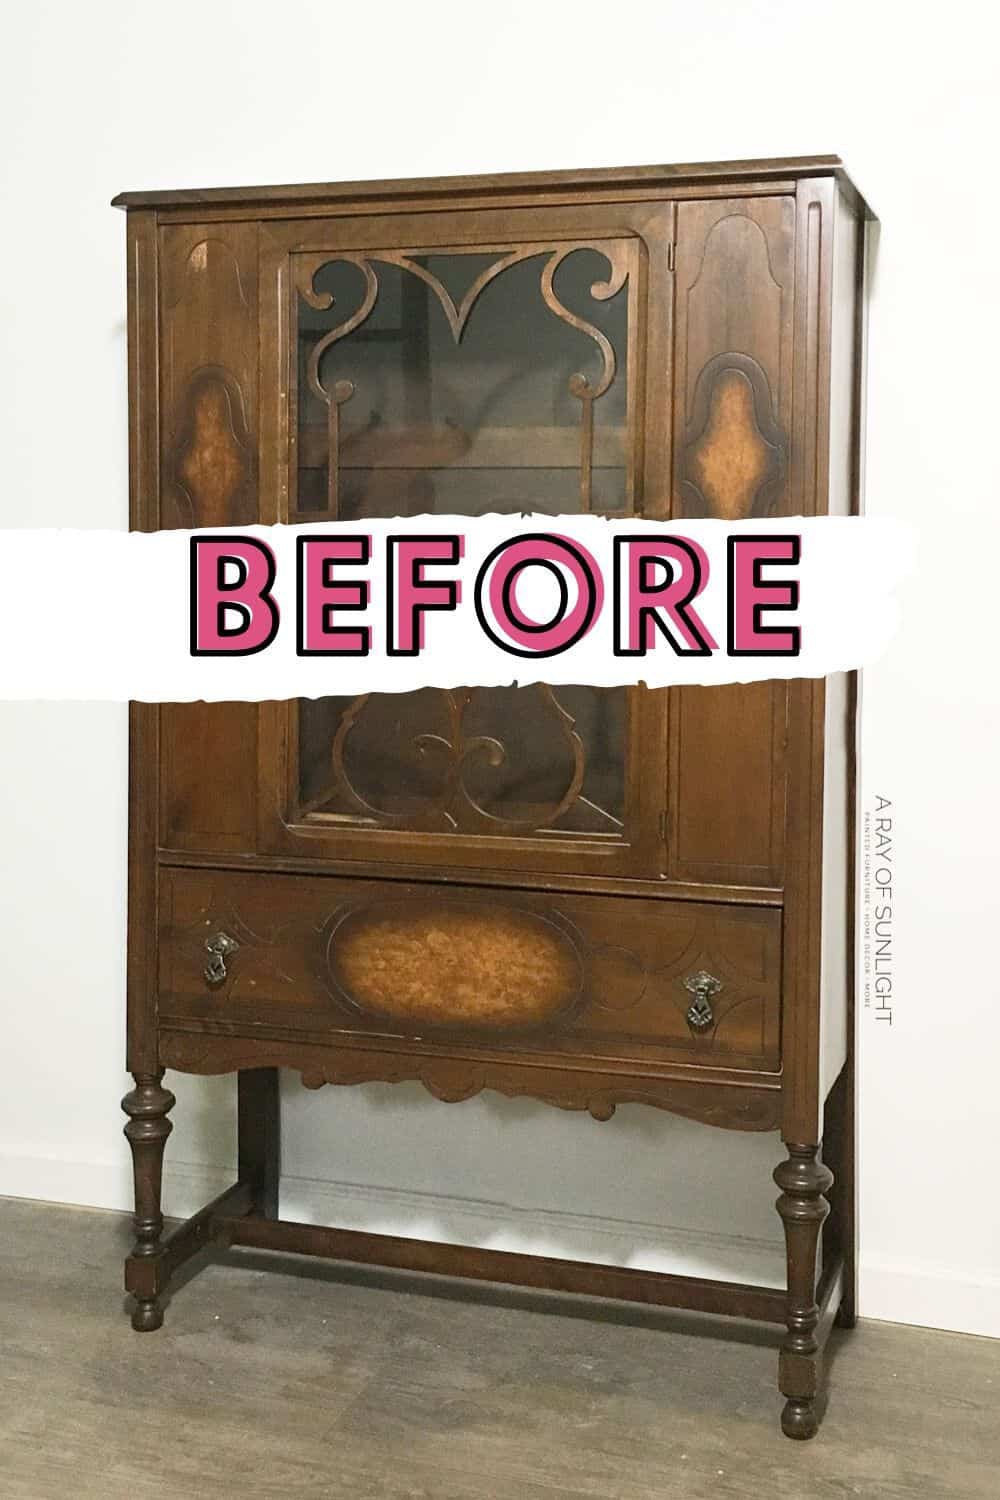
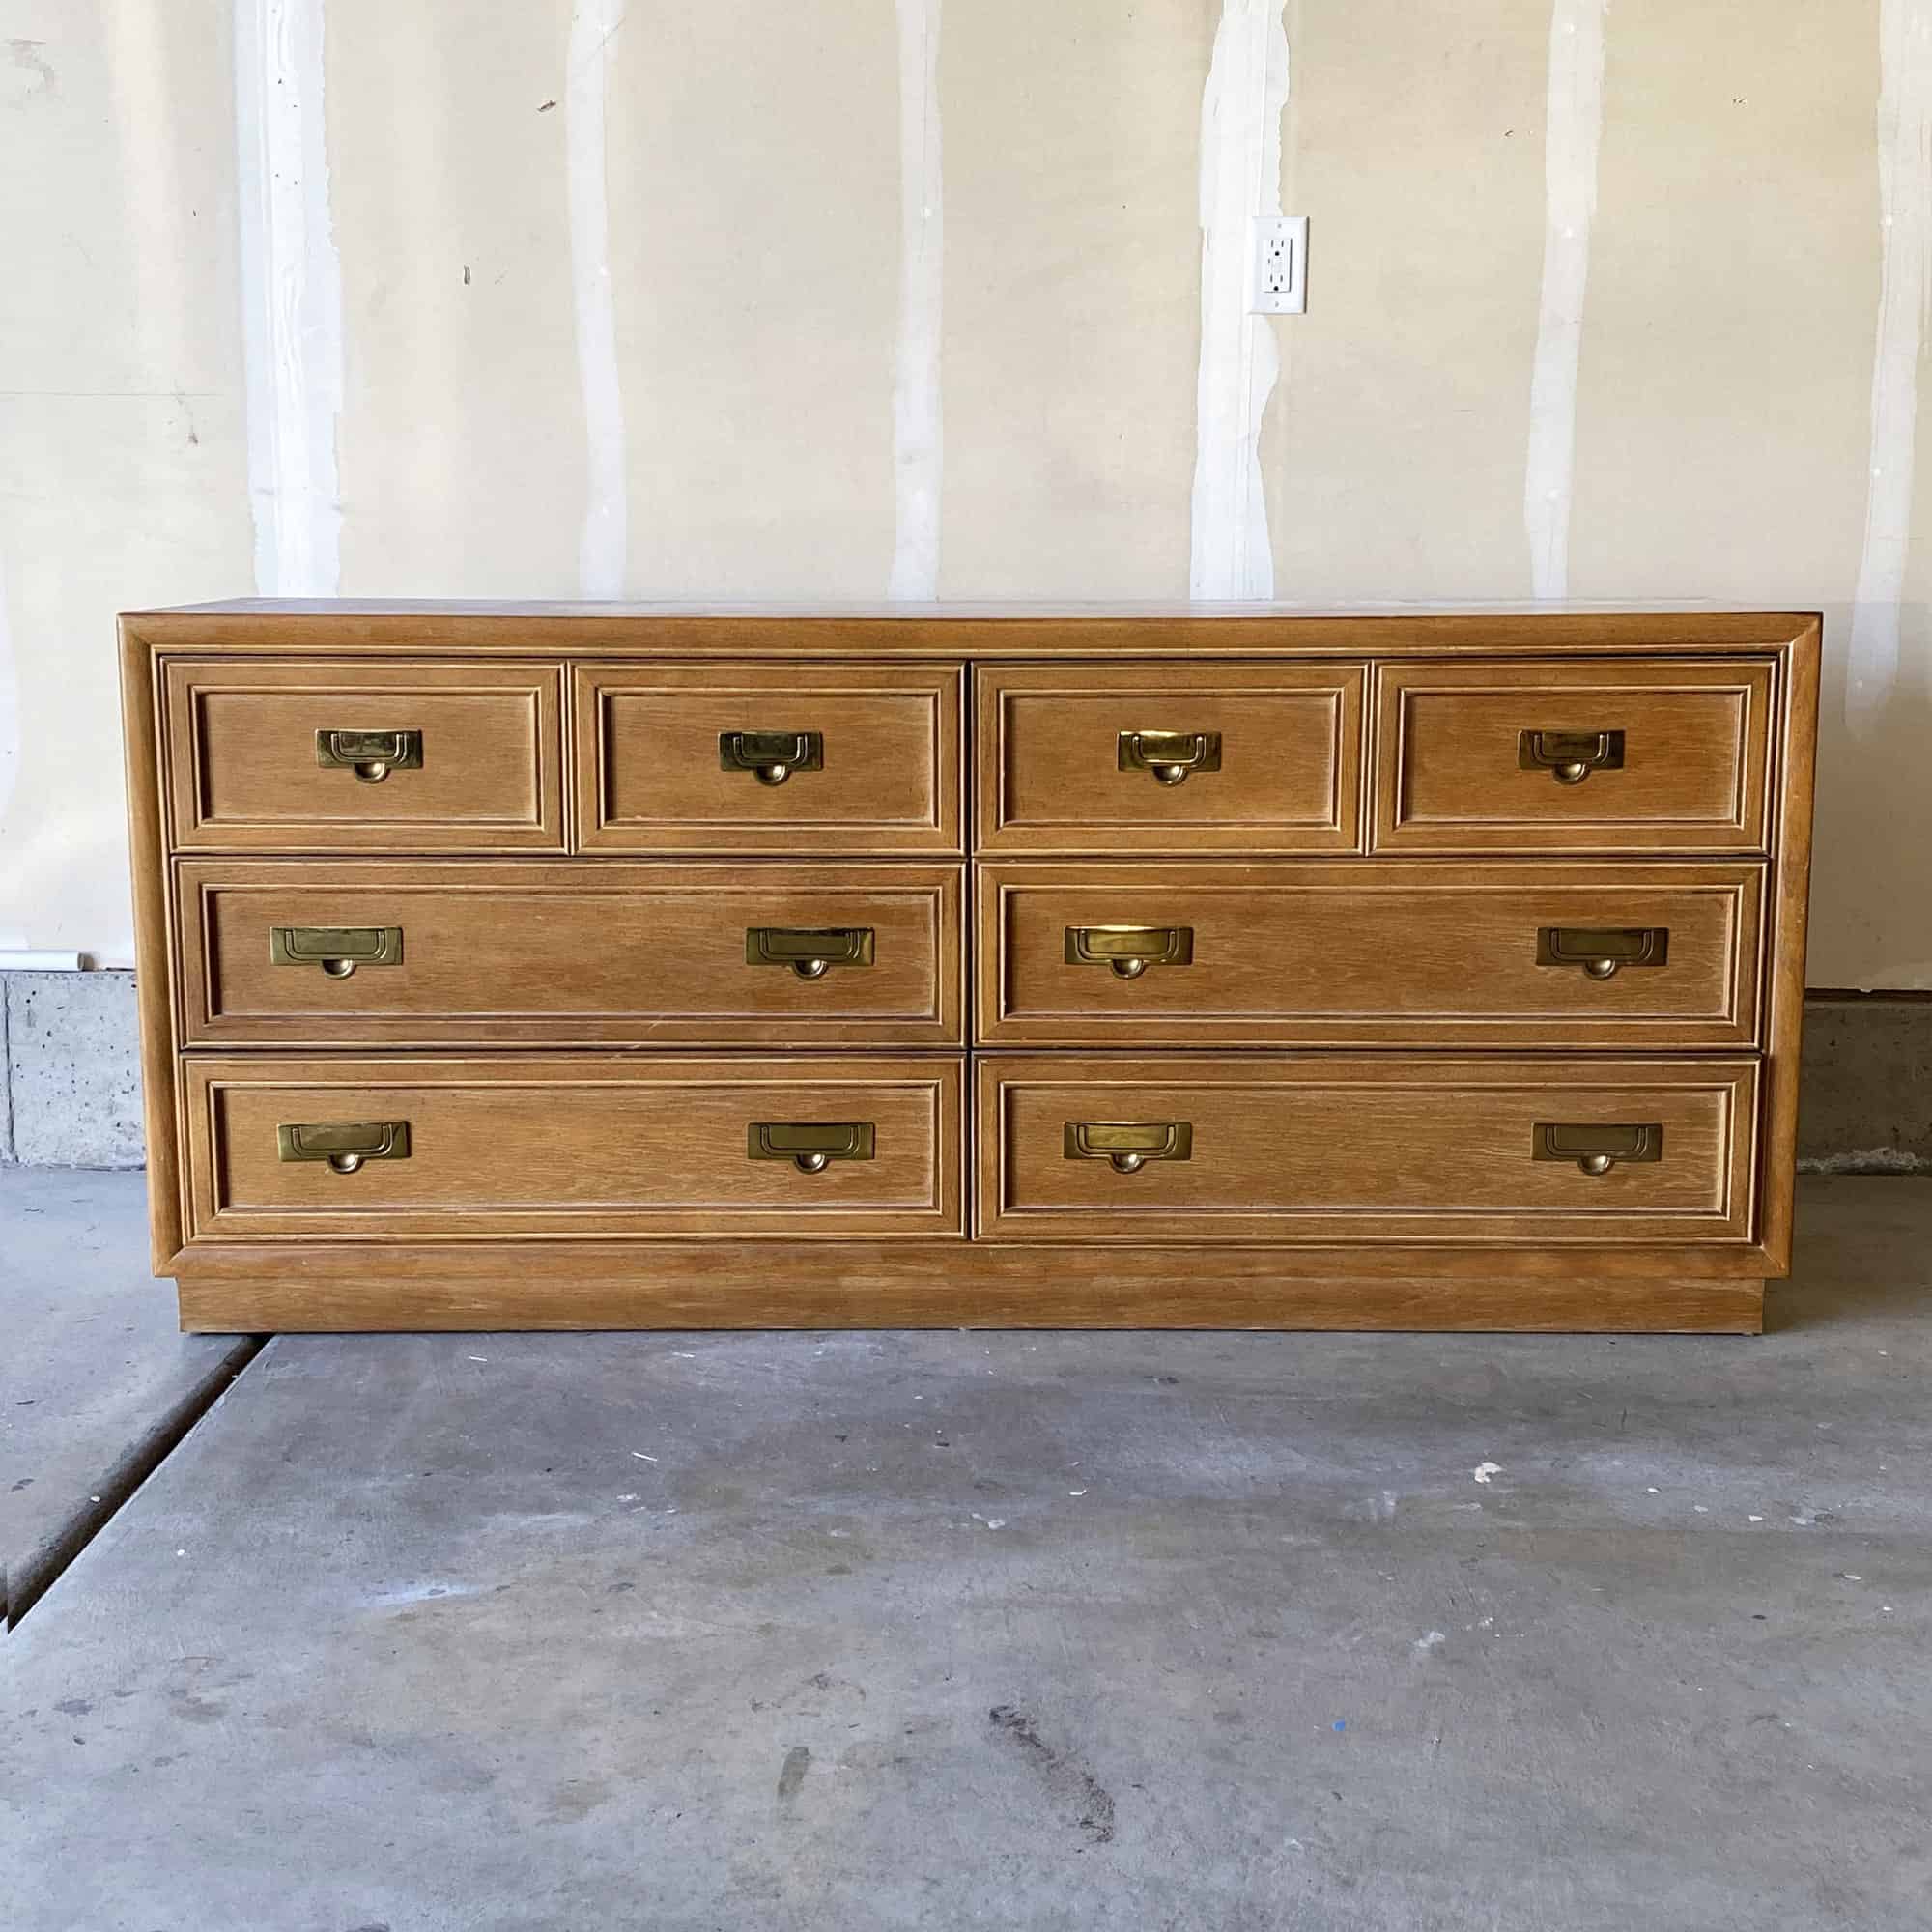
Click any of these “before” photos below to view the “after” of that makeover.
How to Fix Damaged Wood Furniture Before Painting
Make old and damaged furniture new and functional again! Here's how to fix damaged wood furniture before painting.
Materials
Tools
Instructions
- Remove the old hardware and clean the furniture with a degreaser.
- Remove loose wood veneer by prying it off with a putty knife. You can place a wet towel on the top of the furniture and use an iron to loosen up the glue and basically soak the veneer so it would come off easier.
- You can also glue veneer back on by putting glue between the drawer and the veneer with a glue syringe then clamping a piece of wood on to hold the veneer in place as the glue dries overnight.
- Now, fill in chipped veneer with wood filler. After leaving it for hours to dry, sand everything down flush and smooth. Vacuum and wipe all the dust from sanding.
- Prep the furniture for paint by spraying 2 coats of clear shellac then start painting! Pour paint into your paint sprayer, mix in some water, and spray on 2 coats of paint, letting the paint dry for a couple of hours between each coat.
- Fill in any visible wood grain with wood filler, let it dry then sand it down smooth. Clean up all the dust then apply the final coat of paint.
- Seal furniture with 3 coats of poly.
Recommended Products
As an Amazon Associate and member of other affiliate programs, I earn from qualifying purchases.


More All-In-One Paint Resources
- DIY Dresser Makeover
- All in One Paint for Furniture
- How to Paint Over Oil Based Paint
- Best All-in-One Paints for Furniture
- How to Paint Cheap Furniture
Follow us on YouTube to get more tips for painting furniture.
Or share your project with us on our Facebook Group and be part of our community. See you there!
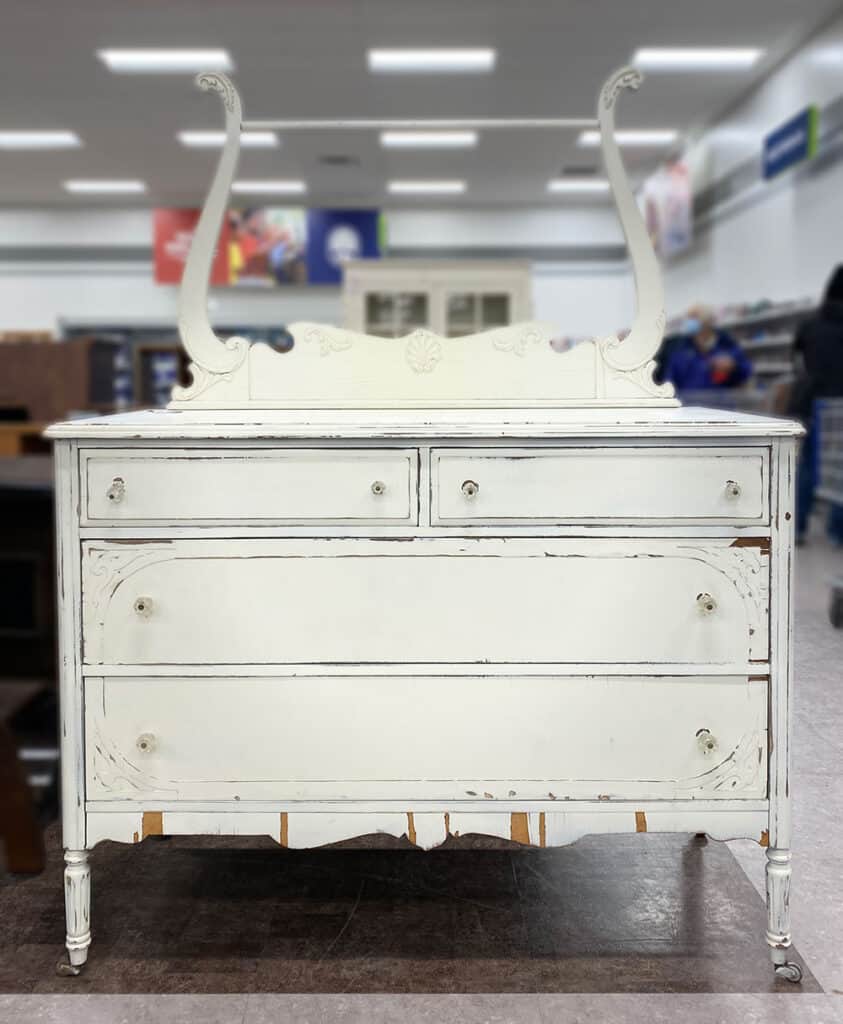
That harp was not original to the piece. It was added later because the style and material it was made from weren’t even the same. If that destroyed the soul of the piece, then I’m more than happy that I did.