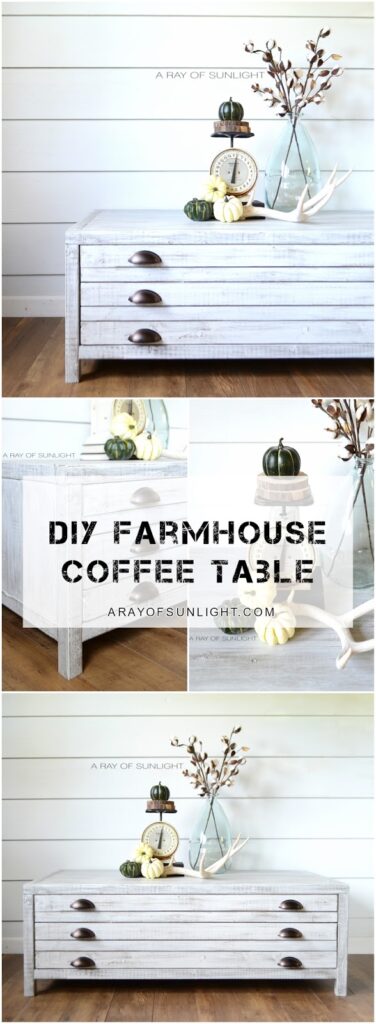
Printmaker’s Farmhouse Industrial Coffee Table
Here’s how to build a DIY coffee table with a drawer, inspired by Restoration Hardware Printmaker’s farmhouse industrial coffee table for $100! It’s the perfect farmhouse table with loads of storage for your living room.
This furniture makeover idea will transform your space with its rustic charm and functionality. Say hello to a one of a kind piece that you can proudly say you built yourself!

Ohhh guys. I’ve been sifting through TONS of farmhouse inspiration photos looking for the perfect pieces and things to add to our home. I came across a photo from Fixer Upper. I mean, all of those photos are inspiration for sure, but this one stopped me in my tracks.

After more and more researching, I found plans from Ana White and The Created Home to make my own Restoration Hardware coffee table! Seriously?!
I read through the build plans a few times and even though I was a bit intimidated by making a drawer, I knew this was the only way to get my dream coffee table.
Here’s the kicker, the wood / supplies came in at just under $100. The paint and stain we had on hand already. That makes this coffee table way more affordable than the inspiration at Restoration Hardware for $1200! Wahoo!
The only difference we made to the original plans was to make one large drawer instead of 2. I need as much hidden storage as possible with a 2 year old, her toys, and another little one on the way.
With one big drawer I will have room for the bigger toys that usually have to stay out because they are too big for regular drawers.
Supplies Used for Printmaker’s Farmhouse Industrial Coffee Table
As an Amazon Associate, I earn from qualifying purchases. I also may earn from other qualifying purchases with other companies or get free product to review and use. All opinions are my own.
- Chop Saw – If you don’t have one, ask the workers at Home Depot to cut your wood for you.
- Circular Saw or Table Saw – Or have the HD workers cut the wood for you.
- KREG Jig
- Drill
- Brad Nail Gun
- Tape Measure
- Square
- Orbital Sander
- Minwax Wood Stain in Dark Walnut
- Varathane Wood Stain in Weathered Gray
- White Latex Paint
- 2 Old or Cheap Paint Brushes
- Lint Free Rags
- 220 Grit Sandpaper
- Varathane Polyurethane in Satin
- Cup Pulls
Building Coffee Table Body
We purchased the same wood that was listed on Ana White’s plan, with the exception of the wood for the drawers. Instead we purchased:
(2) 1×12 x 6′ for the drawer body – we did have to rip them down to 10.5″ wide to fit into the drawer opening. Cut these to (2) 1×10⁻¹/2″ @ 43-1/4″ and (2) 1×10⁻¹/2″ @ 23 -1/2″.
(3) 1×3 x 8′ for the drawer faces cut to (6) 1 x 3 @ 44-3/4″
(2) 1×2 x 8′ for the drawer faces cut to (4) 1 x 2 @ 44-3/4″
We kept the plywood for the bottom the same, but only needed one instead of two. All together it took me about 6 hours to cut and build, between a few days of working during nap time. 😉
I cut the wood to the body of the coffee table, drilled the KREG jig holes and then sanded every piece of wood smooth.
Then with the help of my husband, we attached all of the pieces of wood, as well as the metal angles, just like in the plans.

Once the body was build, I cut the wood for the drawers, making sure the sizes would fit into the opening. Then drilled the KREG jig holes and sanded everything down.
Once again I needed some extra hands to hold the wood while I screwed everything together. This is where I had a harder time as I hadn’t ever build a drawer before.
It’s super important to make sure the drawer is square and not crooked as the drawer won’t work properly if it’s off.
We used the square to make sure it was squared up and kept checking for square as we used the brad nailer to attach the bottom to the drawer.
This held it in place, and then we completely tightened up the KREG jig screws on the drawer. I made sure the drawer worked, and then went ahead and nailed on the drawer fronts.
I nailed on the top and bottom pieces first, making sure that they were the right distance to fit into the drawer opening, but not overhanging past the bottom of the drawer (this would keep the drawer from being able to open on either side of the table).
To make sure each drawer front was the same distance from the next (the plans call for 1/8″ space on all sides of each drawer front) I placed my square in between each piece of wood.
My square is pretty close to 1/8″ thick, so this worked nicely. I also made sure to not nail where the hardware would go.
Looking back, I should have drilled the holes for the hardware before nailing on the boards, just to make sure I didn’t nail right where a screw was going to go.
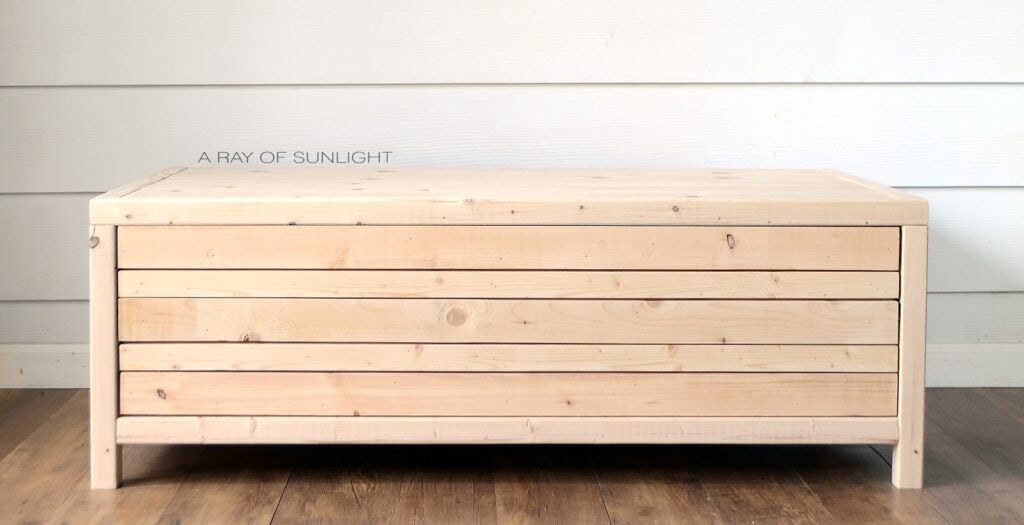
Thankfully it worked out fine without doing it that way though. It ended up being a lot easier than I thought it would be! And I just might have done a little happy dance or two after it was all build.
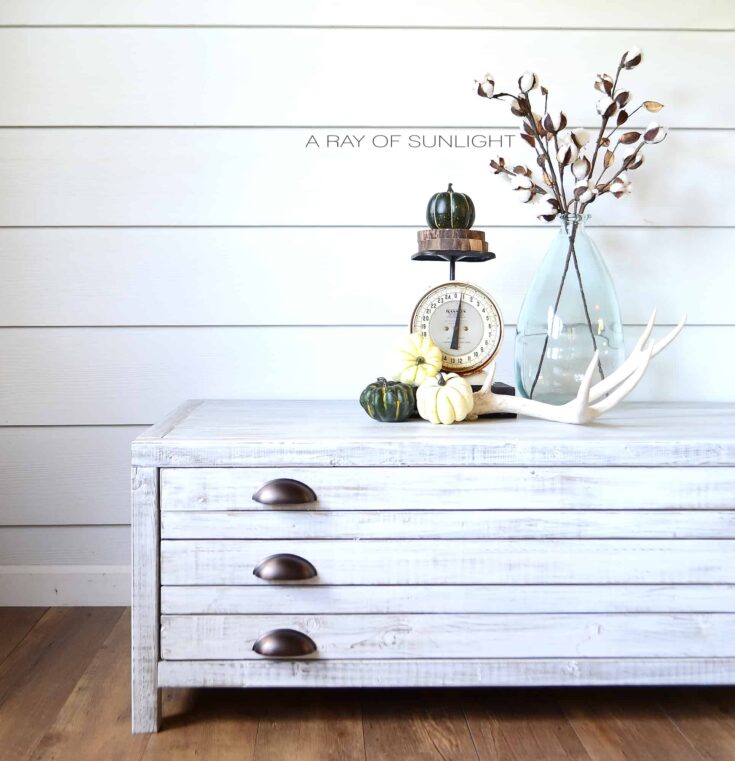
Since I’m going for a light bright feel in our living room, I decided against the straight up stained wood for the coffee table and went with a white weathered wood finish.
I’m so glad I did because the finish is Ah-mazing!
Staining Table for Weathered Wood Finish
I love the look of the dark walnut and weathered wood stain mixed. It’s probably a 75% weathered gray stain to 25% dark walnut mix.
But, I bet you would achieve the same look overall weathered wood finish with straight up dark walnut stain.
First I mixed up a batch of Weathered Gray and Dark Walnut stain using the 75/25 ratio. Honestly, I didn’t measure, I just eye ball it.
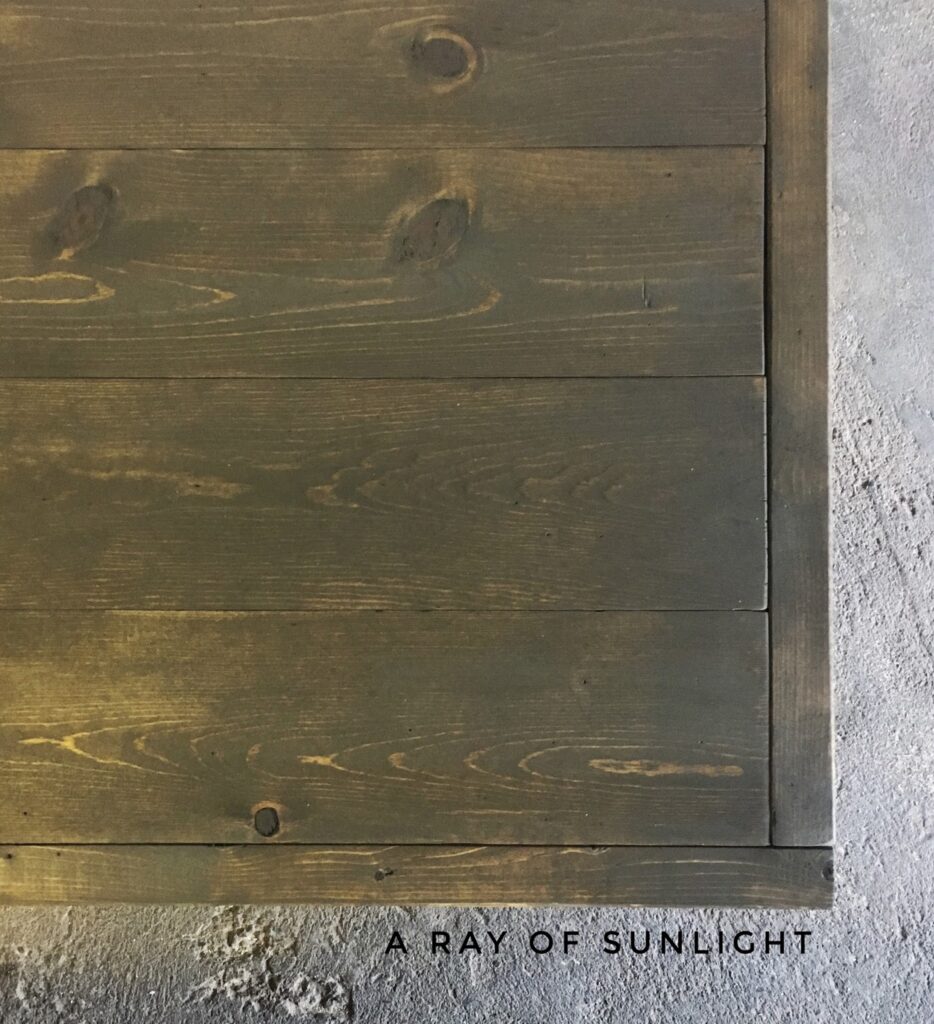
Working in sections, I brushed on the stain, making sure it got into all of the cracks and knots, and then wiped off the excess stain with the lint free rag. I let it dry overnight before moving on.
Whitewashing Stained Table
For the next step, I made up some whitewash by mixing some water with my white latex paint. Once again I didn’t measure but it was probably around a 30% water / 70% paint mix.
I brushed the whitewash on, and wiped it off with a lint free rag. I suppose I could have left it to soak in more, but I really wanted to be able to see some of the wood grain under the whitewash.
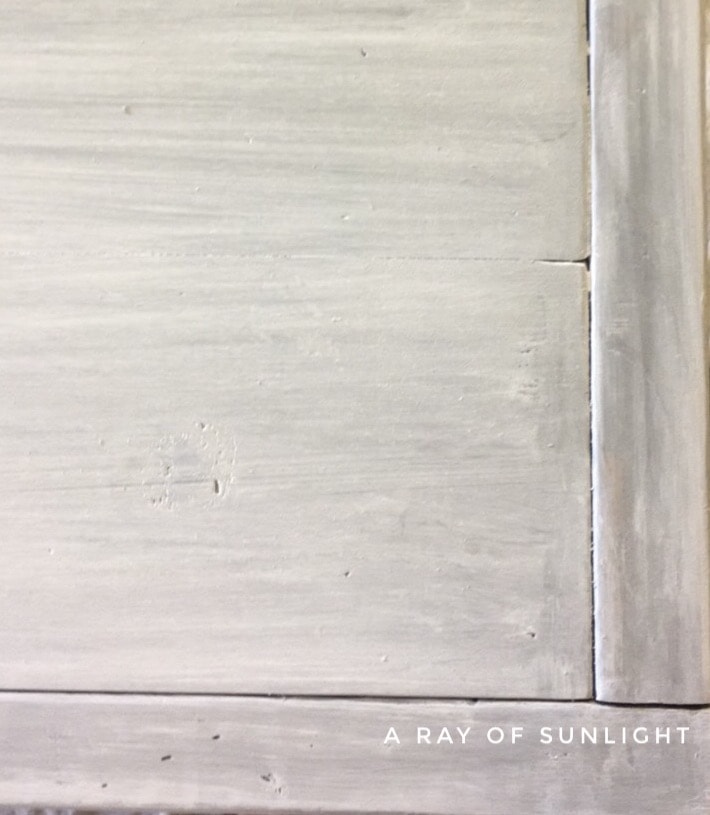
Thankfully it only took two coats of whitewash before I was happy with the coverage. Check out my guide on how to whitewash stained wood here.
Sanding Whitewashed Table
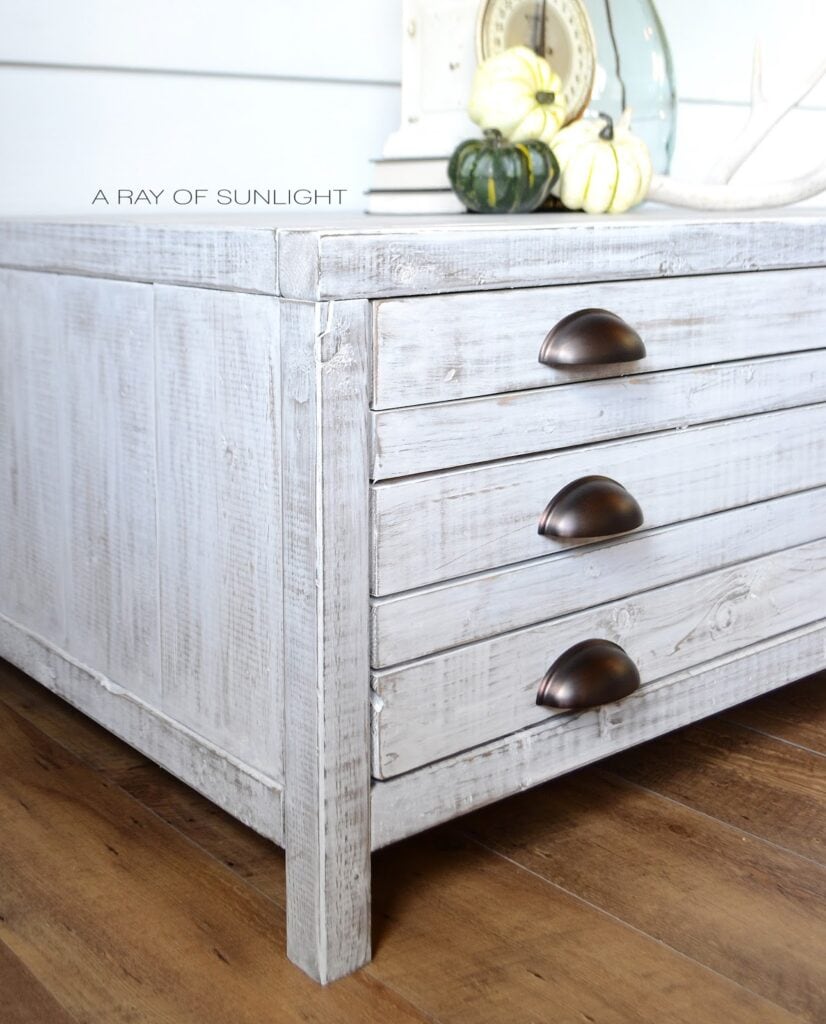
I let the whitewash dry completely, and then took some 220 grit sandpaper and heavily sanded down the whitewash to bring out the wood grain underneath.
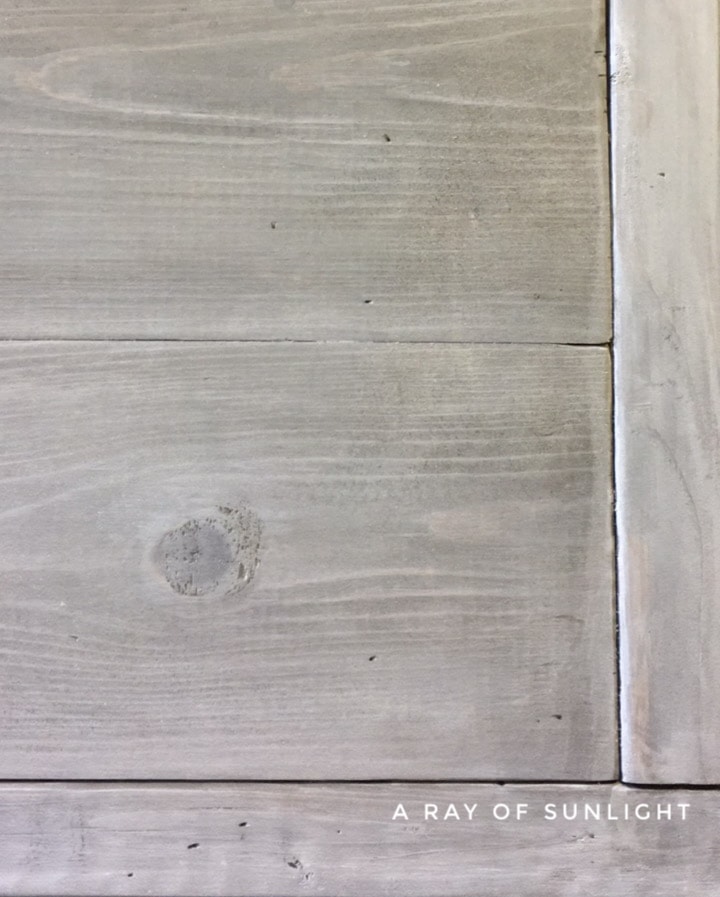

This is the most important step of all to bring out all the weathered wood goodness!
Sealing Weathered Wood Table
After wiping all the dust off, I sprayed on 3 coats of Varethane polyurethane to seal in the white goodness and give it extra durability.
Learn ALL of my tips and tricks on how to spray polyurethane here!
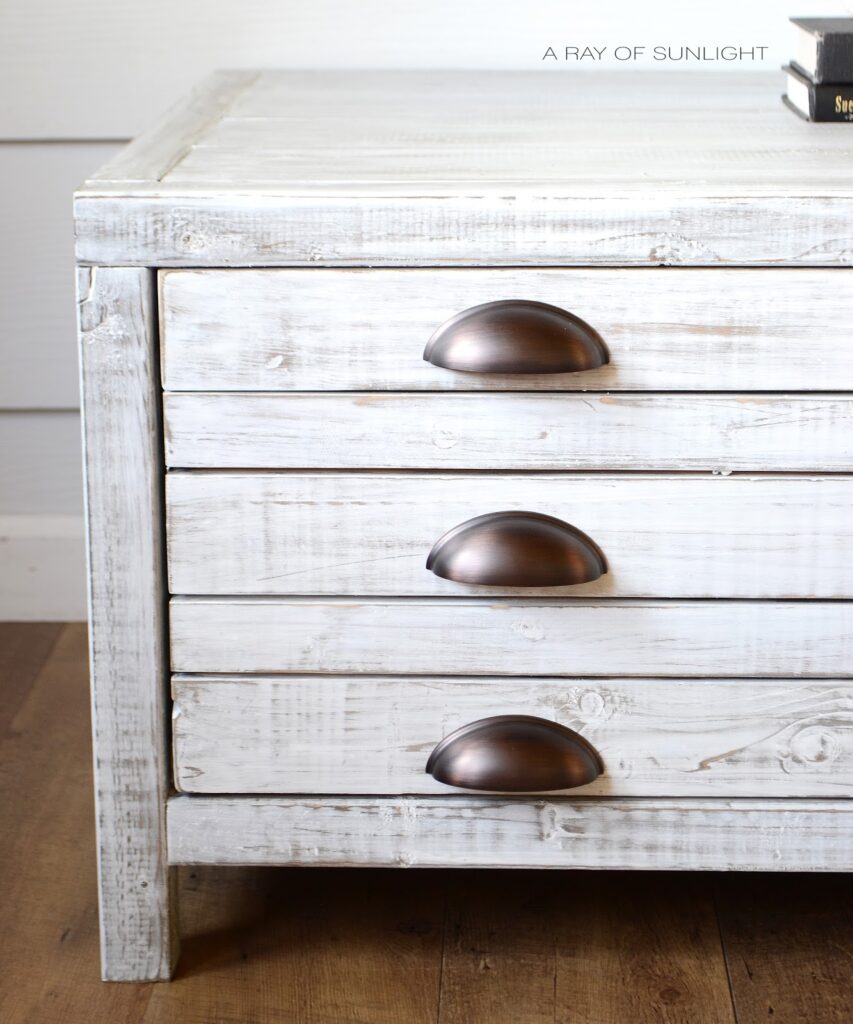
As for the hardware, we used these cup pulls. The only downside is that they take metric screws instead of standard screws.
But we were able to find these 1-3/4″ (45 mm) screws in the right size to fit onto this coffee table.
Can I use different hardware for the drawers?
Of course! One of the great things about DIY projects is that you have the freedom to customize and make it your own. You can definitely use different hardware or handles for the drawers on this farmhouse industrial coffee table.
If you’re not a fan of the cup pulls used in the tutorial, you can easily swap them out for another style or design. Just make sure to measure the holes and purchase the correct size screws to fit your chosen hardware.
This way, you’ll have a smooth installation process without any hassle. You can check out our tutorial on how to change hardware on furniture to guide you through this process.
With so many options available in hardware stores or online, you can truly make this coffee table unique to your taste and preferences.
Can I customize the size of the coffee table to fit my space?
Absolutely! This coffee table is a DIY project, so you have complete control over the size and dimensions. You can make it bigger or smaller to fit your specific space and needs.
Keep in mind that altering the size may also require adjustments to the materials and hardware used. Make sure to plan ahead and double check your measurements before you start cutting anything or purchasing materials.
Plus, building the coffee table yourself allows you to add personal touches and unique features that reflect your style. You can choose different wood finishes, paints, stains and even add extra storage options like shelves or drawers.
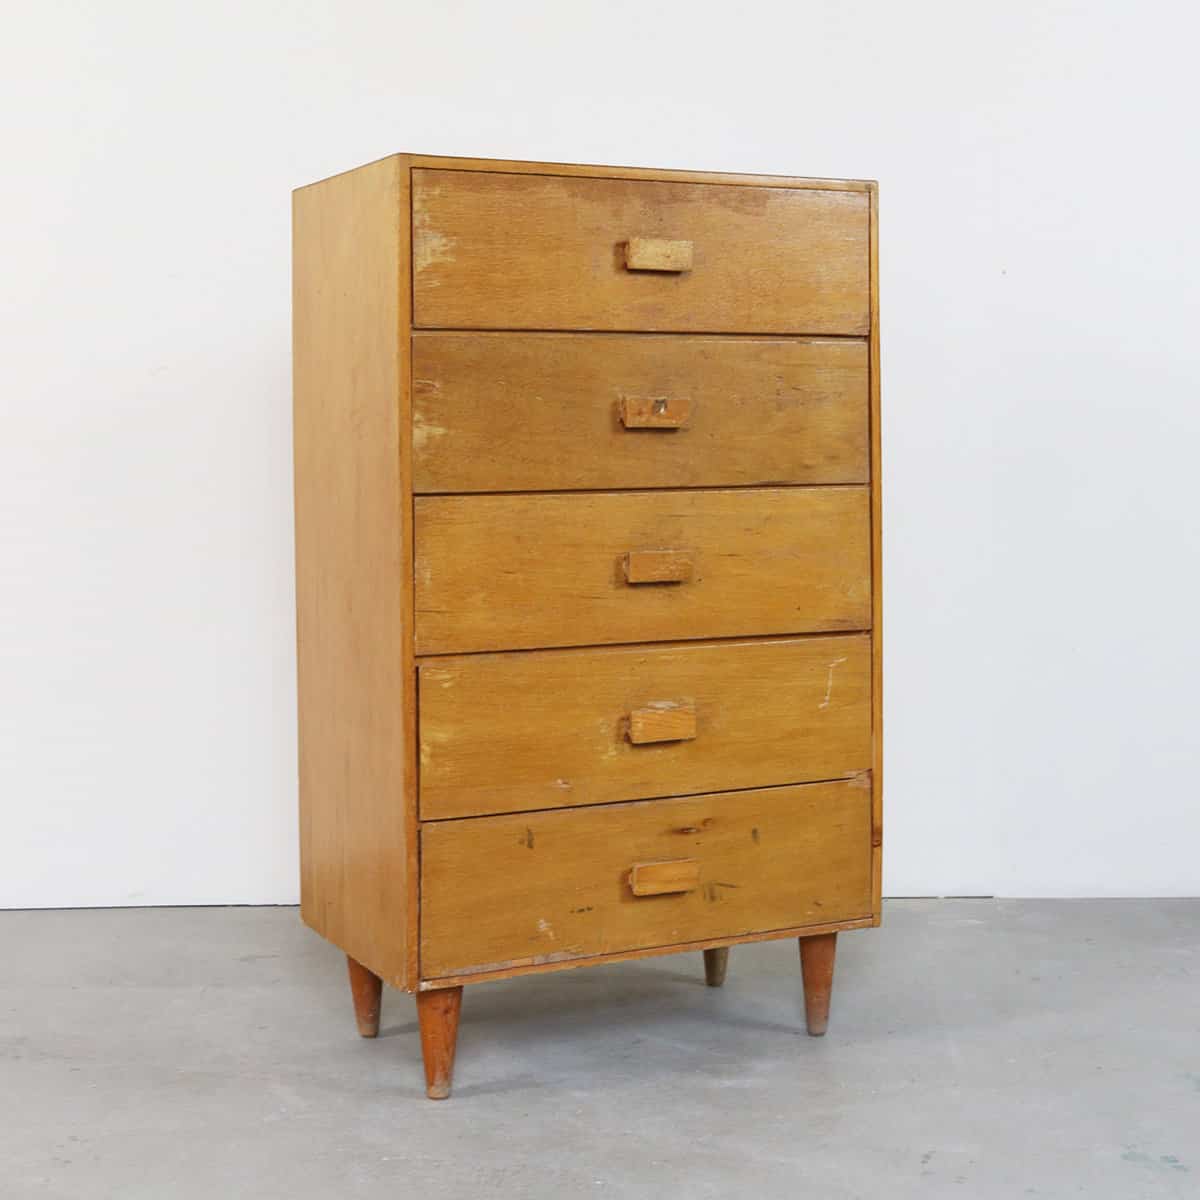
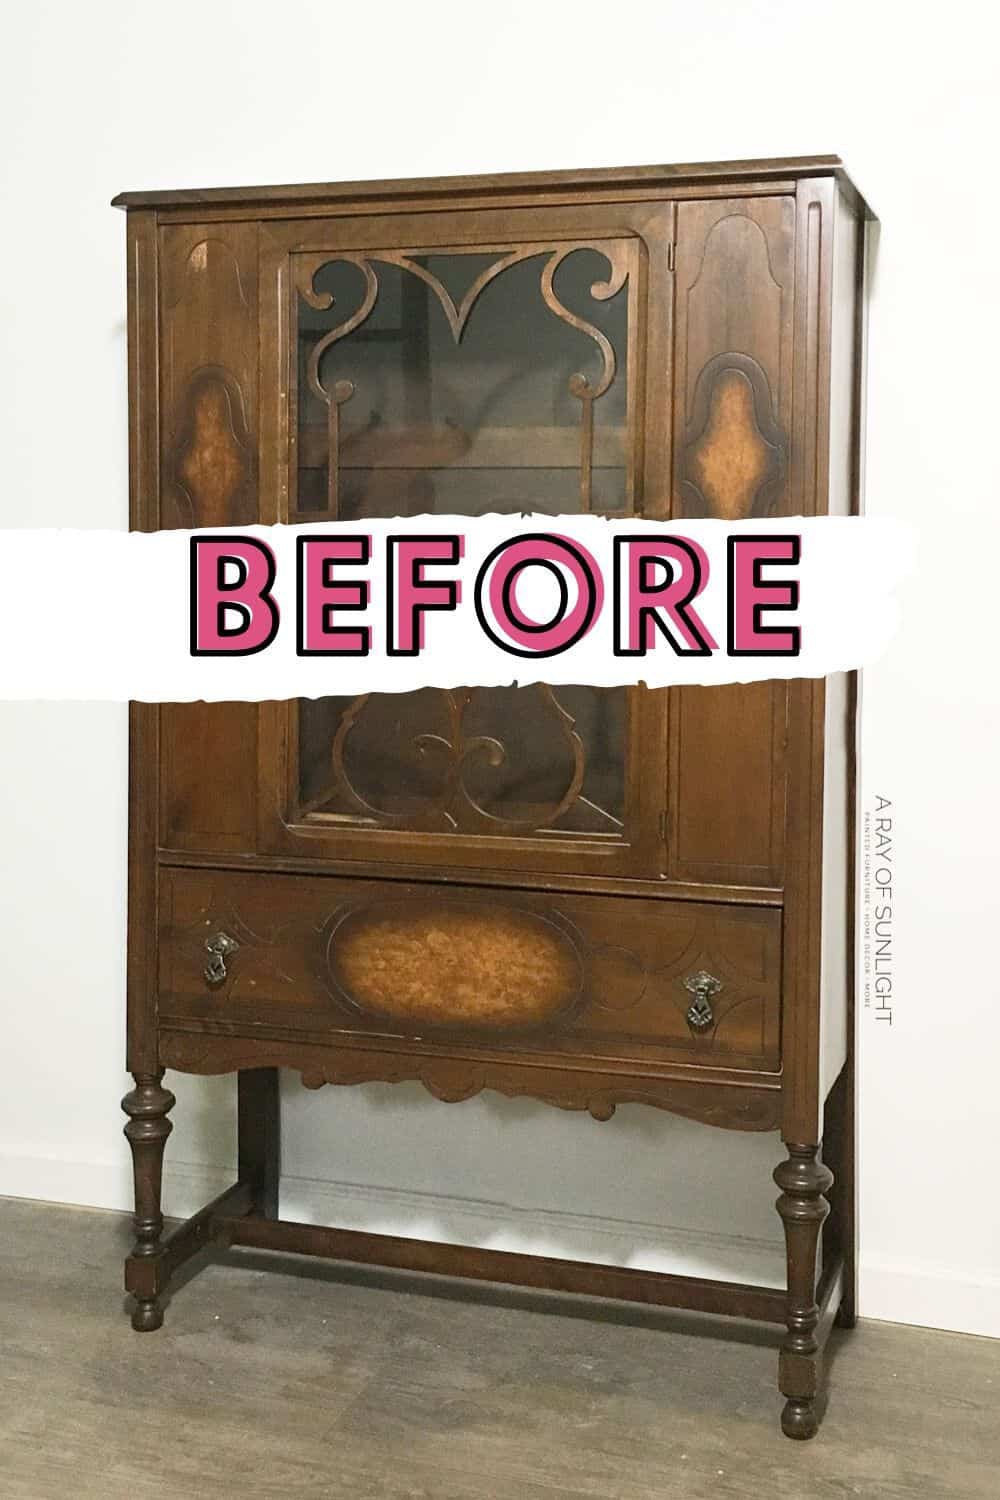
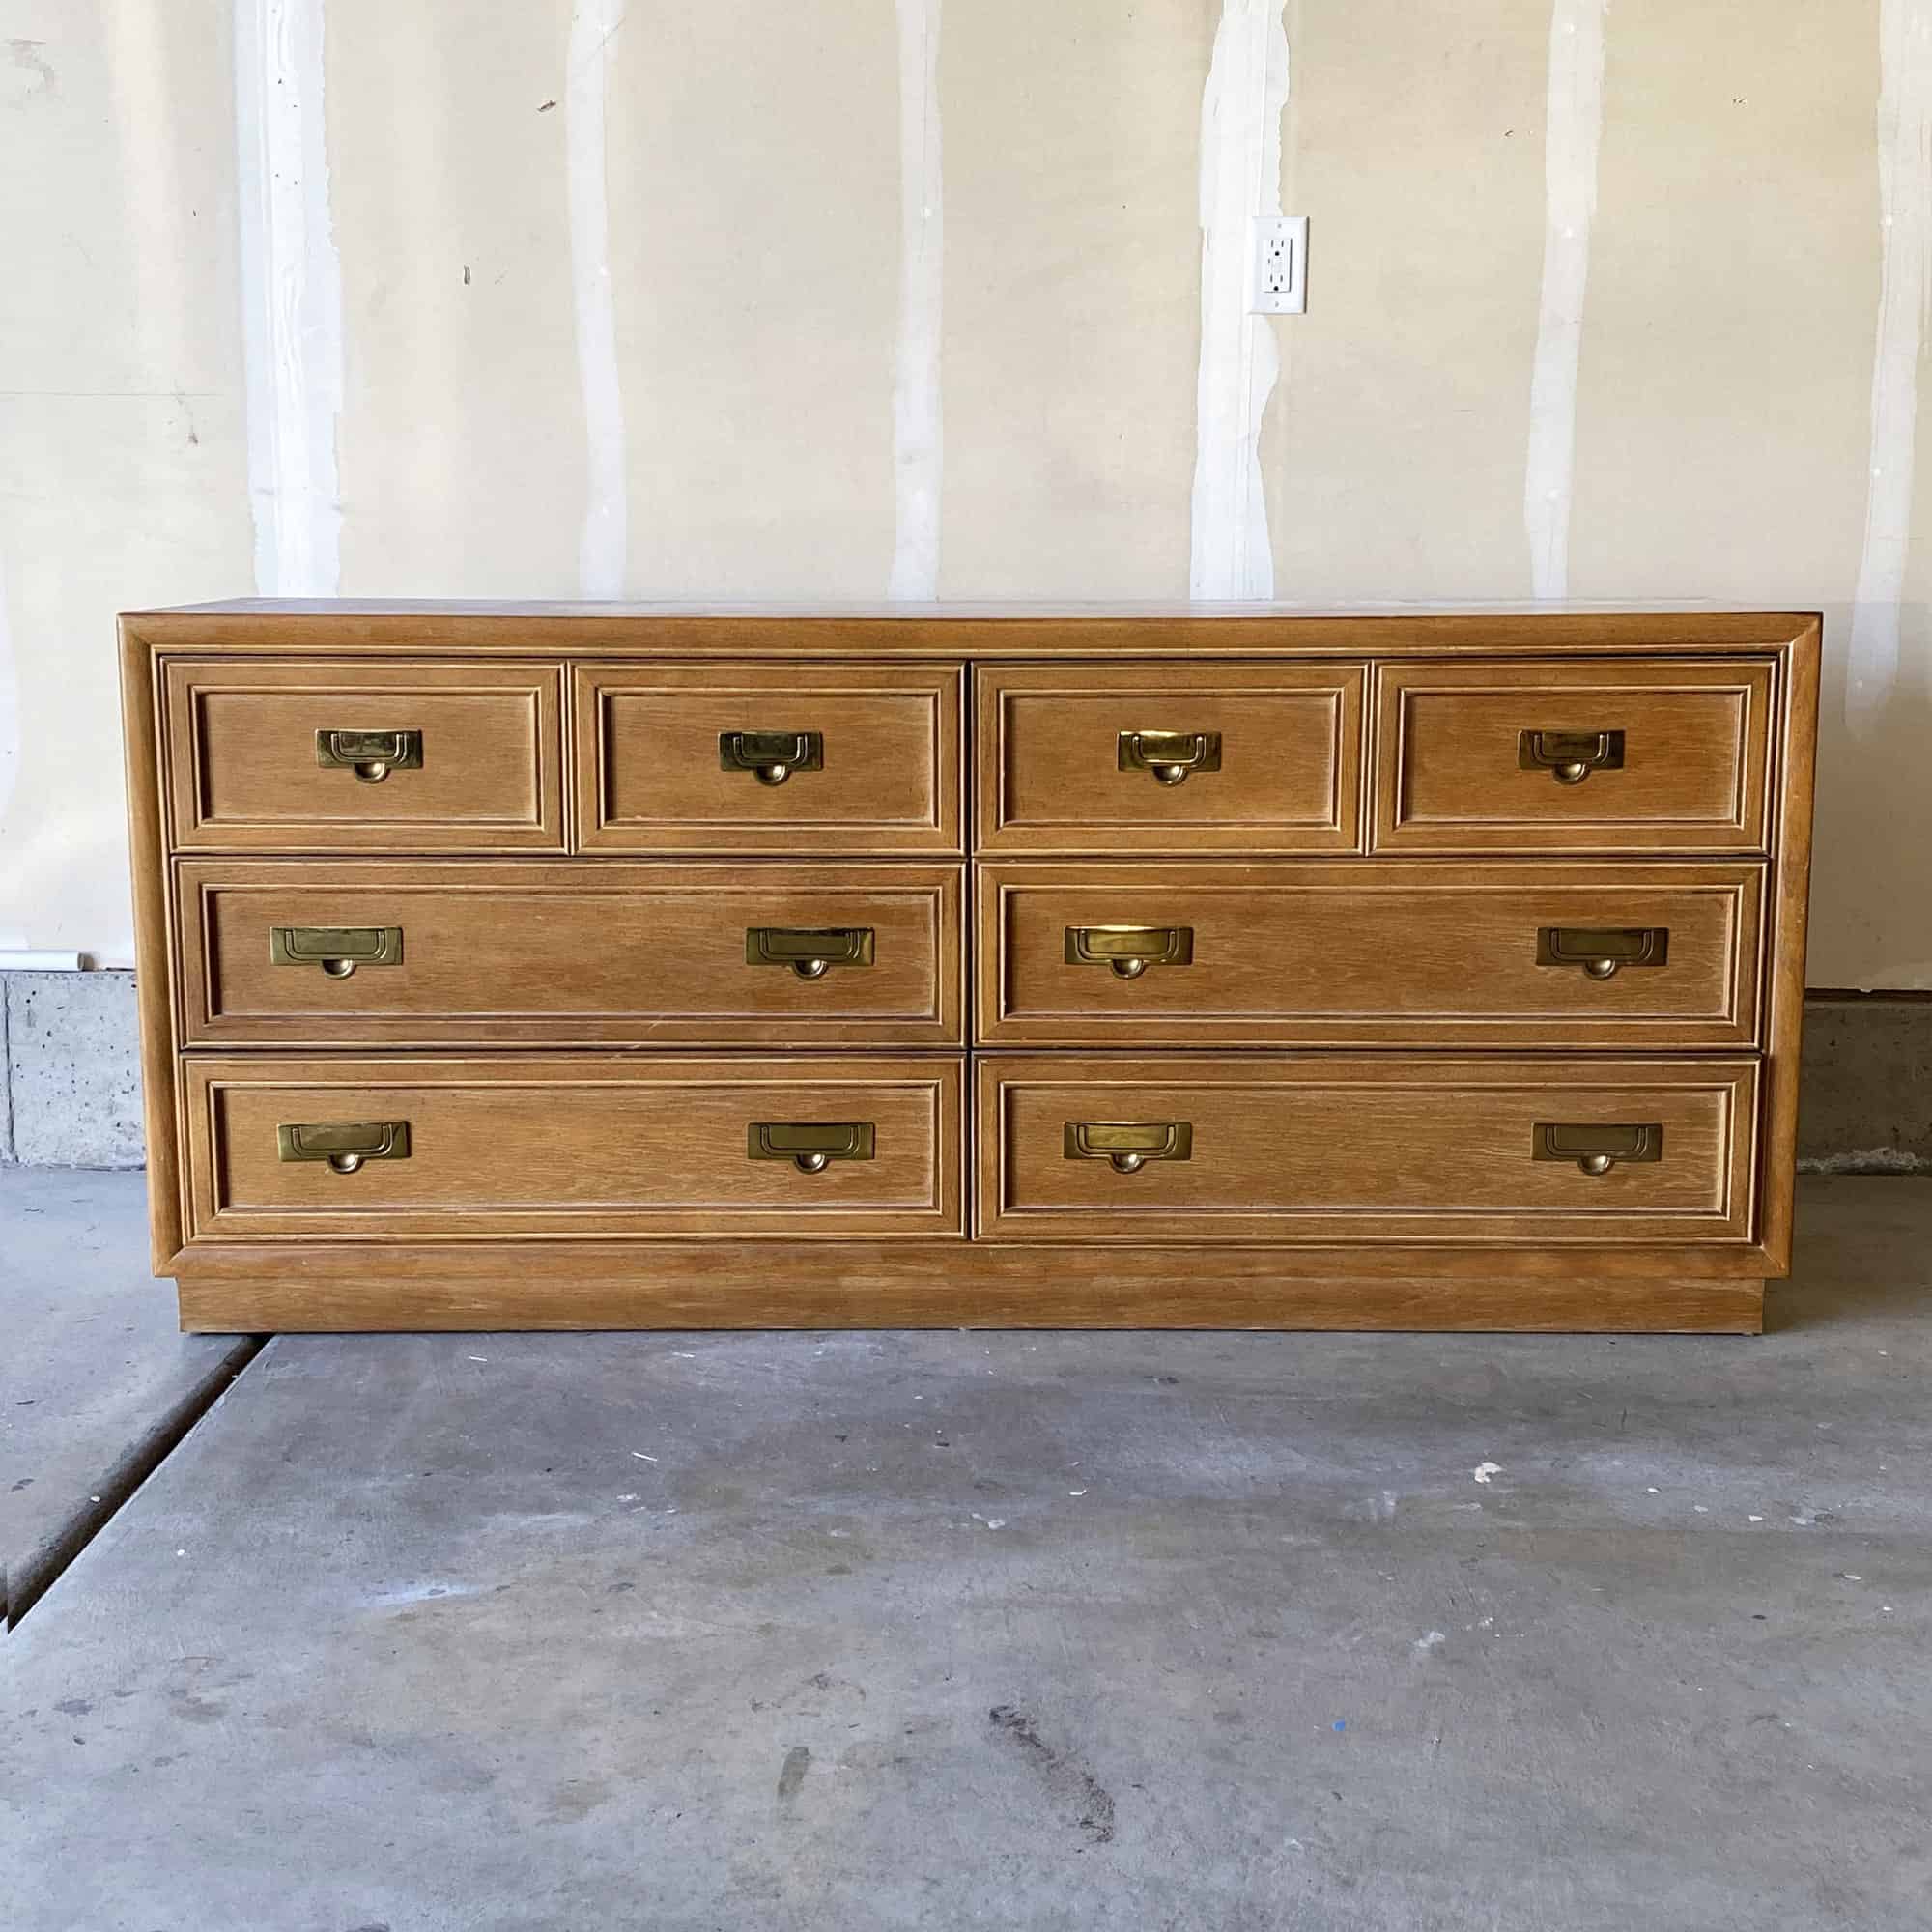
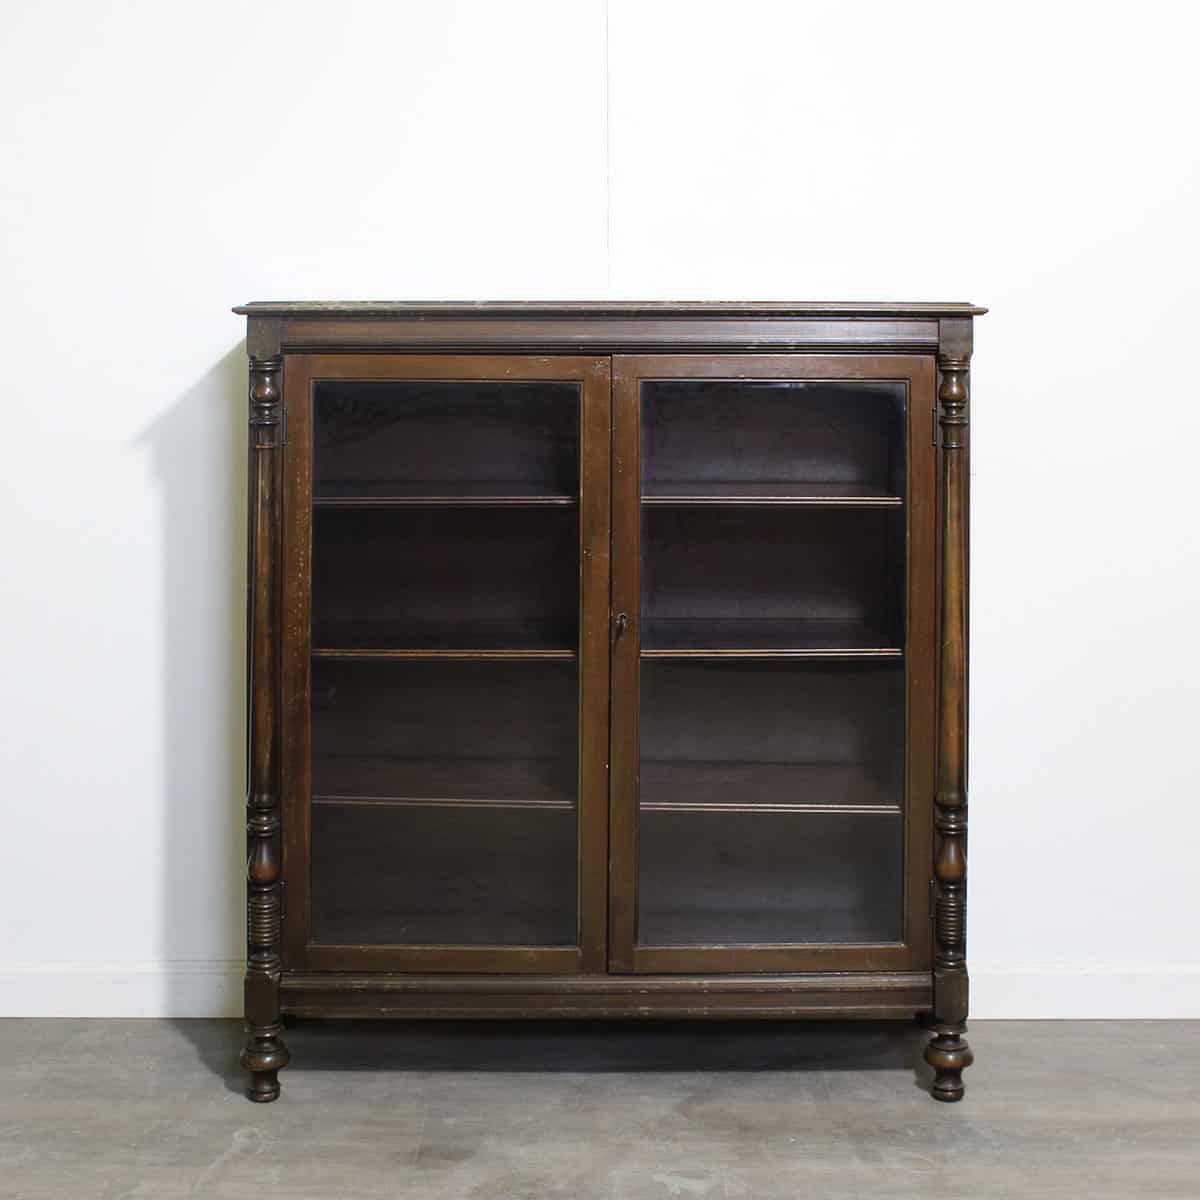
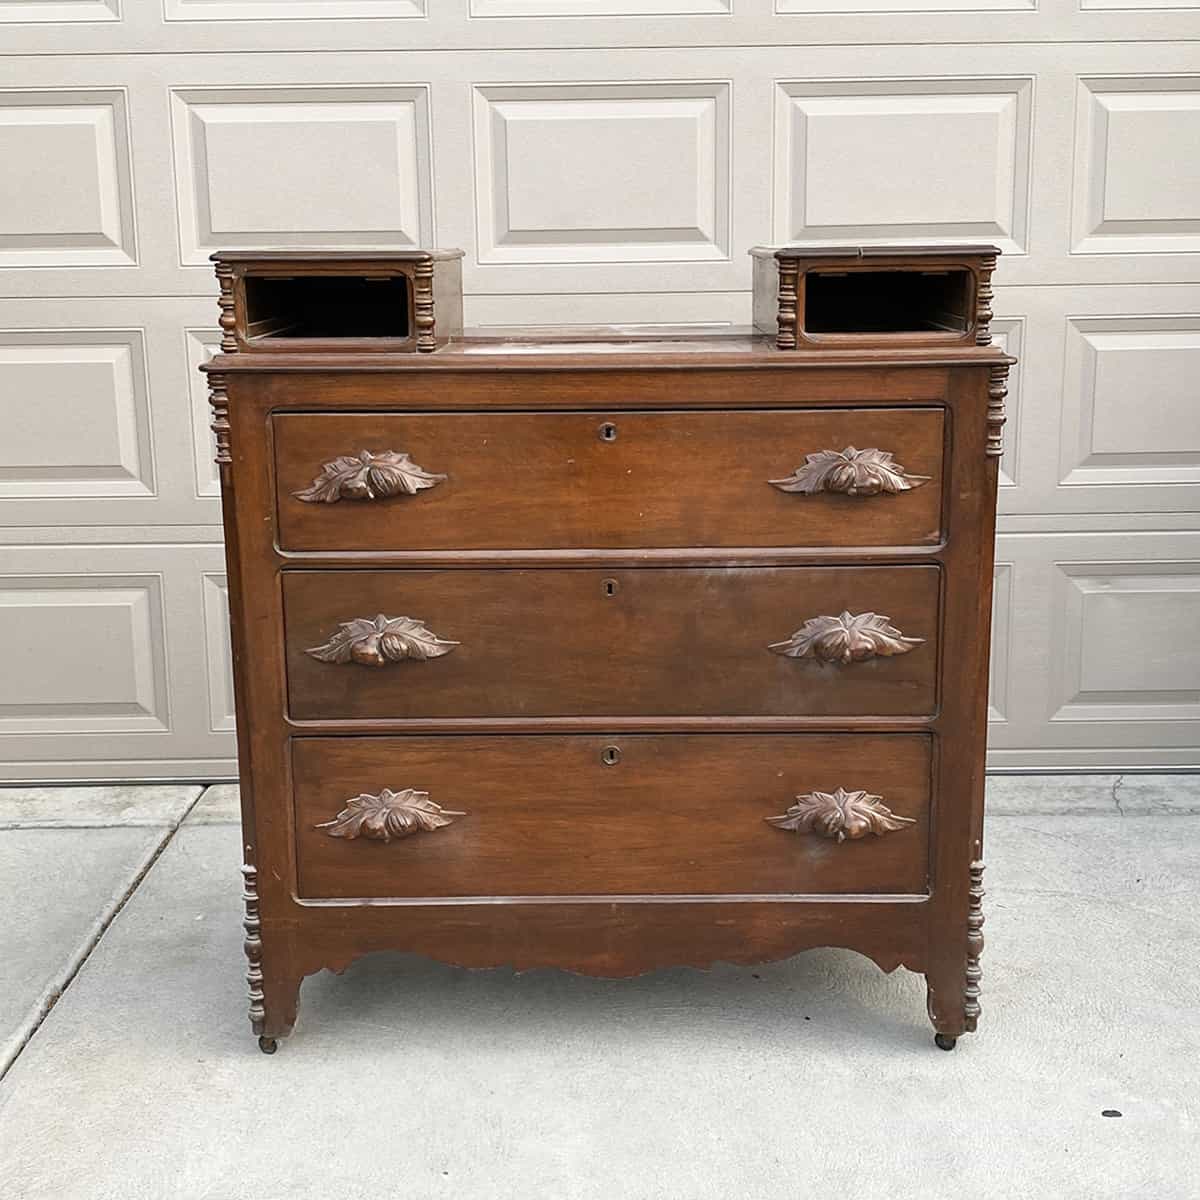
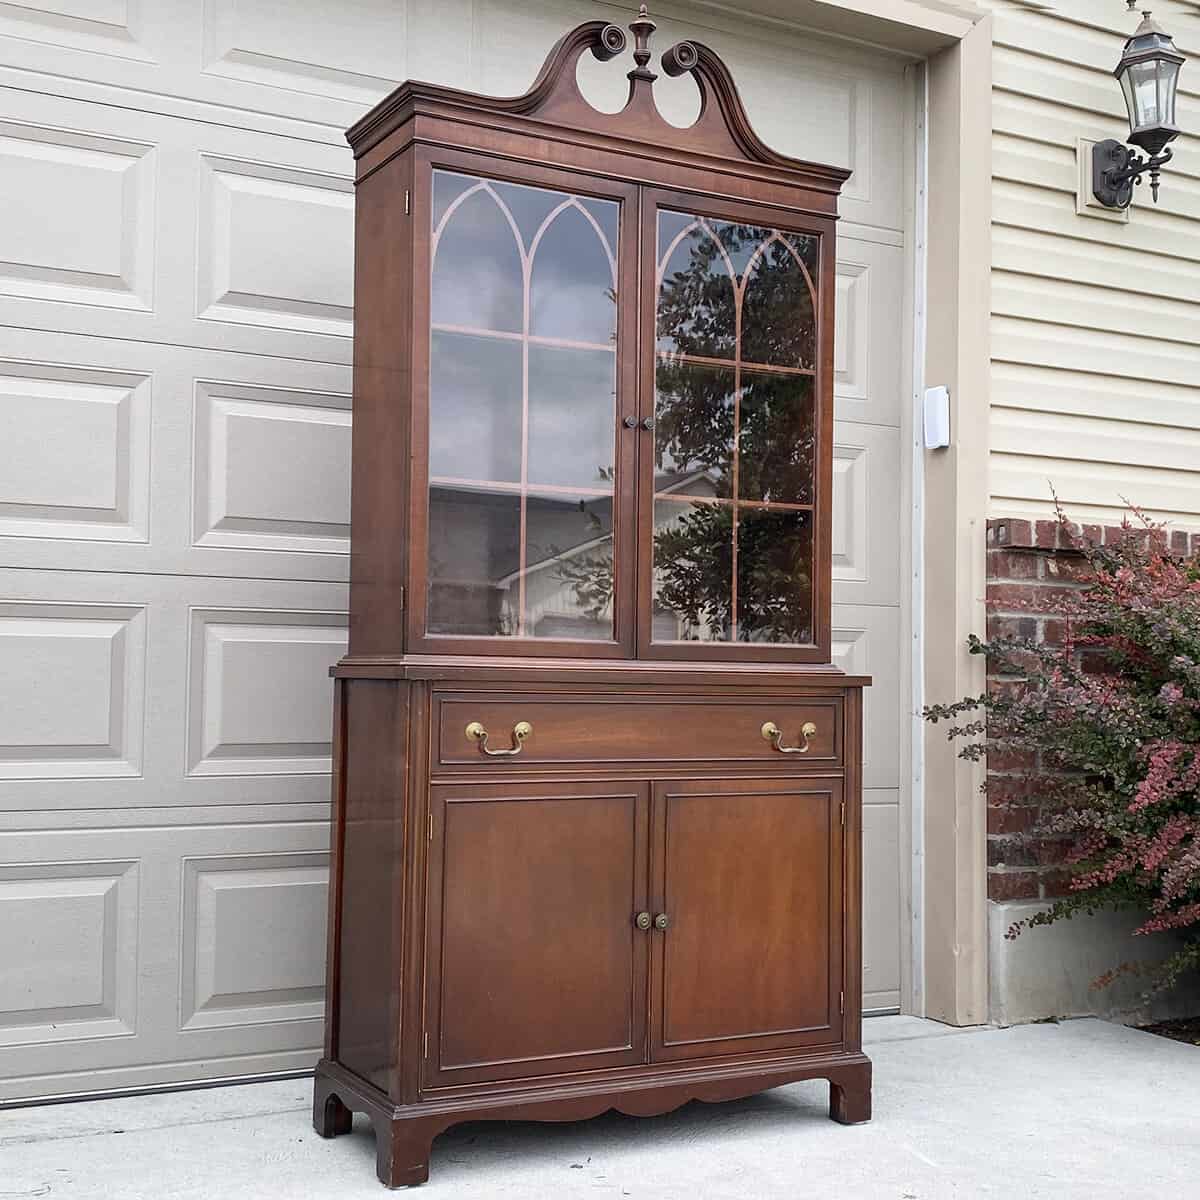
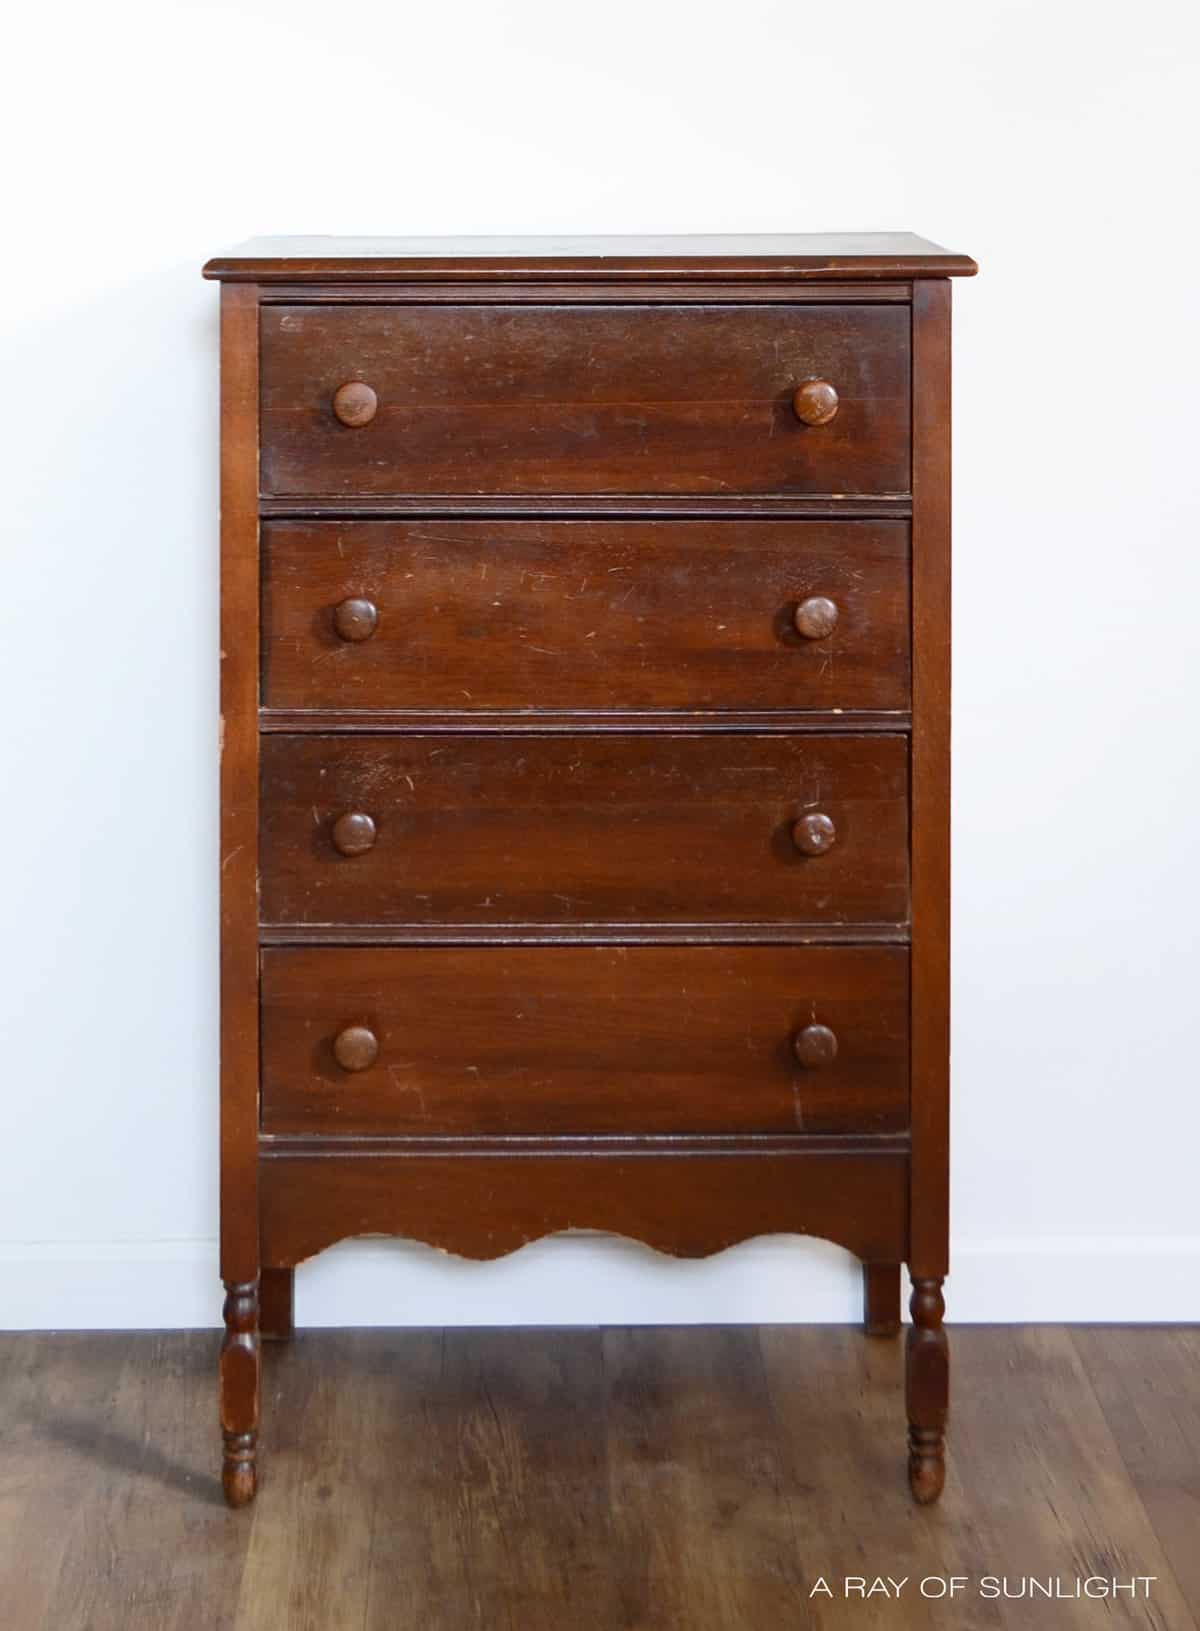
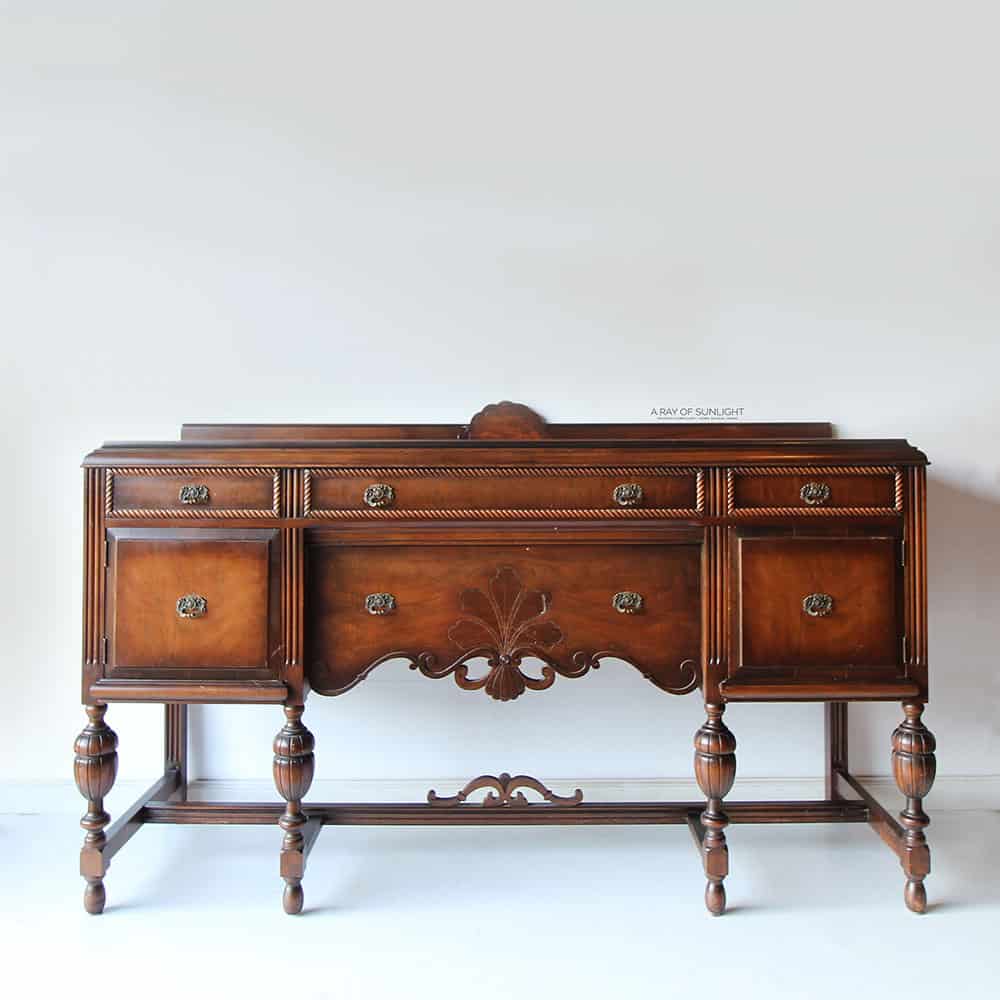
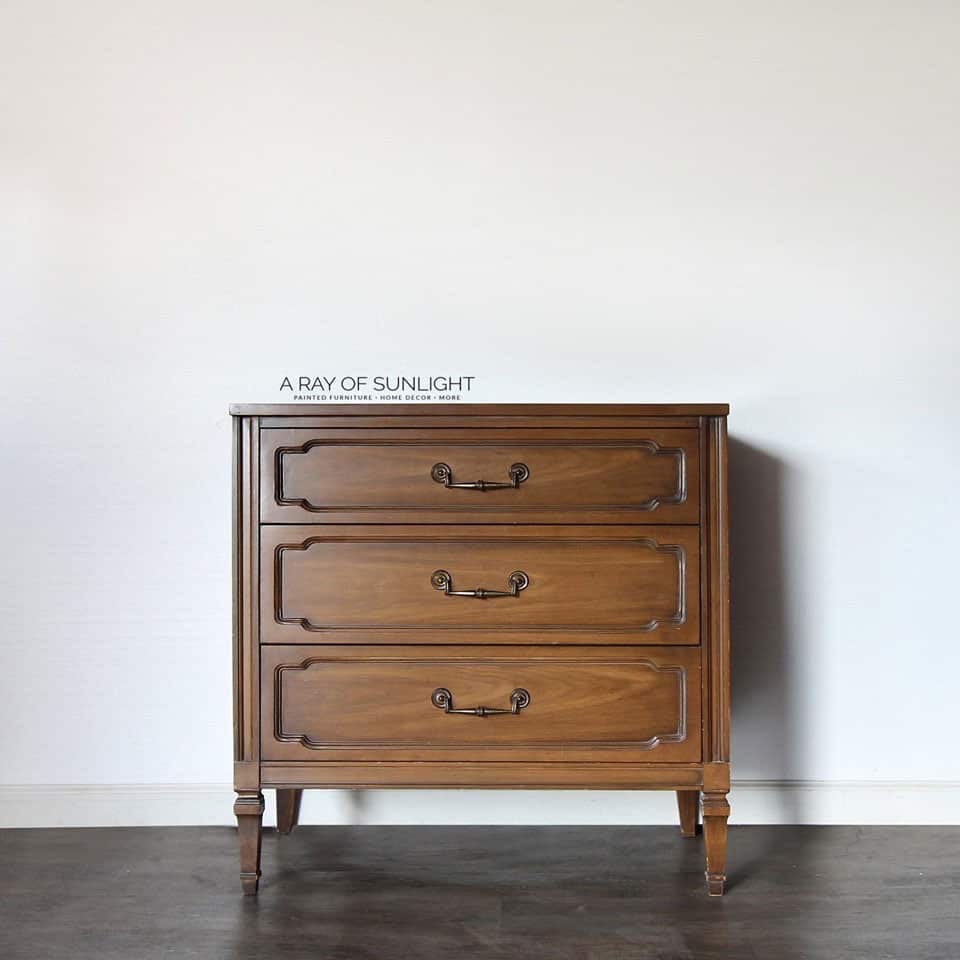
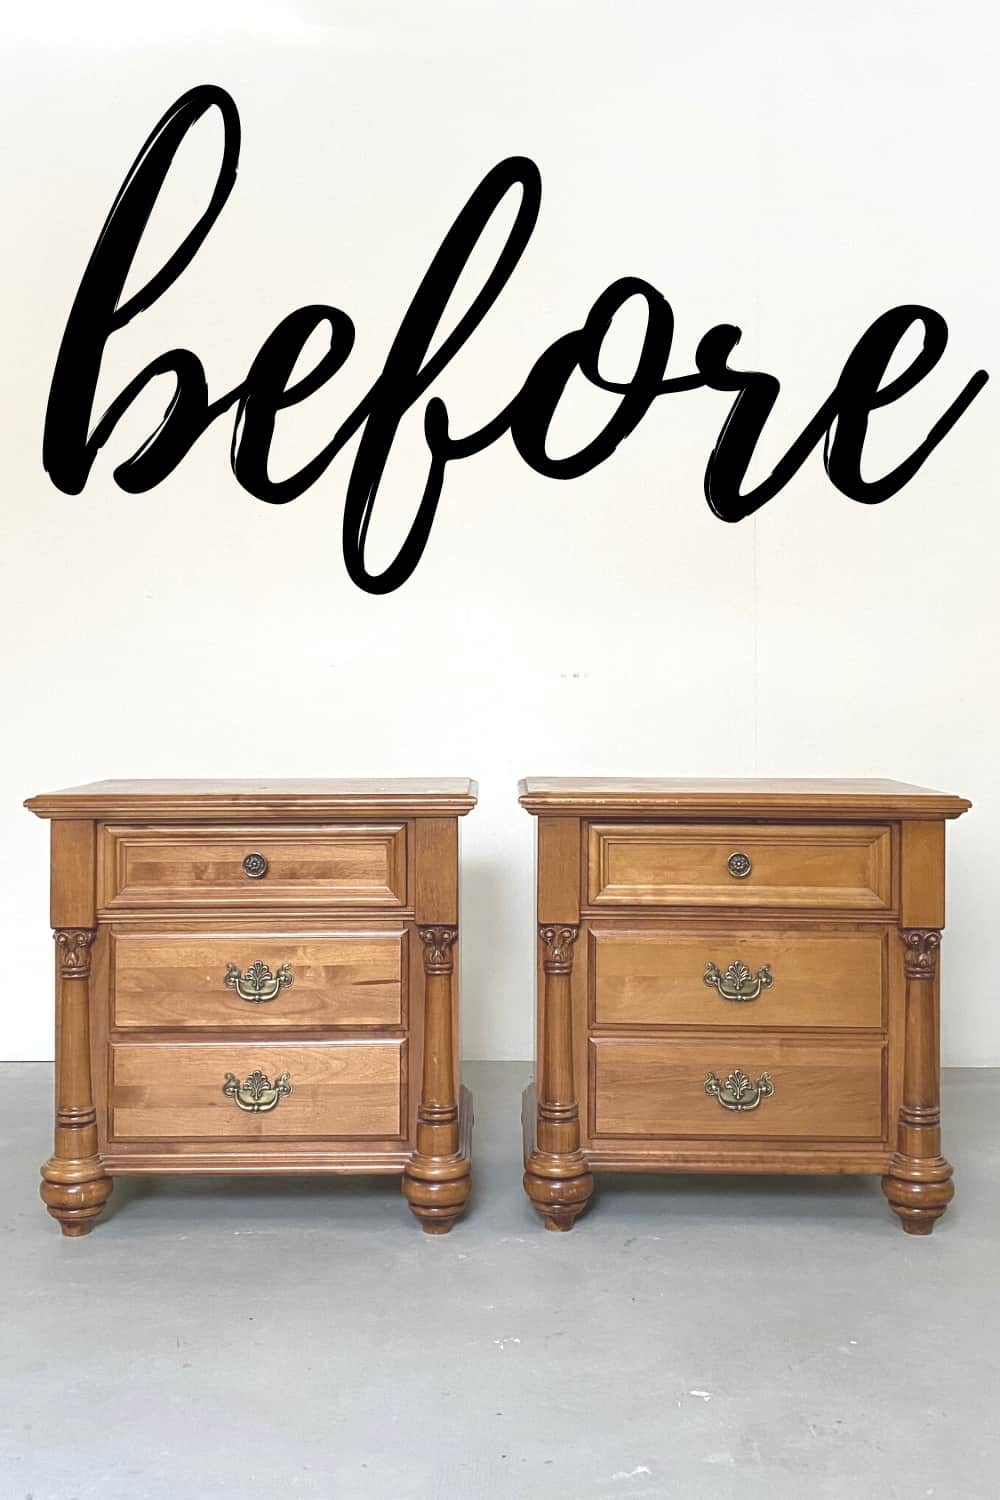
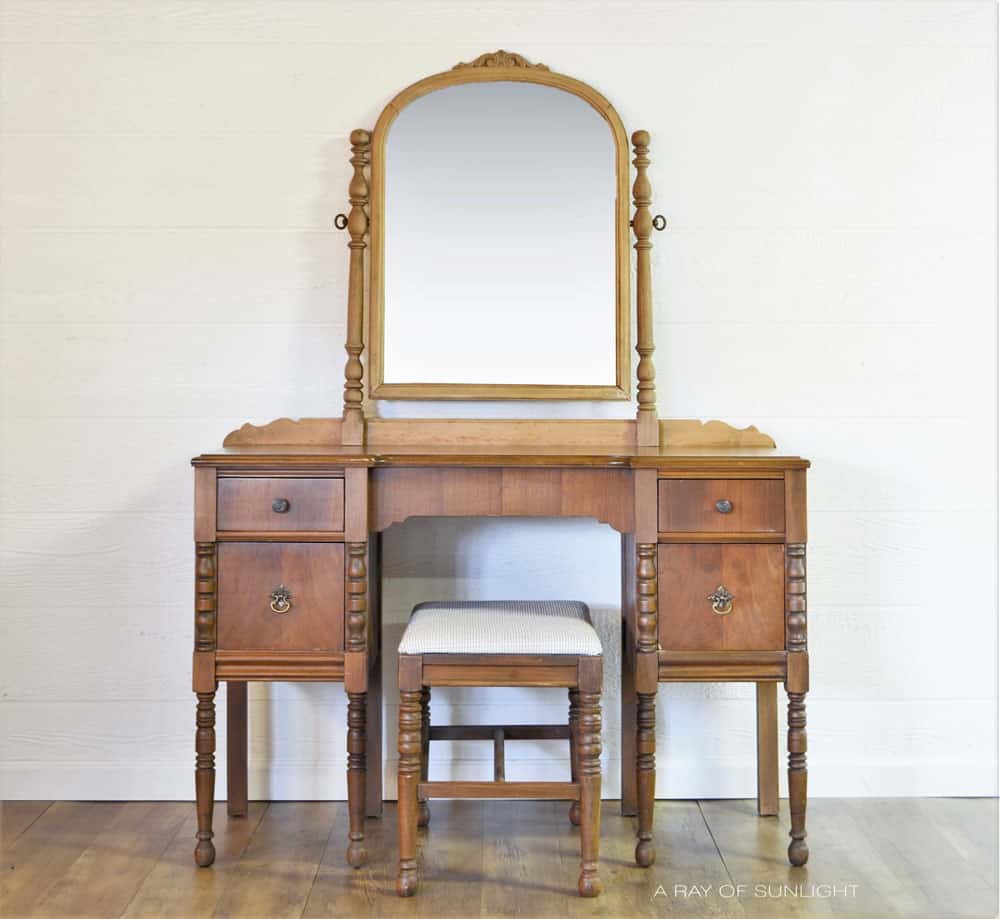
More Before And After Makeovers
Click any of these “before” photos below to view the “after” of that makeover.
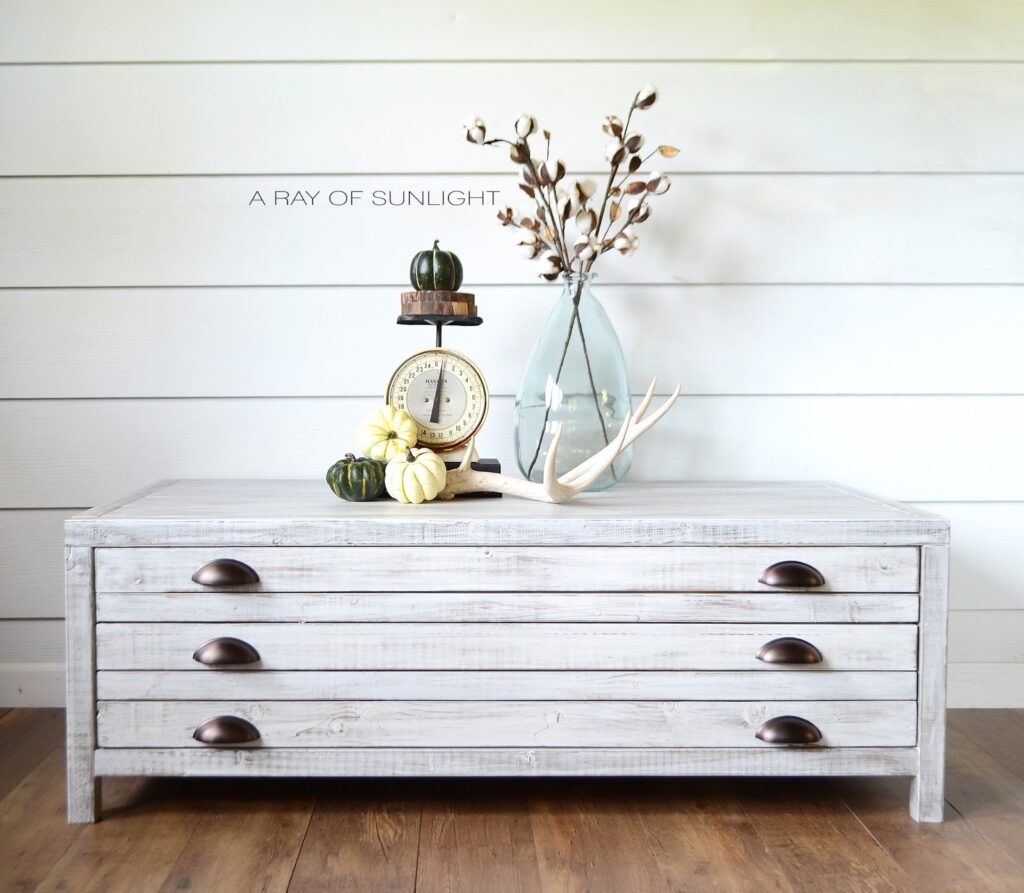
I couldn’t be happier with the finished product! It will be perfect for our living room, give us so much extra storage and add that finishing touch that we were looking for!
For the perfect farmhouse look, check out these DIY farmhouse drop cloth curtains to tie everything up. Once everything is put together I’ll take photos and share!
And as always, if you loved this tutorial, pin it for later or to share with your friends! We very much appreciate it! Hope you had a great Labor Day weekend!


P.S. Last weekend we drove an hour away to go to a yard sale with tons of junky old things. I’m so glad we did! We picked up this amazing rusty scale there for super cheap, along with a few other finds! Now I’m wondering if I should make the trip and go back again!
Printmaker's Farmhouse Industrial Coffee Table
Here’s how to build a DIY coffee table with a drawer, inspired by Restoration Hardware Printmaker’s farmhouse industrial coffee table for $100! It’s the perfect farmhouse table with loads of storage for your living room!
Materials
Tools
Instructions
- Cut wood to the body of the coffee table, drill the KREG jig holes and then sand every piece of wood smooth. Attach all of the pieces of wood, as well as the metal angles. Once the body is built, cut the wood for the drawers, making sure the sizes would fit into the opening. Then drill the KREG jig holes and sand everything down.
- Now mix up a batch of Weathered Gray and Dark Walnut stain using the 75/25 ratio. Working in sections, brushed the stain on the coffee table, making sure it gets into all of the cracks and knots, and then wipe off the excess stain with the lint free rag. Let it dry overnight.
- Make some whitewash by mixing 30% water and 70% latex paint. Brush the whitewash on, and wipe it off with a lint free rag.
- Let the whitewash dry completely, and then take some 220 grit sandpaper and heavily sand down the whitewash to bring out the wood grain underneath.
- After wiping all the dust off, spray on 3 coats of Varathane polyurethane to seal in the white goodness and give it extra durability.
- Add your hardware!
Recommended Products
As an Amazon Associate and member of other affiliate programs, I earn from qualifying purchases.


More Furniture Makeovers
- Blue Chalk Paint Coffee Table
- Whitewashed Furniture
- Rustic Painted Furniture
- Painting a Coffee Table
- Coffee Table Makeover Idea
Follow us on YouTube to get more tips for painting furniture.
Or share your project with us on our Facebook Group and be part of our community. See you there!